

Page 1

Security at Fingertips
www.esslsecurity.com
Page 2

Installation Guide
All design and specification declared are subject to change without notice in advance.
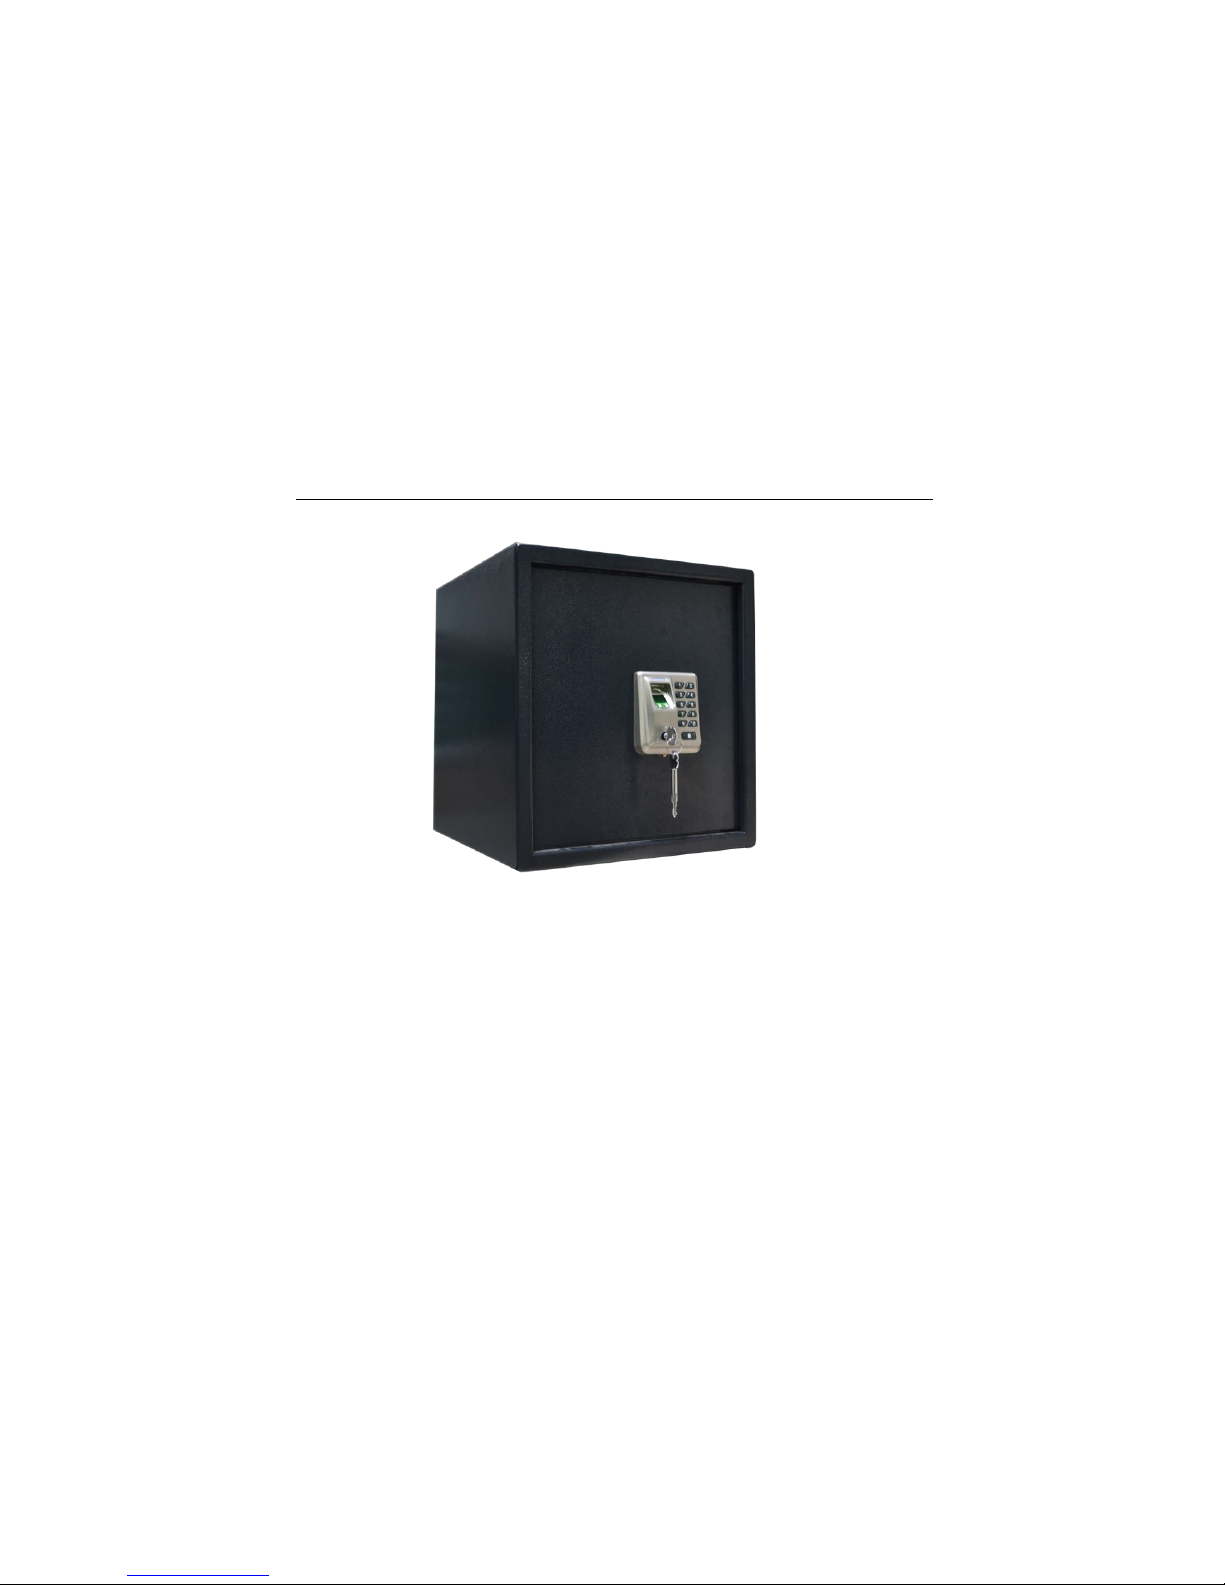
SF1000
Version: 2.0
Date: May 2014
Page 3
Page 4

Page 5

I. Use Instructions
1. Panel Description
2. Precautions
(2) Do not remove batteries when matching, enrolling or deleting fingerprints because the sudden power-down may result in data
loss of fingerprint locks.
(3) It is recommended to replace the fingerprint lock batteries at least once every six months to avoid damaging the circuit due to
the battery leakage.
(4) Operations have a stand-by (idle) time limit of 10 seconds, lock will shut off after 10 seconds of no activity. Within 5 times matching
failed, the safebox will keep locking 15 minutes, then all fingerprint / password is invalid, except mechanical key.
1
LED Indicator
Fingerprint Collector
Key Hole
Numpad / LED Indicator
Locking Key / Start Key / Enter Key
Figure 1
Emergency Power Interface
(1) Lock comes in default demo mode, any fingerprint or password will open the lock, user must first change default Master Passcode (MPC:
98989). User must have registered at least one admin before enrolling an ordinary user.
Note: The method and step of changing Master Pass Code, Enroll Administrator and Enroll Ordinary user, please refer to
II.The Basic Operation.
Page 6

3. Verification mode
4. Unlock with an Emergency Mechanical Key
You can open the lock using an emergency mechanical key in case the electronic component does not operate.
(1) Capping the tip of the tool into the lock flap at the bottom, a little force to pry open the lock cover.
(2) Insert the emergency key into the keyhole and rotate 90º to unlock, as shown in Figure 2.
5. Reset
The red reset button is on the inner side of front panel (as shown in Figure 3), it is used to restore factory setting by following steps:
Press to activate lock, then long press reset button 5 seconds until you hear a long beep.
6. Battery Low Voltage Protection
Please change the battery in time when you hear short sharp sounds five times made by buzzer.
7. Two ways to Unlock the Non-lock Status Alarm
(1) Press and at the same time push the door inward, the machine will lock automatically.
(2) Lock it by the mechanical key. The alarm will be switched off after the proper locking is done.
Successful
1 Long Beep/ LED Flashes Green
Access Mode
Green LED flashes every second
Failed
2 Short Beeps/ LED Flashes Red
User ID
Admin (995~999)
Ordinary (001~994)
Figure 2
Figure 3
2
Page 7

II. The Basic Operation
1. Press to activate lock
2. Long press until you
hear a long beep and LED
light off
Change
Master
Passcode
Enroll Admin
Fingerprint
Enroll
Admin
Password
Enroll
Ordinary
User
Fingerprint
1
3
2
4
1. Press to activate lock
2. Long press until you
hear a long beep and LED
light off
1. Press to activate lock
2. Long press until you
hear a long beep and LED
light off
1. Press to activate lock
2. Long press until you
hear a long beep and LED
light off
1. Enter MPC [98989]
2. Press
1. Enter MPC
2. Press
1. Enter MPC
2. Press
1. Enter MPC or Verify
Admin by Fingerprint /
Password
2. Press
1. Press
2. Enter User ID
(995~999)
3. Press
9
1. Enter same
code again
2. Press
Place finger 3
times
Place finger 3
times
1. Enter a 6~10
digits password
2. Press
1. Enter same
password
again
2. Press
Long beep
and green
flash
Long beep
and green
flash
Long beep
and green
flash
Long beep
and green
flash
1. Press
2. Enter new
5-digit code
3. Press
5
1. Press
2. Enter User ID
(995~999)
3. Press
9
1. Press
2. Enter User ID
(001~994)
3. Press
1
3
Page 8

Enroll
Ordinary
User
Password
Delete User
Modify
Verification
Mode
Restore
Factory
Settings
5
6 7
8
1. Press to activate lock
2. Long press until you
hear a long beep and LED
light off
1. Press to activate lock
2. Long press until you
hear a long beep and LED
light off
1. Press to activate lock
2. Long press until you
hear a long beep and LED
light off
1. Press to activate lock
2. Long press until you
hear a long beep and LED
light off
1. Enter MPC or Verify
Admin by Fingerprint /
Password
2. Press
1. Enter MPC or Verify
Admin by Fingerprint /
Password
2. Press
1. Enter MPC or Verify
Admin by Fingerprint /
Password
2. Press
1. Enter MPC or Verify
Admin by Fingerprint /
Password
2. Press
1. Enter a 6~10
digits password
2. Press
1. Enter same
User ID again
2. Press
1. Enter [111]: normal mode (all registered users)
Enter [222]: safe mode (ordinary user with
fingerprint + password, or admin)
2. Press
1. Enter [0000]
again
2. Press
1. Enter same
password
again
2. Press
Long beep
and green
flash
Long beep
and green
flash
Long beep
and green
flash
Press
4
1. Press
2. Enter [0000]
3. Press
7
1. Press
2. Enter User ID
(001~994)
3. Press
2
1. Press
2. Enter User ID
(001~994)
3. Press
3
4
Page 9

Ⅲ. Preparations before Installation
1. Packing list
Name
Safebox
Expansion screw
Mechanical key
Buckle
Division plate
Installation guide
Quantity
1
4
2 keys+ Capping tool
4 1 1
2. Recommended Installation Tools
Spanner Percussion drill
Ⅳ.Install the Safebox
1. Structure Description
Four mounting holes in the back panel Four mounting holes on the baseboard Expansion screw
5
Expansion bolt
Expansion tube
Gasket
Split washer
Screw nut
Page 10

2. Installation Procedure
(1) Drill holes.
257mm
300mm
4
-
Φ
10
mm
257mm
257mm
4
-
10
mm
(2) Fix the expansion screw in the wall.
Put expansion bolt and expansion tube together insert into the hole.
Fit on gasket, split washer and screw nut.
Tighten screw nut by spanner until the expansion tube is expanded, which makes expansion bolt fixed on the wall.
Take out gasket, split washer and screw nut.
Back panel
Baseboard
Wall
Wall
6
Page 11

(3) Mount the safe box on the wall, then fit gasket, split washer and screw nut on the expansion bolt, then tighten screw nut by spanner
to make the safe box fixed on the wall.
(4) Fix the safebox on the ground in the same way
Wall
Wall
7
Ground
Ground
Page 12

(5) Install Division Plate.
Fix two buckles with the same height on one side.
Put division plate on the buckles with the angle of inclination.
Fix two buckles with the same height on the other side, then down the division plate to make it horizontal.
V. Install Batteries Ⅵ. Routine Maintenance
1
2
3
1. The lock surface is forbidden to contact corrosive substances.
Otherwise, the protective layer of the lock surface may be damaged,
and therefore the glossiness of the lock surface may be decreased.
2. Please clean it with the adhesive sticker tape or ethyl alcohol and dry it up
using the fine cloth without the batting, when the fingerprint collector is used
for long time.
3. Change batteries in time when it is low (pay attention to the negative and
positive). It is recommended to use four new batteries of the same brand (the
alkaline battery of 1.5 V).
8
Page 13

#24,Shambavi Building, 23rd Main,Marenahalli,
JP Nagar 2nd Phase, Bangalore - 560078
Phone: 91-8026090500 | Email : sales@esslindia.com
www.esslsecurity.com
 Loading...