

Page 1
USER MANUAL
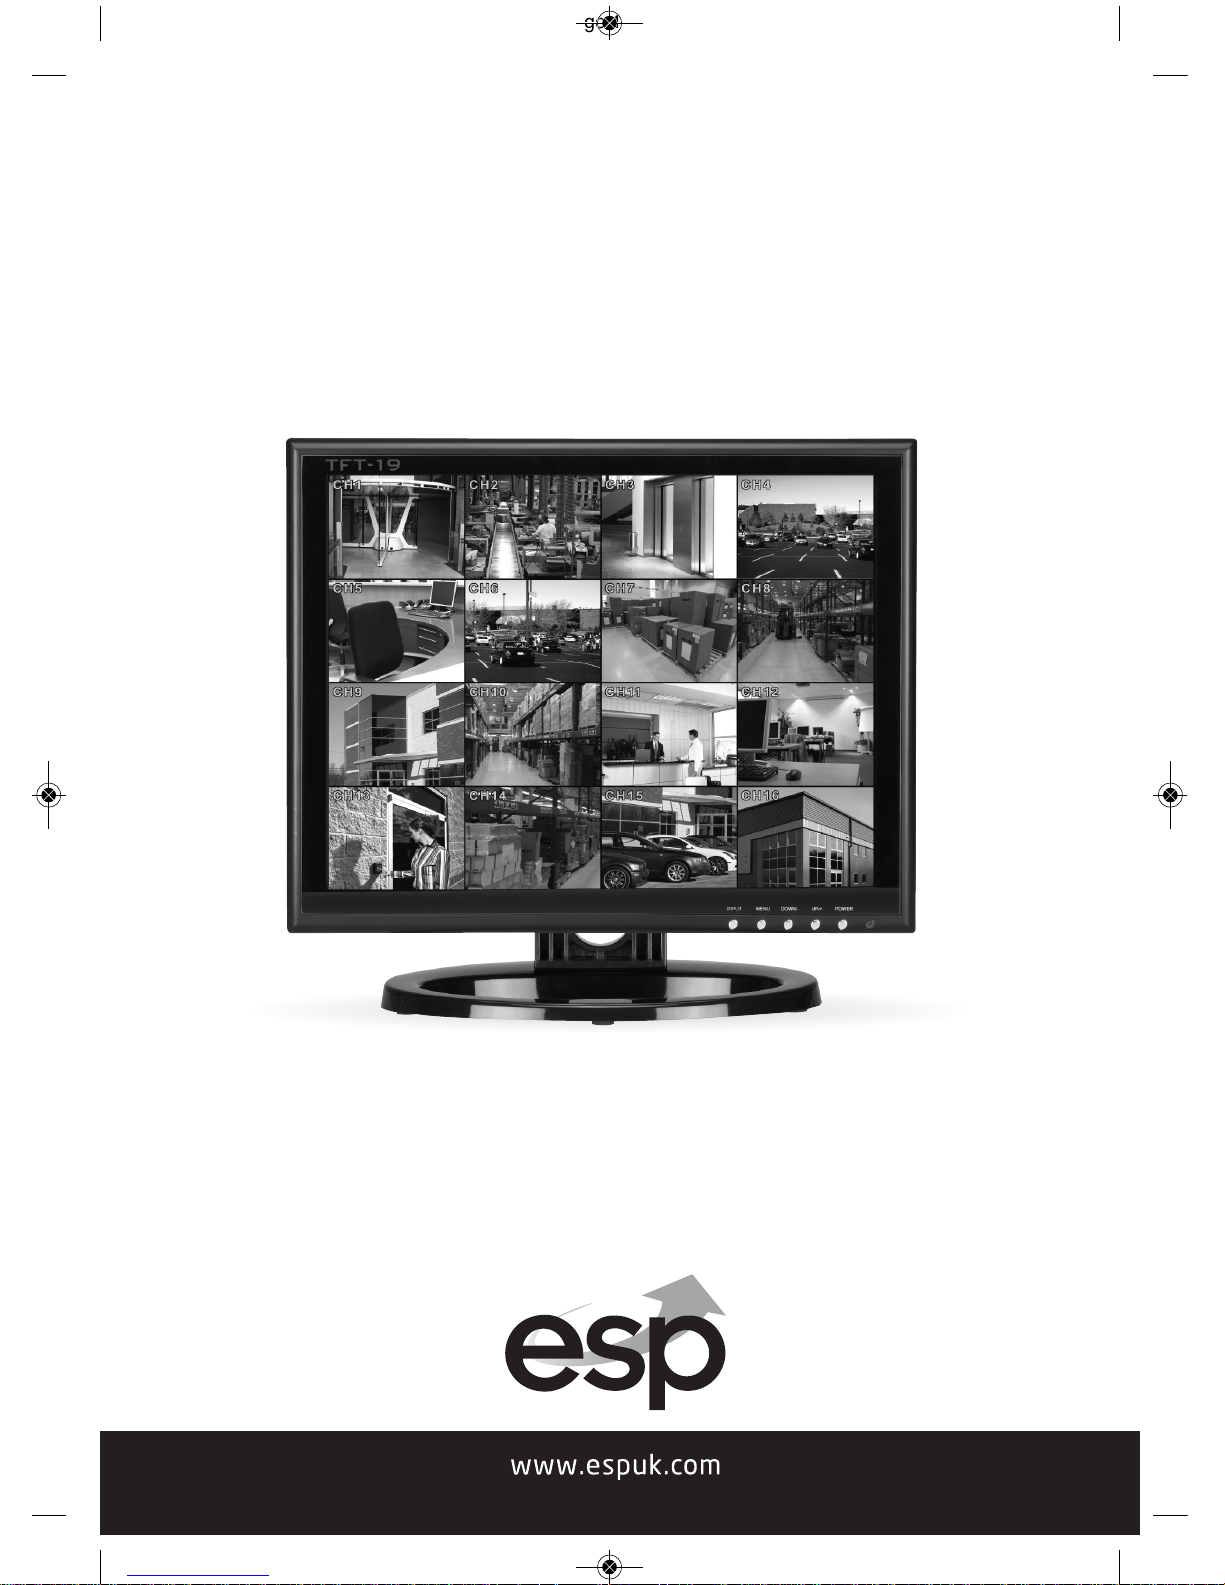
TFT-15
•
TFT-17 •TFT-19
TFT LCD
monitor
TFT15, 17, 19 Manual_Layout 2 01/03/2013 15:35 Page 1
Page 2

2
TFT15, 17, 19 Manual_Layout 2 01/03/2013 15:35 Page 2
Page 3
3
Contents
Setup . . . . . . . . . . . . . . . . . . . . . . . . . . . . . . . . . . . . . . . . . . . . . . . . . . . . . . . . . . . . . . . . . . . . . 4
Functions . . . . . . . . . . . . . . . . . . . . . . . . . . . . . . . . . . . . . . . . . . . . . . . . . . . . . . . . . . . . . . . . . 4
Input Menu . . . . . . . . . . . . . . . . . . . . . . . . . . . . . . . . . . . . . . . . . . . . . . . . . . . . . . . . . . . . . . . 5
Video Mode Menu . . . . . . . . . . . . . . . . . . . . . . . . . . . . . . . . . . . . . . . . . . . . . . . . . . . . . . . . . 6
VGA Mode Menu . . . . . . . . . . . . . . . . . . . . . . . . . . . . . . . . . . . . . . . . . . . . . . . . . . . . . . . . . . . 7
Troubleshooting . . . . . . . . . . . . . . . . . . . . . . . . . . . . . . . . . . . . . . . . . . . . . . . . . . . . . . . . . . . 7
Technical Specifications . . . . . . . . . . . . . . . . . . . . . . . . . . . . . . . . . . . . . . . . . . . . . . . . . . . 8
Important
Allow enough space between the monitor and the wall to allow ventilation.
Avoid excessively warm locations to prevent possible damage to the cabinet
or premature component failure.
This monitor operates on a AC supply provided by the mains voltage of
90-260V.
Do not install the monitor in a location near heat sources, air ducts, direct
sunlight, or in a confined area.
Please do not tamper with any components inside the monitor, or make any
other adjustments not mentioned in this manual.
When cleaning the monitor it is advised to use a soft dry cloth.
During thunder and lighting storms, unplug the power cord to prevent damage.
All maintenance should be performed by monitor service personnel.
All monitors are high voltage.
TFT15, 17, 19 Manual_Layout 2 01/03/2013 15:36 Page 3
Page 4

4
Setup
Connecting the Power Supply
• Remove the power supply and power cable from the packaging.
• Insert the power cable connector into the power supply.
• Plug the DC12V jack into the power socket on the monitor which is indicated as DC.
• Plug the three pin power plug into the main power socket.
NOTE - If there is no signal for approximately 180 seconds, the monitor will enter
standby mode. For any input other than PC. The monitor will not enter standby mode
automatically.
If you are not going to use this monitor for a long time, switch off the power switch on
the monitor and disconnect the power plug from the wall outlet.
Functions
Front Controls of the Monitor
INPUT Selects which input the monitor will display
MENU Opens up options for the monitor’s input
DOWN/- Navigation and adjustment level
UP/+ Navigation and adjustment level
POWER Switches the monitor ON/OFF
Remote Controller
1. Power Power supply switch
2. Picture Picture mode
3. Left
12. Right
VOL +/- or OK
4. Up / Sub-menu Selection
13. Down S-VIDEO mode shortcut key
5. VGA PC mode
6. AV Video mode
7. S-video S-video mode
8. YPbPr YPbPr mode
9. DVI R/L Menu R/L audio shortcut key
10. HDMI HDMI input
11. MENU Menu enter/exit
14. INPUT Source input
15. MUTE Mute Sound
16. FREEZE Freeze enter and exit
1
2
3
4
11
13
12
16 14
5 8 10
6 7 9
15
TFT15, 17, 19 Manual_Layout 2 01/03/2013 15:36 Page 4
Page 5

5
To turn the monitor power ON
Connect the power supply to the monitor and wall outlet, the power indicator will turn red
and the monitor is in Standby Mode. In Standby Mode, press the power button and the
indicator will change to blue.
NOTE - It takes a few seconds before a picture will appear.
To turn the monitor power OFF
Pressing the power button while the monitor is on will activate Standby Mode. Then
disconnect the power plug from the wall outlet.
Input Menu
Selecting an Input
Press the Input button and then the Menu button to scroll through the
input options , select VGA, HDMI, VIDEO1, VIDEO2 by pressing UP/+ or
the DOWN/- button.
The Input selection refers to the input being used on the monitor
Rear Inputs of the Monitor
VIDEO 1
IN
VGA
IN
HDMI
IN
DC
IN
VIDEO 2
OUT IN
AUDIO
OUT IN
TFT15, 17, 19 Manual_Layout 2 01/03/2013 15:36 Page 5
Page 6

6
Video Mode Menu
Adjusting the Video Mode Menu
By pressing the Menu button, you can access the menu options for; Picture, Audio, OSD,
Function.
To make adjustments in the Sub-menu, press the UP/+ and DOWN/- button.
PICTURE AUDIO
OSD FUNCTION
TFT15, 17, 19 Manual_Layout 2 01/03/2013 15:36 Page 6
Page 7

VGA Mode Menu
Adjusting the VGA Mode Menu
Select VGA mode and press the Menu button, select; PC, Audio, OSD or Function.
To make adjustments on the Sub-menu, press the UP/+ and DOWN/-button.
Troubleshooting
Incorporated in the monitor are the most up-to-date devices to eliminate interference.
Local radiation however, can create disturbances.
DIATHERMY: Herringbone pattern and partial picture loss can result from the operation of
diathermy equipment from a nearby doctor’s surgery or hospital.
SNOW: Weak signals from long distant cable runs can give the effect of falling snow.
CAR IGNITION: Nearby cars and electrical motors can cause small streaks across the picture
or make the picture roll.
PICTURE AUDIO
OSD FUNCTION
7
TFT15, 17, 19 Manual_Layout 2 01/03/2013 15:36 Page 7
Page 8

Elite Security Products
Unit 7, Target Park, Shawbank Rd
Lakeside, Redditch B98 8YN
Telephone: 01527 51 51 50
Fax: 01527 51 51 43
email: info@espuk.com
MODEL TFT - 15 TFT - 17 TFT - 19
LCD Display 15” TFT LCD 17” TFT LCD 19” TFT LCD
Pixel Pitch 0.297 0.264 0.294
Max. Resolution SXGA (1024 x 768) SXGA(1280 x1024) SXGA(1280 x1024)
Contrast Ratio 400:1 1000:1 1000:1
Brightness 300cd/m² 400cd/m² 450cd/m²
Response Time 6mS (at 25°C) 5mS (at 25°C) 5mS (at 25°C)
Display Color 16.2 million 16.7 million 16.7 million
View Angle L+/R- 75/75 80/80 80/80
U+/D- 75/60 80/80 80/80
PC Interface VGA (15Pin D-sub) VGA (15Pin D-sub) VGA (15Pin D-sub)
Display Mode VGA, HDMI and VGA, HDMI and VGA, HDMI and
CVBS (Video) CVBS (Video) CVBS (Video)
Power consumption Approx. 23W Approx. 25W Approx. 33W
Frequency Horiz. - 30~60 KHz Horiz. - 30~60 KHz Horiz. - 30~60 KHz
Vert. - 56~75 KHz Vert. - 56~75 KHz Vert. - 56~75 KHz
Signal Connector VGA Cable VGA Cable VGA Cable
OSD Menu On Screen On Screen On Screen
Power Adapter DC12V 4A DC12V 4A DC12V 4A
Operating Conditions Temp. - 5°C ~ 50°C Temp. : 5°C ~ 50°C Temp. : 5°C ~ 50°C
Humidity - < 85%RH Humidity - < 85%RH Humidity - < 85%RH
Storage Conditions Temp. - 0°C~40°C Temp. - 0°C~40°C Temp. - 0°C~40°C
Humidity - < 95%RH Humidity - < 95%RH Humidity - < 95%RH
Certification CE, RoHS CE, RoHS CE, RoHS
Technical Specifications
TFT15, 17, 19 Manual_Layout 2 01/03/2013 15:36 Page 8
 Loading...