

Page 1

12
1 Hour
3 Hour
10 Functional
11 Functional
8 Functional
9 Functional
6 1 hour
7 Functional
4 Functional
5 Functional
2 Functional
3 Functional
Month Test Sign Date Sign Date Sign Date Sign Date Sign Date
1 Functional
Luminaire Type/Ref: Date of Installation: Location:
1st year 2nd Year 3rd Year 4th Year 5th year
www.espuk.com
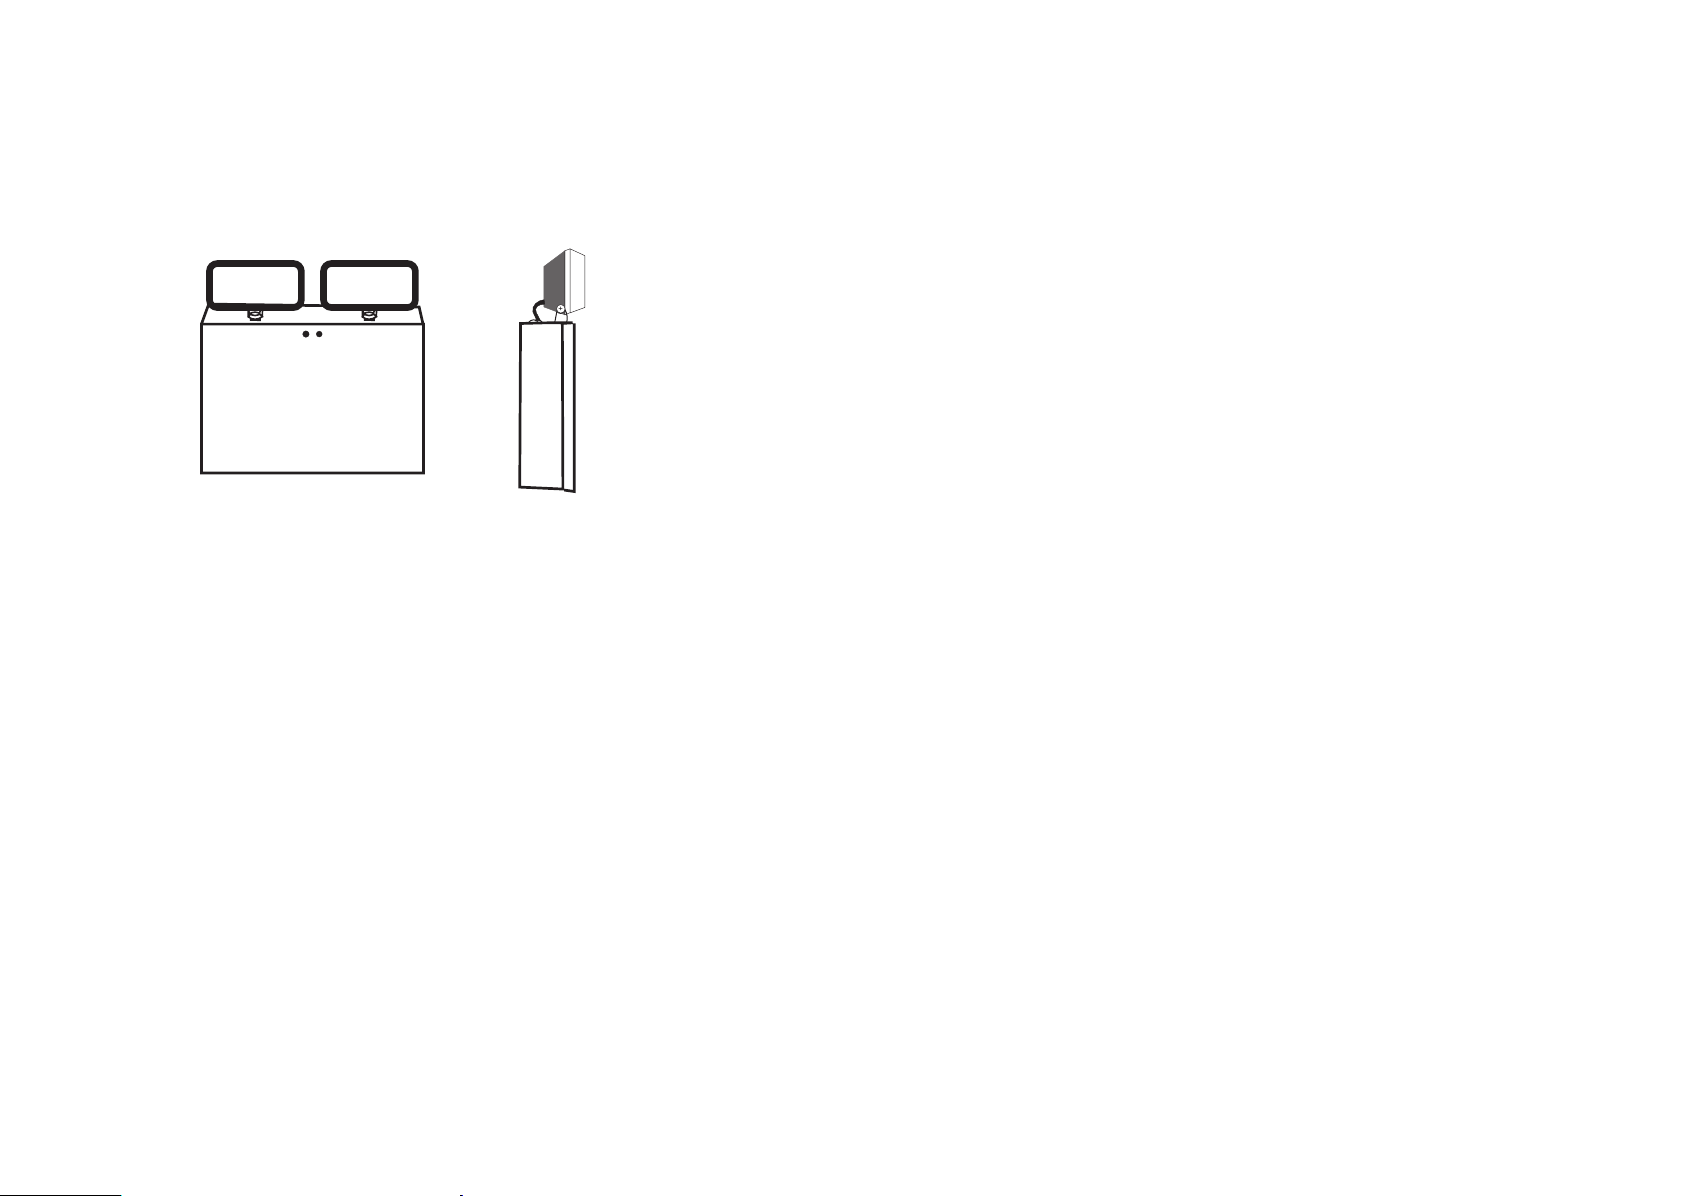
EM9W NM & M TWIN SPOT
EMERGENCY LIGHTING LUMINAIRE
INSTRUCTIONS AND TEST PROCEDURES
PARAMETER
Model no: EM9W NM & M TWIN SPOT.
Name of goods: LED Emergency Twin Spot Light.
TECHNOLOGY PARAMETER:
Rated input supply: AC 240V 50Hz
Rated output power: 2*15PCS LED
Operating Environmental: Temperature:- 10-40°C
Operating relative humidity: Less than 90%
Battery specication: 12V 2.8Ah Ni-Cd
Emergency Duration: More than 3 Hours.
Change over time: Less than 1 second.
Unit 7 | Target Park | Shawbank Road | Lakeside | Redditch | B98 8YN | United Kingdom
T: +44 (0)1527 51 51 50 F: +44 (0)1527 51 51 43
E: sales@espuk.com
MONITORING
Green indicator lamp (LED) normally continuously ‘on’. Indicator lamp goes
out if A.C. supply or charger fails.
BATTERY
Ni-Cd rechargeable batteries.
TEMPERATURE
Performance gures measured at 25 degrees C.
Page 2
INSTALLATION
PARAMETER
Model no.: TWINSPLED
Name of goods: LED Emergency twin spots light.
Technology parameter:
Rated input supply: AC 240V 50Hz
Rated output power: 2*15PCS LED
Operating environmental: Temperature: -10-40℃
Operating relative humidity: Less than 90%.
Battery specification: 9.6V 2.2Ah Ni-Cd
Emergency duration: Mor
e than 3 Hours.
Change-over time: Less than 1 second.
MONITORING
Green indicator lamp (LED) normally continuously ‘on’.indicator lamp goes
out if A.C. supply or charger fails.
1) Lay tting on its back and remove front panel.
2) Remove and discard packing pieces.
3) Fit unit to wall:
4) Connect the AC240V to the L.E.N. Terminal block.
5) Connect battery.
6) Ret front panel.
7) Switch on the mains supply, and two green indicator lamps should
illuminate indicating that the unit is operational. If these indicators are
not on, check connection of the battery and mains and ensure the lamp
laments are intact.
The unit is tted with deep discharge protection and this will operate when
the battery voltage falls to approx 8V.
FAULT FINDING AND CORRECTIVE ACTION
MONITORING LED NOT ILLUMINATED
A.C. supply not healthy. Battery not connected. Charger failed.
UNIT NOT MEETING REQUIRED EMERGENCY PERIOD
may need cycling: Discharge then, recharge for full 24 hours. Retest, battery
may need replacing if emergency duration is still not met.
LAMP NOT ILLUMINATED
If illumination is hesitant and of a low level, either the battery or (less likely)
the printed circuit board needs replacing.
RECOMMENDED ROUTINE TEST PROCEDURE
The following test is designed to ensure the continued protection of your
premises and occupants. Because of the possibility of a failure of the
normal lighting supply occurring shortly after a period of testing, all tests
should whenever possible, be undertaken at times of least risk, e.g during
daylight hours.
ONCE A DAY
Visual inspection of battery charge led.
ONCE A MONTH
Each unit should be energised from its battery for about 30 seconds by
simulation of a failure of the normal lighting supply, to ensure the lamp
operates in the emergency condition.
TWICE A YEAR
Each unit should be energized from its battery for a continuous period of
at least one hour. Inspect the halogen lamps. It is recommended that for
luminaires the lamps are replaced at intervals of no more than 1 year in
order to retain the design photometric characteristics.
AFTER THREE YEARS & EACH SUBSEQUENT YEAR
All units with specied durations in excess of 1 hour should be energised
for their full rating period.
 Loading...