

ESi Ergo E-CMT-SLV Assembly/adjustment
ASSEMBLY/ADJUSTMENT
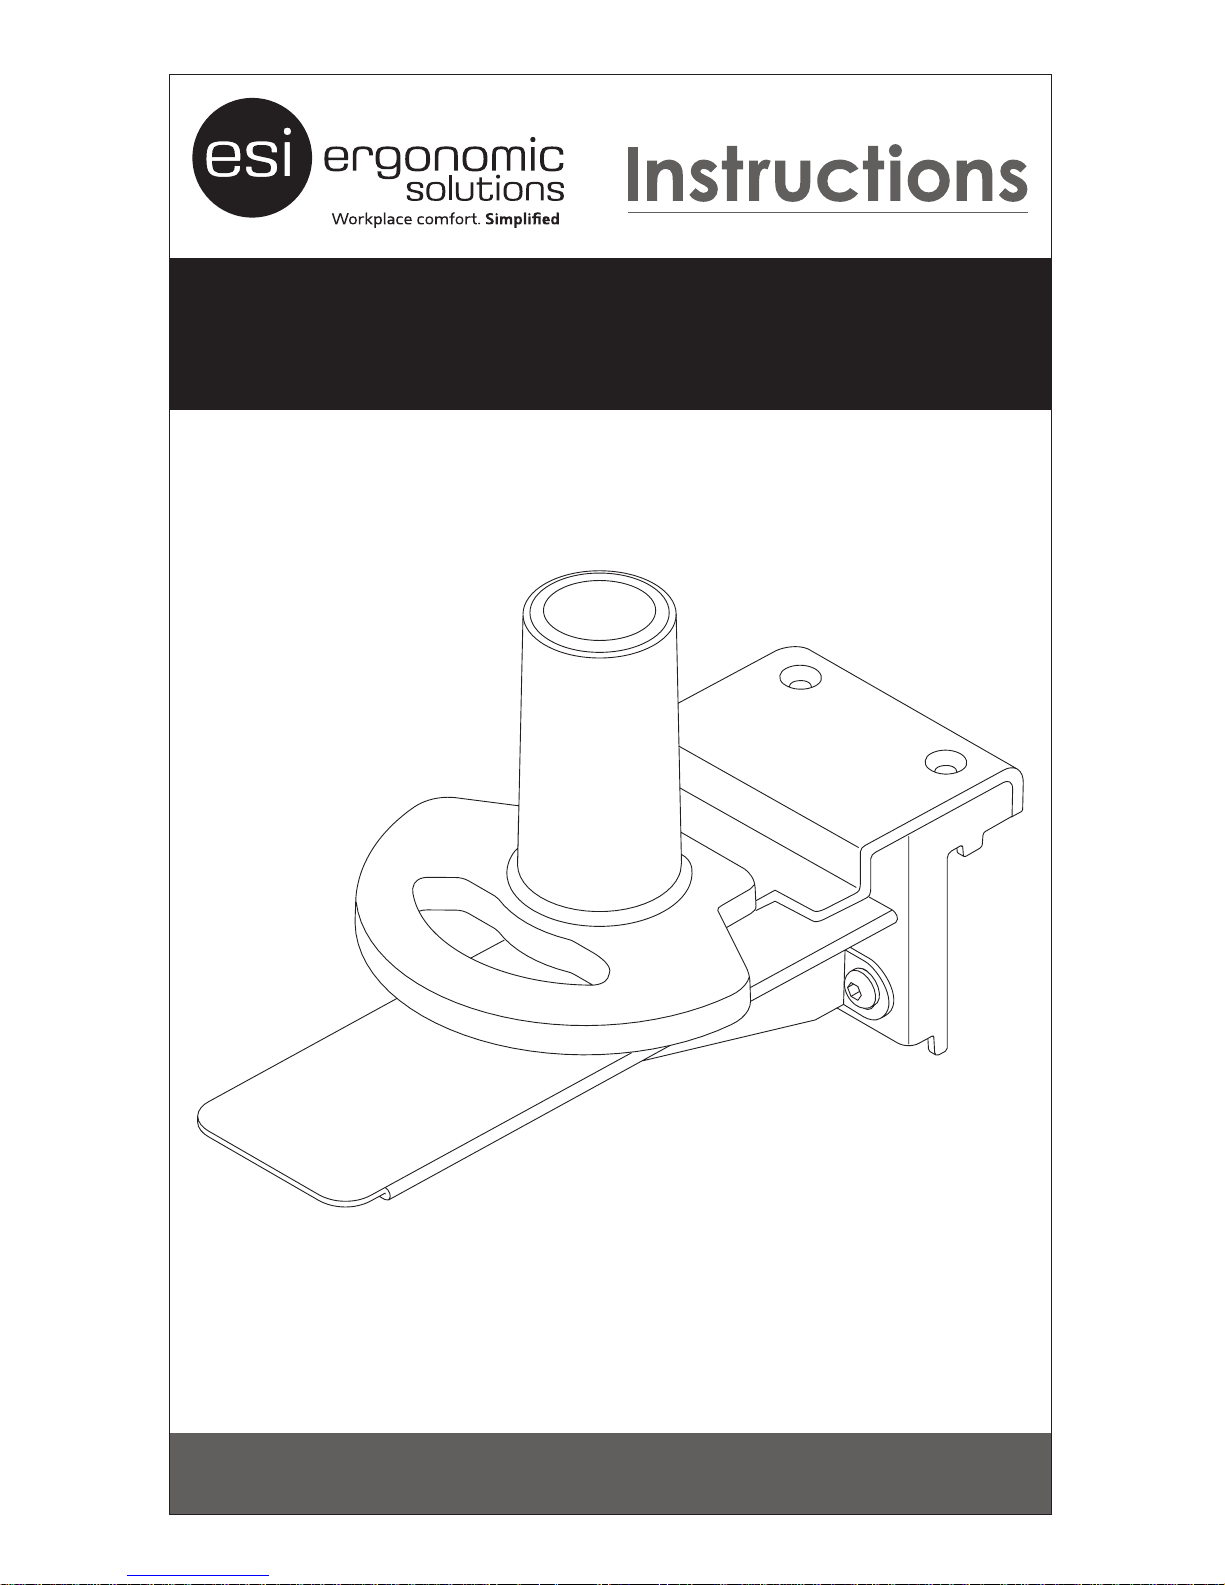
E-CMT
MONITOR ARM ADAPTER
FOR STEELCASE® C:SCAPE
E-CMT Rev A 2/17
Model E-CMT-SLV
2
E-CMT MONITOR ARM ADAPTER
PLEASE REVIEW these instructions before beginning the installation. Check that
all parts shown below were provided with your order. Contact your supplier
product operates to your satisfaction.
The E-CMT monitor arm adapter enables attachment of select Edge and
Evolve monitor arms to Steelcase
®
C:Space benching systems. After the E-CMT
installation is complete, follow the instructions that came with the Edge or
Evolve system. The E-CMT can work with the EVOLVE single, dual, or triple
configurations.
TOOLS REQUIRED
• 4mm Allen key
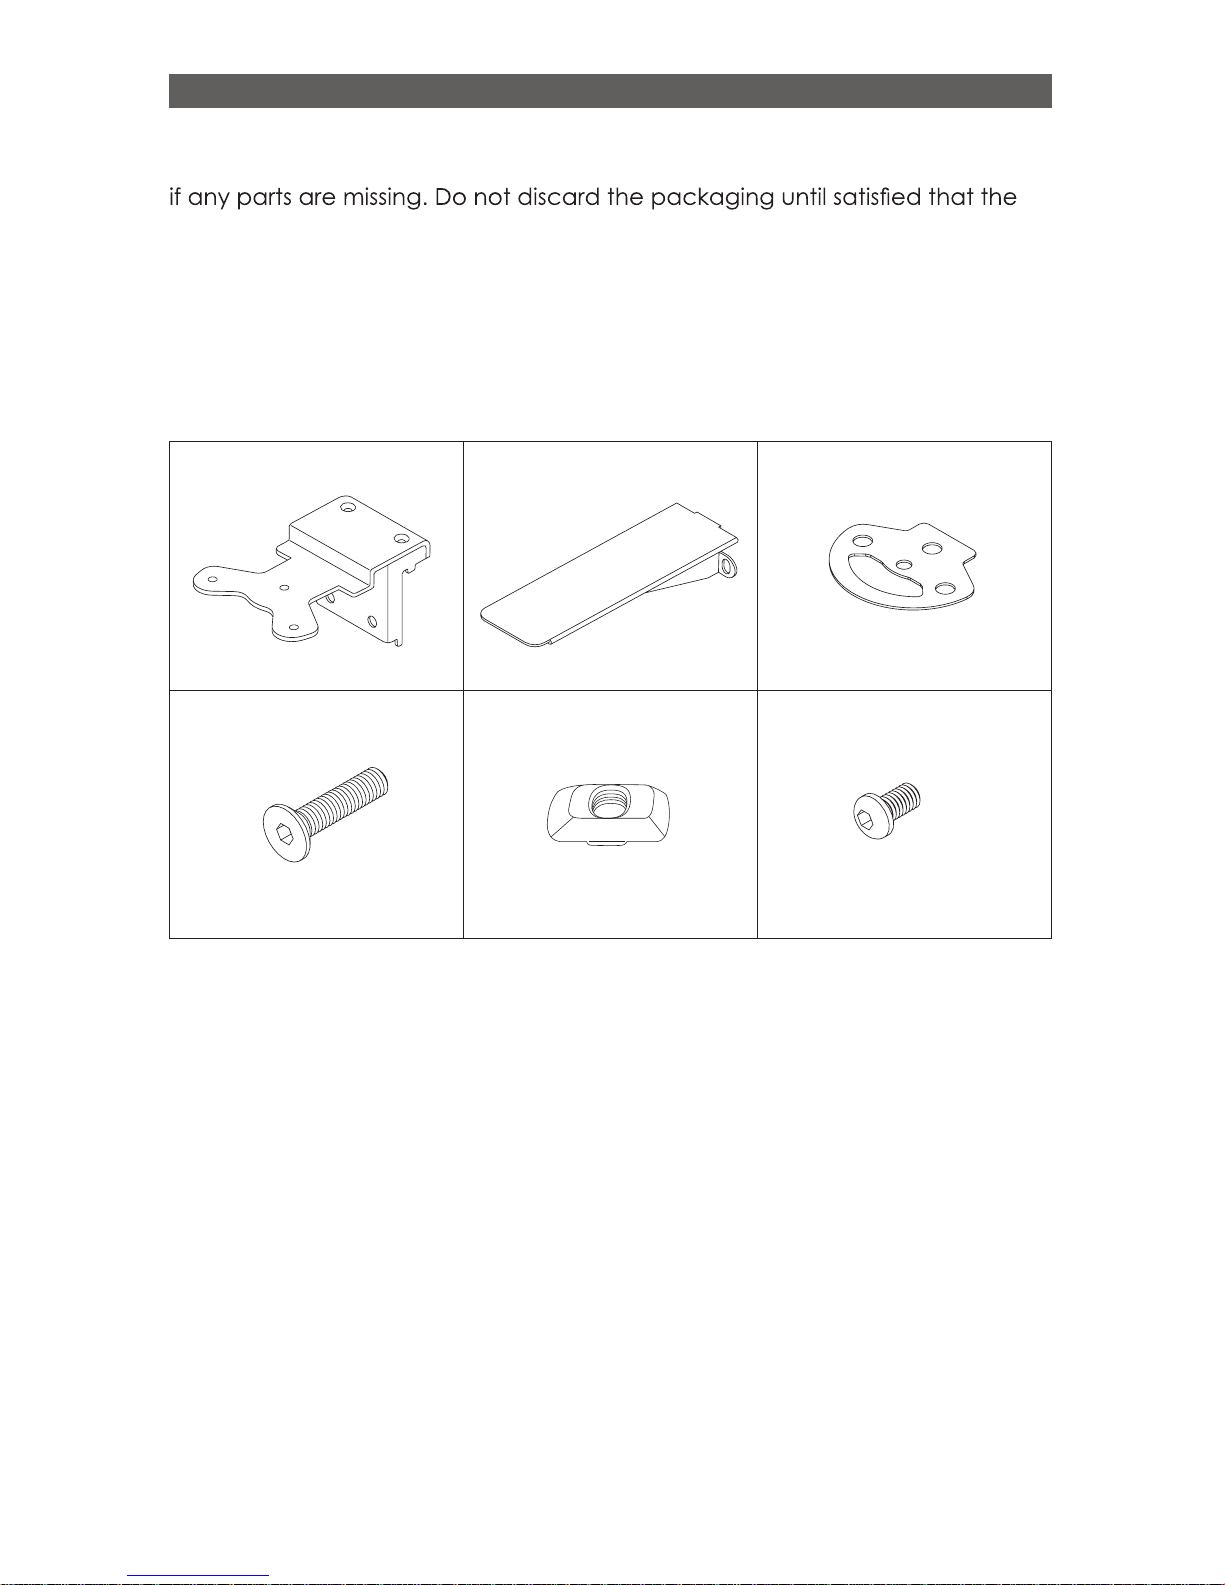
PARTS PROVIDED
CAUTION: Hand-tighten screws only. Do not use power tools.
Rail Mount Bracket (1) Brace (1) Teflon Guide (1)
Flathead Socket Screw
M6 x M30 (2)
Rectangular Nut M5 (2) Brace Screw M6 x M14 (2)
3
E-CMT MONITOR ARM ADAPTER
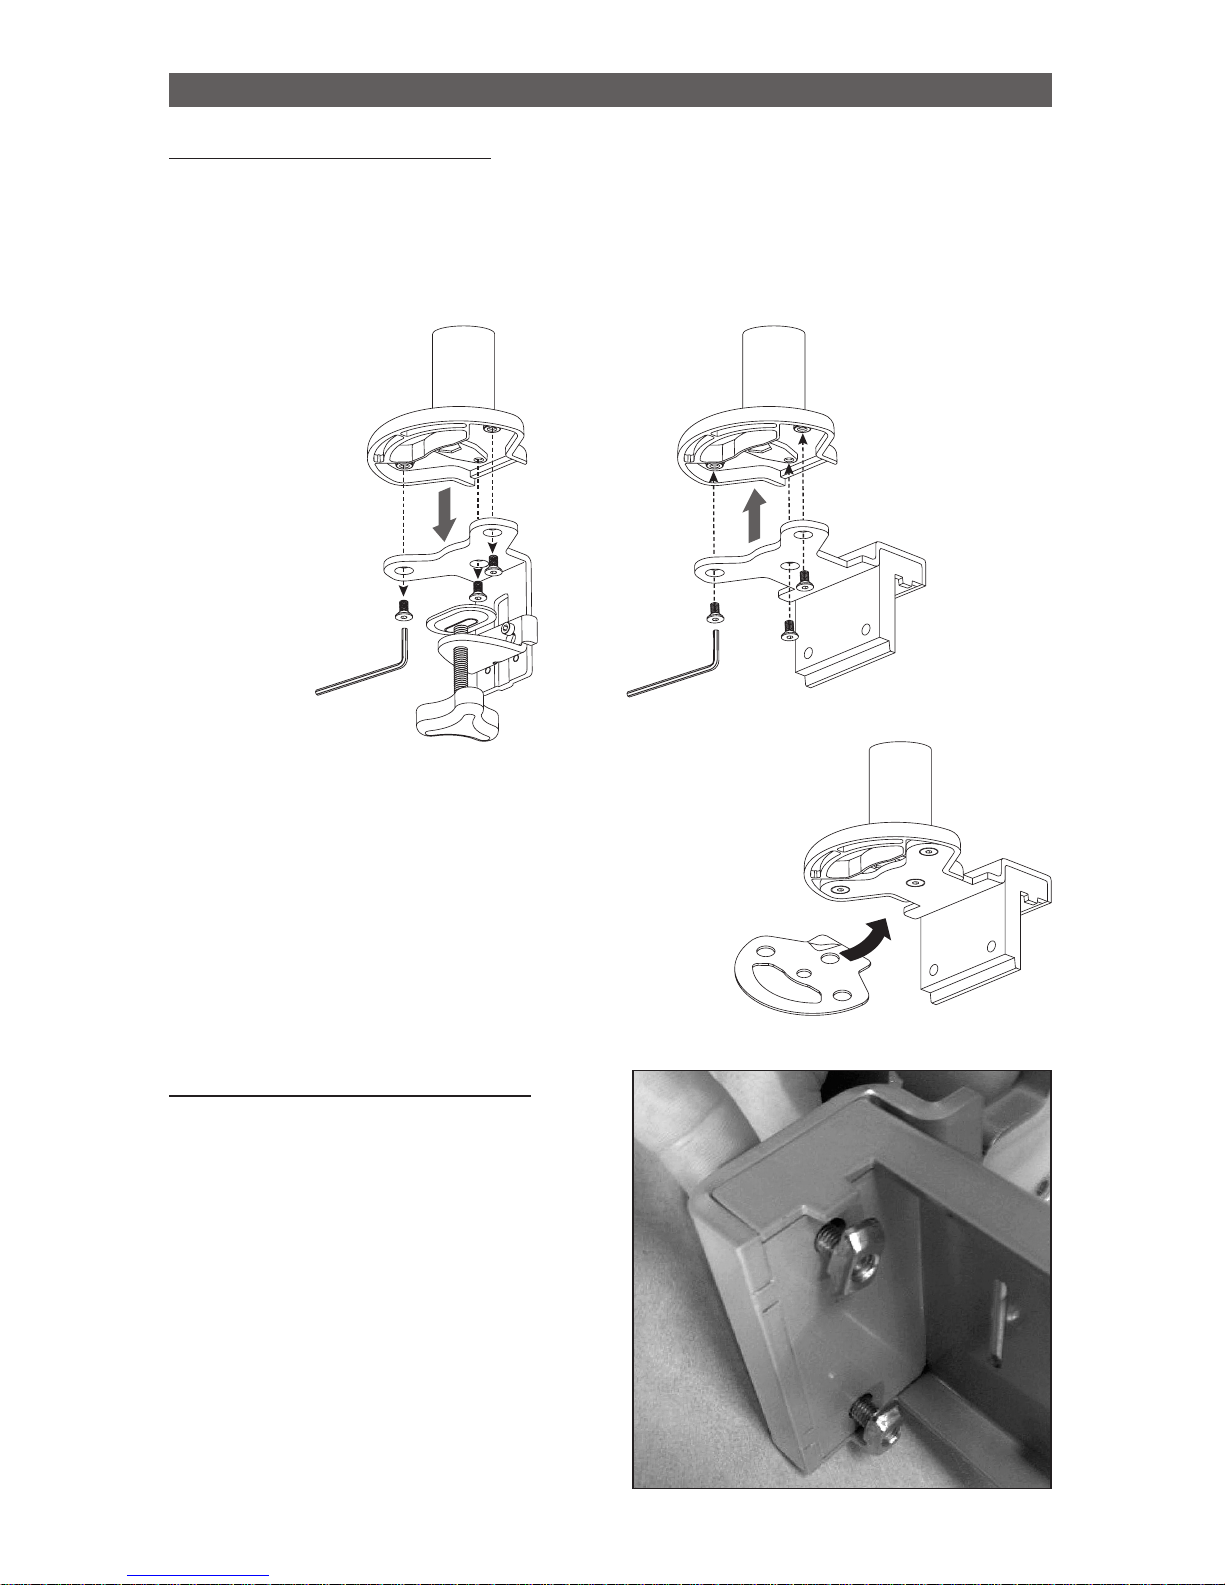
Assemble the E-CMT Base
• Remove the clamp assembly from the Edge or Evolve base. Use a 4mm
Allen key to remove the three screws securing the assembly.
• Attach the E-CMT rail mount bracket to the monitor arm base with the three
screws previously removed. As before, use the 4mm Allen key.
• Peel the backing from the adhesive side of the
Teon guide and adhere the guide to the bottom
of the assembled E-CMT base.
Attach Base Assembly to Rail
• Insert the athead socket screws
into the two holes on top of the
rail mount bracket.
• Attach the square head nuts at to
the tips of the screws only.
IMPORTANT: The at surface of the
nuts must be facing up, toward
the screw head. If not, they will not
lock into the rail.
Remove
Clamp
Assembly
Attach
Rail Mount
Bracket
Peel and
Adhere
 Loading...