

ESI LEDG2 Series, LEDG2-24-SLV, LEDG2-24X3-SLV, LEDG2-36-SLV, LEDG2-24X4-SLV Installation And Use Manual
...Page 1
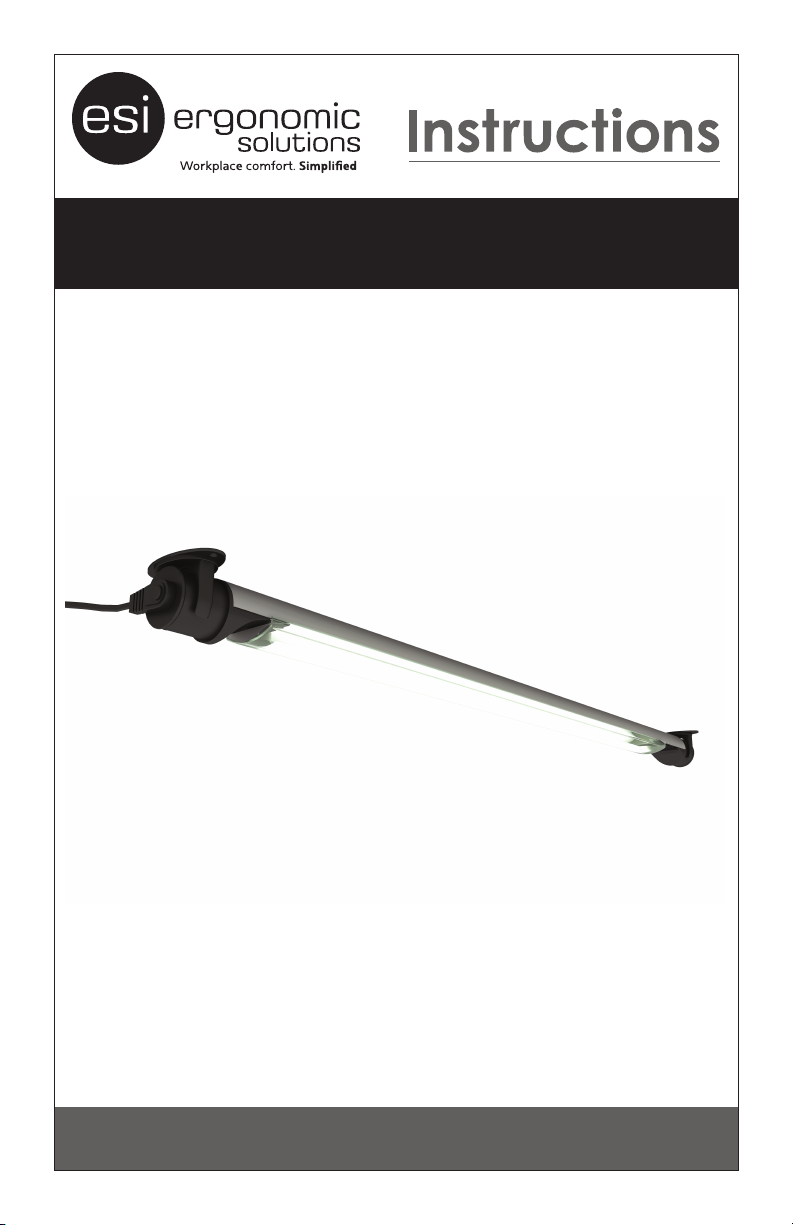
LEDG2
Under Cabinet Light
LEDG2 Rev A 4/17 Multiple Unit Models:
Model LEDG2-24-SLV
Model LEDG2-36-SLV
LEDG2-24X2-SLV
LEDG2-24X3-SLV
LEDG2-24X4-SLV
LEDG2-36X2-SLV
LEDG2-36X3-SLV
INSTALLATION AND USE
Page 2
LEDG2
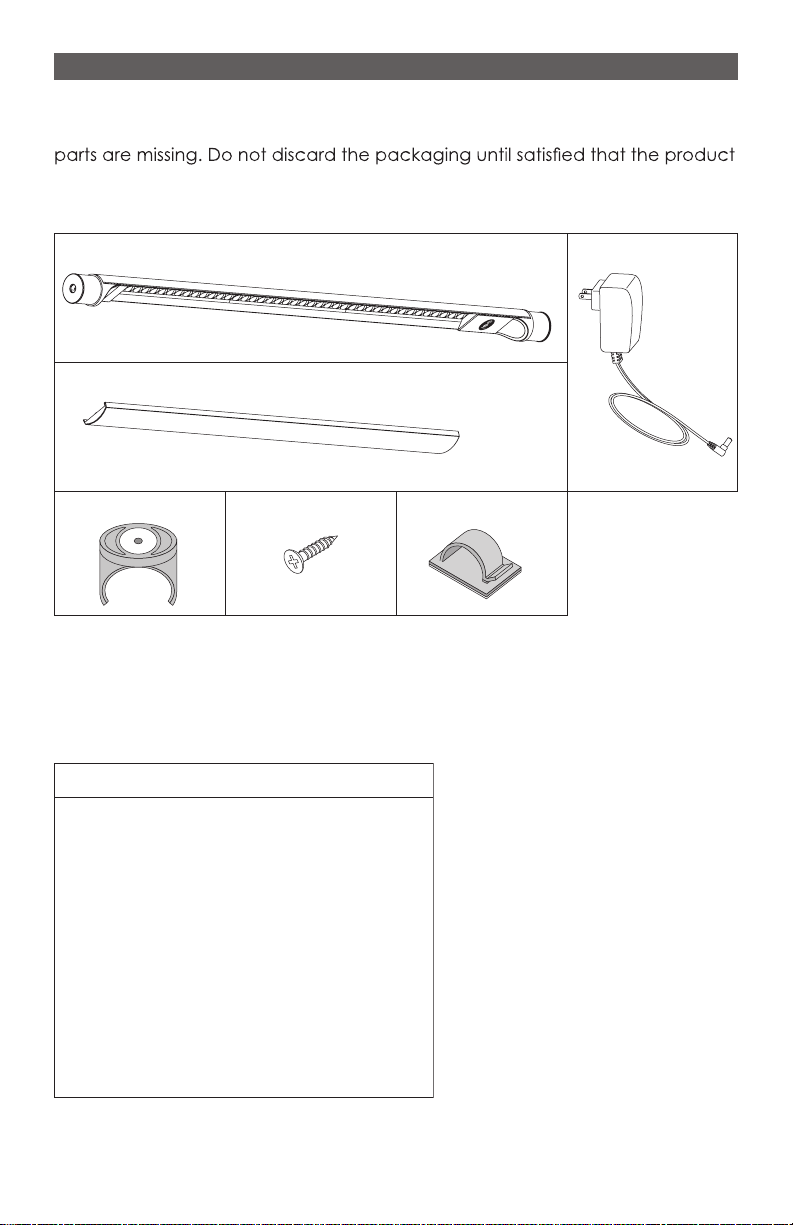
PARTS PROVIDED
NOTE:
for each additional light.
PLEASE REVIEW these instructions before beginning the installation. Check that
all parts needed were provided with your order. Contact your supplier if any
operates to your satisfaction.
Light Fixture (1)
20" or 25"
Diffuser (1)
Mounting Clip (2)
Orders of multiple unit models include one 24" jumper cord
Flathead Screw (2)
1
/2
#8-32x
ADDITIONAL TOOLS REQUIRED (if screw mounting)
• Power Drill •
Specifications
• #2 Phillips Screw Driver Bit
• Two lengths: 24", 36" (nominal)
• Color temperature: 3500K
• Power consumption: 24"=11W, 36"=14W
• CRI: 85
• Lumens (with Diffuser): 24"=550, 36"=740
• Lumens (w/o Diffuser): 24"=430, 36"=580
• Lamp life: 50,000 hours
• Continuous dimmer
• 9 ft. power cord
• Occupancy sensor available
Cord Clip (2)
Power Supply (1)
CAUTION:
This install requires a
power drill. This is not
a hand tool install.
1
/8" Phillips Screw Driver Bit
See IMPORTANT SAFETY PRECAUTIONS on page 6.
2
Page 3

LEDG2
Magnet
STEP 1: Choose a Mounting Method
• The LEDG2 light xture may be installed under the cabinet in one of two
ways:
— Magnet attachment (if the bottom of the cabinet is a steel surface).
— Mounting with screws.
• Review STEPS 2A and 2B to decide which method is most appropriate for
your installation.
STEP 2A: Attach the Light Fixture Using Magnets
• The two mounting clips have very strong magnets built into them.
• Snap one mounting clip onto each end of the xture, with the magnet side
facing up.
Mounting
Clip
Mounting
Clip
Fixture
• Attach the xture to the steel surface.
— Hold the xture on the outside ends and move it slowly into position.
— Take care not to allow your ngers to come between the xture and the
steel surface during installation.
Proceed to STEP 3 on page 5.
3
Page 4

LEDG2
STEP 2B: Attach the Light Fixture Using Screws
This method is used with wooden cabinets only. Check that the 1/2" wood
screws will not go all the way through the underside of the cabinet.
• Mark pilot hole locations on the underside of the cabinet.
— Mark hole locations 191/8" apart with model LEDG2-24 or 241/8" apart with
model LEDG2-36.
• Drill 1/8" pilot holes in the marked locations.
CAUTION: Be careful not to drill all the way through the underside of the
cabinet.
• Attach the mounting clips with the 1/2" wood screws.
• Snap the light xture into the mounting clips.
Proceed to STEP 3 on page 5.
4
Page 5

LEDG2
STEP 3: Connect the Power Supply
• Plug the jack from the power
supply into the light xture.
— The jack can be plugged
into either end of the light
xture.
— The unused end can be used for connecting power to another unit using
a jumper cord in a daisy-chain conguration.
— With model LEDG2-24, up to four units can be daisy-chained. With model
LEDG2-36, up to three units can be daisy-chained.
• Plug the power supply into a standard 115VAC outlet.
From
Power
Supply
STEP 4: Attach the Diffuser, If Desired
• The diffuser is magnetically attached to the light xture. Simply position it
over the LED strip.
• Detach the diffuser by pulling it downward.
Diffuser
STEP 5: Operate the Light
• Tap the switch to jump to maximum
brightness, or to power off.
• Press and hold the switch to cycle
through all brightness levels.
5
Page 6

LEDG2
STEP 6: Manage the Power Supply Cords and/or Jumper Cords
• Adhere cord clips to the underside of
the cabinet and other surfaces as
needed to organize the cords neatly.
Cord Clip
Cord
IMPORTANT SAFETY PRECAUTIONS
Read all safety precautions and installation instructions carefully before installing
or servicing this fixture. Failure to comply with these instructions could result in
potentially fatal electric shock and/or property damage.
If wiring is required, it is recommended that a qualified electrician perform all wiring.
This fixture must be wired in accordance with all national and local electrical codes.
Do not handle any energized fixture or attempt to energize any fixture with wet
hands or while standing on a wet or damp surface or in water.
Make sure the power source conforms to the requirements of the fixture.
Protect the power cord from coming into contact with sharp objects, oil, grease,
hot surfaces, or chemicals. Replace or repair damaged or worn cords immediately.
This fixture is intended for general indoor lighting only.
6
Page 7

800.833.3746esiergo.com
© 2017 ESI Ergonomic Solutions. All rights reserved. LEDG2 Rev A 4/17
 Loading...