

Eset NOD32 ANTIVIRUS 4 BUSINESS EDITION FOR MAC OS X DATASHEET

ESET NOD32 Antivirus 4
Business Edition for Mac OS X
Installation Manual and User Guide

ESET NOD32 Antivirus 4
Copyright ©2010 by ESET, spol. s.r.o.
ESET NOD32 Antivirus was developed by ESET, spol. s r.o.
For more information visit www.eset.com.
All rights reserved. No part of this documentation may be reproduced,
stored in a retrieval system or transmitted in any form or by any means,
electronic, mechanical, photocopying, recording, scanning, or
otherwise without permission in writing from the author.
ESET, spol. s r.o. reserves the right to change any of the described
application software without prior notice.
Customer Care Worldwide: www.eset.eu/support
Customer Care North America: www.eset.com/support
REV. 2.12.2010

Contents
4.1.1.2
4.1.1.4
.................................................41. ESET NOD32 Antivirus
.................................................................4System requirements1.1
.................................................52. Installation
.................................................................5Typical installation2.1
.................................................................5Custom installation2.2
.................................................................6Remote installation2.3
.............................................................................6Creating remote installation package2.3.1
.............................................................................7Remote installation on target computers2.3.2
.............................................................................7Remote uninstallation2.3.3
.............................................................................7Remote upgrade2.3.4
.................................................................7Entering Username and password2.4
.................................................................7On-demand computer scan2.5
.................................................83. Beginners guide
.................................................................8Introducing user interface design - modes3.1
.............................................................................8Checking operation of the system3.1.1
.............................................................................8What to do if the program doesn't work properly3.1.2
.................................................104. Work with ESET NOD32 Antivirus
.................................................................10Antivirus and antispyware protection4.1
.............................................................................10Real-time file system protection4.1.1
.............................................................................10Real-time Protection setup4.1.1.1
...........................................................................10Scan on (Event triggered scanning)4.1.1.1.1
...........................................................................10Advanced scan options4.1.1.1.2
...........................................................................10Exclusions from scanning4.1.1.1.3
When to modify Real-time protection
.............................................................................11
configuration
.............................................................................11Checking Real-time protection4.1.1.3
What to do if Real-time protection does not
.............................................................................11
work
.............................................................................11On-demand computer scan4.1.2
.............................................................................12Type of scan4.1.2.1
...........................................................................12Smart scan4.1.2.1.1
...........................................................................12Custom scan4.1.2.1.2
.............................................................................12Scan targets4.1.2.2
.............................................................................12Scan profiles4.1.2.3
.............................................................................13ThreatSense engine parameters setup4.1.3
.............................................................................13Objects4.1.3.1
.............................................................................13Options4.1.3.2
.............................................................................14Cleaning4.1.3.3
.............................................................................14Extensions4.1.3.4
.............................................................................14Limits4.1.3.5
.............................................................................14Others4.1.3.6
.............................................................................15An infiltration is detected4.1.4
.................................................................15Updating the program4.2
.............................................................................15Upgrading to a new build4.2.1
.............................................................................16Update setup4.2.2
.............................................................................16How to create update tasks4.2.3
.................................................................17Scheduler4.3
.............................................................................17Purpose of scheduling tasks4.3.1
.............................................................................17Creating new tasks4.3.2
.................................................................18Quarantine4.4
.............................................................................18Quarantining files4.4.1
.............................................................................18Restoring from Quarantine4.4.2
.............................................................................18Submitting file from Quarantine4.4.3
.................................................................18Log files4.5
.............................................................................18Log maintenance4.5.1
.............................................................................19Log filtering4.5.2
.................................................................19User interface4.6
.............................................................................19Alerts and notifications4.6.1
.............................................................................19Alerts and notifications advanced setup4.6.1.1
.............................................................................19Privileges4.6.2
.............................................................................20Context menu4.6.3
.................................................................20ThreatSense.Net4.7
.............................................................................20Suspicious files4.7.1
.................................................225. Advanced user
.................................................................22Import and export settings5.1
.............................................................................22Import settings5.1.1
.............................................................................22Export settings5.1.2
.................................................................22Proxy server setup5.2
.................................................................22Removable media blocking5.3
.................................................................22Remote administration5.4
.................................................246. Glossary
.................................................................24Types of infiltrations6.1
.............................................................................24Viruses6.1.1
.............................................................................24Worms6.1.2
.............................................................................24Trojan horses6.1.3
.............................................................................25Adware6.1.4
.............................................................................25Spyware6.1.5
.............................................................................25Potentially unsafe applications6.1.6
.............................................................................25Potentially unwanted applications6.1.7

1. ESET NOD32 Antivirus
System requirements
Processor architecture
32bit, 64bit Intel®
Operating system
Mac OS X 10.5 and later
Memory
512 MB
Free disk space
100 MB
As a result of the increasing popularity of Unix-based
operating systems, malware users are developing
more threats to target Mac users. ESET NOD32
Antivirus offers powerful and efficient protection
against threats. ESET NOD32 Antivirus includes the
ability to deflect Windows threats, protecting Mac
users as they interact with Windows users and vice
versa. Although Windows malware does not pose a
direct threat to Mac, disabling malware that has
infected a Mac machine will prevent its spread to
Windows-based computers through a local network or
the Internet.
1.1 System requirements
For the seamless operation of ESET NOD32 Antivirus,
your system should meet the following hardware and
software requirements:
ESET NOD32 Antivirus:
4
2. Installation
Before you begin the installation process, please close
all open programs on your computer. ESET NOD32
Antivirus contains components that may conflict with
other antivirus programs that may already be installed
on your computer. ESET strongly recommends that
you remove any other program to prevent potential
problems. You can install ESET NOD32 Antivirus from
an installation CD or from a file available on the ESET
website.
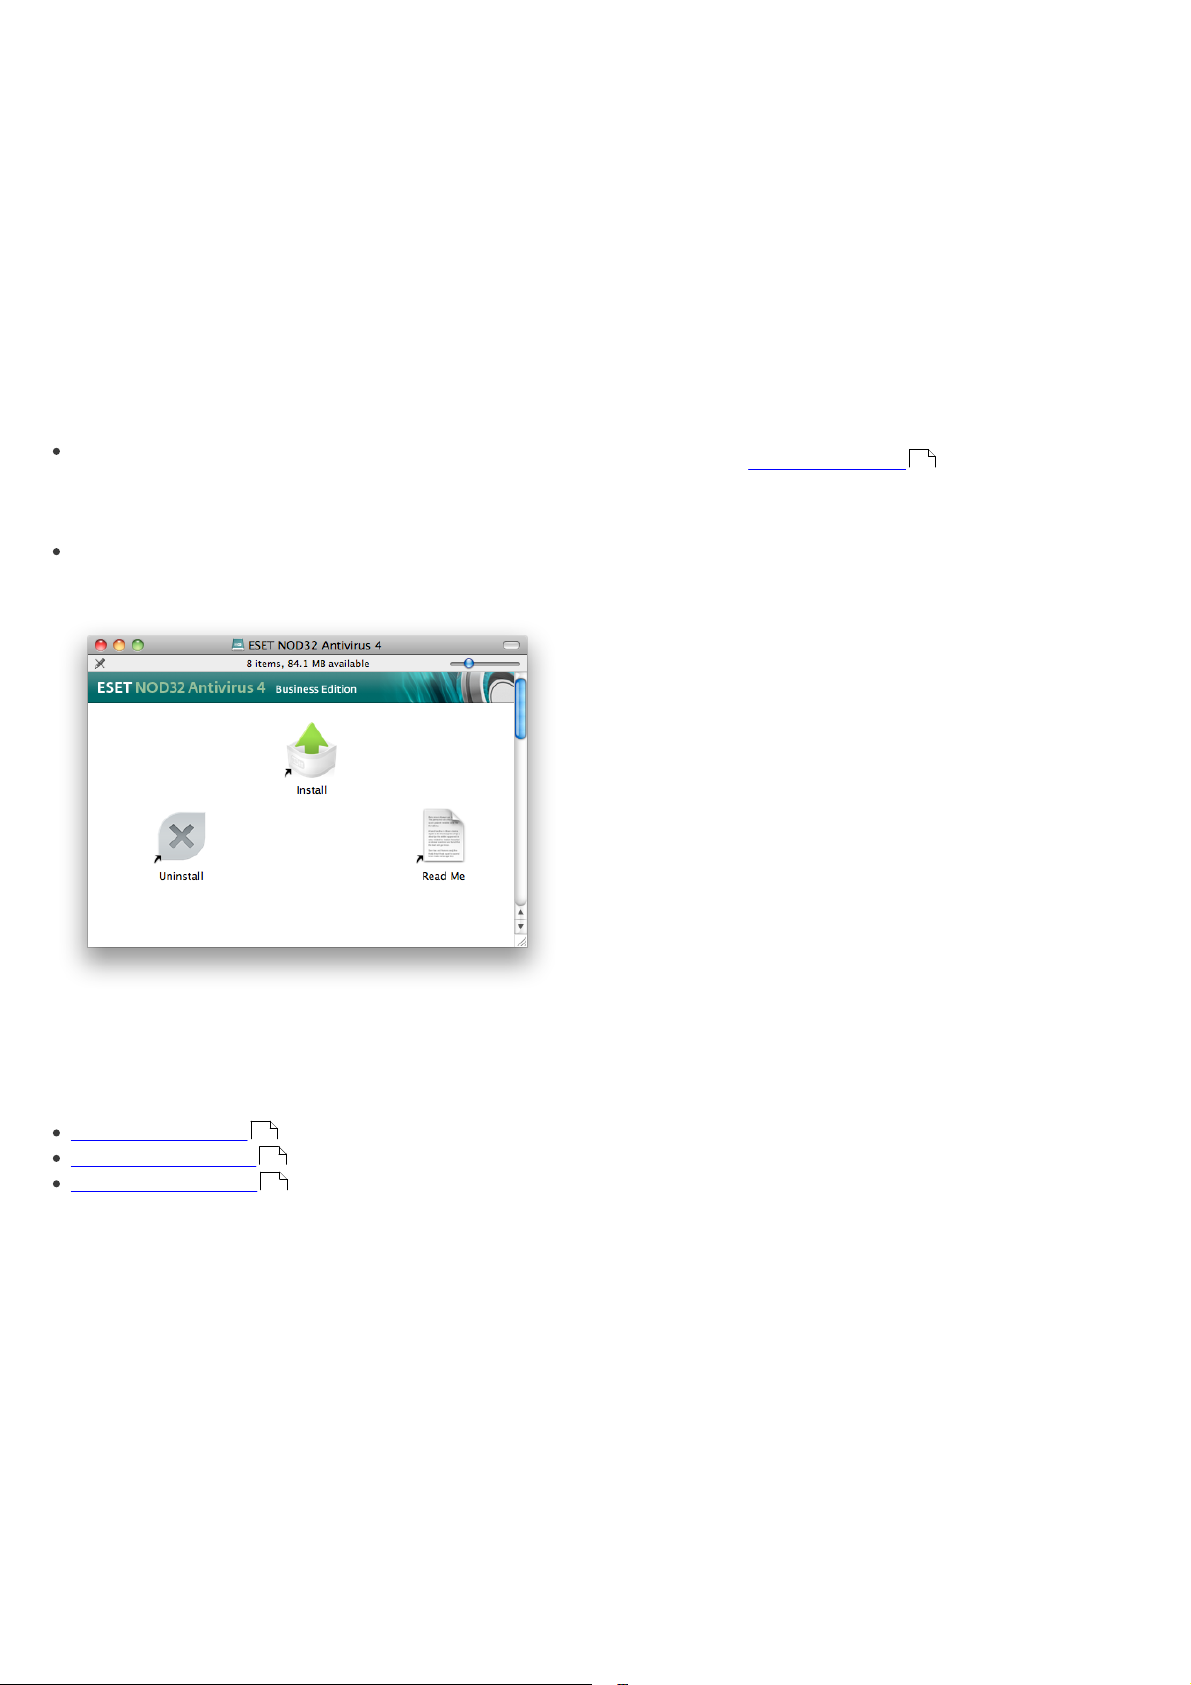
To launch the installer wizard, do one of the following:
If you are installing from the installation CD, insert
the CD into the CD-ROM drive. Double-click on the
ESET NOD32 Antivirus installation icon to launch the
installer.
If you are installing from a downloaded file, doubleclick the file you downloaded to launch the installer.
product) into the corresponding fields. If you do not
currently have your username and password available,
you can select the Set update parameters later
option to continue your installation.
The ThreatSense.Net Early Warning System helps
ensure that ESET is immediately and continuously
informed of new infiltrations in order to quickly
protect our customers. The system allows for
submission of new threats to ESET Threat Lab, where
they are analyzed, processed and added to the virus
signature database. By default, the Enable
ThreatSense.Net Early Warning System option is
selected. Click Setup... to modify detailed settings for
the submission of suspicious files. (For more
information see ThreatSense.Net ).
20
The next step in the installation process is to configure
Detection of potentially unwanted applications.
Potentially unwanted applications are not necessarily
malicious, but can often negatively affect the behavior
of your operating system. These applications are often
bundled with other programs and may be difficult to
notice during the installation process. Although these
applications usually display a notification during
installation, they can easily be installed without your
consent. Select the Enable detection of potentially
unwanted applications option to allow ESET NOD32
Antivirus to detect this type of threat (recommended).
If you do not wish to Enable this feature, select the
Disable detection of potentially unwanted
applications option.
Launch the installer and the installation wizard will
guide you through the basic setup. After agreeing to
the End User License Agreement, you can choose from
the following installation types:
Typical installation
Custom installation
Remote installation
5
5
6
2.1 Typical installation
Typical installation includes the configuration options
that are appropriate for most users. The settings
provide maximum security combined with excellent
system performance. Typical installation is the default
option and is recommended if you do not have
particular requirements for specific settings.
After selecting Typical (recommended) installation
mode, you will be prompted to enter your username
and password to enable automatic updates of the
program. This plays a significant role in providing
constant protection of your system. Enter your
Username and Password (the authentication data
you received after purchase or registration of your
The final step in Typical installation mode is to confirm
installation by clicking the Install button.
2.2 Custom installation
Custom installation is designed for experienced users
who wish to modify advanced settings during the
installation process.
After selecting the Custom installation mode, you will
need to enter your Username and Password (the
authentication data you received after purchase or
registration of your product) into the corresponding
fields. If you do not currently have your username and
password available, you can select the Set update
parameters later option to continue your installation.
You may enter your username and password at a later
time.
If you are using a proxy server you can define its
parameters now by selecting the I use a proxy server
option. Enter the IP address or URL of your proxy
server in the Address field. In the Port field, specify the
port where the proxy server accepts connections (3128
by default). In the event that the proxy server requires
authentication, enter a valid Username and Password
to grant access to the proxy server. If you are sure that
no proxy server is used, choose the I do not use a
proxy server option.If you are not sure, you can use
5
your current system settings by selecting Use system
settings (Recommended).
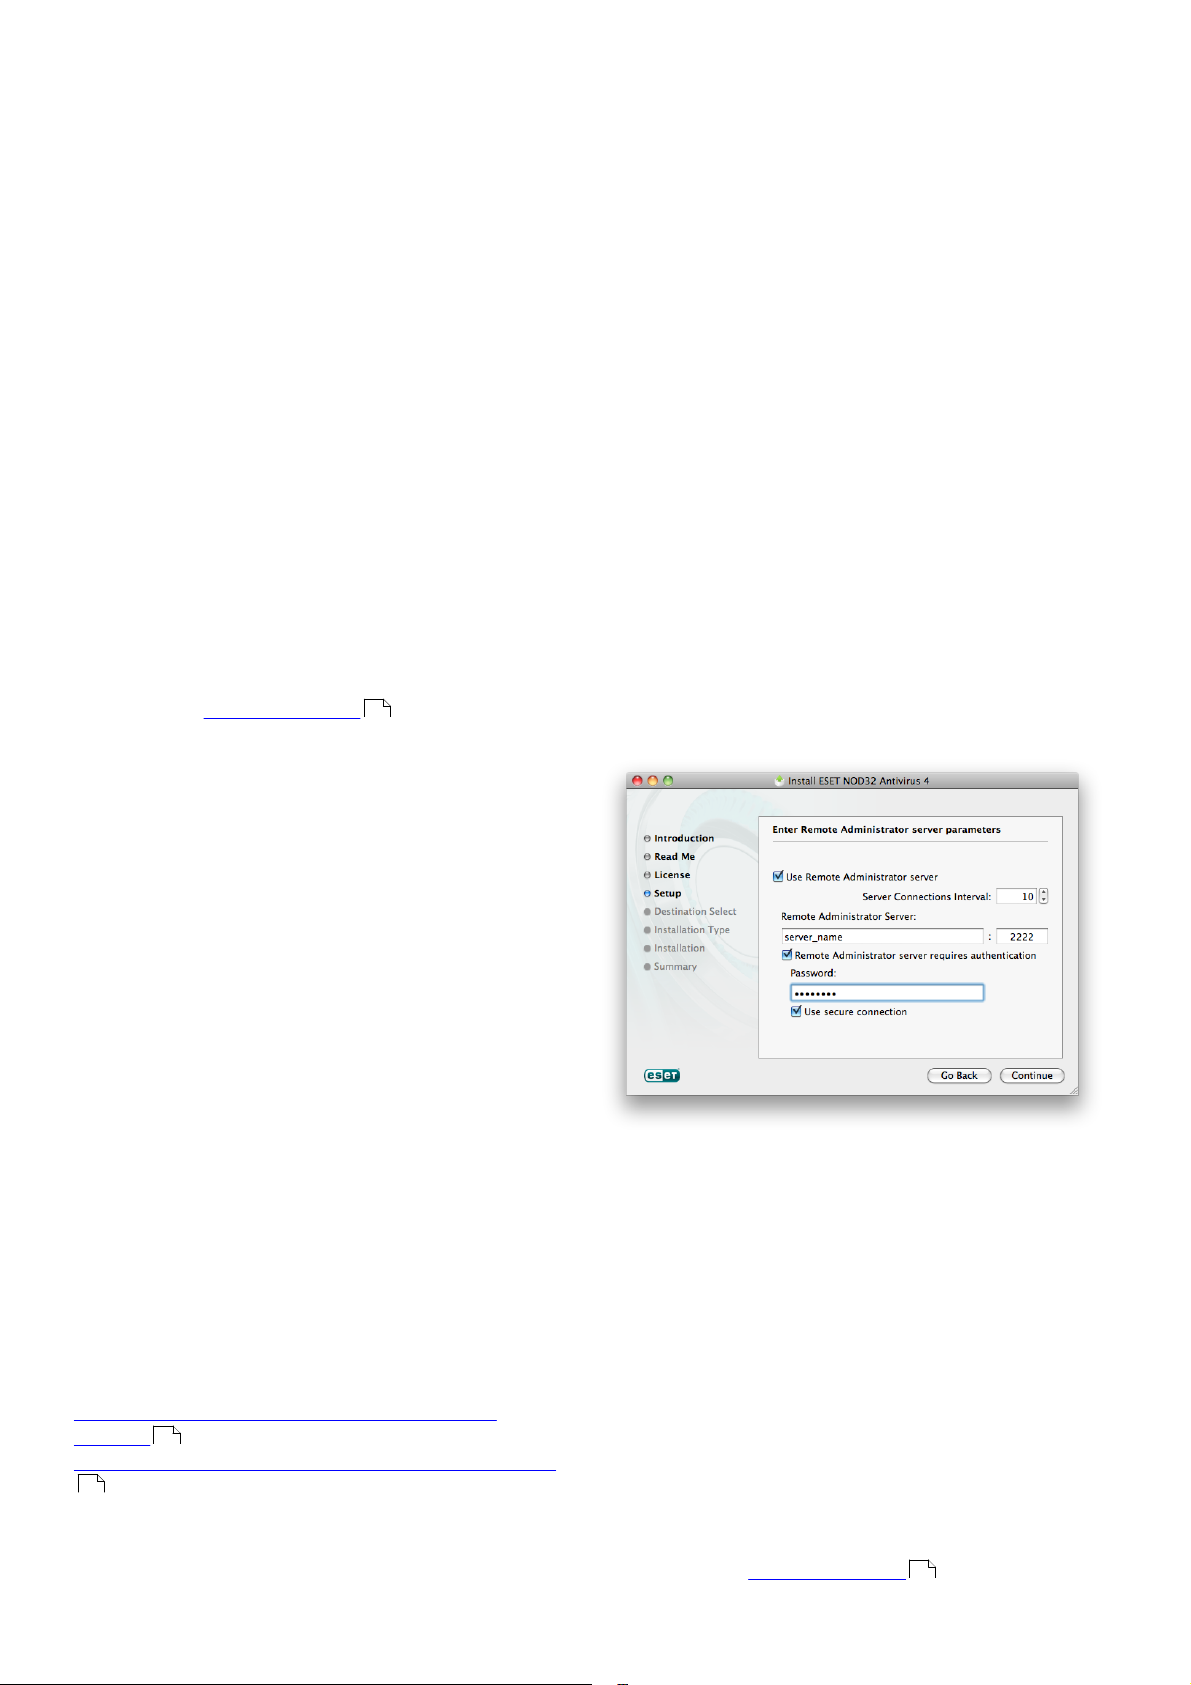
If your ESET NOD32 Antivirus will be administered by
the ESET Remote Administrator (ERA), you can set the
ERA Server parameters (server name, port and
password) to automatically connect your ESET NOD32
Antivirus to the ERA Server after the installation.
In the next step you can Define privileged users that
will be able to edit the program configuration. From
the list of users on the left side, select the users and
Add them to the Privileged Users list. To display all
system users, select the Show all users option.
The ThreatSense.Net Early Warning System helps
ensure that ESET is immediately and continuously
informed of new infiltrations in order to quickly
protect our customers. The system allows for
submission of new threats to ESET Threat Lab, where
they are analyzed, processed and added to the virus
signature database. By default, the Enable
ThreatSense.Net Early Warning System option is
selected. Click Setup... to modify detailed settings for
the submission of suspicious files. For more
information see ThreatSense.Net .
20
2.3.1 Creating remote installation package
After selecting Remote installation mode, you will be
prompted to enter your username and password to
enable automatic updates of ESET NOD32 Antivirus.
Enter your Username and Password (the
authentication data you received after purchase or
registration of your product) into the corresponding
fields. If you do not currently have your username and
password available, you can select the Set update
parameters later option to continue your installation.
You can enter your username and password directly
into the program at a later time.
The next step is configuration of your internet
connection. If you are using a proxy server you can
define its parameters now by selecting the I use a
proxy server option. If you are sure that no proxy
server is used, you can choose the I do not use a proxy
server option. If you are not sure, you can use your
current system settings by selecting Use system
settings.
Set the ERA Server parameters (server name, port and
password) to automatically connect your ESET NOD32
Antivirus to the ERA Server after the installation.
The next step in the installation process is to configure
detection of potentially unwanted applications.
Potentially unwanted applications are not necessarily
malicious, but can often negatively affect the behavior
of your operating system. These applications are often
bundled with other programs and may be difficult to
notice during the installation process. Although these
applications usually display a notification during
installation, they can easily be installed without your
consent. Select the Enable detection of potentially
unwanted applications option to allow ESET NOD32
Antivirus to detect this type of threat (recommended).
Click Install to install ESET NOD32 Antivirus on
standard Macintosh HD disk. If you wish to select
another disk, click Change Install Location...
2.3 Remote installation
Remote installlation allows you to create an
installation package that can be installed on target
computers using remote desktop software. ESET
NOD32 Antivirus can then be managed remotely via
ESET Remote Administrator.
Remote installation is done in two phases:
1. Creating remote installation package by ESET
installer
2. Remote installation using remote desktop software
7
6
In the next step you can Define privileged users that
will be able to edit the program configuration. From
the list of users on the left side, select the users and
Add them to the Privileged Users list. To display all
system users, select the Show all users option.
The ThreatSense.Net Early Warning System helps
ensure that ESET is immediately and continuously
informed of new infiltrations in order to quickly
protect our customers. The system allows for
submission of new threats to ESET Threat Lab, where
they are analyzed, processed and added to the virus
signature database. By default, the Enable
ThreatSense.Net Early Warning System option is
selected. Click Setup... to modify detailed settings for
the submission of suspicious files. For more
information see ThreatSense.Net .
20
6

The next step in the installation process is to configure
Detection of potentially unwanted applications.
Potentially unwanted applications are not necessarily
malicious, but can often negatively affect the behavior
of your operating system. These applications are often
bundled with other programs and may be difficult to
notice during the installation process. Although these
applications usually display a notification during
installation, they can easily be installed without your
consent. Select the Enable detection of potentially
unwanted applications option to allow ESET NOD32
Antivirus to detect this type of threat (recommended).
In the last step of the installation wizard choose a
destination folder and click Save. ESET installer will
create the installation package (EAV4_Remote_Install.
pkg) and the uninstallation shell script
(EAV4_Remote_UnInstall.sh).
2.3.2 Remote installation on target computers
ESET NOD32 Antivirus can be installed on target
computers using the Apple Remote Desktop or any
other tool that supports installation of standard Mac
packages (.pkg), copying the files and running shell
scripts on target computers.
2.4 Entering Username and password
For optimal functionality, it is important to set the
program to automatically download virus signature
database updates. This is only possible if the correct
Username and Password are entered in the Update
setup .
16
2.5 On-demand computer scan
After installing ESET NOD32 Antivirus, a computer
scan for malicious code should be performed. From the
main program window, click Computer scan and then
click Smart scan. For more information about Ondemand computer scans, see the section On-demand
computer scan .
11
To install ESET NOD32 Antivirus using Apple Remote
Desktop, run the Install packages… command, locate
the EAV4_Remote_Install.pkg file and click Install.
For a detailed instructions on how to administer client
computers using ESET Remote Administrator please
refer to the ESET Remote Administrator User Guide.
2.3.3 Remote uninstallation
To uninstall ESET NOD32 Antivirus from client
computers:
1. use the Copy Items… command in Apple Remote
Desktop, locate the uninstallation shell script
(EAV4_Remote_UnInstall.sh - created along with the
installation package) and copy the shell script to
target computers.
2. run the Send Unix Command… in Apple Remote
Desktop. After succesful uninstallation, a console
log will be shown.
2.3.4 Remote upgrade
Remote upgrade of ESET NOD32 Antivirus is made by
Install packages… command in Apple Remote
Desktop.
NOTE: Settings saved in the ESET remote install
package are not applied to target computers during
the upgrade process. ESET Remote Administrator
should be used to remotely configure ESET NOD32
Antivirus after the upgrade.
7
3. Beginners guide
This chapter provides an initial overview of ESET
NOD32 Antivirus and its basic settings.
3.1 Introducing user interface design modes
The main program window of ESET NOD32 Antivirus is
divided into two main sections. The primary window
on the right displays information that corresponds to
the option selected from the main menu on the left.
Standard mode:
The following is a description of options within the
main menu:
Protection status – Provides information about the
protection status of ESET NOD32 Antivirus. If
Advanced mode is activated, the Statistics
submenu will display.
Computer scan – This option allows you to
configure and launch the On-demand computer
scan.
Update – Displays information about updates to the
virus signature database.
Setup – Select this option to adjust your computer’s
security level. If Advanced mode is activated, the
Antivirus and antispyware submenu will display.
Tools – Provides access to Log files, Quarantine and
Scheduler. This option only displays in Advanced
mode.
Help – Provides program information, access to help
files, Internet Knowledgebase and ESET website.
The ESET NOD32 Antivirus user interface allows users
to toggle between Standard and Advanced mode.
Standard mode provides access to features required
for common operations. It does not display any
advanced options. To toggle between modes, click the
plus icon next to Activate advanced mode/Activate
standard mode in the bottom left corner of the main
program window.
Advanced mode:
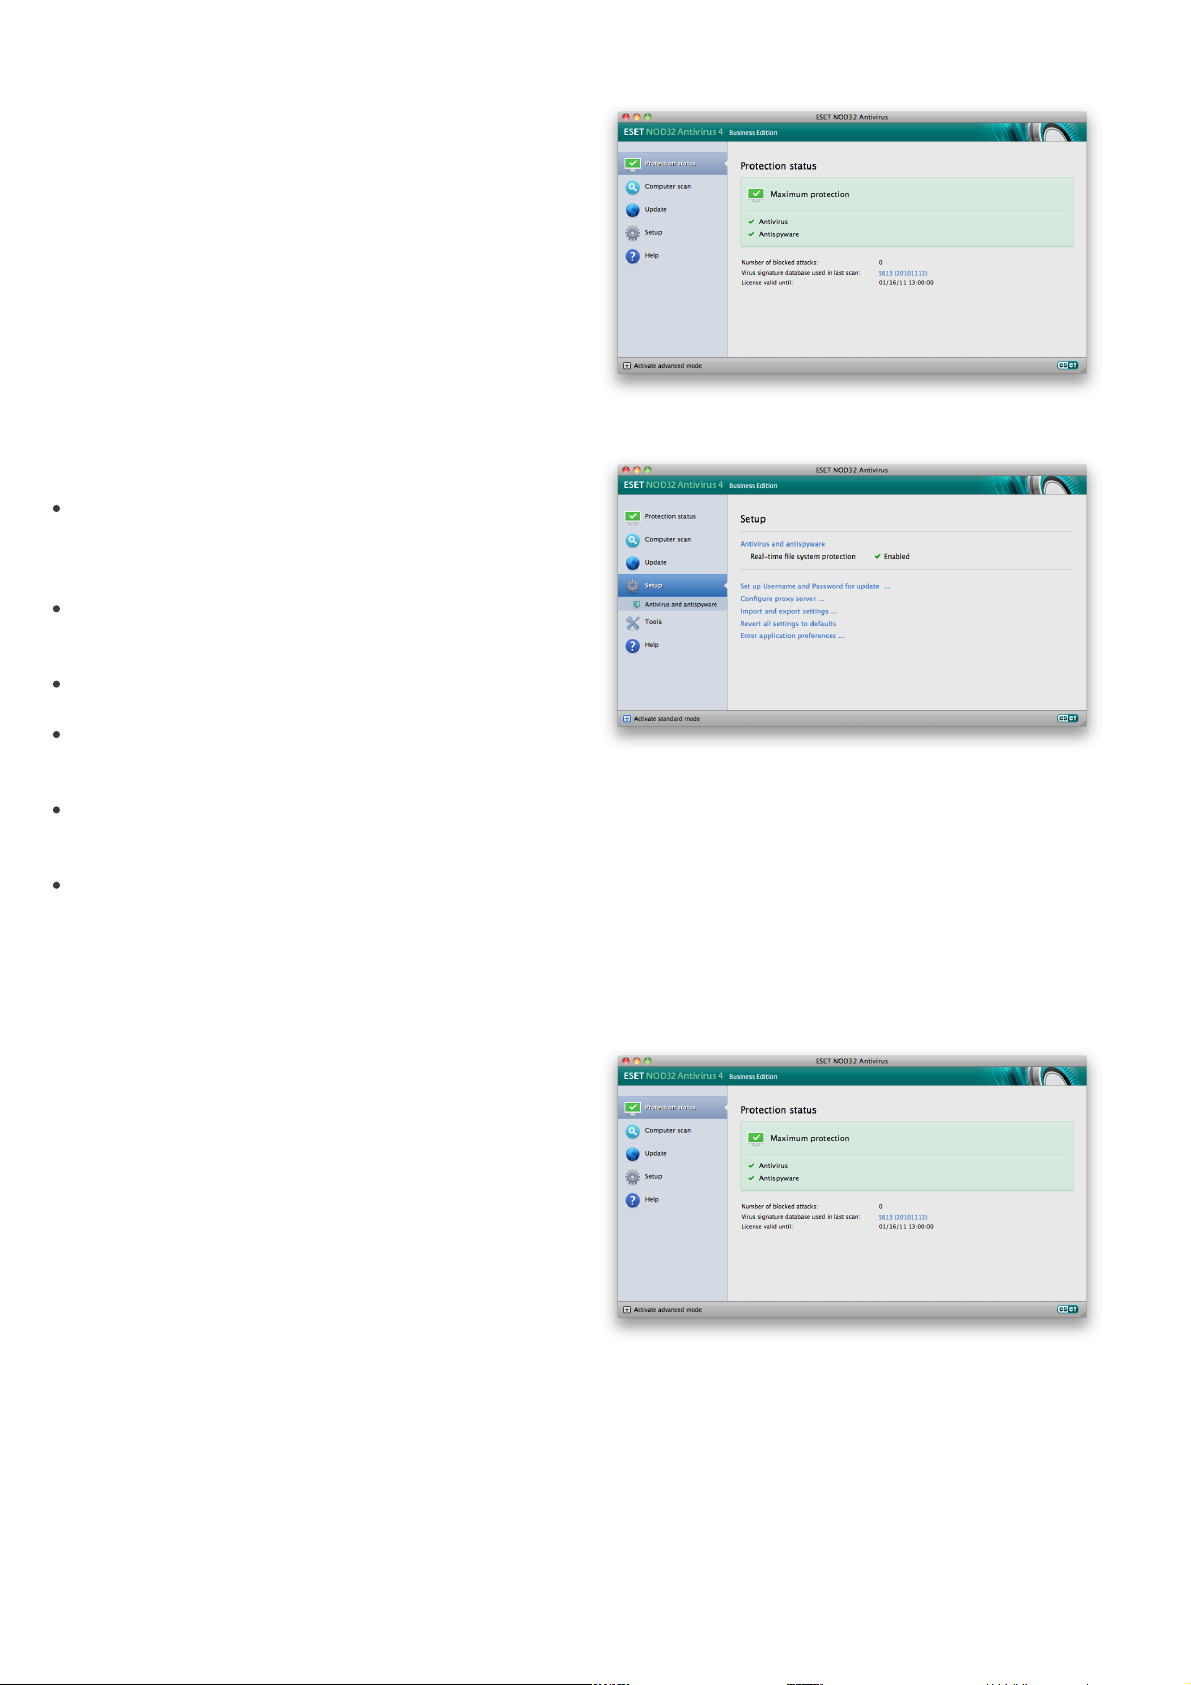
3.1.1 Checking operation of the system
To view the Protection status, click the top option
from the main menu. A status summary about the
operation of ESET NOD32 Antivirus will display in the
primary window as well as a submenu with Statistics.
Select it to view more detailed information and
statistics about computer scans that have been
performed on your system. The Statistics window is
available only in advanced mode.
The Standard mode provides access to features
required for common operations. It does not display
any advanced options.
Toggling to Advanced mode adds the Tools option to
the main menu. The Tools option allows you to access
the submenus for Log files, Quarantine and
Scheduler.
NOTE: All remaining instructions in this guide take
place in Advanced mode.
8
3.1.2 What to do if the program doesn't work
properly
If the modules enabled are working properly, they are
assigned a green check icon. If not, a red exclamation
point or orange notification icon is displayed, and
additional information about the module is shown in
the upper part of the window. A suggested solution for
fixing the module is also displayed. To change the
status of individual modules, click Setup in the main
 Loading...