

Escene SayHi WS290, WS290, SayHi WS282, SayHi WS290 WIFI IP User Manual

EEsscceennee CCoommmmuunniiccaattiioonn CCoo..LLttdd
WS290 WIFI IP
Innovative VoIP Phone User Manual
Escene Communication
www.escene.cn/en/

INDEX
1. Getting Started .............................................................................................................................. 4
About ......................................................................................................................................... 4
Feature Highlights ..................................................................................................................... 4
2. Set up the Phone ........................................................................................................................... 4
3. Phone User Interface..................................................................................................................... 6
3.1 Hardware Component Instructions ..................................................................................... 6
3.2 Phone Screen Display Features ........................................................................................... 7
3.3 Basic Network Settings ........................................................................................................ 9
3.4 SIP Account Settings .......................................................................................................... 11
3.5 Basic Features.................................................................................................................... 12
3.5.1 Making a Call .......................................................................................................... 12
3.5.2 Anonymous Call ...................................................................................................... 12
3.5.3 Redial ...................................................................................................................... 13
3.5.4 Call Log ................................................................................................................... 13
3.5.5 Making Calls to Contact .......................................................................................... 13
3.5.6 Multi-lines to Answer the Call ................................................................................ 14
3.5.7 Auto-Answer .......................................................................................................... 14
3.5.8 Ending a Call ........................................................................................................... 14
3.5.9 Using Hold and Recover (Switch Calling Line) ........................................................ 15
3.5.10 Transferring Calls .................................................................................................. 15
3.5.11 Using Mute ........................................................................................................... 16
3.5.12 Do Not Disturb ..................................................................................................... 16
3.5.13 3-way Conference................................................................................................. 17
3.5.14 Voice Mail ............................................................................................................. 17
3.6 Advanced Settings ............................................................................................................. 18
3.6.1 Using the phone book ............................................................................................ 18
3.6.2 Using Call Logs ........................................................................................................ 21
3.6.3 Peer-to-Peer ........................................................................................................... 21
3.7 Keypad Setting................................................................................................................... 21
3.7.1 Language Setting .................................................................................................... 22
3.7.2 Message ................................................................................................................. 22
3.7.3 Time & Date ........................................................................................................... 22
3.7.4 Ring Tone and Volume Setting ............................................................................... 23
3.7.5 Searching Phone Book ............................................................................................ 23
3.7.6 Cannot Set the Features with Keypad .................................................................... 24
4. WEB User Interface ..................................................................................................................... 24
Main Interface-Phone Status .................................................................................................. 24
4.1 Net Work ........................................................................................................................... 25
4.1.1 LAN Port ................................................................................................................. 25
4.1.2 PC Port .................................................................................................................... 27
4.1.3 Advanced ................................................................................................................ 28
5 SIP Account................................................................................................................................... 29
www.escene.cn/en/
Escene Communication
www.InternetVoipPhone.co.uk | sales@internetvoipphone.co.uk | 0800 088 48 46

5.1Basic ................................................................................................................................... 29
5.2 Call ..................................................................................................................................... 31
5.3 Security.............................................................................................................................. 32
6 Phone Setting ............................................................................................................................... 32
6.1 Basic .................................................................................................................................. 32
6.1.1 Time Settings .......................................................................................................... 33
6.1.2 Call .......................................................................................................................... 34
6.1.3 VoIP Call Forward ................................................................................................... 36
6.1.4 QoS ......................................................................................................................... 36
6.2 Advanced ........................................................................................................................... 37
6.2 .0 Audio ..................................................................................................................... 37
6.3 Line Keys .................................................................................................................... 39
6.4 Function Keys ............................................................................................................ 40
6.5 Soft Key ..................................................................................................................... 40
6.6 Dial Plan ..................................................................................................................... 41
6.7 IP Strategy ................................................................................................................. 42
7 Phone Book .................................................................................................................................. 42
7.1 Group ................................................................................................................................ 42
7.2 Contact .............................................................................................................................. 42
7.3 LDAP .................................................................................................................................. 43
7.4 Ban List .............................................................................................................................. 44
8 Phone Maintenance ..................................................................................................................... 45
8.1 Basic .................................................................................................................................. 45
8.1.1 HTTP Upgrade ........................................................................................................ 45
8.1.2 FTP Upgrade ........................................................................................................... 46
8.1.3 TFTP Upgrade ......................................................................................................... 47
8.1.4 Default Setting ........................................................................................................ 48
8.1.5 Reboot .................................................................................................................... 48
8.2 Advanced ........................................................................................................................... 48
8.2.1 Log .......................................................................................................................... 48
8.2.2 Auto Provision ........................................................................................................ 49
9 Password ...................................................................................................................................... 50
10 WEB Other Settings or Information - Appendix ......................................................................... 50
10.1 WEB User......................................................................................................................... 50
10.2 Multi-Language ............................................................................................................... 51
10.3 Note Tips ......................................................................................................................... 51
www.escene.cn/en/
Escene Communication
www.InternetVoipPhone.co.uk | sales@internetvoipphone.co.uk | 0800 088 48 46

1. Getting Started
About
Escene WS290 is a highly innovative based VoIP phone, It can perfectly satisfy all kinds of businessmen's
communications. WS290 integrates with 128x64 pixel graphic LCD, a large resolution display, elegant and
intuitionist user interface, which you can perfectly experience.WS290 delivers HD audio quality with HD handset,
HD speaker and HD codec (G.722), it rich features can effectively improve the communications in working. WS290
quite meets the demands of SMEs, Home Office and ISP applications.
Feature Highlights
a) Multi-Language
The LCD display supports Multi-Language.
b) HD Voice
Special voice processing technology, high-fidelity voice quality, HD encoding, HD Handset,
ensure clear, realistic smooth communication.
c) Senior Calling Ability
2 lines with double color(GREEN & RED) LEDs, Synchronously control or manage 2 calls,
Call queue, Switch between lines. Multi-parties conference, call transfer.
d) All kinds of Phone Book
It supports XML Personal Phone Book\LDAP\Enterprise Phone Book etc. This feature
satisfies customer's phone book requirements.
e) Support HTTP\TFTP\FTP\Auto-Provision.
f) 2-angle adjustable bracket, wall-mountable
2. Set up the Phone
a) Packing List:
Check the packing list before installation, if you find anything missing, contact your system
administrator.
1*WS290 IP Phone
1*Handset
1* Handset Cord
1*Ethernet Cable
1*Phone Bracket
1*Quick Setup Guide
www.escene.cn/en/
Escene Communication
www.InternetVoipPhone.co.uk | sales@internetvoipphone.co.uk | 0800 088 48 46

1*Manufacturer Certification
b) Phone Installation:
This section introduces how to install the phone with the components in the packing list:
Attach the Bracket
Connect the Handset and optional Headset
Connect the Network and Power
Attach the Bracket
Pls follow the following step "a" to "b", firstly let the part 1 of the bracket join to the phone,
and then let the part 2 of the bracket join to the lower holder.
Connect the Handset and optional Headset, WIFI model didn't have LAN port.
Connect the Network and Power
You have two options for power supply. Your system administrator will advise you which one to
use.
AC power adapter
POE(Power over Ethernet) IEEE802.3af ,WIFI model didn't support POE.
USB(Standard DC 5V)
NOTES:Pls make sure your phone support POE feature. You can check the label on the
back of the phone , for example "Model: ES290-PN Rev:2.1.0", the "P" means it support
POE feature.
www.escene.cn/en/
Escene Communication
www.InternetVoipPhone.co.uk | sales@internetvoipphone.co.uk | 0800 088 48 46

Note: If POE works, the phone doesn't need to connect to the AC power adapter. Make sure
the Ethernet cable and switch/hub is POE compliant.
3. Phone User Interface
3.1 Hardware Component Instructions
The main hardware components of the WS290 IP Phone are the LCD screen and the keypad.
www.escene.cn/en/
Escene Communication
www.InternetVoipPhone.co.uk | sales@internetvoipphone.co.uk | 0800 088 48 46

Hardware component instructions of the WS290 IP Phone are:
ITEM
DESCRIPTION
1
LCD Screen
Displayed information about calls, messages, soft keys, time, date and
other relevant data:
• Call information — caller ID, call duration
• Icons (e.g. )
• Missed calls or second incoming caller's information
•Time and date
2
Light Status
Red-Flashing: There is an incoming call or be Hold.
Red-Steady: Hook-off. or be in an usual conversation
3
Line Key
Green-Steady: There is a conversation making on the line
Red-Flashing: There is call coming in
Green-Flashing: The line is on hold
Dark: Accounts are idle
4
Soft Key
Labels automatically to identity their context-sensitive features
5
OK Key
Confirm the action
6
Navigation Key
Scroll through the displayed information, and in the idle feature:
UP: Open the "All CONTACT LOG"
DOWN: Open the "MISSED CALL"
RIGHT: Open the "RECEIVED CALL"
LEFT: Open the "DAIL CALL"
7
C Key
Cancels actions or rejects an incoming call, and the other feature:
In the idle: Open the "Phone Status".
Diagnosis: Press and hold 3 second to open "Hardware Diagnosis".
MUTE: "MUTE" feature is enabled if you press it while the conversation
making on the phone.
8
Functions Key
Conference\Redial\Transfer\Hold
9
Speaker Key
Toggles the hands-free speaker phone mode.
10
Keypad
Provides the digits, letters and special characters in context-sensitive
applications.
11
Headset Key
Toggles and indicates the headset mode.
12
Message Key
Indicates and accesses voice messages.
13
Volume Key
Adjusts the volume of the handset, headset, speaker and ringer
3.2 Phone Screen Display Features
If the phone has successfully started up and after using, the idle LCD display will show
information as below:
Escene Communication
www.InternetVoipPhone.co.uk | sales@internetvoipphone.co.uk | 0800 088 48 46
www.escene.cn/en/

ITEM
DESCRIPTION
1
TIME & DATE
TIME & DATE display in the middle of the screen.
2
Auto-Answer icon
Enable this feature, it will display "AA" at the top right corner.
3
Missed Call
Missed Call under the TIME in the middle of screen
4
Line Status
There are four status as below:
a. :Disconnect the network
b. :Account failed to register
c. :Account successfully registered
d. :Account successfully registered and DND feature is enabled.
The DND icon also will display at the top right corner.
5
Soft Key Area
Labels automatically to identity their context-sensitive features
6
Screen Top Icon
The Screen Top Icon from left to right is:
: Handset Hand on status
:Speaker Hand on status
:Headset Hand on status
:Call MUTE
:Missed Call
:Call Forward
:Text Message
:Keypad Lock
:Network is unavailable
Escene Communication
www.InternetVoipPhone.co.uk | sales@internetvoipphone.co.uk | 0800 088 48 46
www.escene.cn/en/

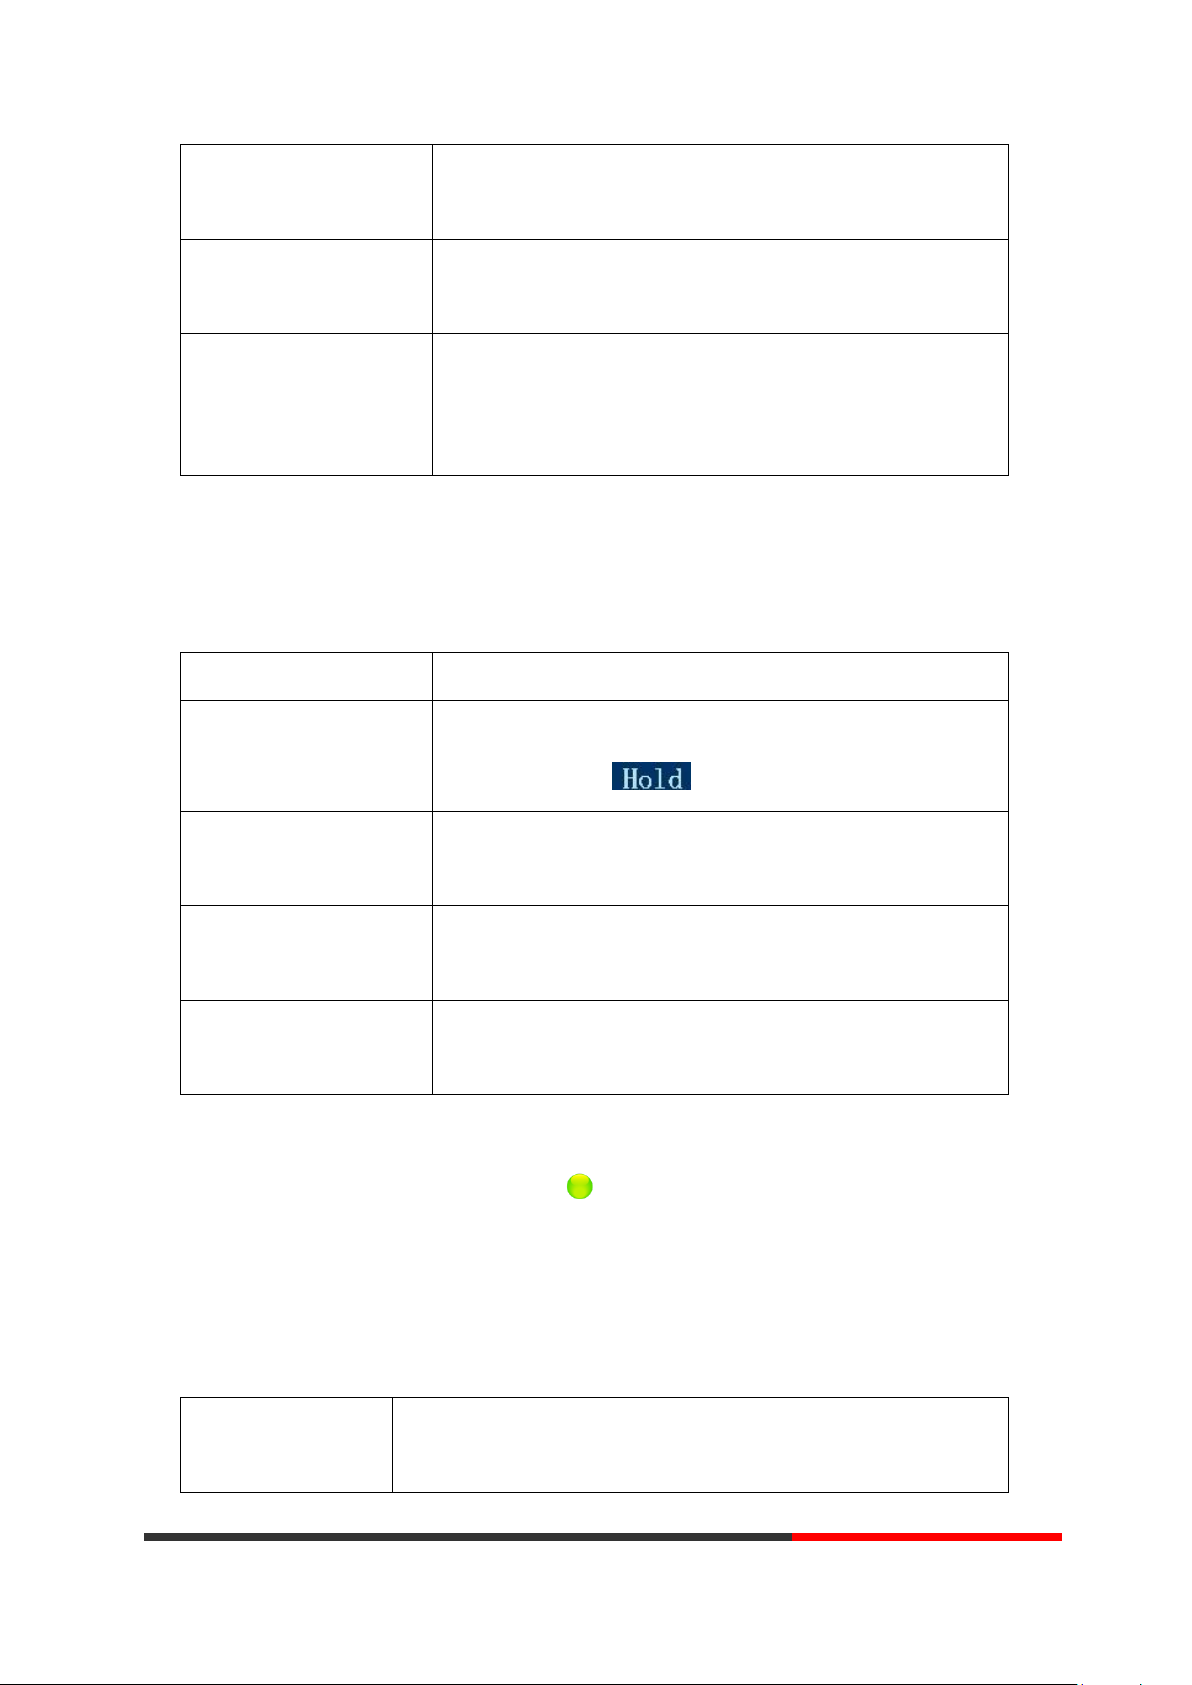
3.3 Basic Network Settings
Feature
Operating Steps
DHCP
Press OK or MENU> System Settings> Advanced Settings> Password(Default is
Empty)> Network> LAN Port
Press LAN Port to login in to the menu
Select "DHCP" mode
Press "Enter" key
Set the DNS\web port\telnet port
Press "Save" key to make it work
Tips "Network is changed, press OK reboot "
Feature
Operating Steps
Static IP
Press OK or MENU> System Settings> Advanced Settings> Password(Default is
Empty)> Network> LAN Port
Press LAN Port to login in to the menu
Select "Static" mode
Press "Enter" key
Set the IP\Mask\GW\DNS\web port\telnet port
Press "Save" key to make it work
Tips "Network is changed, press OK reboot "
Feature
Operating Steps
PPPoE
Press OK or MENU> System Settings> Advanced Settings> Password(Default is
Empty)> Network> LAN Port
Press LAN Port to login in to the menu
Select "PPPoE" mode
Press "Enter" key
Set the User Name\Password\web port\telnet port
Press "Save" key to make it work
Tips "Network is changed, press OK reboot "
If you want to…
This…
The phone supports Three Modes of Network Setting. Include PPPoE\Static IP\DHCP.
NOTE: For the WIFI model, it didn't have the LAN port, but it can setting the LAN information.
DHCP Setting
Static IP Setting
PPPoE Setting
WIFI setting (only WS320 has this item)
Tips: The WIFI ip phone support 802.11b/g/n, not support 802.11a.
Escene Communication
www.InternetVoipPhone.co.uk | sales@internetvoipphone.co.uk | 0800 088 48 46
www.escene.cn/en/

Set WIFI
--1)Choose "Menu">"System settings">"advanced settings">"advanced
password (default is empty)"
--2) Press navigation to choose WIFI settings;
--3)Press "ok" button to change the it Enable or Disable
-Set WIFI IP: Default IP: make it default setting , Modify IP: change it
what you want. Mode: mode one: change the wifi IP 10.0.X.X/8 ;mode
two : change the wifi IP 1.0.X.X/8 (it can prevent IP conflict)
-Current site: the wifi which the phone use now and information
-WPA/WPA2: select the encryption mode(AES/TKIP)
-Site list: search site what you want to connect.
--4)Press "site list", choose one wifi network which the phone searched
-SSID: SSID name
-BSSID: the mac address of the WIFI network
-Channel:the channel of the WIFI network use
-Type:the type of the WIFI network
-Encrypt:the encrypt of the WIFI network
-Signal:the signal of the WIFI network
--5)Press "SSID", set WIFI which you choose
-Encryption: the encryption of the WIFI network
-Key type: the key type of the WIFI network
-Key: the password which you should set to allow yourself to enter the
WIFI network
Escene Communication
www.InternetVoipPhone.co.uk | sales@internetvoipphone.co.uk | 0800 088 48 46
www.escene.cn/en/

3.4 SIP Account Settings
If you want to…
Then...
Create an SIP account
--1) Select “System setting” > “Advanced setting”;
--2) Enter the password required(The default is empty) ;
--3) Select “SIP” > “Account sip”;
--4) Select one of the account you want to setting, you can configure
the following parameters
-Enable account*: Select Enable
-Number of lines: Default is 2
-Description: description of this account
-Display Name: The name displayed on the screen
-Authentication user: the Authenticated users are matched with
the SIP server.(The default With the same account)
-Account*: the account matches with the SIP server.(extension
number)
-User pass word*: the user password matches with the SIP server
-SIP Server*: The primary SIP server, all calls through this server
-Out Bound Server: The out bound SIP server
-STUN Type: Enable/Disable STUN feature
-STUN: Input STUN URL
-Auto Answer: Enable/Disable this account auto answer feature
* Note: When you finish the setting, you can press Save to make it
work, and then you can see the status icon in the LCD idle.
The parameters with the * mark must be set.
Disable sip account
--1) Select “System setting” > “Advanced setting”;
--2) Enter the password required(The default is empty) ;
WS290 IP phone makes calls based on sip accounts, It can support Single account or
Multi-account, Each account can be configured to the different SIP server.
Escene Communication
www.InternetVoipPhone.co.uk | sales@internetvoipphone.co.uk | 0800 088 48 46
www.escene.cn/en/

--3) Select “SIP” > “Account sip”;
--4) Select “Enable account” > “Disable”;
--5) Select “Save” to saves settings
3.5 Basic Features
If you want to...
Then…
Place a call using
the handset
Pick up the handset
--1) You can hear dial tone;
--2) Enter a number;
--3) Press # button (default),
-or wait 5s (default), then it send the
number automatically.
Place a call using a
speakerphone
Press Speaker button
Place a call using a
headset
Put on your headset,
active Headset button so
that the status light is Red
, and then do as using
speakerphone
Enable Anonymous Call
Press OK or MENU> Function Setting> Anonymous
--Press Enter or OK button ,
-You can select which Account want to use, enable/disable this
feature and enable/disable reject anonymous
3.5.1 Making a Call
Here are some easy ways to place a call on SayHi IP Phone:
3.5.2 Anonymous Call
You can use anonymous call feature to block the identity and phone number from showing up to
the called party when you call someone. E.g, you want to call to consult some of the services, but
you don't want to be harassed.
Escene Communication
www.escene.cn/en/
www.InternetVoipPhone.co.uk | sales@internetvoipphone.co.uk | 0800 088 48 46

3.5.3 Redial
Redial
--Press REDIAL button to dial the last number
-or press Navigation button-Left > “Dialed number”, select a
number, and press
Dial from a call log
--1) Press MENU or OK button > “Call history”, you can select "All
Calls", “Missed calls”, “Received calls” and “Dialed numbers”,
- or press Navigation button (in Standby interface) > select "All
Calls"(up) “Missed calls”(down), “Received calls”(left) and “Dialed
numbers” (right)
--2) Then press button.
NOTE: You also can press the "log" to login this menu when in the
idle.
Placing Calls to
Contacts
--1) Press MENU or OK button > “Phone Book”, you can select
"Personal Phone Book", “Enterprise Phone Book”, “LDAP” and
“Black List”,
- or press Navigation button (in Standby interface) > select the
desired contact.
--2) Then press button.
NOTE: You also can press the "DIR" to login this menu when in the
idle.
To redial the last placed call from your phone
3.5.4 Call Log
3.5.5 Making Calls to Contact
You can also dial a contact from the Personal Phone Book.
Escene Communication
www.escene.cn/en/
www.InternetVoipPhone.co.uk | sales@internetvoipphone.co.uk | 0800 088 48 46

Multi-lines to Answer
the Call
--1) Another Line button is Red and flashing, Light strip is Red
and flashing;
--2) Press the flashing Line button to answer (at this time, the
original call will be hold.)
Auto-Answer the
Coming Call
--1) Enable the Auto-Answer feature.
--2) Auto-Answer mode you can set in the MENU>Function Setting>
Auto Answer >Device
Speaker
Handset
Headset
When you use the Handset mode, at this time you need to hands up
the handset and then it can work at this status.
--3)Filter Groups
Auto-answer the coming call in this special groups.
Hang up while using the
Handset
--Return the handset to its cradle,
-or press End
Hang up while using the
--Press Speaker button that is Red ,
3.5.6 Multi-lines to Answer the Call
3.5.7 Auto-Answer
You can set the phone and let it auto-answer the coming call.
3.5.8 Ending a Call
To end a call, hang up. Here are some more details.
Escene Communication
www.InternetVoipPhone.co.uk | sales@internetvoipphone.co.uk | 0800 088 48 46
www.escene.cn/en/
Speakerphone
-or press Line button for the appropriate line,
-or press End
Hang up while using the
Headset
--Press Handset button, (Do not keep the headset mode) ,
-or press End (keep the headset mode)
Hang up one call, but
preserve another call on
the other line
--Press End,
-or refer to the above three methods
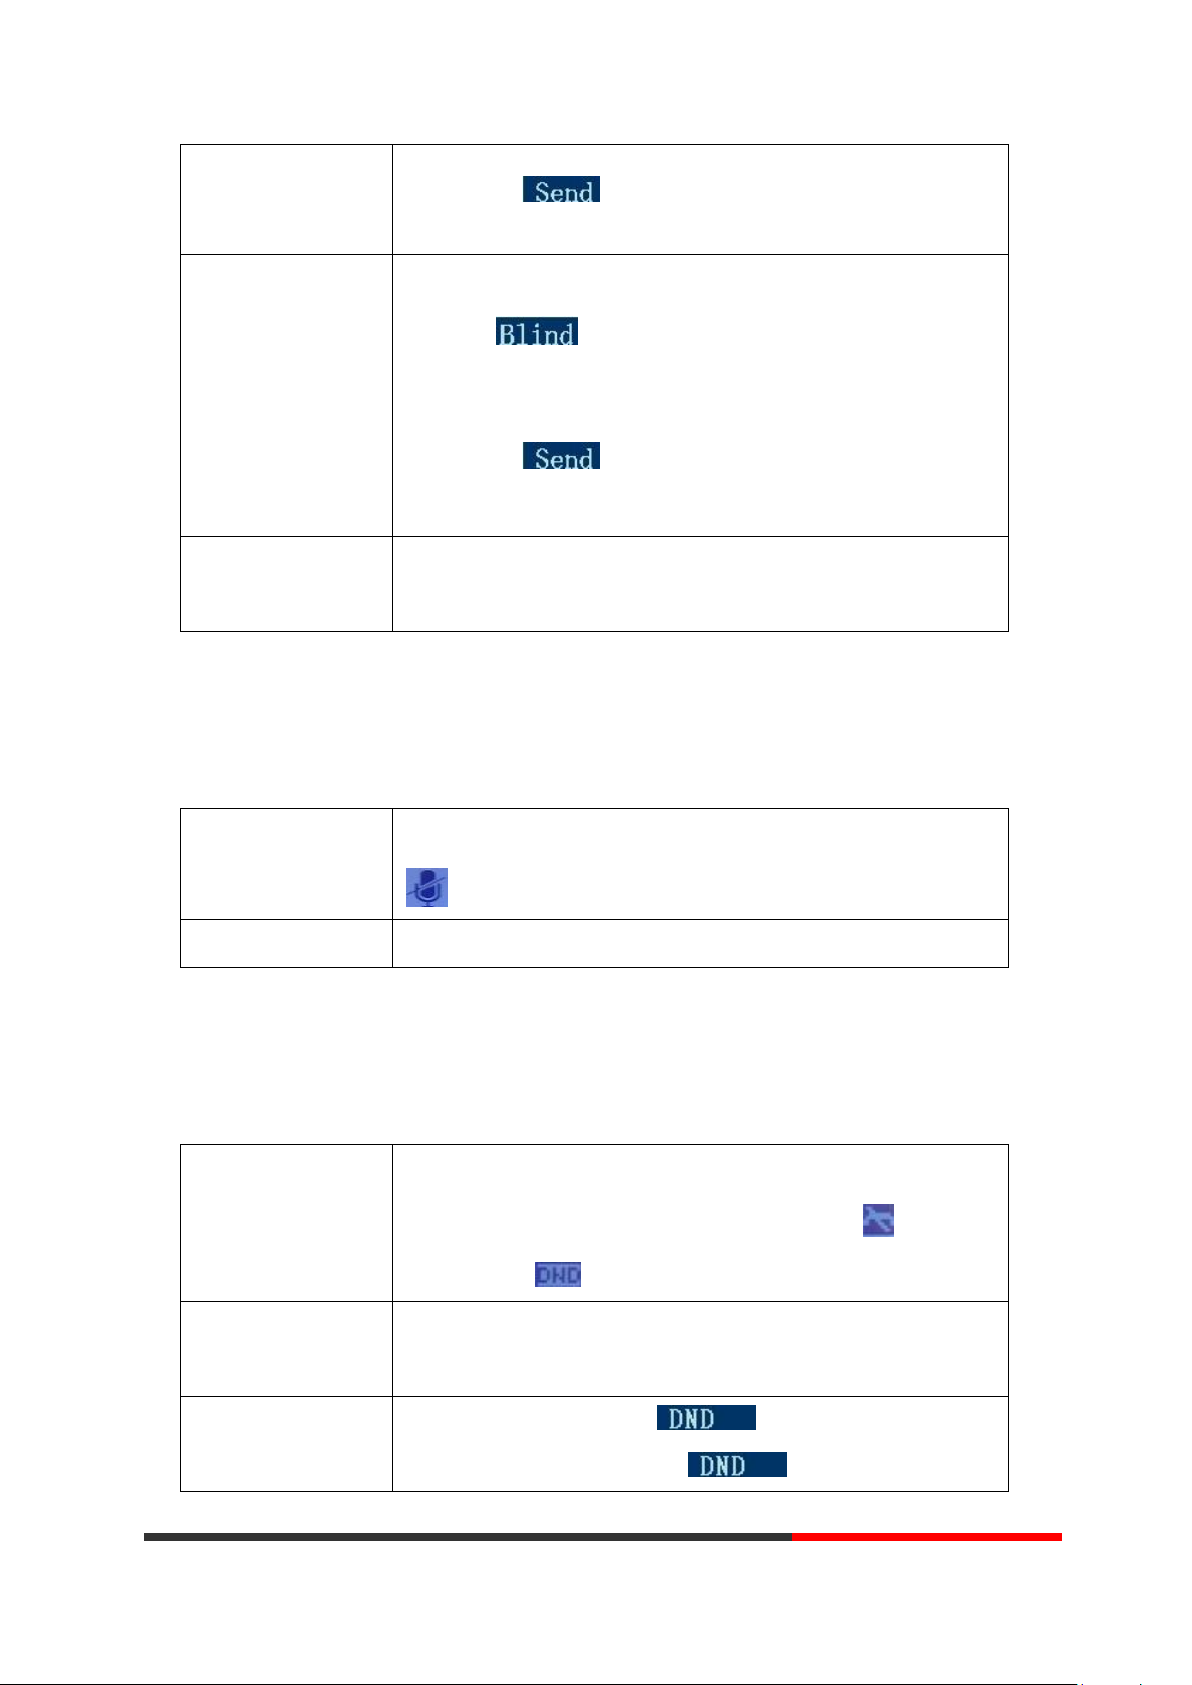
3.5.9 Using Hold and Recover (Switch Calling Line)
If you want to...
Then...
Put a call on hold
--Press HOLD button,
-or press soft key
Hold a line and switch to
another line
Press another Line button for the appropriate line
Resume a call on current
line
--Press Line button,
Release a call on different
line
Select the line want to release hold, press the line, so recovery;
Talk to the transfer
recipient before
--1) Press TRANSFER button or press XFER;
--2) Enter number;
You can hold and resume calls. You can take a call in one line at anytime, and the other lines
would be hold. As a result of that, you can switch different calling line on our phone.
NOTES
• Engaging the Hold feature typically generates music or a beeping tone.
• A held call is indicated by the Yellow-green and flashing Line button or Hold in the LCD.
3.5.10 Transferring Calls
Transfer redirects a connected call. The target is the number to which you want to transfer the
call.
Escene Communication
www.InternetVoipPhone.co.uk | sales@internetvoipphone.co.uk | 0800 088 48 46
www.escene.cn/en/
transferring a call
(consult transfer)
--3) press “#”(default) ,
-or press then transfer the call,
-or wait five seconds(default)then transfer the call
Transferred to idle
lines or other
numbers without
talking to the transfer
recipient
(Blind transfer)
--1) Press TRANSFER button or XFER;
--2) Press ;
--3) Enter number;
--4) Press “#”(default)
-or press , then transfer the call;
-or wait five seconds(default)then transfer the call
Blind transfer to the
held line
--1) Press TRANSFER button or press XFER;
--2) Press the Line button of held line
3.5.11 Using Mute
Toggle Mute on
Press C button, then the screen top and left will have a MUTE icon
Toggle Mute off
Press C button again, then the button light off
Enable global DND
--1) Press DND;
--2) All enabled line on the phone would changes to status. and
the icon is .
Enable DND on a
single line
Press MENU or OK button > “Function setting” > “DND” > (select line)
“Enable”
Disable DND
--Global DND enabled, press to disable global DND;
--Line DND enabled, press twice ,
With Mute enabled, you can hear other parties on a call but they cannot hear you. You can use
mute in conjunction with the handset, speakerphone, or a headset。
3.5.12 Do Not Disturb
You can use the Do Not Disturb(DND) feature to block incoming calls on your phone with a busy
tone(Can also be set to their voice mail or other extension numbers, etc.).
Escene Communication
www.InternetVoipPhone.co.uk | sales@internetvoipphone.co.uk | 0800 088 48 46
www.escene.cn/en/
 Loading...