

Page 1
Quick Start Guide
Carefully read all safety precautions in the attached document
or on the website www.escapespeakers.com before using this product.
ENG
M1 Air QSG ENG (V2021.07)
Thank you for your purchase!
Thank you for purchasing the ESCAPE M1 Air, a Hi-Res audio streaming module
with a sample rate of 192KHz/24 bit, supporting Chromecast Audio, AirPlay2,
Spotify Connect and Roon.
Important information for correct operation of the M1 Air
The M1 Air creates a wireless connection with your WiFi router. Ensure that you have a suffi ciently
strong WiFi signal in locations where you wish to use the M1 Air.
Escape Remote app
Use of the dedicated Escape Remote application for the M1 Air is strongly recommended. It can be
downloaded free from the Apple App Store (iOS) and the Google Play Store (Android).
Airable radio
Using the Escape Remote app you can select the airable catalogue, with more than 30,000 radio
stations around the world and 25,000 podcasts. This enormous catalogue can be sorted by region,
genre, popularity and quality. The internet radio stations are managed by airable GmbH, with a
team ensuring that new content is constantly added, creating an unlimited source of freely
accessible music, news and entertainment. This service falls outside the responsibility of
Escape bv.
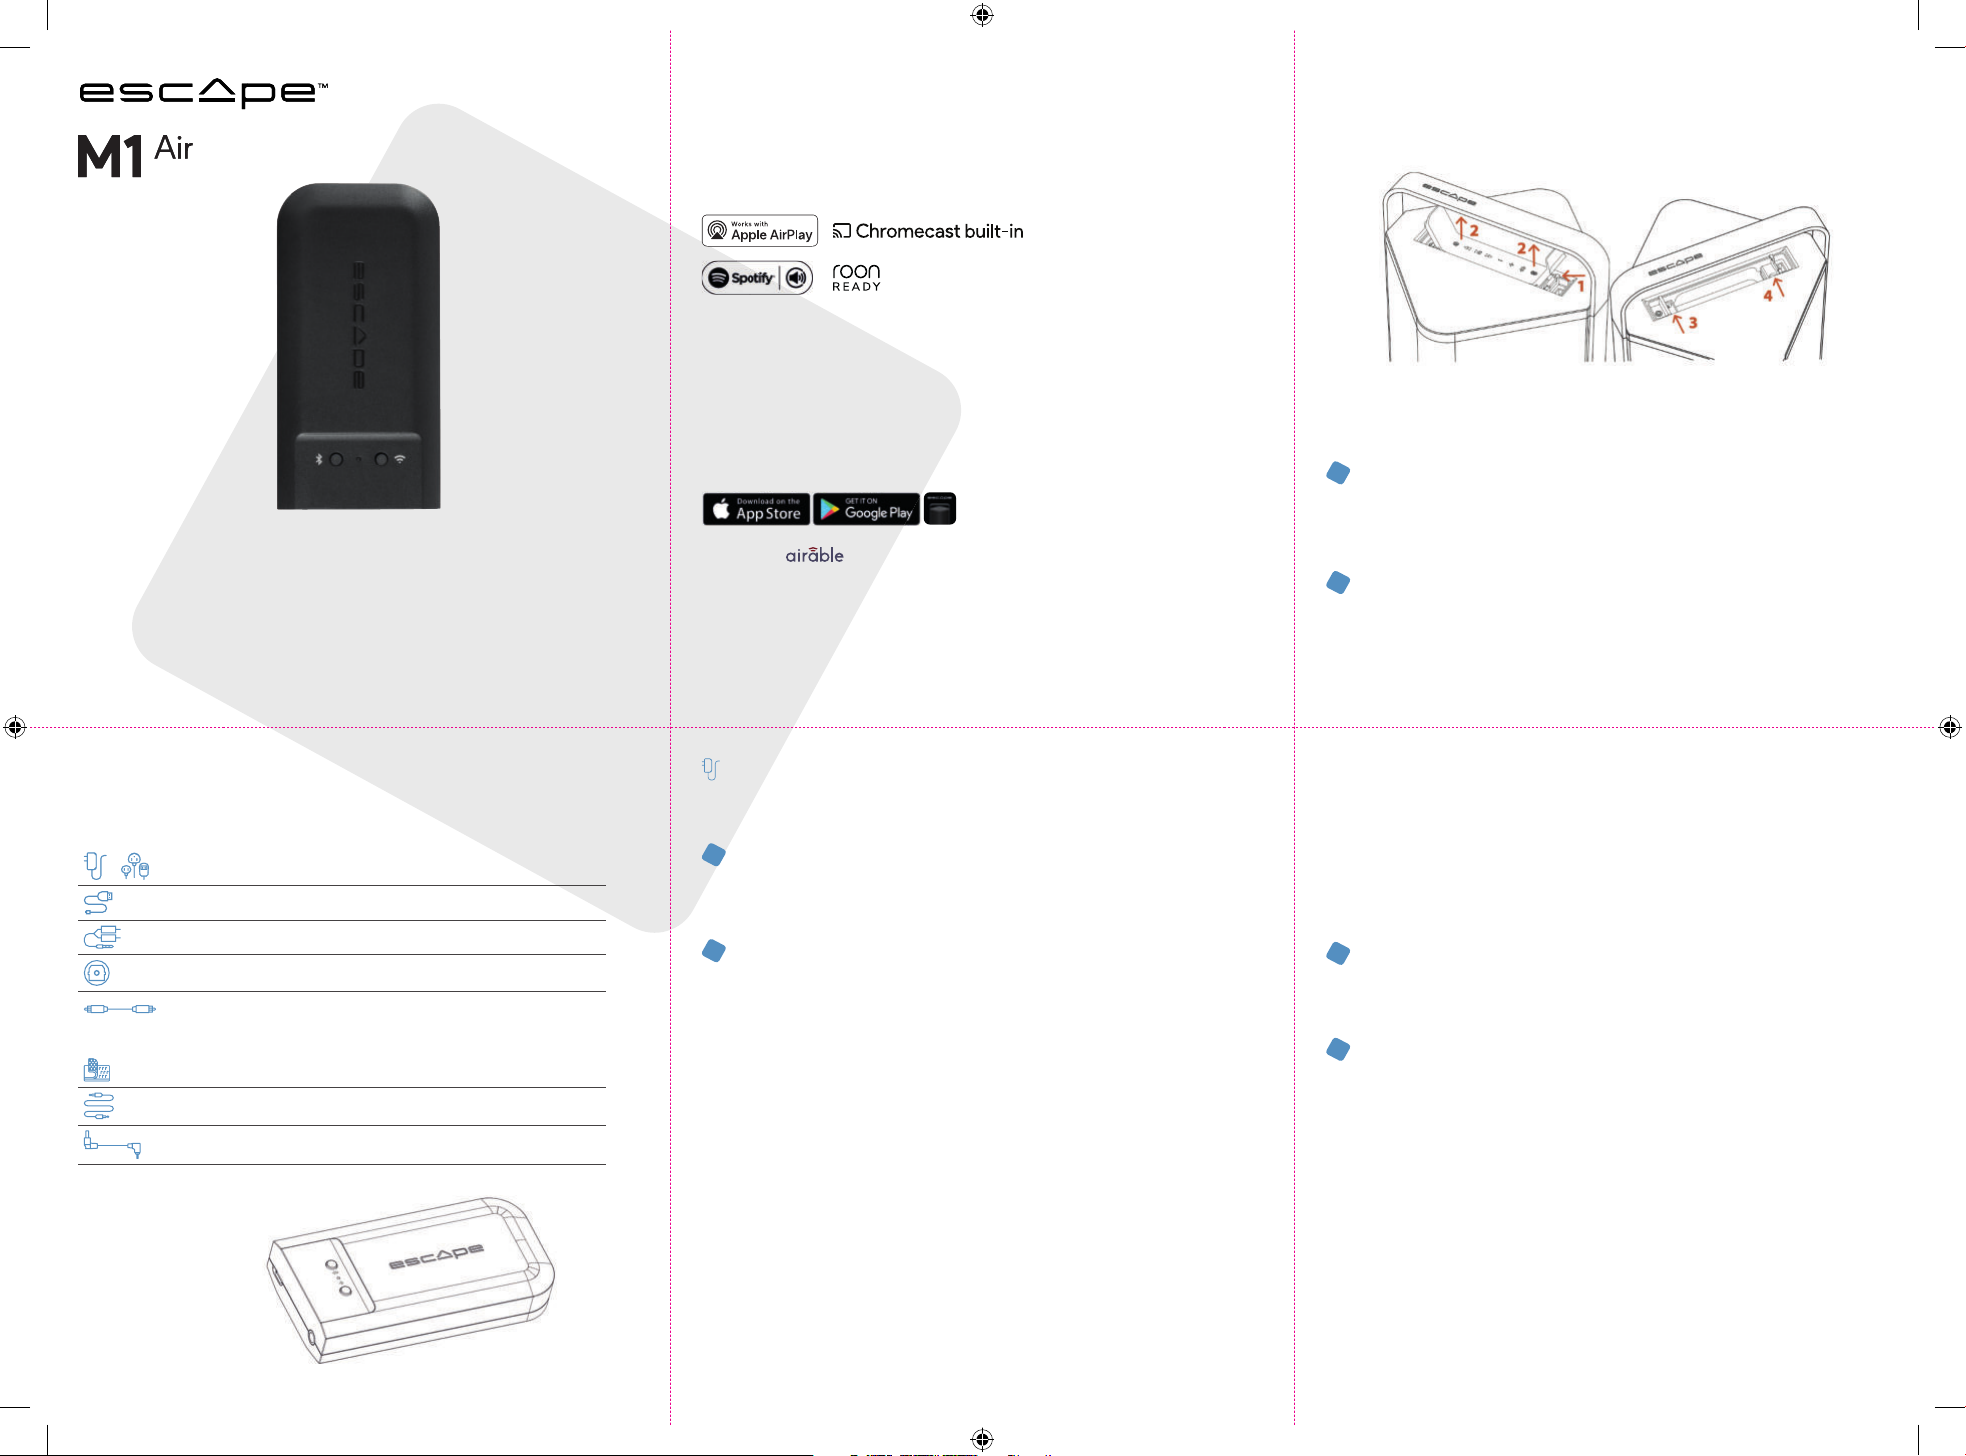
Connecting the M1Air to the AUX 2 input of
an Escape™ P9
STEP 1/2
Unlock keypad
STEP 1
1
• Open the keypad cover over the USB input to the right of the keypad and push the
locking mechanism to remove the keypad from its compartment (see 1 and 2 on the
drawing).
STEP 2
2
• Remove the keypad completely. Do not disconnect it from the cable connector.
• Stick one strip of the supplied Velcro tape to the far left of the bottom of the P9
compartment located below the keypad. Place the other Velcro strip centrally on the
underside of the M1 Air.
STEP 3/4
Lock keypad
Content
ACCESSORIES FOR CONNECTING TO A HIFI SYSTEM
+
ACCESSORIES FOR CONNECTING TO THE AUX 2 INPUT ON A P9
DC 5V_1A INPUT
Optical / AUX OUT
Power supply + 3 adapters
USB power cable (1.5 meters)
3.5mm stereo mini-jack to RCA cable (1 meter)
Toslink adapter
Optical cable
Velcro x 2
Short 3.5mm - 3.5mm aux cable (length 15 cm)
Short angled USB type A to USB micro cable (length 4.5 cm)
Connecting the M1 Air to an existing HiFi
installation or active speakers.
STEP 1
1
• Connect the 5.0 Volt/1A AC power adaptor with interchangeable plugs (EU/UK/US)
to the mains supply and use the supplied 1.5 meter USB type A to micro USB cable to
provide power to the M1 Air via the micro USB input.
STEP 2
2
• Connect the 1 meter 3.5 mm stereo mini-jack to RCA cable via de M1 Air audio output
to the LINE IN of your HiFi installation or active speakers. The red RCA plug is the right
channel output.
• If your HiFi installation is provided with an optical input you can use the supplied mini
Toslink adapter, which is to be connected to the 3.5 mm output of the M1 Air module,
with the 1 meter optical cable used to connect the M1 Air and the HiFi installation.
Note: Avoid placing the M1 Air receiver completely behind your HiFi equipment as this may
screen off the WiFi signal, preventing proper operation.
• Connect the short (15 cm) 3.5mm – 3.5mm aux cable to the M1 Air Aux output and
connect the short (4.5 cm) right angle USB type A to USB micro cable to the M1 Air
power input.
• Use the Velcro strips to secure the M1 Air to the far right of the bottom, with the
Escape™ logo reading in the same direction as on the hand grip. Now connect the 3.5
mm cable to the AUX 2 input of the P9. This is located to the left in the side wall of the
compartment (don’t confuse this with the AUX 1 input above). Next connect the short
USB cable to the P9’s USB power output. This is located to the right in the side wall of
the compartment (don’t confuse this with the USB Audio input at the top).
STEP 3
3
• To reinstall the keypad, you should slide it into the locking hook next to the AUX 1 input
and gently press it into the snap-lock mechanism (3 and 4 on the drawing). You should
now wait until the confi guration of the M1 Air is complete.
STEP 4
4
• Turn on the P9 with the on/off button.
• Important: ensure that the latest version of the P9 fi rmware is installed on the device
(minimum 3.1.8). For further details see the P9 product page in the Escape Remote app
section.
Note: When using the M1 Air connected to the P9 AUX 2 input, the main volume and track
controls (skip, pause, play) must be controlled via the M1 Air app, an element of the Escape
Remote application or the music app (Spotify - Tydal - Apple Music etc) on your phone or
tablet.
Page 2
Connecting the M1 Air with your wireless network
SPOTIFY CONNECT, AIRPLAY 2 AND CHROMECAST SETTINGS VIA THE GOOGLE HOME APP USING SPOTIFY CONNECT
STEP 1
1
• Download the Google Home app [ ] to your phone or tablet to connect the M1 Air
with your wireless network. Ensure that your phone or tablet is connected with the same
WiFi network that you wish to use to set up the M1 Air.
STEP 2
2
• Wait until the M1 Air is in confi guration mode. The green LED on the M1 Air will fl ash
rapidly (0.2s on/off ).
STEP 3
3
• Open the Google Home app [ ] and select the [ ] symbol at top left on the start
screen, or select “Set up Escape M1 Air”. Follow the steps set out in the Google Home
app.
Setup is complete. Open your favourite music app and select the AirPlay 2 symbol [
(iOS devices only) or the Cast symbol [
] (iOS and Android devices) and stream the music to the
M1 Air. Or stream directly via Spotify Connect.
]
Spotify® is a digital music service providing access to millions of songs. Spotify® Connect can be
used to create a connection between the M1 Air and the internet, using the Spotify® app for iOS or
Android, Mac or PC. You can make and receive telephone calls without interrupting the music. Once
you have connected with the M1 Air you can switch off your mobile device or computer and the
music will continue to play. Spotify® Connect can only play on a single speaker at any time.
ROON READY
Roon uses a cutting edge audio transport protocol which not only supports high resolution audio
but also off ers 2-way communication between Roon Ready endpoints and the Roon server. Being
Roon Ready means that the Escape M1 Air uses the high end Roon RAAT streaming technology
(Roon Advanced Audio Transport). This delivers an incredible user interface, easy installation, rock
steady day-to-day reliability and the highest level of audio performance, without compromises. You
can fi nd more information on the www.roonlabs.com website.
Using the Escape Remote app: Download the Escape™ Remote app via the Google Play or
Apple App store and follow the steps on the screen to get the most out of the M1 Air.
Tip: Select the M1 Air in the Google Home app, go to device settings and activate “full
dynamic range”.
Important! The maximal output voltage on the M1 Air is set at 1 Volt as standard for use
Tip: Group a combination of speakers via the Google Home app to play music synchronously
throughout the home via Cast. Note: This function is not supported for Chromecast (1st
generation) or devices with Chromecast built in.
with the P9. Intentionally increasing the output voltage from 1 Volt to 2 Volts via the settings
menu in the Escape app will inevitably lead to damage to the P9, which is not covered under
the guarantee.
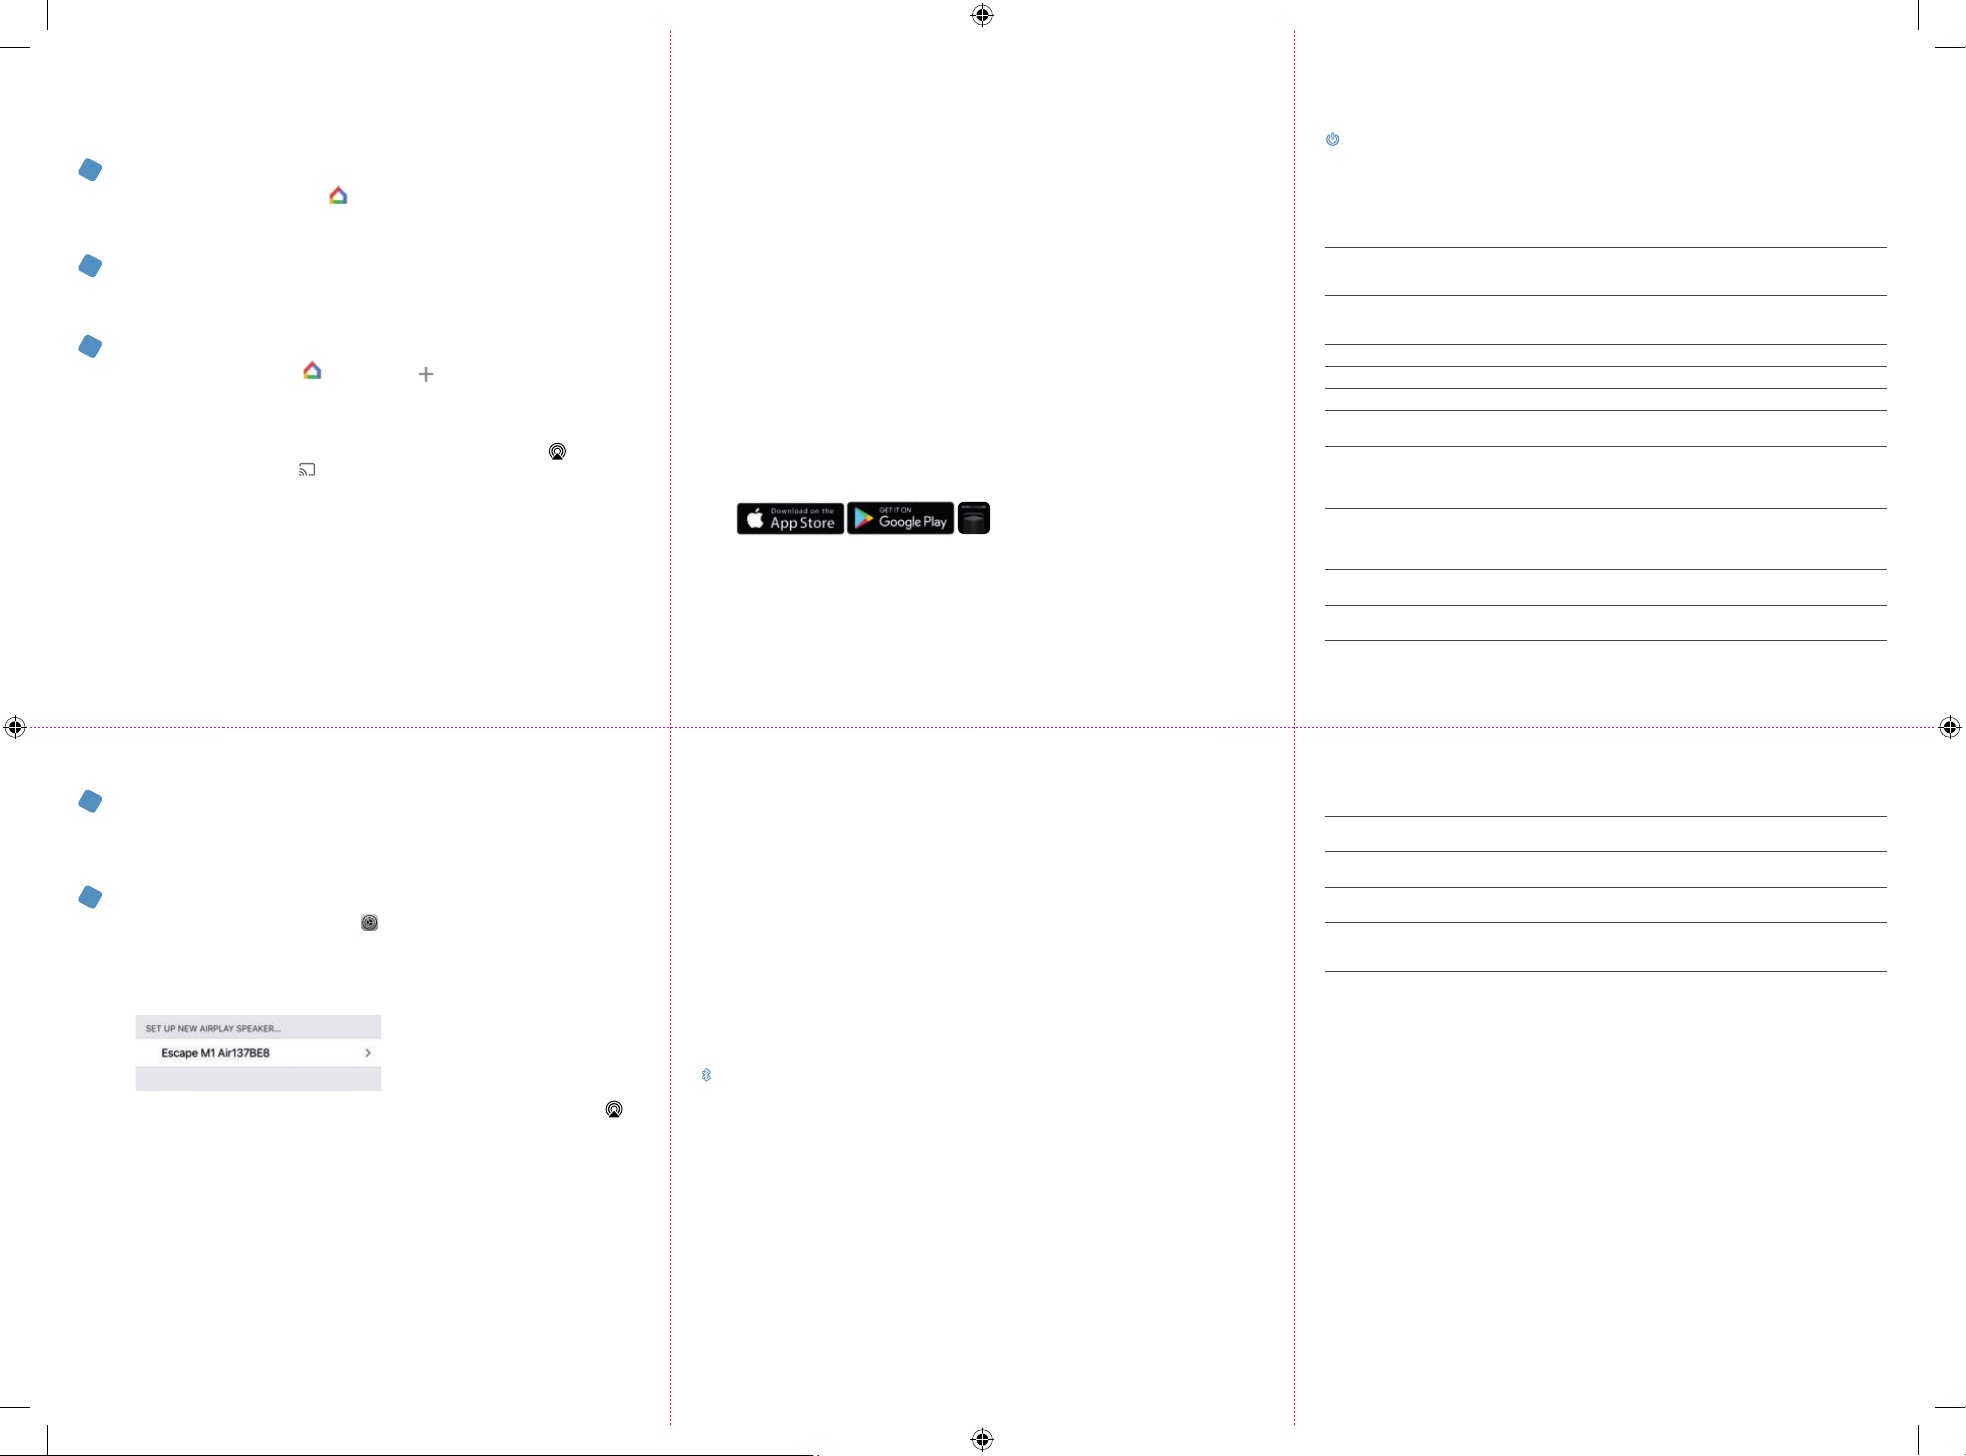
Power-Led status indicator
MODE/STATUS LED
M1 Air is
starting up
Searching
for available
networks
Set-up mode
complete
Connected Steady green light Successful network connection using the known access data.
Network source Steady green light M1 Air in streaming mode.
Standby mode Green LED dimmed M1 Air is in Standby Mode, no music played in the last 20 minutes.
Factory reset Green - Red
Firmware is
being updated
Firmware
update error
Bluetooth®
linking mode
Bluetooth®
source
(RED, GREEN, BLUE)
Flashing red
0.2s on, 0.2s off
Flashing green
0.5s on, 0.5s off
Flashing green
0.2s on, 0.2s off
0.5s Green, 0.5s Red
Repeated sequence:
Red - Green - Blue.
0.5s-0.5s-0.5s
Red fl ashing
0.5s on, 0.5s off
Blue fl ashing
0.2s on, 0.2s off
Steady blue light Switch to Bluetooth® source (if the network has not been
MEANING
M1 Air is in access point (AP) mode and is searching for available
networks. (takes ± 45 seconds)
M1 Air is in access point (AP) mode and is searching for available
networks. (takes ± 20 seconds)
Wireless network(s) found. The user must connect the M1 Air with
the selected wireless network via Google Home App (ChromeCast
Audio and AirPlay 2 setup) or iOS® device (AirPlay 2 setup only).
A factory reset has been triggered - M1 Air is in startup mode.
Firmware update in progress via one of the following:
• Programming of the M1 Air via the Escape Sync web page
• Creating connection with the network and the OTA server
• Downloading fi rmware via the OTA server.
Problem with fi le transfer (while downloading FW.bin fi le)
• Flash writing error (while writing in fl ash)
• Network error (during connection with OTA server)
• Firmware download failed
Bluetooth® not linked (detectable).
specifi ed, setup mode will also be initiated)
CONFIGURATION IN AIRPLAY 2 AND SPOTIFY CONNECT ONLY, VIA AN IPHONE OR IPAD
STEP 1
1
• Ensure that your iPhone or iPad is connected with the same WiFi network that you wish
to use to set up the M1 Air. Wait until the M1 Air is in confi guration mode. The green LED
on the M1 Air will fl ash rapidly (0.2s on/off ).
STEP 2
2
• Open “settings” on your iPhone or iPad [ ]. The M1 Air will create a temporary network
and will appear in the list of available networks. Important! Do not select the temporary
Escape M1 Air network (xxxxxxx) in the list of available networks.
• Instead select the “Escape M1 Air (xxxxxx)” under the message “Confi gure new AirPlay
loudspeaker”. Follow the steps set out under AirPlay confi guration.
• Setup is complete. Open your favourite music app and select the AirPlay 2 symbol [ ].
Note: If the “Confi gure new AirPlay loudspeaker” message is no longer visible then carry out
a reset on the M1 Air and allow suffi cient time for the device to start up again.
AirPlay 2 is supported on a MacBook or IMac via Apple Music and on a Windows PC via
iTunes and Apple Music.
Tip: You can mix several diff erent AirPlay 2 compatible loudspeakers or modules to allow
music streaming in several rooms. AirPlay 2 is however not available on Android devices.
If you have connected the M1 Air to your HiFi installation and feel that it is not reaching
maximum capacity, you should increase the preamp output voltage of the M1 Air from 1 Volt
to 2 Volts via the settings menu. Set the volume of the power amplifi er to a low setting
before increasing the output voltage. Escape bv cannot be held liable for any damage to
external equipment or loudspeakers.
Note: The M1 Air can only retain a single WiFi network at any one time. If you modify your
WiFi network you must reset the M1 Air to the new network. You may fi rst need to carry out
a reset on the M1 Air.
Automatic software updates: The M1 Air’s internal software will be updated automatically
when a new version is available, provided the device is powered up and connected with a
WiFi network. The mode LED fl ashes red-green-blue every 0.5 seconds during an update, and
the device will restart automatically when the update is complete. Ensure that the M1 Air
remains switched on during the update.
BLUETOOTH CONNECTION
Streaming music to the M1 Air via wireless Bluetooth® technology. Briefl y press the Bluetooth® key
to initiate the Bluetooth® connection. The status LED will fl ash blue. Go to Settings on your Apple®
or Android™ device, select Bluetooth® in the connections list and switch on Bluetooth®.
Select Escape™ M1 Air xxxx in the list of devices. xxxx stands for the last 4 letter/digit
combination in the device’s unique serial number. You will fi nd the full serial number on the
packaging or on the label on the underside of the device. The blue LED will illuminate steadily once
the connection is created.
Tip: It is possible to select the WiFi connection again on the M1 Air if it has already been set:
briefl y press the WiFi switch. (The status LED will go from blue to green)
OPERATION VIA PRESS-IN TIME
(BT push button)
Linking
(BT push button)
Delete linked device
(WiFi push button)
Factory Reset
Switch from WiFi to BT Push button Short press Bluetooth® button and Blue LED fl ashing to search for
Switch from BT to WiFi Switch via IOS®
Push button Press briefl y, blue LED fl ashes rapidly
Push button Hold down for 10s until blue LED fl ashes (1s on, 1s off )
Push button
or Android™
device
(0.2ms on, 0.2ms off )
Keep WiFi push button depressed for longer than 10 seconds
stored BT devices
It is not possible to switch from BT to WiFi via the push button.
This can only be done via a device on the same WiFi network and a
music app supporting AirPlay2 and/or Chromecast.
 Loading...