

Escalade sports A5000 User Manual
OWNER'S MANUAL
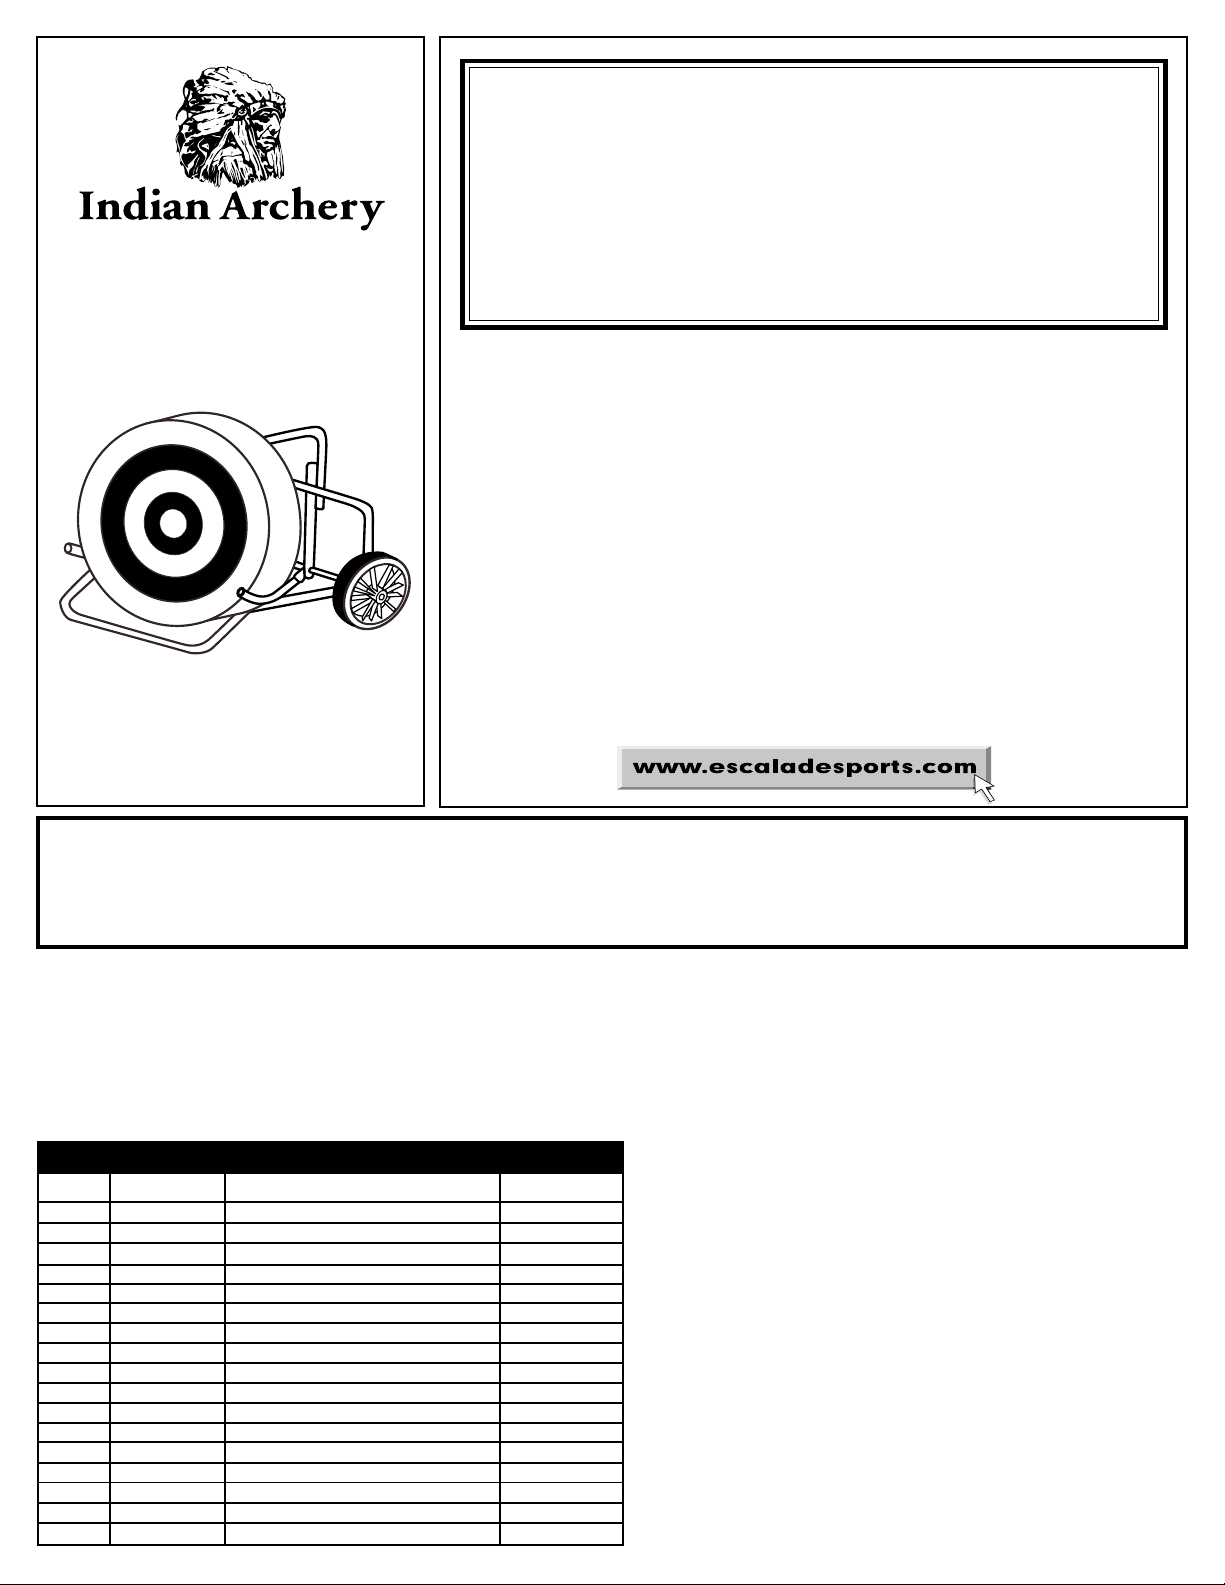
Black Wheeled
Target Stand
LIMITED 90 DAY WARRANTY
Manufacturer warrants to the original retail purchaser, this product to be free from
defects in material and workmanship for a period of ninety (90) days from the date of
purchase. Should this product become defective due to material or workmanship
within the warranty period, contact our Customer Service Department for repair or
replacement at our option. This warranty is not transferable and does not cover normal
wear and tear or damage caused by improper handling, installation, or use of this
product. This warranty is also void if product is in any way abused, damaged, or
modified from its original state. This warranty gives you specific legal rights, and you
may have other rights which vary from state to state.
Thank you for buying our target stand. We try hard to ensure that our products are of
high quality and free of problems, such as manufacturing defects or missing parts.
However, if you have any problems with your new product, please DO NOT RETURN IT
TO THE STORE.
Please contact our consumer affairs department at:
Phone: 1-866-556-2754 - Toll Free!
Fax : 1-866-873-3537 - Toll Free!
Email: customerservice@escaladesports.com
Or write us at:
ESCALADE SPORTS CONSUMER AFFAIRS DEPT.,
P.O. Box 889, Evansville, IN 47706
Assembled Stand with Target.
For 36", 40", 48" targets.
Please provide model number and/or part number (not just the KEY/ITEM number) of the
product and/or part when you call or write. These numbers can be found on the product,
packaging, and/or in this Owner’s Manual.
Visit our website for additional information and possible solutions to your problems:
MODEL
A5000
WARNING
NOT A TOY FOR USE BY CHILDREN! MAY CAUSE SERIOUS OR FATAL INJURY! READ THESE INSTRUCTIONS
CAREFULLY! KEEP OUT OF REACH OF CHILDREN! USE ONLY WITH ADULT SUPERVISION!
•
Always remember that a loaded bow is a deadly weapon!
•
Never show your skill by using a human target or permit someone to hold a target for you!
•
Be sure no one is standing in front of or to the sides of the archer while bow is being drawn or shot! Be sure everyone is standing behind
the archer.
•
Shoot only at the target. Try first shots at closer distances until the archer feels comfortable shooting the bow.
•
Never use arrows that are too short!
•
Replace your bowstring when it becomes worn or frayed.
Always string your bow properly!
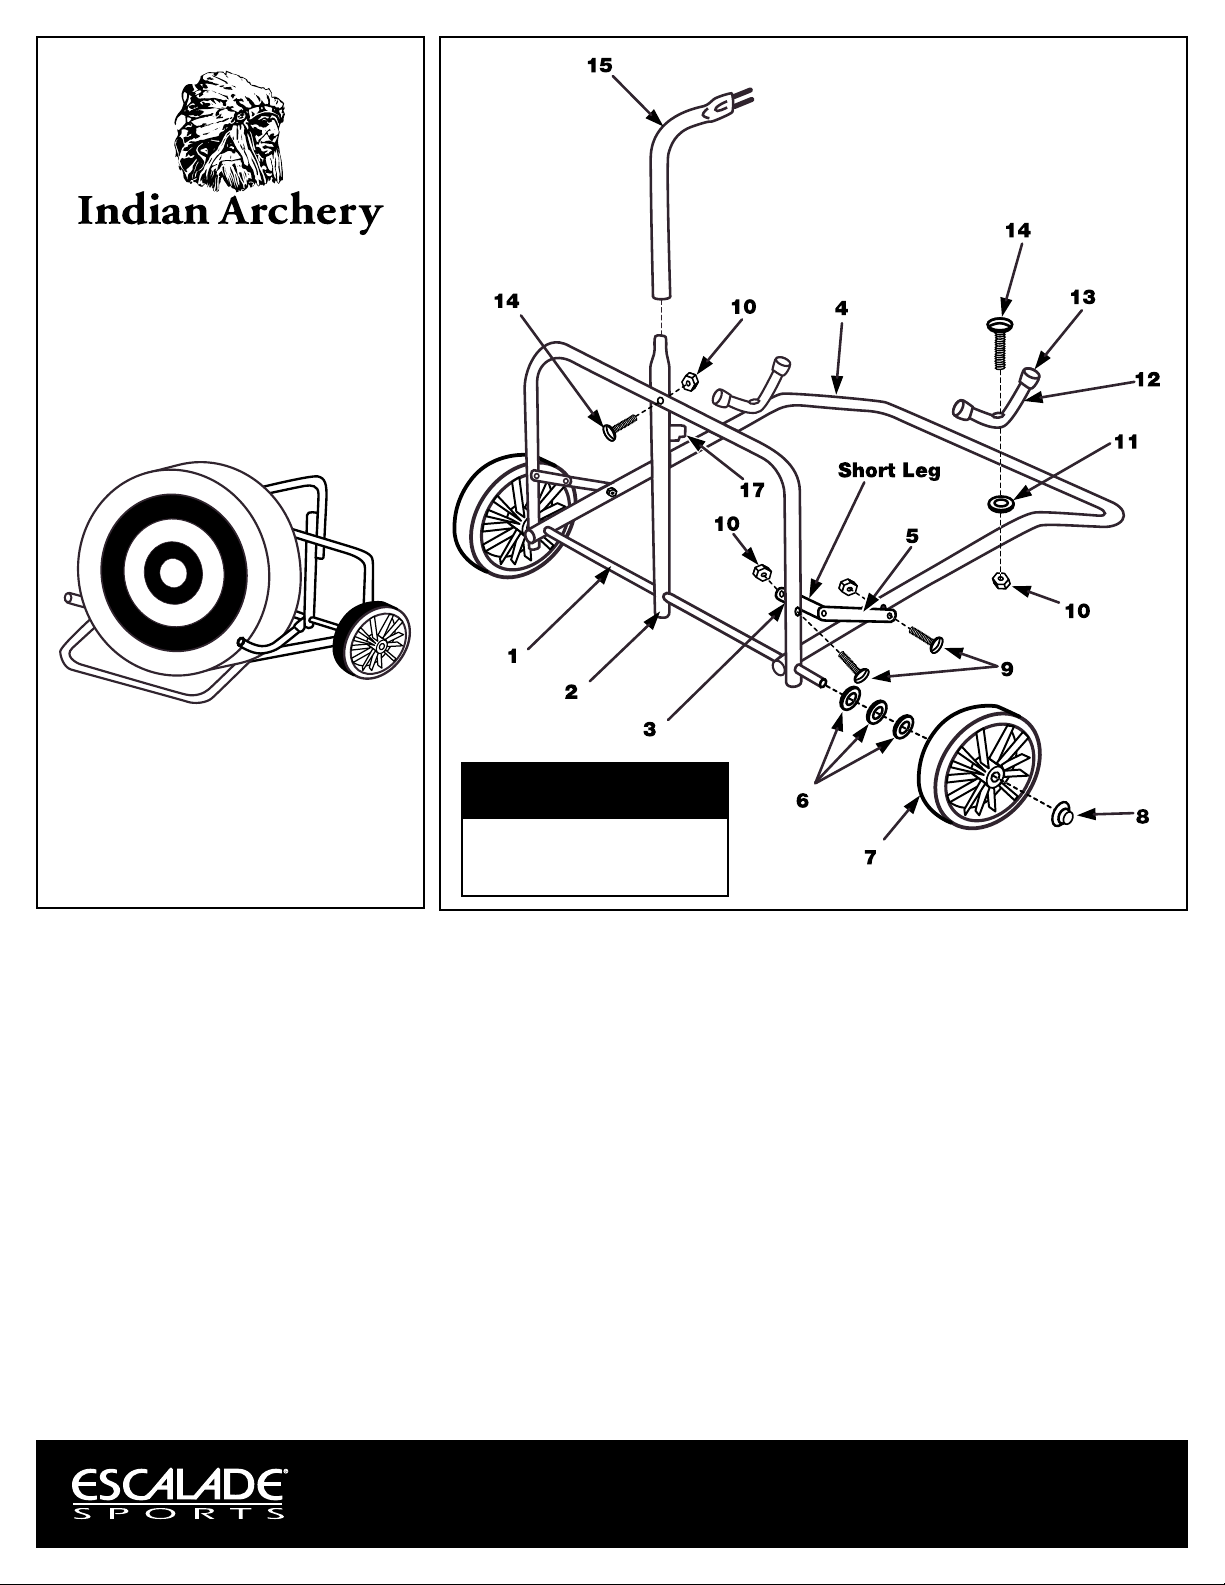
PARTS LIST
KEY PART NO. DESCRIPTION QUANTITY
1 602-26 AXLE SHAFT 1
2 8S-6647-01 MAST 1
3 8S-6648-01 BRACE 1
4 8S-6649-01 PLATFORM 1
5 200-1Z HINGE ASSEMBLY RIGHT HAND 2
6 701-50 WASHER (SHIMS) 6
7 3-40 WHEEL ASSEMBLY 2
8 601-84 HUBCAP 2
9 701-124 TRUSS HD SCREW 10-24 X 1 1/4 4
10 601-80B #10-24 THIN LOCKNUT 7
11 801-9B WASHER 2
12 8S-6650-01 TARGET CRADLE 2
13 704-18 TUBE CAP 4
14 701-84 SLOT HEAD SCREW 10-24 X 21/4 3
15 8S-6646-01 HANDLE - PRONG ASSEMBLY 1
16 2L-6710-00 THIS INSTRUCTION SHEET 1
17 4B-6027-00 1 INCH C-CLIP 1
©2002 Escalade® Sports
2L-6710-00
ASSEMBLY INSTRUCTIONS
Black Wheeled
Target Stand
Assembled Stand with Target.
For 36", 40", 48" targets.
MODEL
A5000
REQUIRED TOOLS
(Not shipped with stand)
Standard Screwdriver
Hammer
3/8" Wrench or Pliers
1. Refer to drawing above. Insert axle (#1) through one leg of brace (#3) and platform (#4).
2. Slide axle (#1) through large hole in mast (#2) and through the other leg of platform (#4) and brace (#3).
3. Attach hinge (#5) to "inside" of brace (#3) and "outside" of platform (#4). Note that the hinge (#5) folds inward as shown on
drawing. The short leg of the hinge (#5) must be attached to the brace (#3). Use #10-24 x 1-1/4" long screws (#9) and
#10-24 locknuts (#10).
4. Tighten nuts (#10) so that hinges (#5) operate snugly... do not overtighten.
5. Assemble mast (#2) to middle of brace (#3) using #10-24 x 2-1/4" long screw (#14) and locknut (#10).
6. Now, assemble wheels. Slide three spacer washers (#6) on each end of axle (#1). Slide wheels (#7) onto
axle (#1) and tap hubcap (#8) onto ends of axle (#1) with hammer.
7. Place tube caps (#13) on both ends of target cradles (#12).
8. Attach target cradles (#12) to platform (#4) using #10-24 x 2-1/4" screws (#14), locknuts (#10) and washers (#11). Washers go
between cradle (#12) and platform (#4).
9. Attach handle (#15) to top of mast (#2) with prongs on handle toward inside of target stand. (See drawing.) Place handle (#15)
over mast (#2).
Note: For safety when not in use, remove handle (#15) and & re-attach to mast (#2) using C-clip (#17) .
LOOK FOR THE FULL LINE OF INDIAN ARCHERY BOW SETS, TARGETS AND ACCESSORIES AT AN ARCHERY
RETAILER NEAR YOU.
Escalade® Sports • P.O. Box 889 • Evansville, IN 47706 • 1.866.556.2754 • Fax 1.866.873.3537
®
All Rights Reserved. www.escaladesports.com ©2002 Escalade
Sports
 Loading...