

Ergo System 2000U8 Owners Manual
MODEL NO.
2000U8
Model and serial number may be
found at the rear of the feeder base.
Please record both model and serial
number in a safe place for future use.
Where Purchased :
Date purchased : Month
:Day
: Year
Model No. :
Serial # :
This Owner’s Manual contains
information for all models.
Read and keep this manual for future
reference.
This manual contains important
information on Safety, Assembly,
Operation and Maintenance.
Owner’s Manual
U8 Timer
Ergo Systems Inc. Rev # : 1.1
2
TIMER PROGRAMMING
This is the digital timer unit for the Autopetfeeder. The timer plugs in to the wall socket and has two outlets, one
outlet is labeled as “Power” which is on the left hand side of the timer, directly connects to the power supply, and
the second outlet is labeled as “Timer” which is on the right hand side of the timer switches the Autopetfeeder
ON and OFF based on the timer settings. The indicator will glow when ever the feeder is ON.
First time use
: Connect your digital timer unit into the wall socket. This will charge the internal battery if
you are using the timer for the first time. Reset it by pressing the Master Reset button using a small pin such
as a paperclip. This will reset the timer. All other programming functions can perform without plugging the
timer in to the wall socket.
NOTE:
The timer may have to be charged for 10 minutes prior to use if the timer display is blank. Press the Master Reset
button after 5 minutes while the timer is charging.

3
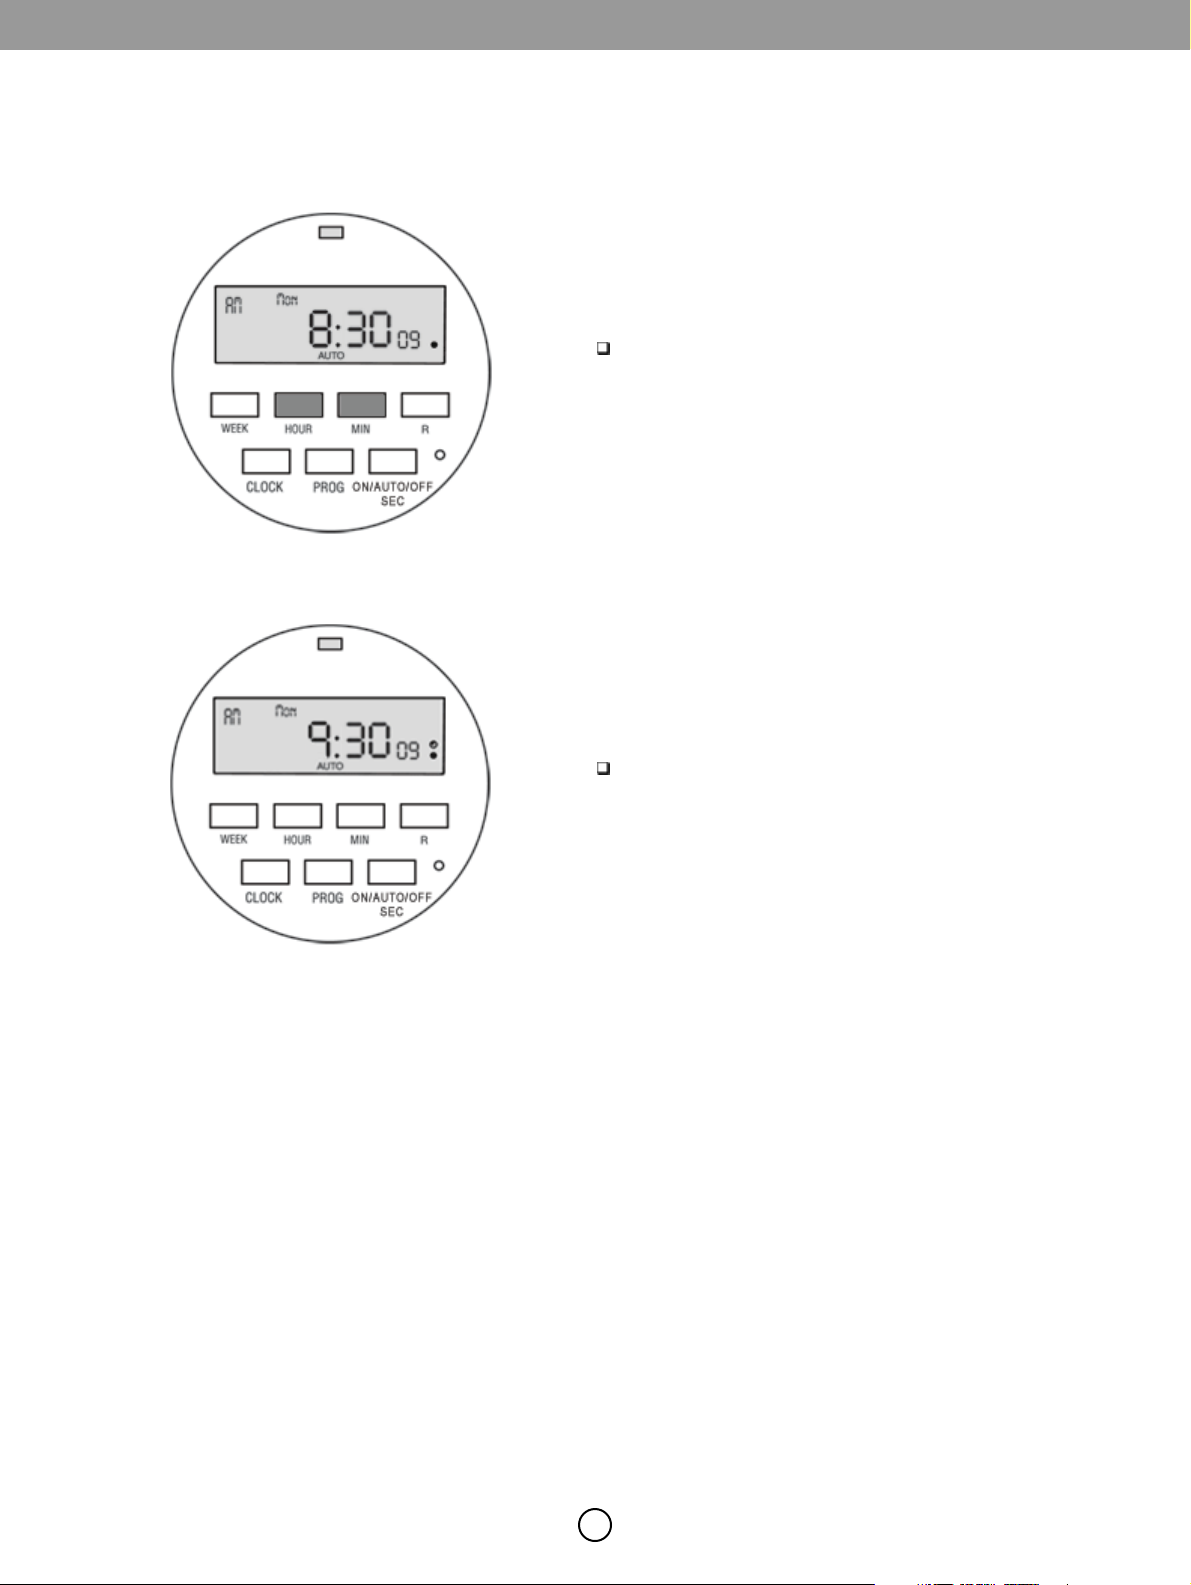
Press and hold the CLOCK button. Press the MINUTE
button to set the minutes.
2.1 Setting the Current Time
Press and hold the CLOCKbutton. While holding the CLOCK
button press the WEEK button to set the day of the week.
Press and hold the CLOCK button. Now press the HOUR
button to set the hour.
Fig 1
Fig 2
Fig 3
4
To set day light saving time, press the HOUR and the
MINUTE button simultaneously. This will make the clock to
run an hour ahead.
This introduces a circle indicating a small clock above the
black dot on the display. This is possible only in clock mode.
This indicates that the timer is set in day light saving Mode.
2.2 Day Light Saving Time
Fig 4
Fig 5
2.3 Understanding the Timer
The Autopetfeeder is capable of feeding your pet 8 times per day. You can set the ON time and the OFF time for
the feeder 8 times per day. This will give you control over the amount of food you feed your pet and also the time
you pet is fed. By pressing PROG button you will enter into programming mode. The display will now show 1 .
This means program #1 and ON time (time when the feeder turns ON) By pressing the PROG button again the
display will change to 1 . This means program #1 and OFF time (time when the feeder turns OFF) The time
between ON and OFF determines the quantity of food fed to the pet by the Autopetfeeder. By pressing PROG
repeatedly we can program up to 8 times i.e. 8 and 8 .
2.3.1 Number of meal times per day
ON
OFF
ON
OFF
5
The pet feeder is capable of feeding different sizes and shapes of pet food. Hence, the quantity of food dispensed per minute
changes. It is advised that you measure the quantity of food that your pets consume for every schedule by testing the feeder
on the ON mode and pre-determining the amount of time required to feed your pet.
ON/AUTO/OFF MODE
Now let us understand the different modes of operation in the timer.
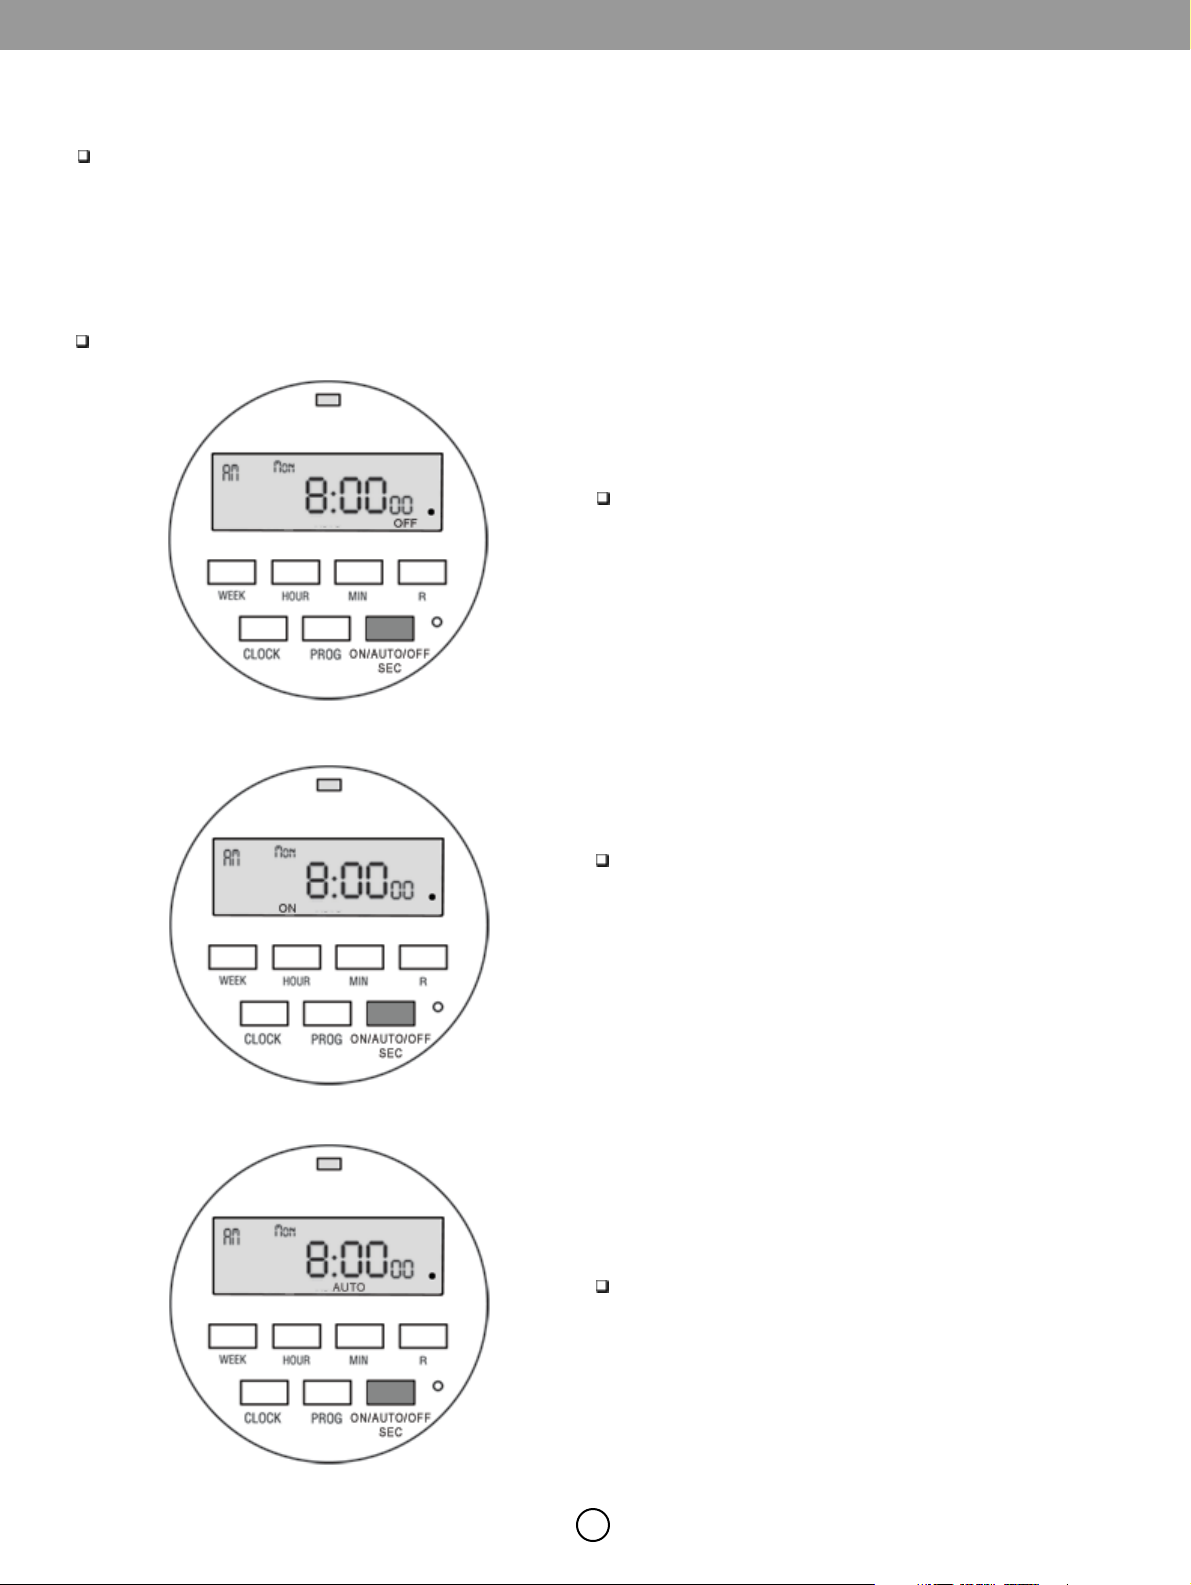
Press ON/AUTO/OFF button to toggle between
ON/AUTO/OFF mode. The feeder must always be in OFF
mode prior to setting the auto mode. The display will show
the mode in which the timer is set.
In ON mode the timer is cutoff and the feeder
dispenses food continuously. So if you feel that you need to
feed your pet a little more than the schedule time just
select this mode. This mode is also used to prefill the auger
on first time use and measure the quantity of food you
schedule every meal time. This is more like a manual feed.
Fig 6
Fig 7
In AUTO mode the feeder works as per the program
schedule. In order for AUTO mode to work properly you
must cycle from OFF mode to AUTO mode. Do not cycle
from ON mode to AUTO mode as the feeder will feed
continuously.
Fig 8
2.3.2 Setting ON and OFF Time
 Loading...