

Page 1
Always Moving Forward
®
Operating Manual
Please Read Before Operating Unit
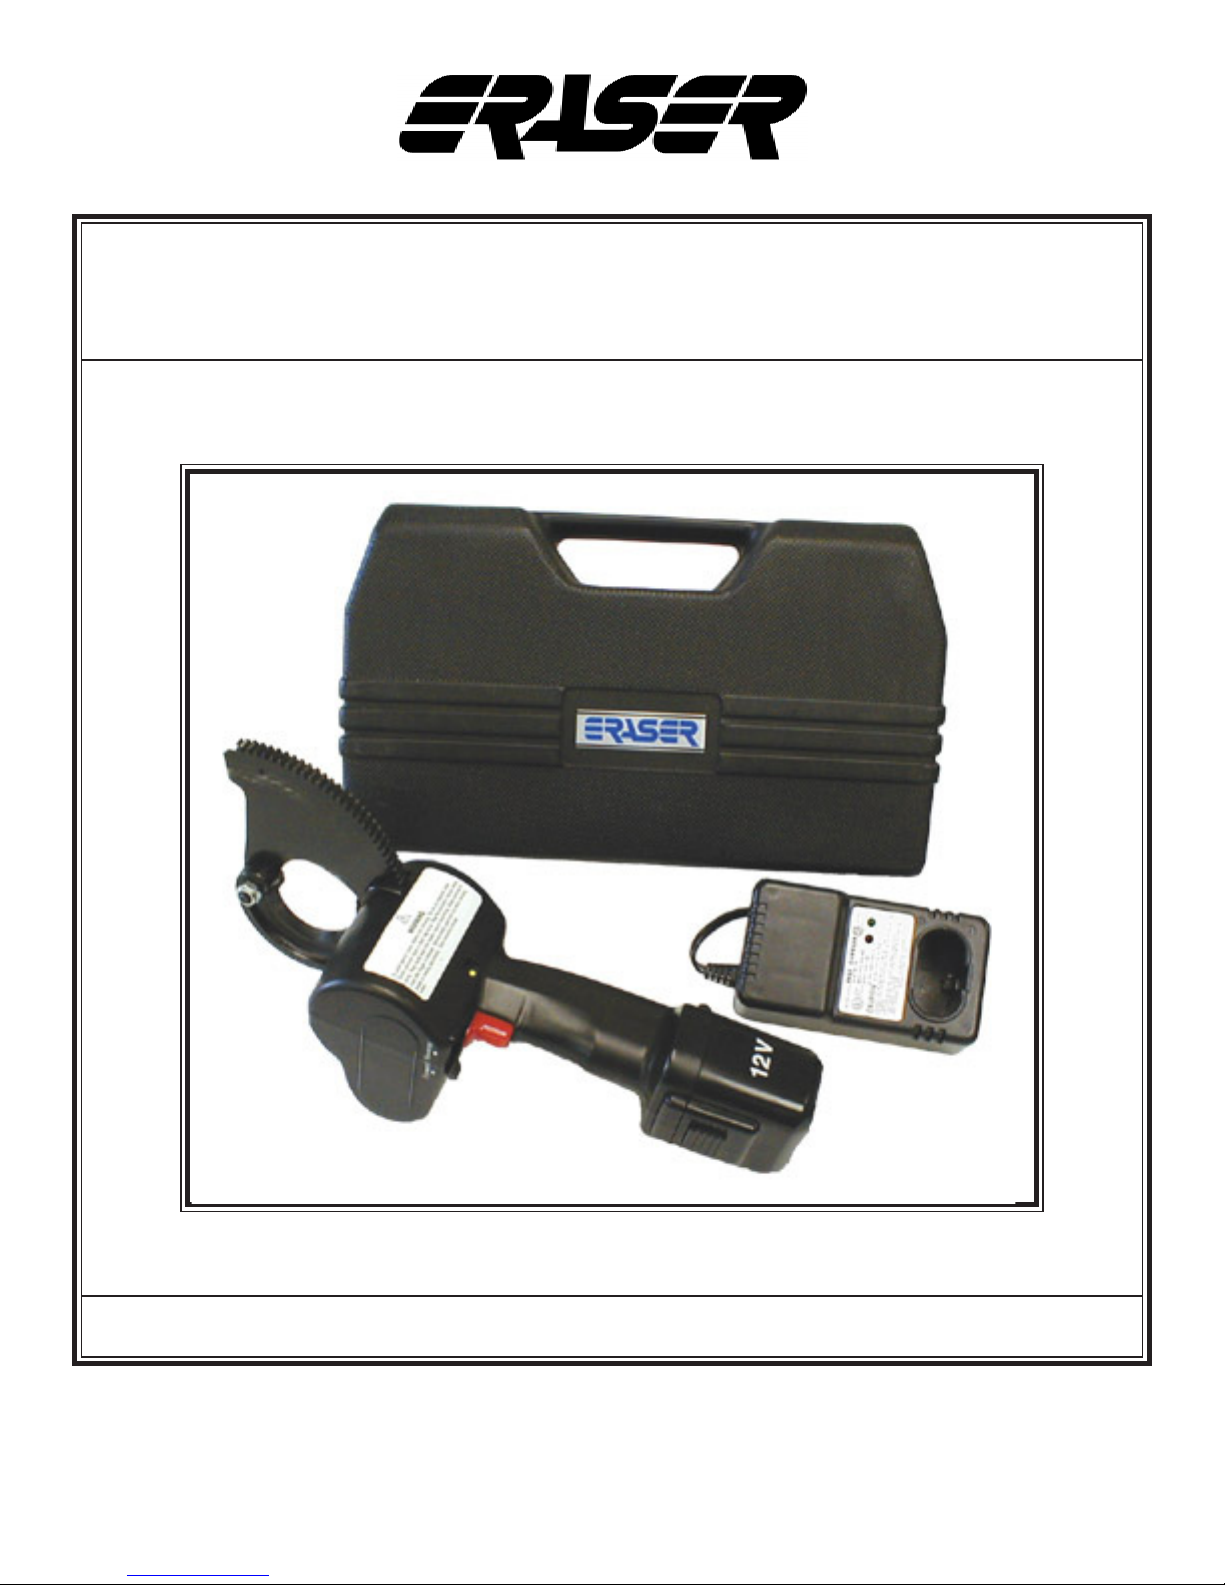
CCB100 Battery Operated Cable Cutter
The Eraser Company, Inc.
PO Box 4961/ Oliva Drive
Syracuse, NY 13221, USA
Please Call for Service or Spare Parts
Phone: (315) 454-3237
Fax: (315) 454-3090
Website: www.eraser.com
E-mail: [email protected]
Page 2
p 2
CCB100 BATTERY OPERATED
Always Moving Forward®
SPECIFICATIONS
Maximum cable diameter ..........................................
1000 kcmil soft drawn copper
750 kcmil hard drawn copper
May not be used on steel
Blades................................... One xed, one rotating,
both hardened steel
Decibel rating............................................... 70 dB(A)
Power .... 12.0 V DC motor powered by rechargeable
NiCad Battery
Battery ................ 12.0 V DC sealed nickel cadmium,
rated capacity 1.2 A/hr.
Charge time 1 hour to 80%, 4-6 hours for quick
charge, and 14-16 hours for standard charge to
100%. May be recharged approximately 1,000 times.
Battery charger ............. 120V, 60Hz AC single phase
(Contact factory for 220/240V charger)
Sizes:
Unit .............................................4" x 4-1/2" x 14-1/2"
(102mm x 114mm x 368mm)
Battery ................................... 2-3/4" x 2-3/4" x 4-3/4"
(70mm x 70mm x 121mm)
Battery Charger ........................5-3/4" x 3" x 2-13/16"
(146mm x 76mm x 71mm)
Weights:
Unit (with battery) ................................ 6 lbs. (2.7 Kg)
Battery .......................................... 1 lb, 4 oz. (0.6 Kg)
Battery charger .............................. 2 lbs, 3 oz. (1 Kg)
ORDERING INFORMATION
ER0601 (CCB100) ..............Portable cable cutter kit,
includes batter pack, 110V charger and carrying case
Eraser Company Inc. • Syracuse, NY USA • Ph: 315-454-3237 • [email protected] • www.eraser.com • Fax 315-454-3090
CABLE CUTTER
IMPORTANT SAFETY INSTRUCTIONS
READ ALL INSTRUCTIONS
! WARNING
DO NOT OPERATE TOOL UNTIL YOU HAVE
READ THOROUGHLY, AND UNDERSTAND
COMPLETELY, ALL INSTRUCTIONS, RULES,
ETC., ON THESE PAGES. THESE ARE
IMPORTANT SAFETY INSTRUCTIONS AND
SHOULD BE KEPT FOR FUTURE REFERENCE.
CONTACT ERASER IF INSTRUCTIONS ARE NOT
CLEAR.
The information provided in this manual is essential
for the safe handling, operation, and maintenance of
the CCB100. The operator must read, understand,
and follow these instructions and all safety warnings
and labels before operating these tools.
Only use these tools in accordance with the
manufacturer’s specications. Other use of these
tools may lead to serious personal injury or death.
Tools are NOT insulated for use on
or near energized conductors. Use of
these tools near energized conductors
may lead to electrical shock, causing
severe injury or death. DO NOT use
these tools near energized conductors
without adequately insulating operator
and surroundings.
Blade Hazard Blade moves at high
speed and force and can cause severe
personal injury. To avoid serious
personal injury, keep all body parts
away from moving parts of the tool.
Page 3
CCB100 BATTERY OPERATED CABLE CUTTER
p 3
DO NOT over-reach while operating this
tool. Loss of balance can cause serious
personal injury or death. Move closer to
work area and securely support yourself
and your work. ALWAYS keep proper
footing and balance.
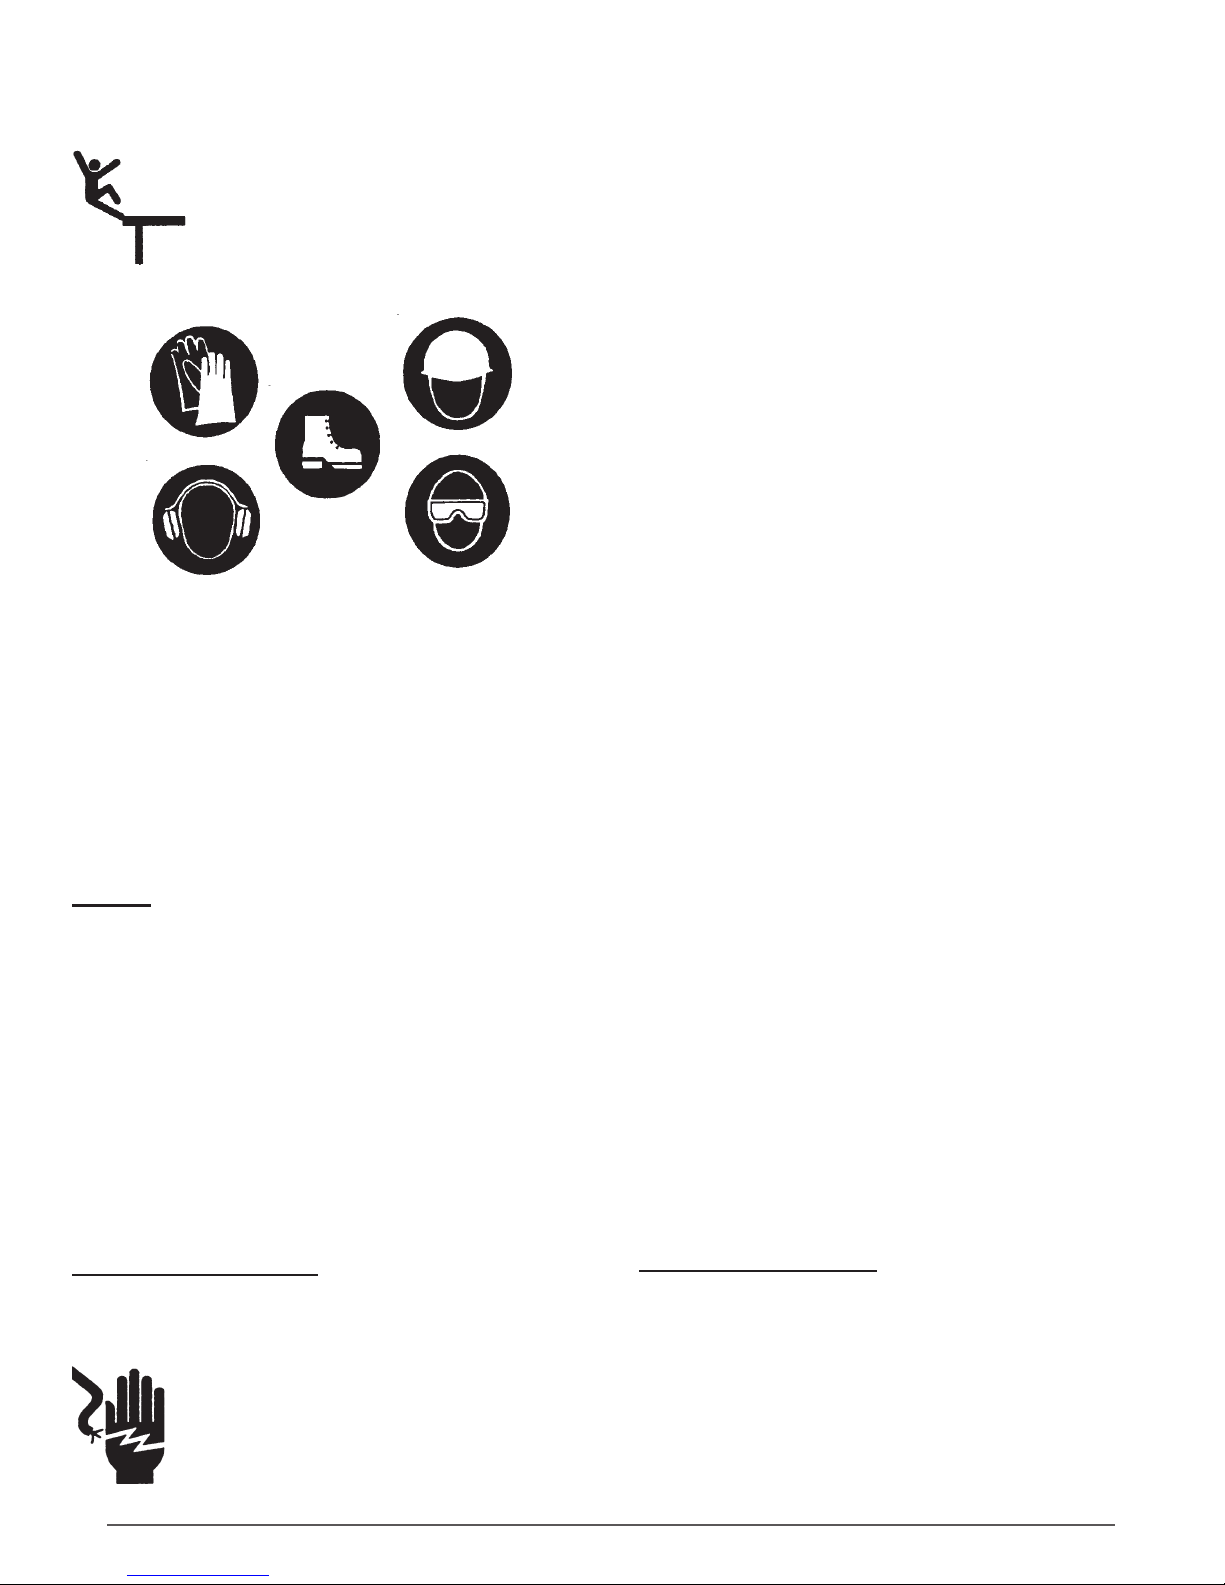
Use all appropriate safety equipment when handling,
operating, and servicing this tool such as: safety
shoes, hard hat, eye and ear protection, work
gloves, and sleeves.
To help ensure safe operation of this tool, keep all
safety labels clean and legible. Replace labels when
necessary with new labels. See the ORDERING
INFORMATION section of this manual or contact
Eraser for more information.
DO NOT disassemble or modify the charger.
Disassembly of the charger may lead to electrical
shock, which can cause personal injury.
DO NOT use the charger supplied with your
CCB100 for batteries other than those specically
recommended. Using this charger for other battery
types may cause the battery to overheat and burst,
which may cause serious personal injury.
DO NOT drop or otherwise abuse the charger.
Dropping the charger may cause the battery pack-
clip to break.
1) When a battery is inserted into the charger, the
red LED indicator lights up and stays on as the
battery charges. When the battery is at 80%
capacity, the red LED turns off and the green
LED turns on. The green LED indicates that the
charger is still charging but in a trickle mode. To
reach 100% capacity will take approximately 1315 hours after the green LED switches on.
NOTE: The green LED is always on once the
battery has reached 80% capacity. It is OK to
use the battery after the red LED turns off and
switches over to the green LED.
SET-UP:
The CCB100 is a 12.0V DC battery powered cable
cutter capable of cutting up to 750 kcmil hard drawn
copper cable, up to 1000 kcmil soft drawn copper and
up to 2" O.D. aluminum cable. The CCB100 comes
with cutting tool, sealed nickel cadmium 12V battery,
120V AC single phase charger, and carry case.
It is normal for copper residue to be found on the
blades of the CCB100. This is the result of testing
of the unit prior to shipping. Before using, clean the
copper residue off the blades and charge the battery
as described below.
CHARGING A BATTERY:
! WARNING
DO NOT short circuit charger output
terminals. Shorting the output terminals
can lead to electrical shock which may
cause severe personal injury. To avoid
short circuiting the charger unit, avoid
exposing the charger to water, oil, or
other liquid solvents.
Eraser Company Inc. • Syracuse, NY USA • Ph: 315-454-3237 • [email protected] • www.eraser.com • Fax 315-454-3090
2) The charger will not operate effectively if it is
overheated. Allow at least 15 minutes between
charging when several batteries are charged
continuously.
3) To achieve optimal charging, cool batteries before
charging, and only charge batteries in an ambient
temperature of 50 to 90 degrees F (10-35
degrees C).
4) The charge time is approximately 1 hour for a fast
charge (80%), 4 to 6 hours for a quick charge and
14 to 16 hours for a standard charge (100%).
BATTERY CARTRIDGE:
! WARNING
DO NOT short circuit battery output terminals. Rapid
battery discharge can cause overheating that may
burst the battery, which may lead to serious personal
injury. To prevent short circuiting the battery pack,
avoid exposing the battery to water, oil, or other
liquid solvents and metal objects.
Page 4

CCB100 BATTERY OPERATED CABLE CUTTER
p 4
DO NOT disassemble or modify the battery.
Disassembly of the battery may lead to short
circuiting the battery cells, which may cause
personal injury or damage to the battery.
DO NOT use the charger supplied with your
CCB100 for batteries other than those specically
recommended. Using this charger for other battery
types may cause the battery to overheat and burst,
which can cause serious personal injury.
DO NOT drop or otherwise abuse the battery. Dropping
a battery may cause the battery pack-clip to break.
DO NOT expose batteries to locations where
temperatures may exceed 140 degrees F (60
degrees C). Overheating batteries can cause battery
cell damage.
1) The battery provided with your cable cutter has
a limited life. It can be recharged approximately
1000 times, although charging habits and
conditions will affect the battery’s life.
1) Refer to the SPECIFICATION SECTION in this
manual for the recommended cables for use with
this cutter. This tool is not for use with cables
larger than those listed in the specication table.
2) If the cutter is used continuously, the temperature
of the motor may rise, causing the battery pack to
become hot. This occurrence can cause the tool
to malfunction. Cool the cable cutter tool between
cuts to ensure proper operation.
3) If the ambient temperature is low (less than 50
degrees F), the cable material may become
harder and cutting may not be performed as
efciently. To achieve optimal performance from
your cable cutter, allow the cable to warm before
cutting.
4) This tool contains precision parts and may not
function correctly if it is abused. Take care to
avoid exposing the cable cutter tool to shocks
or other abuse that may damage the tool’s
components.
2) If the battery is stored without being charged,
natural drainage will cause the power to be
reduced. Charge the battery approximately every
3 months to ensure it is ready when needed.
3) Follow the instructions provided with the battery
for properly disposing of a dead battery.
CUTTER:
! WARNING
Tools are NOT insulated for use on
or near energized conductors. Use of
these tools near energized conductors
may lead to electrical shock, causing
severe injury or death. DO NOT use
these tools near energized conductors
without ad equately insulating operator
and surroundings.
Always wear protective gloves when
handling the cutter blades. Cutter
blades have sharp edges that can cut
skin even when stationary.
DO NOT expose the tool to moist conditions.
Moisture can lead to tool deterioration and can
cause the circuit to malfunction.
Eraser Company Inc. • Syracuse, NY USA • Ph: 315-454-3237 • [email protected] • www.eraser.com • Fax 315-454-3090
OPERATING INSTRUCTIONS
! CAUTION:
DO NOT cut steel conductors or any other
conductors that contain steel. Cutting steel can
cause tool failure, which may lead to personal injury
and property damage. Always wear eye protection
when operating this tool.
REMOVING OR ATTACHING THE BATTERY:
1) While pressing the battery latch on the battery,
pull the battery down and out of the tool. To
replace the battery, properly align it with the tool’s
battery port and rmly push it until it clicks into
position.
2) To ensure the battery is properly attached, pull
it without pressing the latch. The battery should
remain secure to the tool if properly inserted.
SWITCH OPERATION:
1) For safety purposes, the cutter has a 3-way action
switch system - FORWARD (F), REVERSE (R),
and NEUTRAL (N) when positioned in the center.
The ON and OFF trigger switch will not function
when the 3-way lever switch is in the neutral
position.
Page 5

CCB100 BATTERY OPERATED CABLE CUTTER
p 5
2) To activate the cutting mode, simply move the
3-way lever switch to the “F” position and depress
the trigger switch.
3) To reverse or back up the moving blade, move
the 3-way lever switch to the “R” position and
depress the trigger switch.
CUTTING CABLE:
1) Read all of the SET-UP and SAFETY
INSTRUCTIONS prior to cutting cable.
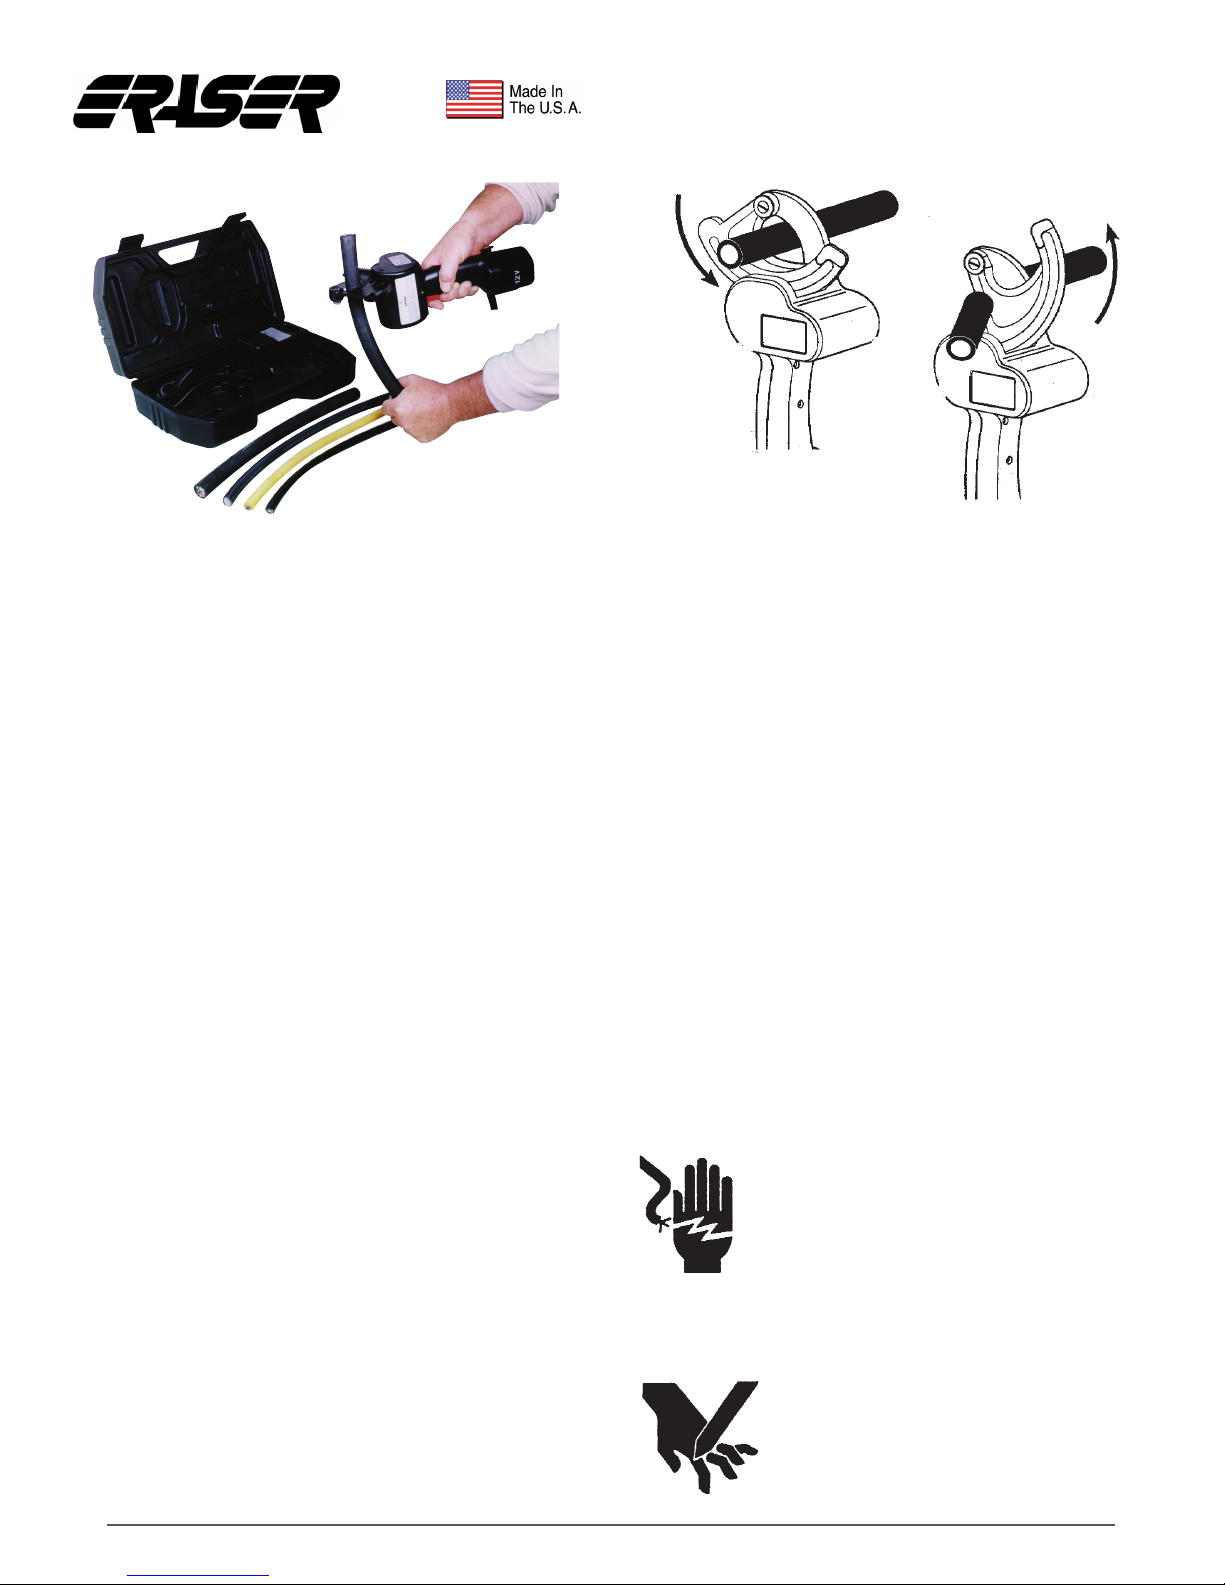
2) Activate the trigger switch to open the moving
blade. The 3-way lever switch can be in either
position “F” (Forward) or “R” (Reverse).
3) Place the cable to be cut onto the stationary
blade and close the moving blade by hand so that
the gear teeth engage the drive mechanism of
the unit.
4) Move the 3-way lever switch to “F” position.
Depress and hold the trigger switch until the
cable is completely cut.
2) To continue using the tool, wait 10 seconds to 1
minute and press the reset pin back into position
(Normal operation can resume when the reset pin
has been returned to its original position).
3) If the breaker activates again, allow the tool to
return to room temperature before using. Also,
eliminate any conditions that may lead to the
breaker activation, such as those described in (1)
above.
MAINTENANCE:
Daily maintenance is important to keep your cable
cutter in good working condition. Follow the advice
below to help ensure your tool provides long, reliable
performance.
To ensure smooth operation and prevent rust, store
the tool in a cool, dry place.
Inspect blades for damage or burrs. If burrs exist,
they can be removed with a at grinding stone on
the back side of the blades. Clean, sharp blades will
provide better and safer performance.
5) To make several small cable cuts continuously,
you can alternate use of the Forward and
Reverse modes to keep the blade engaged with
the drive mechanism of the tool.
6) When nished, remove any dust or particles that
may have become attached to the blade.
CIRCUIT BREAKER:
Your CCB100 is equipped with an internal circuit
breaker to prevent damage to your tool. The following
instructions will assist you to determine the causes for
breaker activation and how to reset the breaker.
1) The tool will not operate when the circuit breaker
is activated. The circuit breaker may activate
under the following conditions:
• The tool is used to cut oversized or hard material.
• The tool becomes overheated from continuous use.
• The tool draws current in excess of its rated
amperage.
When activated, the reset pin will stick out about
1/16" from its original position.
When the plastic housing becomes dirty, clean it
with a soft soaped cloth. Keep handle clean, dry and
free from oil and grease at all times.
SERVICE:
Service information is provided only for experienced
tool technicians. We do not recommend you attempt
to service or repair any tool yourself. Tool servicing
by unqualied personnel will void the warranty and
may lead to serious personal injury.
COMPLETE DISASSEMBLY OF THE TOOL IS
NOT RECOMMENDED.
The disassembly procedure is divided into sections
of the tool. Complete disassembly of the tool is
seldom necessary. Disassemble only the areas
necessary to correct the problem.
GENERAL GUIDELINES:
Disassembly should be done on a at, clean surface.
Some parts may fall free during disassembly. To prevent
part loss or damage, keep the tool as close to the
working surface as possible.
Eraser Company Inc. • Syracuse, NY USA • Ph: 315-454-3237 • [email protected] • www.eraser.com • Fax 315-454-3090
Page 6

CCB100 BATTERY OPERATED CABLE CUTTER
p 6
Inspect all parts as they are disassembled and their
mating parts in the tool that are not removed for
signs of damage, wear, cracks, etc. Replace any
parts which appear to be damaged.
When disassembling the tool for service, it is
recommended that O-rings, back-up rings and
gaskets be replaced.
Clean grease and oil from all parts (take care to
protect eyes) then dry thoroughly. Do not expose
O-rings or other packing components to cleaning
agent for long periods of time.
Inspect all parts as they are assembled for signs of
damage, wear, cracks, etc. Do not install any parts
which appear to be damaged.
Apply hydraulic uid or O-ring lubricant to all O-rings
and their mating surfaces to facilitate installation.
When installing an O-ring over a sharp edge, use a
rolling action to avoid damage to the O-ring.
Whenever assembled parts cause metal-to-metal
contact, coat the surface with hydraulic uid or
O-ring lubricant.
4) Using an M2.5 Allen wrench, loosen and remove
the screw (Item M) and lock-washer that secure
the gear guide to the moving blade.
5) Install the replacement gear guide on the
new moving blades, making sure to position
it correctly. Make sure that the lock-washer is
positioned between the screw head and the gear
guide.
6) Using the Allen wrench, tighten the screw
securely.
7) To replace the other guide, repeat steps (2) to (6).
8) Re-install the battery and operate cutter. The
Forward/Reverse switch may have to be
switched, depending upon the position of the
blade. Keeping your ngers away from the blade
areas, carefully feed the moving blade into the
gear mechanism to engage the blade. Make sure
the cutter operates correctly, without any binding,
before using it to cut cable. If binding is evident,
stop the tool immediately and repeat steps (2) to
(6).
Gear Guide Replacement:
1) Make sure that the blades are free of any
obstructions.
2) There are two gear guides, left and right. Operate
the cutter in either the forward or reverse
direction to move the blade completely out of the
gear mechanism. This will expose the gear guide
that you wish to replace.
3) Remove the battery from the cutter.
The Eraser Company, Inc.
PO Box 4961/ Oliva Drive
Syracuse, NY 13221, USA
Always Moving Forward
IMPORTANT: NO LIABILITY WILL BE INCURRED
BY THE ERASER COMPANY FOR INJURY,
DEATH, OR PROPERTY DAMAGE CAUSED
BY A PRODUCT WHICH HAS BEEN SET UP,
OPERATED, AND/OR INSTALLED CONTRARY
TO ERASER’S WRITTEN OPERATING MANUAL,
OR WHICH HAS BEEN SUBJECTED TO MISUSE,
NEGLIGENCE, OR ACCIDENT, OR WHICH HAS
BEEN REPAIRED OR ALTERED BY ANYONE
OTHER THAN ERASER, OR WHICH HAS BEEN
USED IN A MANNER OR FOR A PURPOSE FOR
WHICH THE PRODUCT WAS NOT DESIGNED.
Phone: (315) 454-3237
Fax: (315) 454-3090
®
Website: www.eraser.com
E-mail: info@eraser.com
IR1024
REV 1/2016
 Loading...