

Page 1
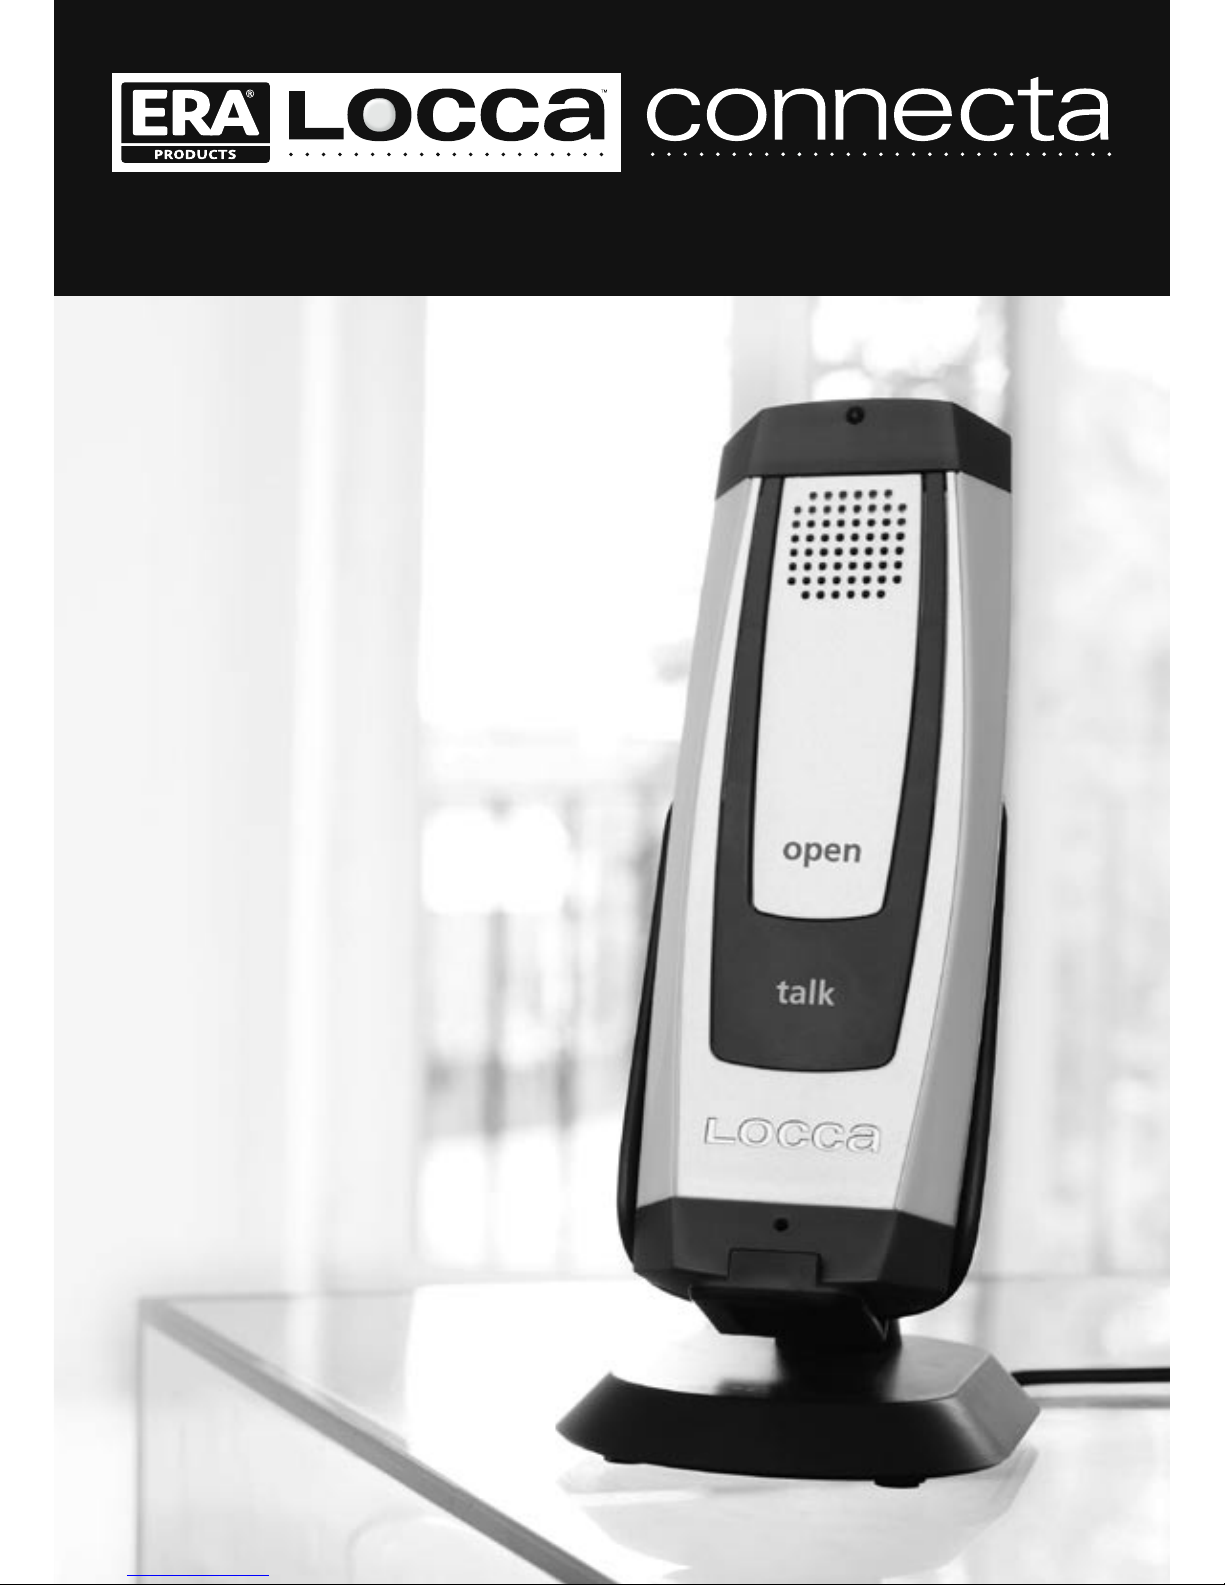
Handset
User &
Installation
Guide
The Wireless Intercom
Page 2
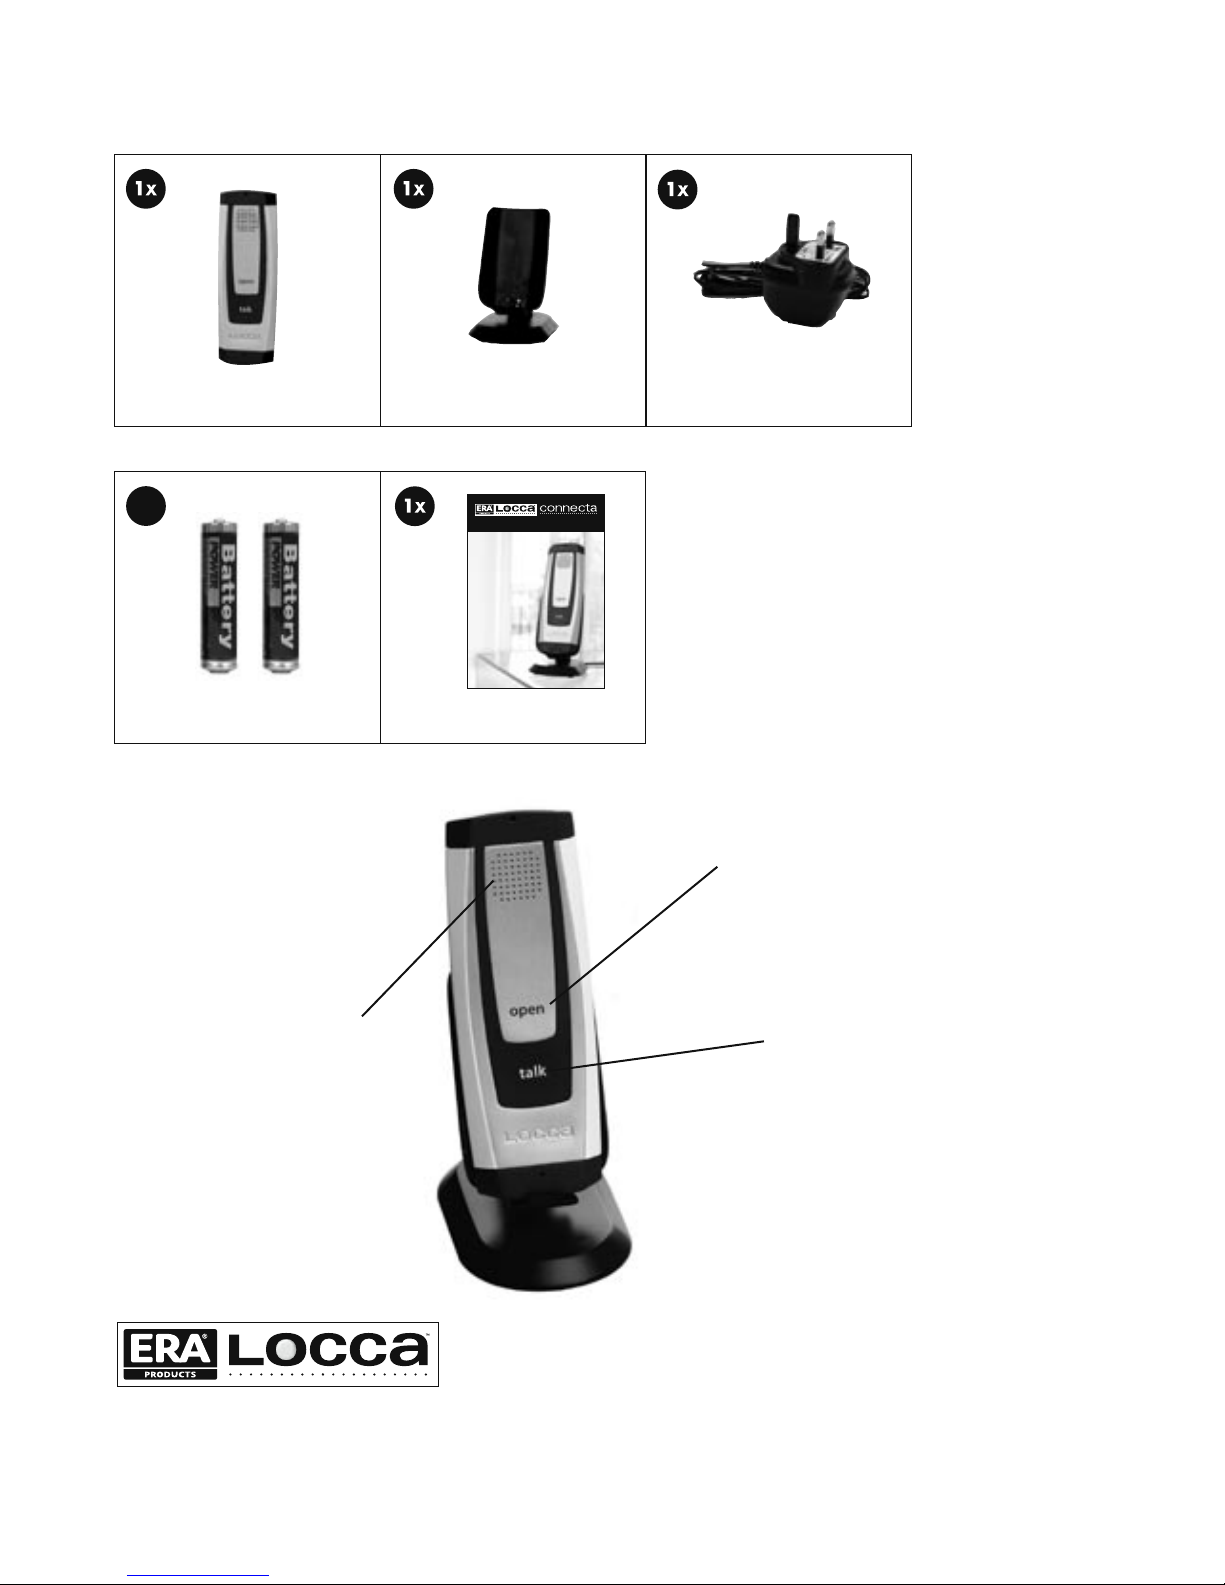
What’s in the box?
Speaker
Open Button
Talk Button
CONNECTA HANDSET HANDSET CHARGING DOCK
TRANSFORMER PLUG FOR
HANDSET CHARGING DOCK
AAA BATTERIES
2
x
USER INSTALLATION GUIDE
Features
ERA Products Ltd,
Straight Road, Short Heath,
Willenhall, West Midlands WV12 5RA
Tel: 01922 490000
www.era-security.com
E-mail: [email protected]
Handset
User &
Installation
Guide
The Wirel ess I nter com
Page 3
ERA Locca Connecta Handset User Guide
INSTALLING THE HANDSET &
CHARGING DOCK
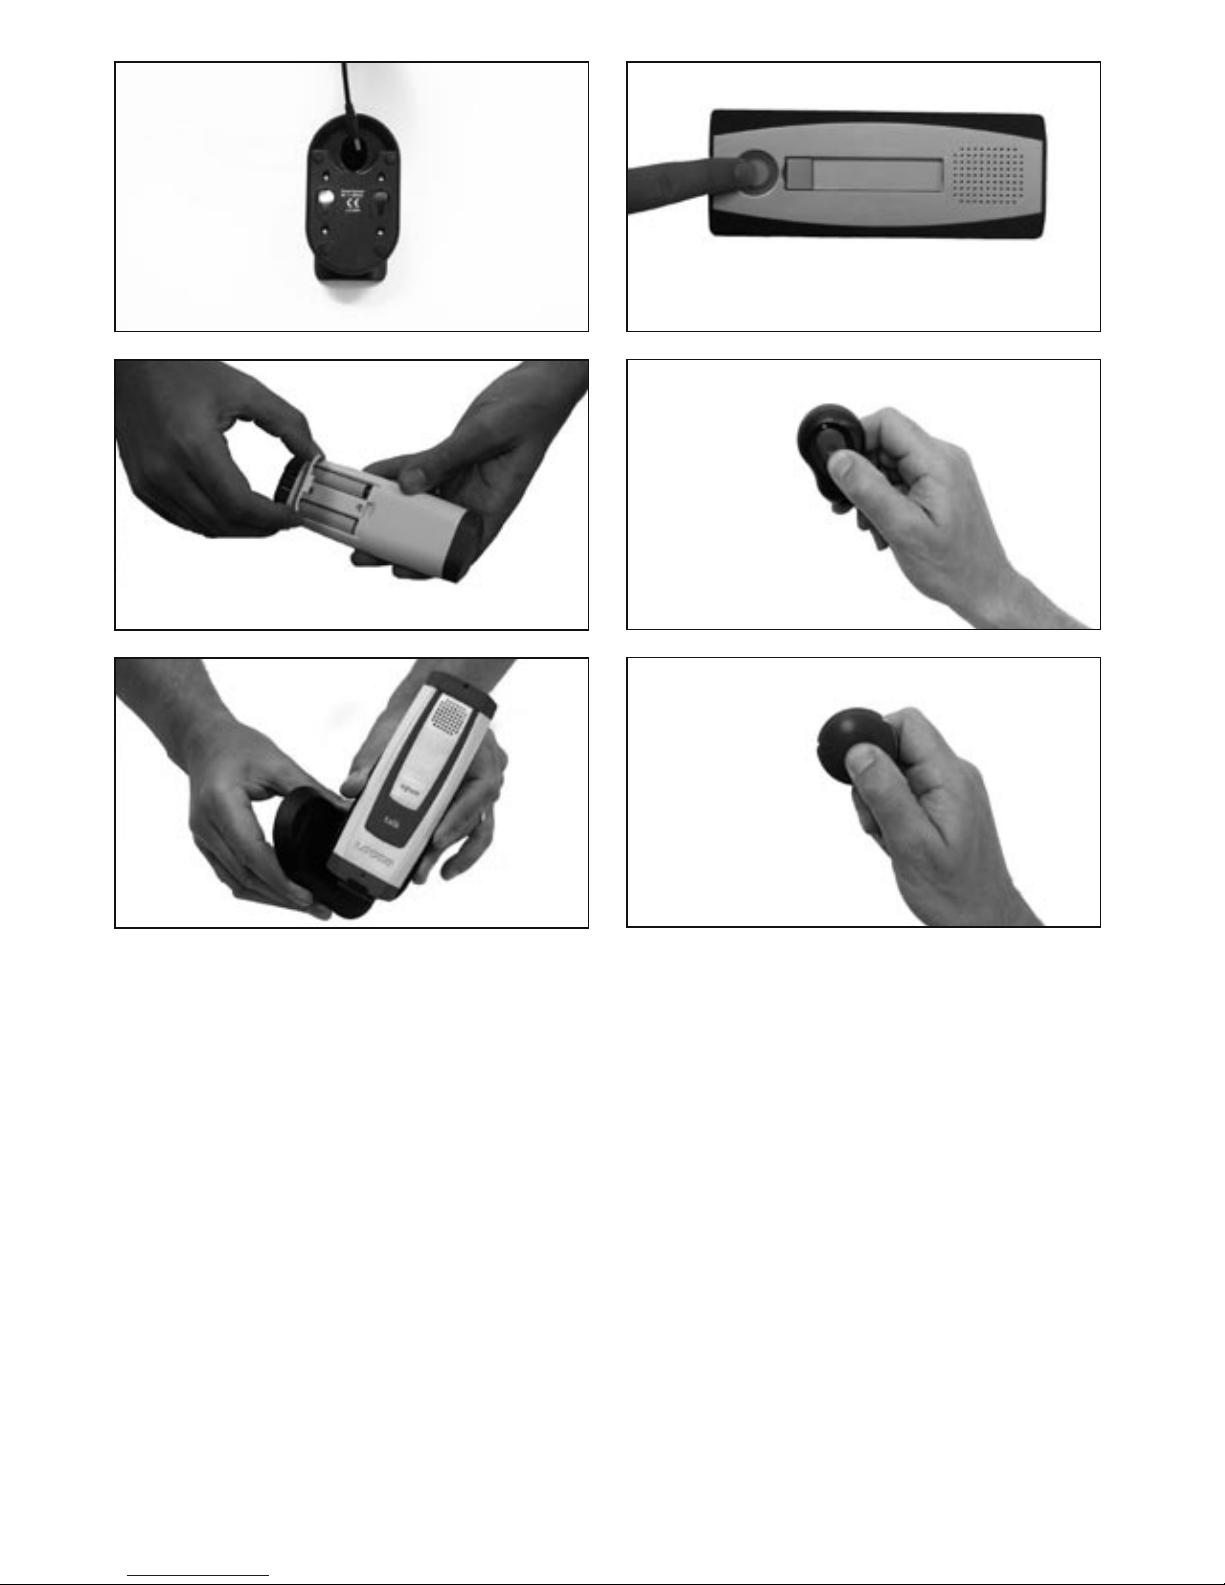
1. Place the charging cradle on flat surface or
rotate the base and attach to wall.
2. Plug charger into the base of charging
cradle.
Fig.1
3. Plug in to socket.
4.
Open back of handset and insert rechargeable
batteries (included in pack).
Fig.2
5. Place handset on charging cradle. Fig.3
6. Your handset is now installed.
Fig. 1
Fig. 2
Fig. 3
Fig. 4
Fig. 5
Fig. 6
PROGRAMMING EXTRA HANDSETS
INTO THE ERA LOCCA CONNECTA
(Please note: the handset supplied is already
programmed to the speech panel)
1. Please note - rechargeable batteries should
be inserted into handset.
2. Hold down the ‘call’ button on the speech
panel (for around 5 seconds) until the button/
nameplate backlight flashes once.
Fig.4
3. Once the call button/nameplate light has
flashed, press the ‘call’ button once, and then
a second time. The nameplate light should now
begin flashing.
Page 4

GUARANTEE
Your ERA Locca system comes with a free oneyear guarantee (from date of purchase) against
mechanical defects.
IMPORTANT
The user should not attempt to service the unit or
open the main casing.
TECHNICAL INFORMATION:
Handset:
• Operating range up to 200 metres line of
sight in open area
• Ambient temperature range: 0° to 40°
• Environment humidity: 80% RH
• Adaptor Supply: 6Vdc 200mA
• First charging time for rechargeable
batteries: 12 hours
• Use Locca adaptor with band Ktec and
model number: KA23D060020033K
• Use only GP rechargeable batteries, with
model number: GN60AAAHC. [2 X 1.2V
600mAh Ni-MH].
Caution
Risk of explosion if battery is replaced by incorrect type.
Dispose of used batteries according to instructions.
CE
Hereby, Locca Tech Ltd, declare that this Locca
Connecta System is in compliance with the
essential requirements and other relevant
provisions or Directive 1999/5/EC.
4. Take the first handset and press and hold the
open button for five seconds until the handset
emits a short beep.
5. Press the open button for a second time. The
light on the front of the handset will go red and
the handset will begin beeping.
6. The system will now automatically log the
handset into the speech panel. This can take up
to 60 seconds.
7.
To enter further handsets, please repeat the
above process with each handset (up to a total of six).
PROGRAMMING HANDSETS TO WORK
WITH AN ERA LOCCA ACCESS OR MULTI
To programme handsets into the
ERA Locca Access or Multi, take the
following simple steps:
1. Press the ‘call’ button on the speech panel.
2. The handset will ring. Press the ‘talk’ button
on the handset. The handset and speech panel
are now connected.
3. Put the ERA Locca Access or Multi into ‘learn
key’ mode.
[for the ERA Locca Access- press the red
programming key twice]
Fig.5
[for the ERA Locca Multi- press the red programming
key once, scroll to ‘Add Key’ option, then press
the red programming key again]
Fig.6
Refer to the Locca Access or Multi user manual if
necessary.
4. Press the ‘open’ button on the handset twice.
5. The ERA Locca Access or Multi will
acknowledge safe learning of the handset.
6. Repeat this process (from step one) for each
new handset.
To unlock the door
1. Press ‘Talk’ on the handset.
2. Then press ‘Open’.
(this is a security feature to ensure you do not
unlock the door by mistake).
 Loading...