

Equip NS-468 User Manual
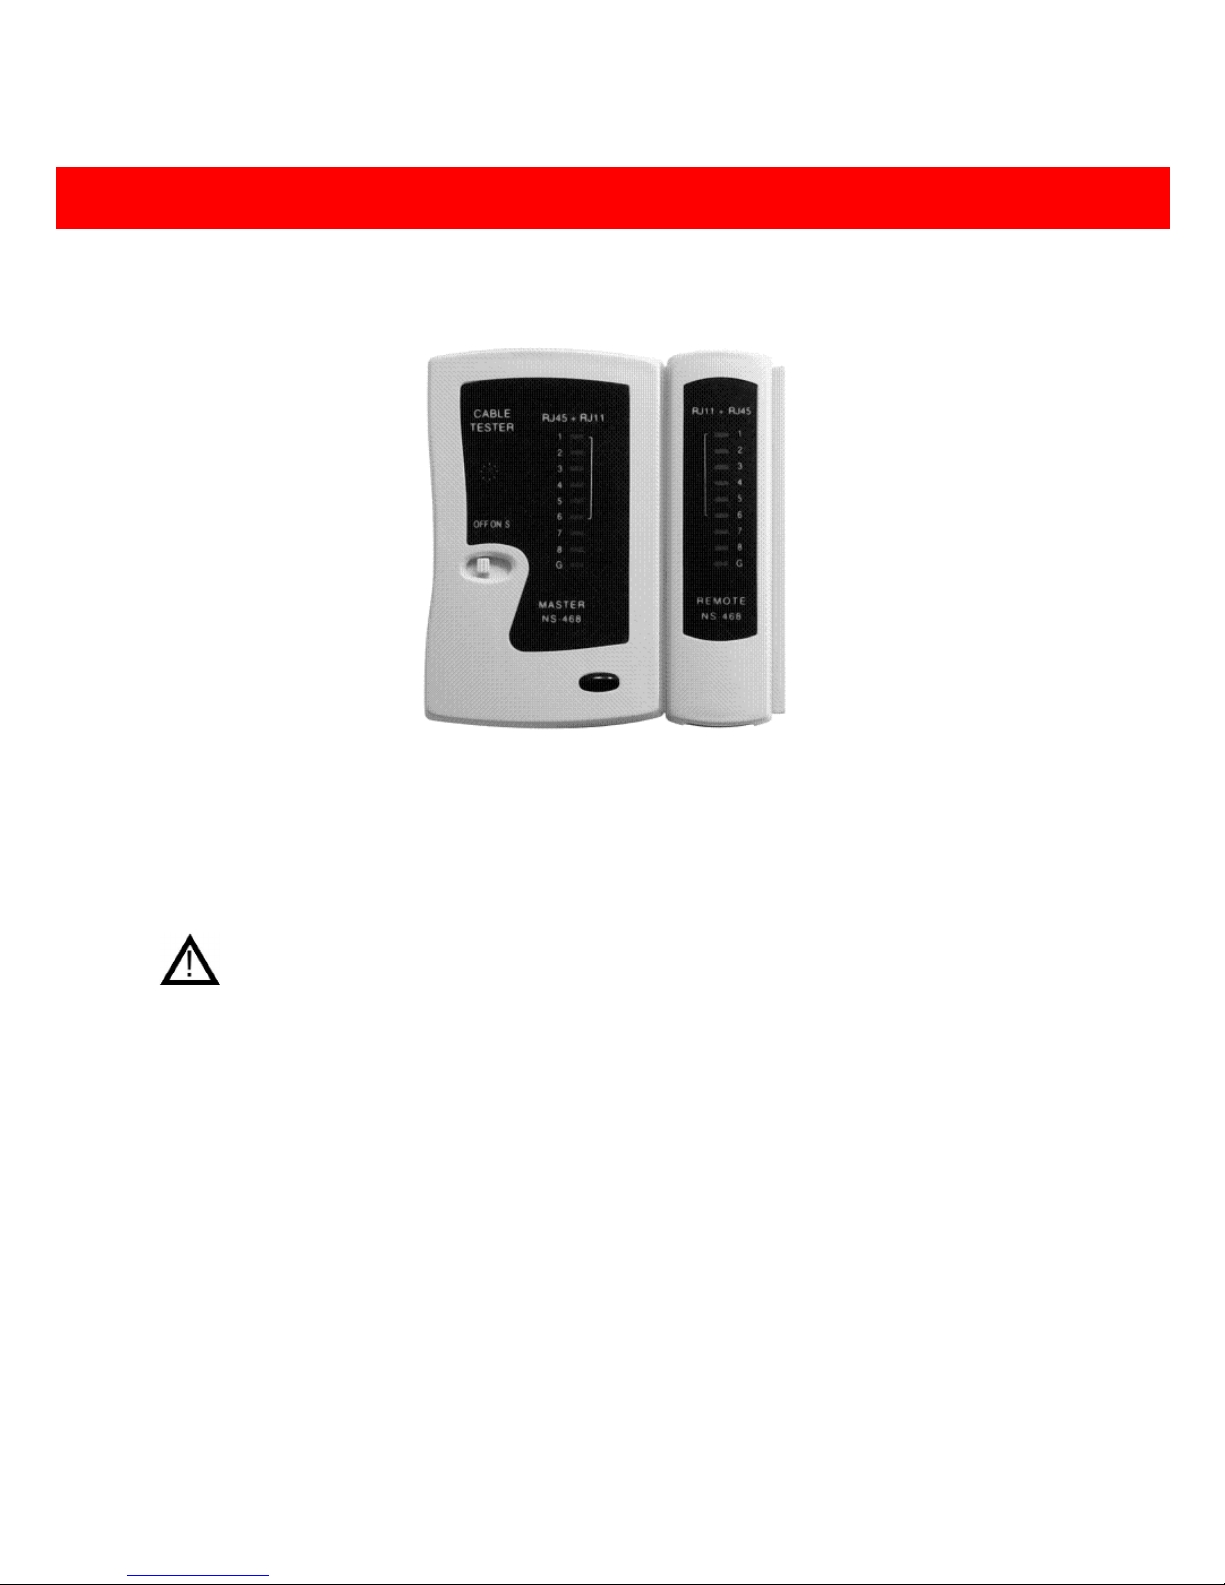
Cable Tester NS-468
Safety instructions
· Do not use the cable tester NS-468 if it is damaged.
· This device is only for use inside dry and clean rooms.
· This device must be protected from moisture, splash water and impact of heat .
Intended use
The cable tester is used for fast testing of ISDN-, and network cable (RJ11, RJ45).
Configuration and shielding will be tested. Installed cable could be also tested.
Another employment than indicated is not permissible!
Changes can lead to the damage of this product, beyond that is this connected with dangers, like e.g.
short-circuit, fire, electrical impact etc.
For all special and personal injuries, which occur of not intended use, not the manufacturer, but the
operator is responsible.
Please note that serving and/or connection errors lie outside of our sphere of influence.
Understandably we cannot take over any adhesion for damage, which occur from it.
The entire product may not be changed and/or converted!
1
Preparation / Measurement
No energized lines measure!
Insertion of battery:
To insert the battery (9 V-Block) remove battery cover from MASTER-Device. Connect the battery
clip to the battery.
For operations of the REMOTE-device there is no battery needed.
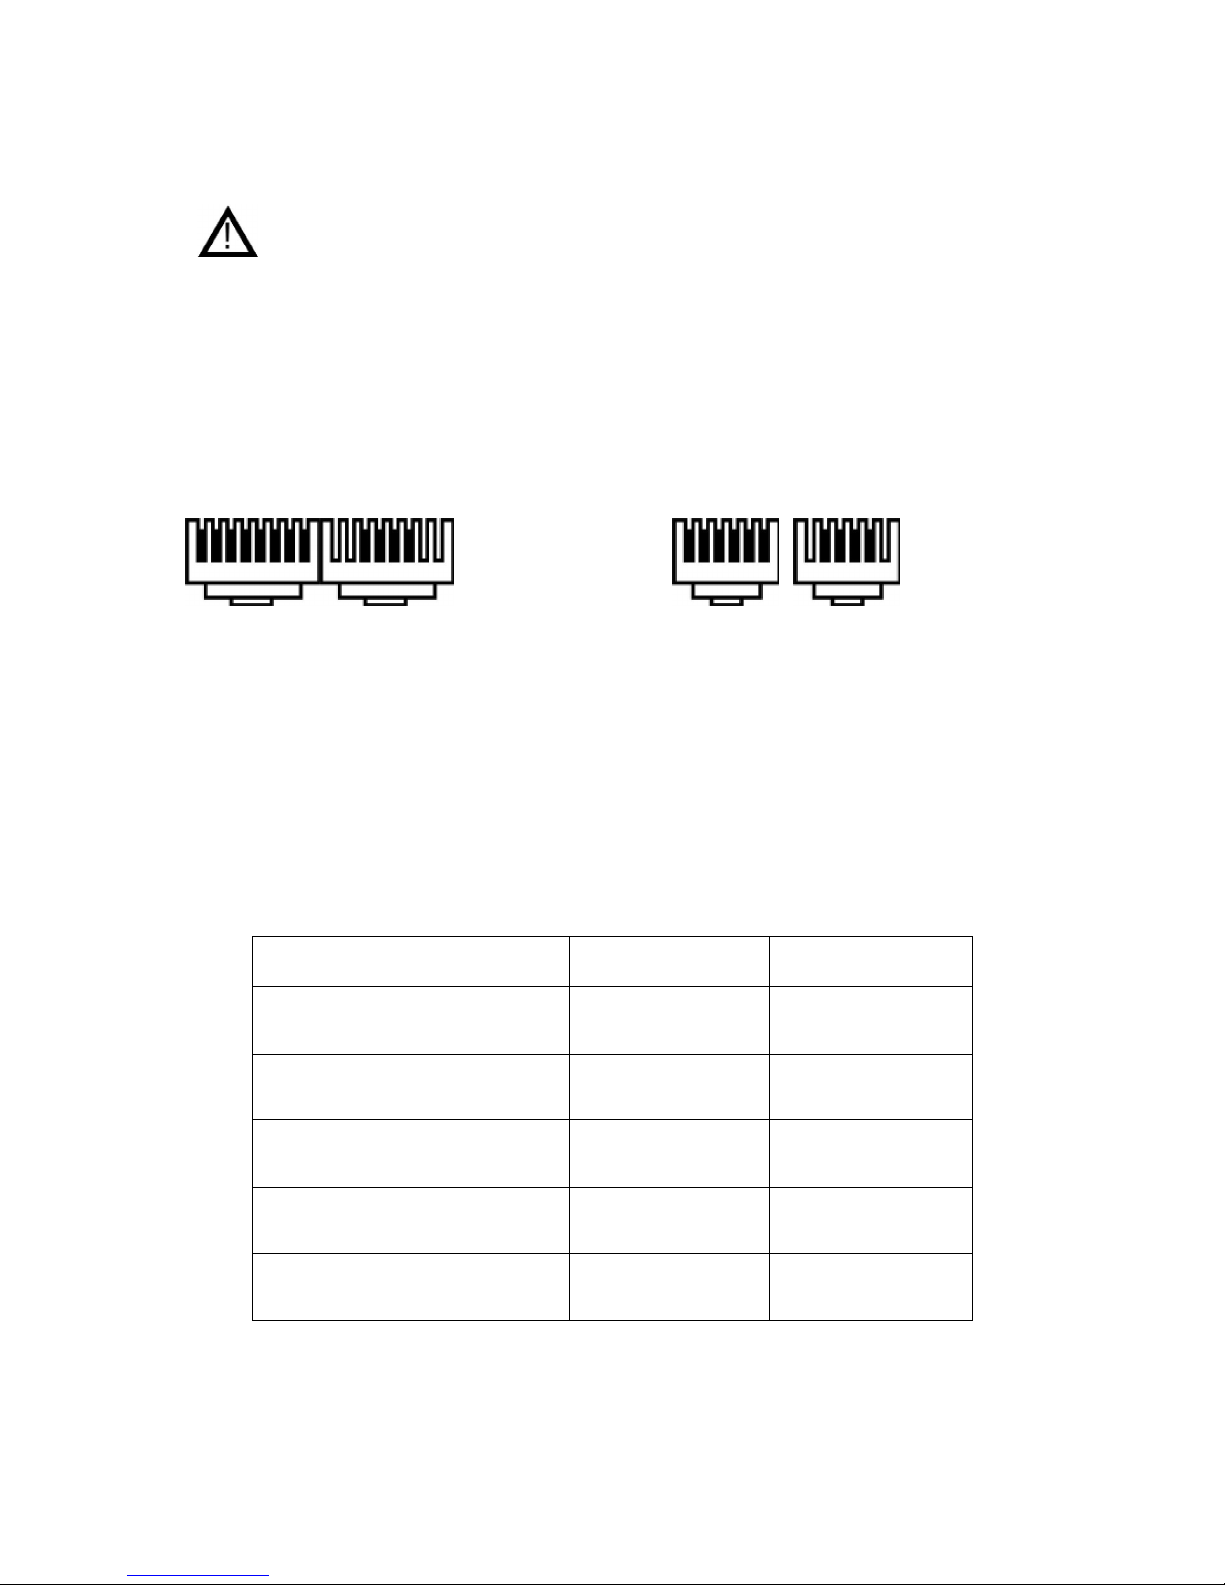
Plugs / Cable:
1- 2-
RJ45 RJ12 / RJ11
Measurement:
· Connect the plugs of the cable which can be measured with the suitable sockets of the
MASTER and the Remote device.
· By pushing the switch to „ON“ -Position you turn the device to „FAST Test Modus“. Here each
individual contact of the cable is successively examined. The electrical connection is indicated
at the MASTER and at the REMOTE device over an LED.
· By pushing the switch to „S“-Position you turn the device to „SLOW Test Modus.
· By pushing the switch to „OFF“-Position you turn the device off.
· The result of measurement is indicated over the status LEDs (see table of the most usual
connections) at both devices. At cable with shielding shines additionally the “G “- LED
Kabel Stecker Anzeige MASTER Anzeige REMOTE
Cable Display
Master
Display
Remote
RJ45-Network cable (1:1,
completely connected, with
shielding)
1-2-3-4-5-6-7-8-G 1-2-3-4-5-6-7-8-G
RJ45-Network cable (crossover,
completely connected, without
shielding)
1-2-3-4-5-6-7-8 1-4-3-2-5-6-7-8
ISDN-Cable, 4-pin 3-4-5-6 3-4-5-6
RJ12-Cable, 6-pin 1-2-3-4-5-6 1-2-3-4-5-6
RJ11-Cable, 4-pin 2-3-4-5 2-3-4-5
2
 Loading...