

Page 1
Version 1.1
Page 2

equinux AG and equinux USA, Inc.
© 2009 equinux USA, Inc. All rights reserved.
Apple, the Apple logo, iTunes, iPod, iPhone, iPod touch, Mac, Mac OS, Safari, Pages,
iSight, and QuickTime are trademarks of Apple Inc., registered in the U.S. and other
countries.
Under the copyright laws, this manual may not be copied, in whole or in part, without the written consent of equinux AG or equinux USA, Inc. Your rights to the software are governed by the accompanying software license agreement.
The equinux logo is a trademark of equinux AG and equinux USA, Inc., registered in
the U.S. and other countries.
Every effort has been made to ensure that the information in this manual is accurate. equinux is not responsible for printing or clerical errors.
Manual revision 1.1
Created using Apple Pages.
Internet: www.equinux.com
equinux assumes no responsibility with regard to the performance or use of these
products.
2
Page 3

Contents
............................................................SongGenie at a Glance 4
.....................................................Installation and Activation 5
Installing SongGenie 5
Activating SongGenie 5
Purchasing SongGenie 5
Activate SongGenie with your equinux ID (Online Store) 6
Moving a license to another computer 6
Your Music Collection 7
........................................................Working with SongGenie 8
A first look at SongGenie 8
Applying the song filter 8
Song identification 9
Identifying multiple songs 9
Song identification results 9
Applying results 10
Applying results from multiple searches 10
Multiple album results 11
Filter songs by search terms 11
Manual adjustments 11
...........................................Appendix: Keyboard Shortcuts 15
..........................Finding album artwork with CoverScout 12
Launching CoverScout searches 12
....................................................................Technical Details 13
Supported file types 13
Storing Song Information 13
.............................................................................Preferences 14
Determining where to Look for Music Files 14
Applying Automatically 14
3
Page 4
SongGenie at a Glance
Untitled and incorrect music titles in your iTunes library are
now history. SongGenie analyzes, identifies and completes
your music library.
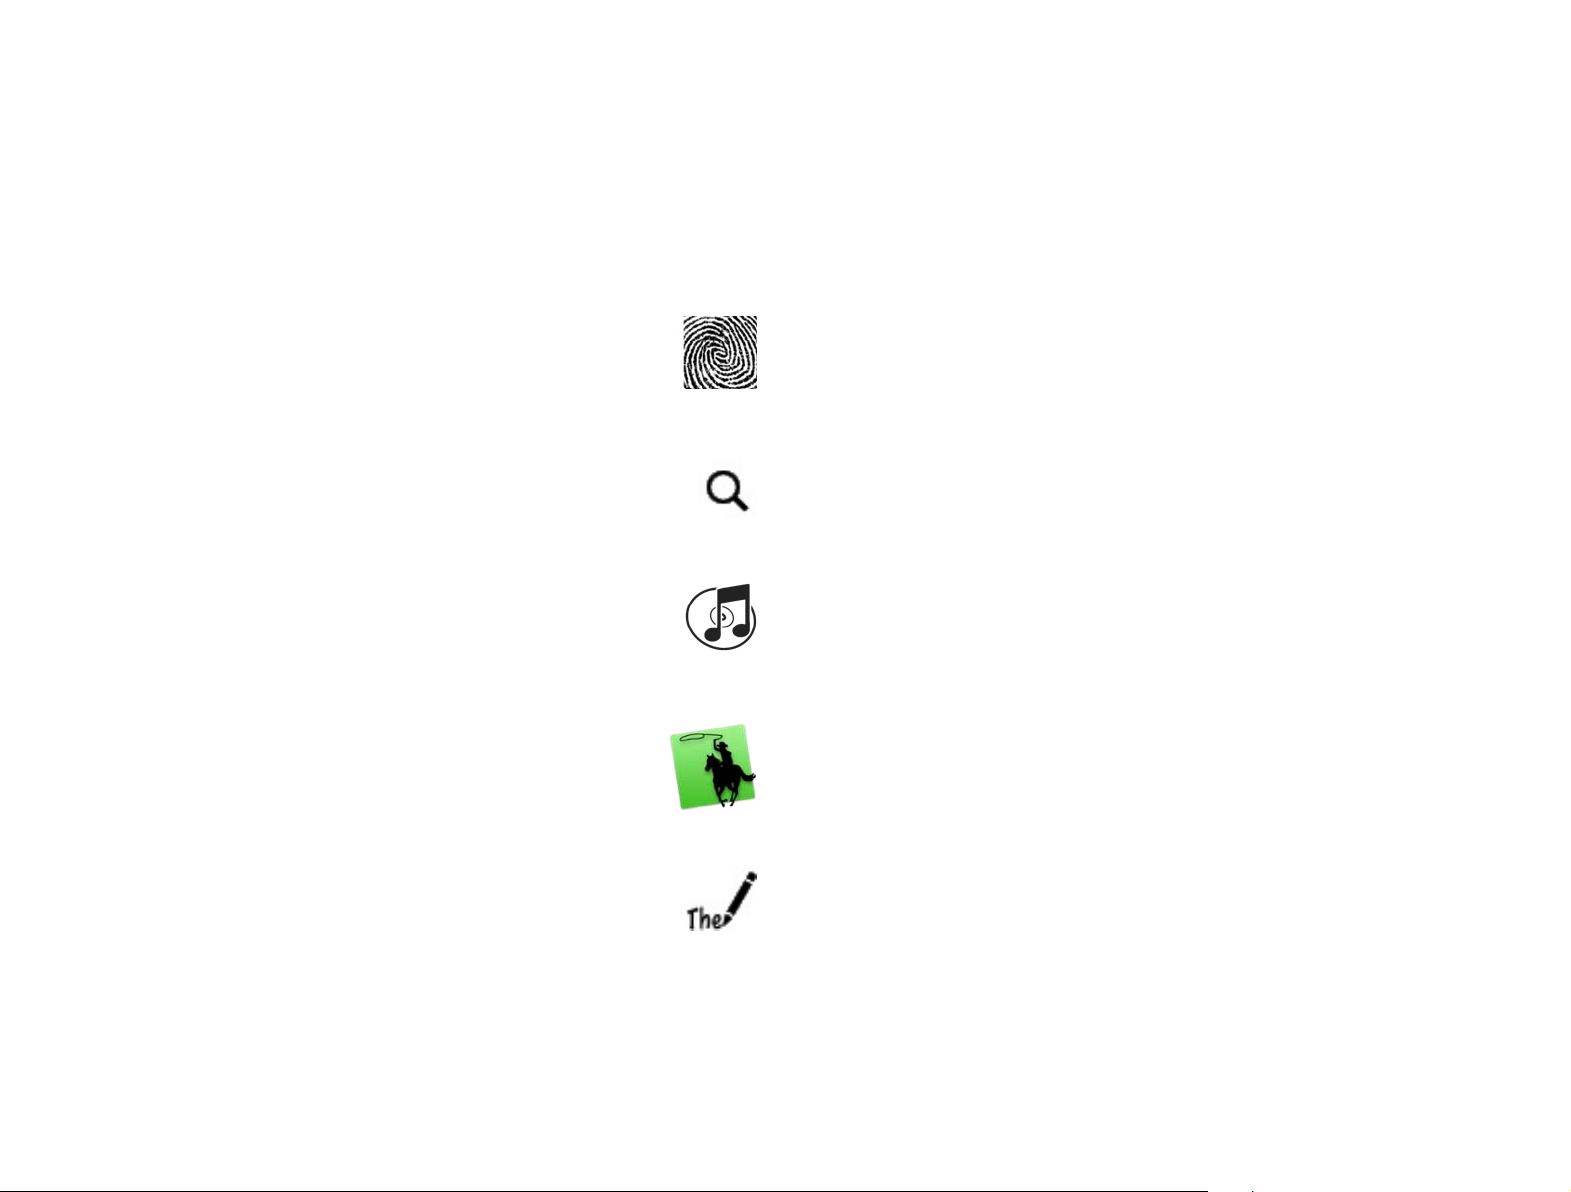
Acoustic Fingerprinting
SongGenie creates an acoustic fingerprint of every track. Using
this data, it compares your song’s information to that in the database and suggests missing information. Whether the music is in
MP3, (unprotected) AAC/M4A or Apple Lossless format, SongGenie
can handle all typical iTunes formats and detects more than 80
per cent of the songs in an average music library.
Intelligent Filters
SongGenie will go through your library and find any songs that have
missing incomplete or incorrectly formatted information. That way,
you can focus on songs that need to be worked on.
iTunes integration
Changes you make with SongGenie will show up in iTunes and
SongGenie can also display your iTunes covers as well.
CoverScout Integration
Once SongGenie has completed your song information, CoverScout can really complete your collection and find cover artwork
for all your songs. Complete covers make browsing your collection with Cover Flow on your iPhone, iPod or in iTunes a dream.
Better track information for better listening
Music descriptions such as "title 01", "unknown album" or other
missing title information are history. The best advantage to having
a complete music library: Easily find your favorite song on your
iPhone, iPod or in iTunes and get better right track suggestions via
iTunes' Genius feature.
4
Page 5
Installation and Activation
This chapter explains all steps necessary to start using
SongGenie.
Installing SongGenie
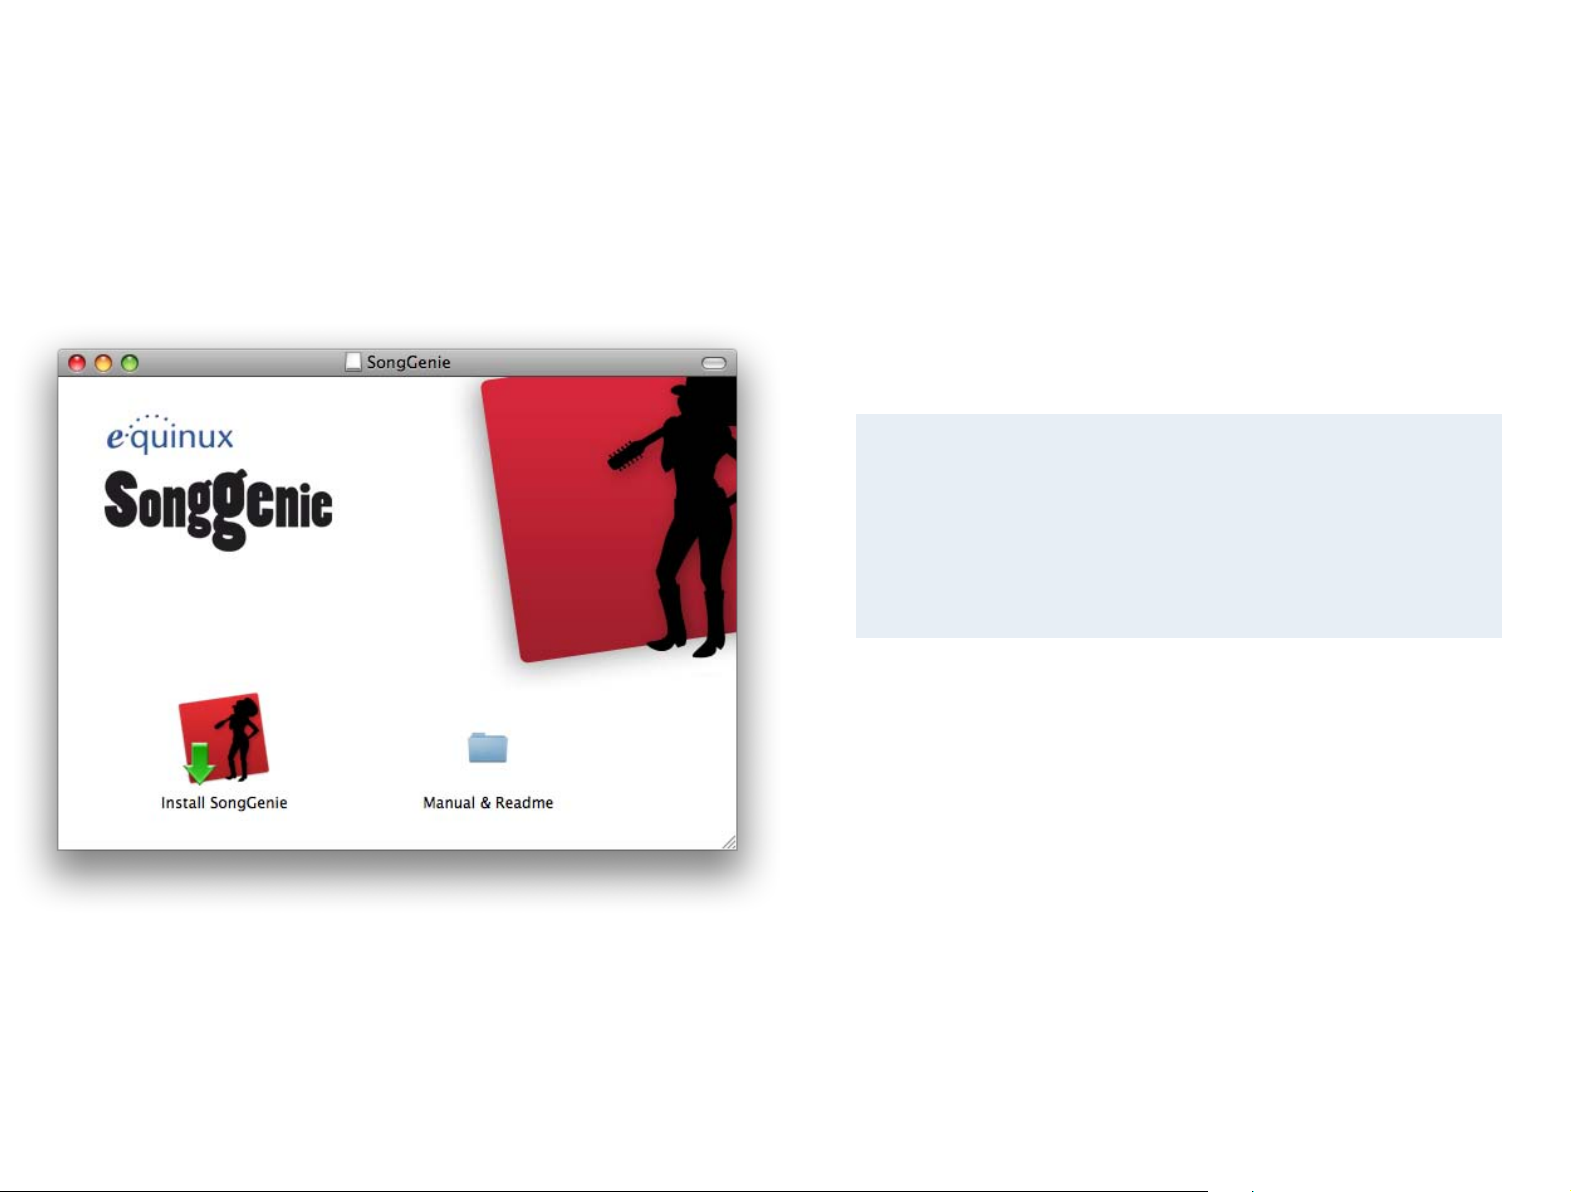
Before you can start naming your songs, SongGenie must be installed on your
computer.
If yyou downloaded SongGenie from our website:
1 Double-click the “SongGenie.dmg” file.
2 A new window will open: Double-click “Install SongGenie” and follow the
onscreen instructions.
Activating SongGenie
Before you can use all of SongGenie’s features, you have to activate the program on your computer. If you have already purchased a license in our Online
Store or as a Retail box, you can skip ahead to the next section
Your equinux ID
Your equinux ID will be used to store and manage your equinux
products. If you don’t yet have an equinux ID yet, the following section will explain how to create one. Please keep your equinux ID
and password in a safe place as you’ll need this information again
to use your equinux products.
If you bought a boxed version of SongGenie:
1 Insert the SongGenie CD into your Mac’s CD/DVD drive.
2 Double-click the SongGenie CD icon on your Desktop.
3 Double-click “Install SongGenie” and follow the onscreen
instructions.
Purchasing SongGenie
You can buy online directly within SongGenie. All you need is a connection to
the Internet.
To purchase SongGenie:
1 Open SongGenie, and select SongGenie > Buy SongGenie… from the
menu bar.
2 A Window will appear and you can order your copy of SongGenie.
If you paid via credit card, your license will then be added to your equinux ID
and SongGenie will be activated on your Mac, once your card details have
been verified
If you paid via bank transfer or PayPal, we will send you an email as soon as
we receive your payment. Afterwards, you’ll be able to activate SongGenie
using the equinux ID and password you created in our Online Store.
5
Page 6

Activate SongGenie with your equinux ID (Online Store)
If you bought SongGenie in our Online Store, you can activate it with your
equinux ID and password. You created your equinux ID when you purchased
the license in our store.
To activate using your equinux ID:
1 Open SongGenie, and select SongGenie > Activate SongGenie… from
the menu bar.
2 Enter your equinux ID and password and follow the steps
Activate Your Retail Box Version
If you bought SongGenie as a Retail Box, you should be able to find an “Activation Code” on the front of the Quick Start Booklet. Using this code you can
activate SongGenie on your computer.
To activate using an Activation Code:
1 Open SongGenie, and select SongGenie > Activate SongGenie… from
the menu bar.
2a If you already have an equinux ID, please sign in using this ID.
2b If this is your first equinux product, click Create equinux ID and enter the
required information.
3 Finally, enter your Activation Code.
3 Select “SongGenie > Activate SongGenie…” on your new Mac. SongGe-
nie.
(If you no longer have access to your old Mac, you can also visit
http://my.equinux.com
and reset your license there.)
Family Edition
If you would like to use SongGenie on multiple Macs, you can upgrade to the Family Edition, which will allow you to use SongGenie on
up to 5 Macs.
Visit http://my.equinux.com
for more details.
Your SongGenie license will then be added to your equinux ID and activated
on your Mac. The next time you need to install SongGenie you can simply do
so with your equinux ID and password – you won‘t need the Activation Code
any longer. Please store your equinux ID and your password on a safe place.
Moving a license to another computer
All licenses for equinux products are hardware-bound. That means each activation is valid for exactly one computer. In order to activate SongGenie on
another computer, you’ll first need to reset your license.
To transfer a license to another computer:
1 Open SongGenie on your old computer, and select “SongGenie > Deacti-
vate SongGenie…” from the menu bar. The license is now available and
you can activate the software on another Mac.
2 Install SongGenie on your new Mac.
6
Page 7

Your Music Collection
Before you get started, SongGenie will need to find and index all albums and
tracks in your music collection.
Where SongGenie checks for music
By default, SongGenie scans the “Music” folder in your home directory for
music files.
Remember to add external harddrives and other folder location, if you store
(parts) of your music collection elsewhere.
For more information about this, see the chapter Preferences.
SongGenie’s first scan
A lot of us have fairly large music libraries, so SongGenie may need a while to
add all your music the first time it scans your collection. While it’s completing
its scan, you can start working on the files that have already been found.
Don’t worry though: SongGenie remembers your collection, so things will go
faster after the first scan is complete and subsequent launches will be much
quicker.
7
Page 8

Working with SongGenie
Use the arrows to scroll
through your songs
Click a song to jump
directly to it
This chapter will introduce you to SongGenie’s features and
show you how to find and fix missing song information.
A first look at SongGenie
In the SongGenie window you can see all the songs that SongGenie has
found in your music collection.
Applying the song filter
Some of the songs in your music collection may already have complete information. So first of all, we’re going to have SongGenie filter out those songs,
allowing you to find just the songs that need improving.
To show just songs that have missing information:
‣
Select the drop down menu from the top left corner of the window
‣
Select “Songs with missing information”
SongGenie will then try to find songs that have missing information: It will
recognize empty information fields, placeholders such as “Track 1” or “Unknown artist” as well as incorrect formatting.
Flip through your songs by clicking the large arrows to the right of the current
song, or by selecting a song from the list in the lower half of the window.
Choose the filter to only
see songs that need to
be worked on.
8
Page 9

Song identification
The number of songs SongGenie has
finished identifying.
Click here to see all
identified songs
Now Songgenie should just be showing songs that have missing information
and you’re ready to start song identification.
To start Song Identification:
‣
Select the song you wish to identify
‣
Double-click the song in the track list to start identification
While SongGenie is identifying a song, a rotating “spinning wheel” will appear
to the left of the song in the song list.
SongGenie will analyze the track and generate an “acoustic fingerprint”. That
fingerprint will be compared to an online database of songs from which
SongGenie will retrieve the correct song information.
Identifying multiple songs
While your first identification is running, you can start another by simply
double-clicking another song in your list.
However, you can also select a larger number of songs and start searches for
them all at once.
To identify multiple songs:
‣
Hold down Command and click on multiple songs
‣
Select Analysis > Identify Songs
With the filter applied, it’s easy to work your way through all of SongGenie’s
results, reviewing and applying your identification results using the up-and
down-arrow keys on your keyboard.
Your results window should now look something like this, now that we’ve applied the filter and have a few identified songs:
SongGenie will now start to identify all of the songs you selected.
Song identification results
Once SongGenie has identified a few songs, you can start reviewing and applying the results.
To show your identified songs:
‣
Click the blue “Show Identified Songs” button at the bottom of the window
9
Page 10

SongGenie will indicate your songs identification results next to each field,
The existing information was
correct
The song could not be identified
A result has been found
Multiple results were found
using the following icons:
Applying results
The song’s Title, Artist and Album suggestions will be shown on blue arrows
next to the song in upper half of the window.
To apply all suggestions:
‣
Click the blue “Apply” button:
You can also just apply parts of the song information, e.g. just the track title, or
just the artist’s name. This may be useful if you would prefer to use a custom
naming scheme for artists or albums for instance.
To apply only part of the results:
‣
Click the blue arrow to the left of the song with the information you would
like to apply
To reject search results:
‣
Click the “Ignore” button
Applying results from multiple searches
If you have identified multiple songs, you can also apply all search results at
once.
To apply multiple results:
‣
Click the blue “Show Identified Songs” button at the bottom right corner of
the window
‣
Click “Apply Automatically”
SongGenie will now apply your results. If a song was identified as being on
multiple albums, SongGenie will not apply those results, allowing you to
choose a result yourself. If you would prefer SongGenie to always apply the
first of multiple album results, that can be configured under the Preferences.
See the Preferences chapter for more details.
Note: If your songs already have (some) information, we recommend reviewing the results to make sure you don’t overwrite any old information you
wanted to keep.
Click a result arrow
to apply information
selectively.
If you’re not satisfied with the suggested search results, you can also reject
them, leaving your songs original information unchanged.
10
Page 11

Multiple album results
Click the number of album results to
reveal all matches. Then click a result to
apply it.
If a song is available on multiple album releases, SongGenie may find multiple
results for that song’s “Album”. SongGenie gives you the ability to choose a
specific album release for your song.
Multiple albums results will be indicated by a number next to
the album result arrow:
To select from multiple album results:
‣
Click the number on the album result arrow
‣
Select an album from the drop-down list. It will be applied immediately.
Filter songs by search terms
If there’s a specific artist, album or song you want to filter by, you can do that
as well by entering it into the search box.
To filter by a search term:
‣
Enter the search term into the box in the upper right corner of the window
Click one of the
fields to enter information manually.
Your song list will now be filtered to just songs that match the terms you entered.
Manual adjustments
SongGenie also gives you the option of entering a song’s information yourself.
This might come in handy if you want to assign custom information.
To manually enter song information:
‣
Select a song from the song list
‣
Click the song’s artist, album or title fields
‣
Start typing and hit Return to apply your changes
11
Page 12

Finding album artwork with
Click to start
searching for
covers in
CoverScout 3.
CoverScout
No music collection is really complete without cover artwork. Once you’ve
fixed your song information with SongGenie, you can easily launch a cover
artwork search using CoverScout 3.
A free demo of CoverScout 3 is available from the equinux website:
http://equinux.com/goto/getcoverscout
Launching CoverScout searches
Once you’ve correctly added information to your song, you can open that
song with CoverScout.
To launch a cover artwork search:
‣
Move your mouse over the artwork at the right of the song information
window
‣
Click “Search with CoverScout”
CoverScout 3 will be launched and you can start searching, editing and applying album artwork.
12
Page 13

Technical Details
In this chapter, we’ll look at some more in-depth questions about the way
SongGenie works.
Supported file types
In order to be able to work her magic, SongGenie needs to be able to “listen”
to and update your songs. Currently, SongGenie can work with the following
music file types:
‣
AAC files, including unprotected iTunes Plus files from the iTunes Store
‣
MP3 files
‣
Apple Lossless Files
Storing Song Information
The song information you apply using SongGenie will be written directly into
your music files. So the next time you play that song using iTunes or any other
music software or device, the new information will show up.
13
Page 14

Preferences
This chapter explains the various options available in
SongGenie’s Preferences window.
Select SongGenie > Preferences… to open the Preferences window. The window is separated in General, Search and Web Search.
Determining where to Look for Music Files
In the Preferences window, you can specify the locations within which
SongGenie will look for music files.
To add additional music locations outside of your “Music" folder:
‣
Click the “+” icon
‣
Navigate to the folder you would like SongGenie to search in
‣
Click “Add”
SongGenie will begin searching through that folder and any sub-folders it
finds for music files.
Tip You can temporarily deactivate search locations by unchecking the “Ac-
tive” box for that location.
Applying Automatically
If your song is identified as being on multiple albums, you can choose
whether SongGenie should apply the first album result it finds, or whether it
should skip that song.
Synchronize with iTunes library
SongGenie can find and display iTunes covers in its main window as well. If
you enable this option SongGenie will launch iTunes and check your library
for cover artwork.
SongGenie will also make sure iTunes stays up-to-date with any new song
information you apply.
To add your iTunes music:
SongGenie will search in your “Music” folder by default, which usually also
includes the default location of your iTunes library. If you have chosen to store
your entire iTunes library or parts of your library elsewhere, you will need to
add those locations.
14
Page 15

Appendix: Keyboard Shortcuts
Action
Shortcut
Song List
Select previous song
Command- Up Arrow
Select next song
Command- Down Arrow
Select first song
Command-Option-Up Arrow, Home
(↖)
Select last song
Command-Option-Down Arrow,
End (↘)
Extend song-selection upwards
Command-Shift-Up Arrow
Extend song-selection downwards
Command-Shift-Down Arrow
Extend song selection to first Song
Command-Shift-OptionUp Arrow
Extend song selection to last Song
Command-Shift-OptionDown Arrow
Scroll Song list up
Page Up (⇞)
Scroll Song list down
Page Down (⇟)
Show/hide Filter bar
Command-F
Song Identification
Start song identification
Command-Return
Stop song identification
Command-. (Period)
Apply all results
Return
Ignore results
Escape (esc)
Action
Shortcut
Working with Files
Play song in iTunes
Command-Y
Show in Finder
Command-R
General Shortcuts
Show Preferences window
Command-, (Comma)
Hide SongGenie
Command-H
Hide other applications
Command-Option-H
Close window
Command-W
Quit SongGenie
Command-Q
Minimize
Command-M
Show this manual
Command-?
Many of SongGenie’s features can be controlled solely with the keyboard. The
following table contains an overview of the keyboard shortcuts.
15
 Loading...