

Page 1
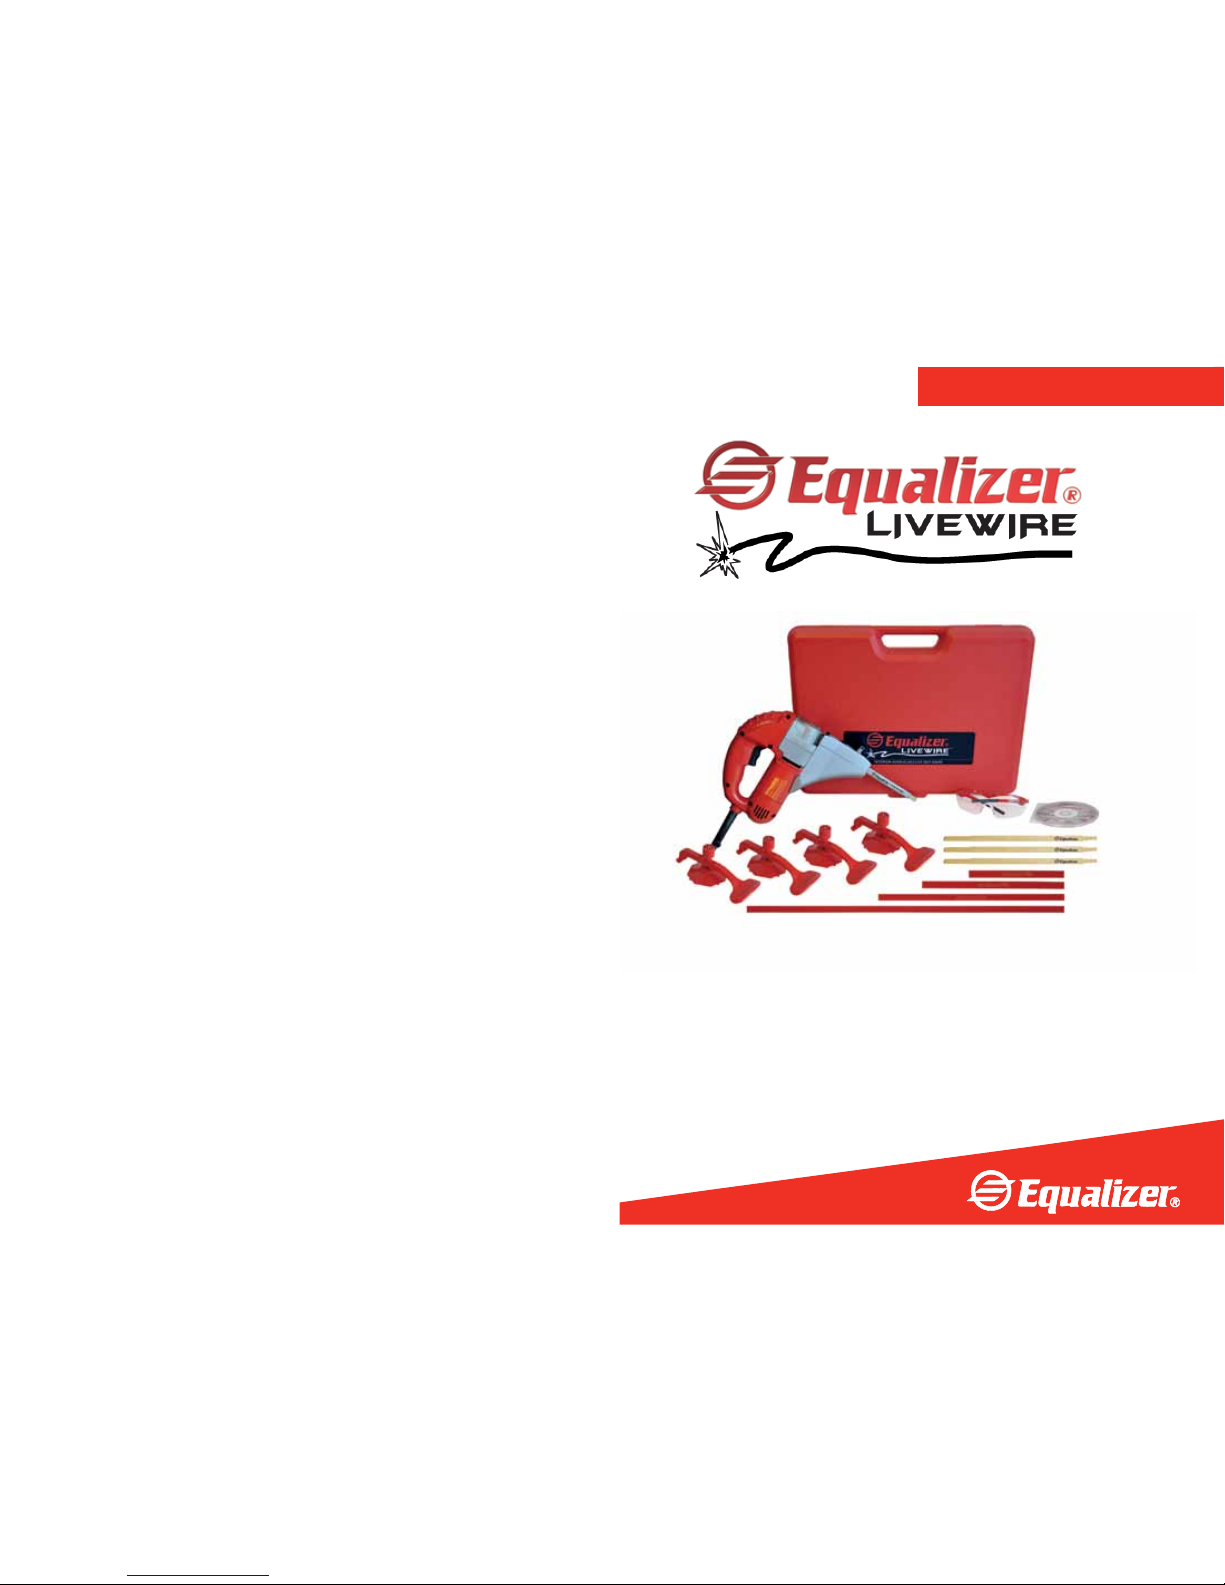
120-Volt Electric
Interior Auto Glass Cut Out Knife
Users Guide
Part No. LFT412
www.equalizer.com
© 2012 Equalizer Industries, Inc.
Page 2
EQUALIZER® SERIAL NUMBER
KEEP THIS FOR YOUR RECORDS
All Equalizer® tools are warranted for one year to be free of factory
defects. Warranty does not apply to abuse, misuse, or normal wear and
tear. We will repair or replace, at our option, any defective part. Tools are
repaired and sent back the same day they are received.
If you feel your tool is covered under warranty,
the entire tool, including all blades, must be returned to:
EQUALIZER INDUSTRIES, INC.
2611 OAKMONT DRIVE
ROUND ROCK, TEXAS 78665
If you want a tool repaired, but are not seeking to
have it repaired under warranty, we require that you return the
complete tool including the blades.
Equalizer Industries, Inc., reserves the right to refuse to repair, at
our expense, any tool which has not been properly maintained as
specified in the Users Guide. Particularly important are the following:
1. KEEP THE BLADES SHARP!!!!! This is the one thing most technicians WILL
NOT do and it WILL damage the tool.
2. Always use a cutting lubricant. If you want to eliminate the
possibility of contaminates, use only clean water.
3. DO NOT HIT THE PINCHWELD. THIS WILL DESTROY THE DRIVE
MECHANISM OF YOUR TOOL.
If you have any questions about your tool, call us toll free at
800.334.1334 or fax us at 512.388.4188
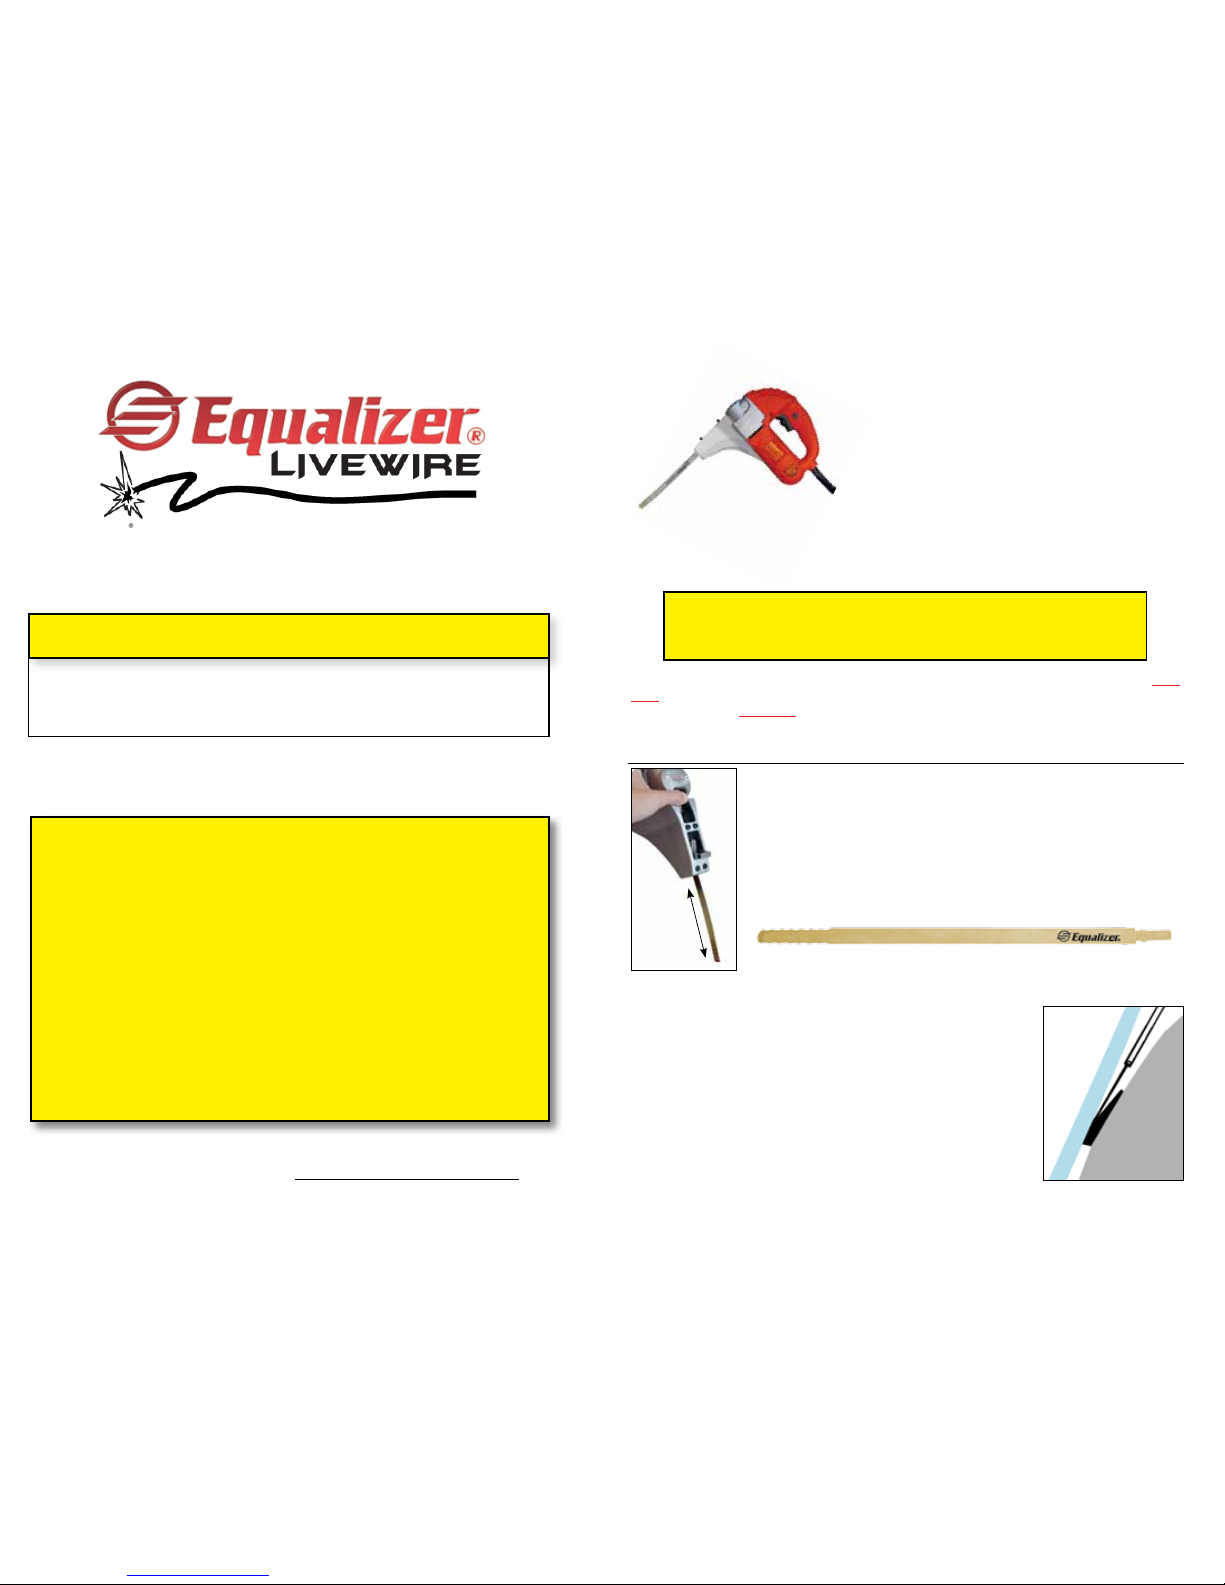
Changing the Blade
Pull back on the blade release lever and slide blade in or pull
blade out. Be sure to grasp the blade above (away from) the
cutting end. Make sure you do not try to change the blade
while the sheath is installed. Always remove sheath prior to
changing the blade.
Put The Blade In Correctly
Look at how the blade is installed when you receive your
Equalizer® LiveWire™ and always put it in the same way. The
flat side rides against the glass. This method of installing
the blade is important because the unique way the blade
is sharpened makes it hug the glass and cut the urethane
where it is easier to cut. The only exception to the above is
when the glass is encapsulated or has underside mouldings.
If you are trying to take these types of glass out without
breaking them, turn the blade around so the flat side will hug
the pinchweld. If you do not do this the blade may cut into the
plastic or moulding and damage them.
It is acceptable to run The Equalizer® LiveWire™ on a generator. Be sure the generator produces at least 1000
watts of 120-Volt alternating current. You can also run The Equalizer® LiveWire™ on an inverter. Do not use an
inverter smaller than 1000 watts. If the inverter gives a signal that the battery which powers it is getting low
be sure to start the motor of your mobile vehicle to recharge the battery. Some inverters can continue to
run these tools even though the inverter is not producing 120-Volts of electricity. This can damage your tool.
Voltage.......................................................120 volts
Amps...............................................................5..5
Watts.............................................................. 540
Strokes Per Minute..............................................0-3100
The Equalizer® LiveWire™ is a cut-out knife that
mimics the actions of a braided wire, which
are normally .022” in diameter. The LiveWire™
blade is only .020” thick and serrated to speed
up the cutting process. It reciprocates
inside
a metal sheath and
moves only 3/16” inward
and outward.
This sheath protects the dash and
garnish mouldings and
regulates the depth at
which the blade cuts. The blade is exposed only 1/4 inch to 1-1/2 inches on the end,
depending on
how you adjust the blade. The blade length
is adjustable because
different cars have different widths of urethane bonding.
Page 3
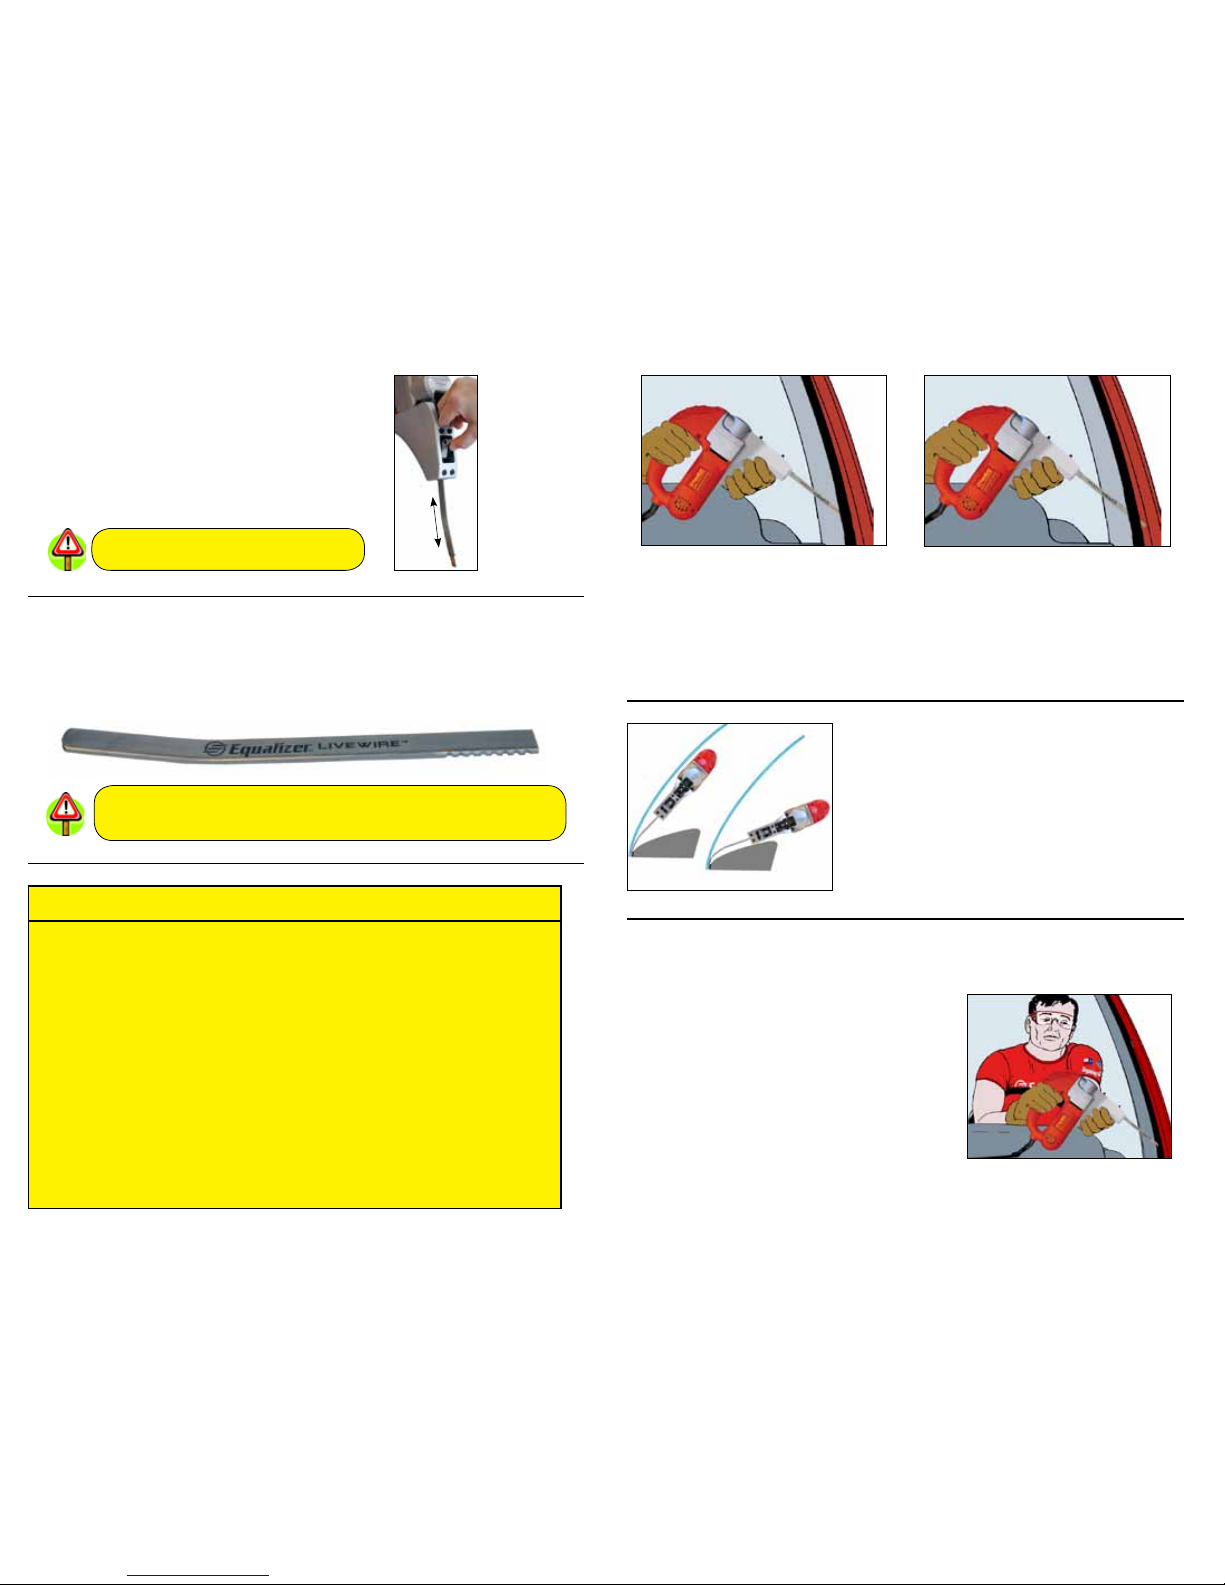
Keep the sheath clean inside!
Failure to do so can put excess strain on the drive unit and damage it.
We will not warranty tools damaged in this way!
Remember to always remove sheath
prior to changing the blade.
Sheath Maintenance
If urethane or butyl is pulled up into the sheath it can be cleaned by removing
the sheath and soaking it in a solvent. Avoid the use of harsh cleaners such as
lacquer thinner or similar “hot” cleaners. We recommend soaking the sheath in an
upright position so the urethane or butyl will drain out the bottom of the sheath.
Changing The Sheath
Pull back on the sheath release lever and slide
sheath in or pull sheath out. Can also be adjusted
to desired length with the notches on the sheath.
There are eight notches measuring 1/8” apart.
General Safety Information
1. Always wear safety glasses and safety gloves when using Equalizer® tools.
2. Do not activate Equalizer® tools until they are in the cutting position. Disengage
the tool and let it stop before taking it out of the urethane.
3. The blade is sharp and can cut even when the tool is not running.
4. Do not force the tool. Put light forward pressure on the tool.
Let it do the work.
5. Consider your work environment. Do not use or expose power tools in rain
or damp weather.
6. Unplug electric tools before servicing and when
changing accessories.
7. Stay Alert!! Watch what you are doing. Use common sense.
Remove & Replace
Windshields, Side Glasses & Back Glasses
Remove and replace windshields without breaking
them. Because of the thin blade (it is actually .002”
thinner than a normal piece of cut-out wire) you can
use your Equalizer® LiveWire™ to remove auto glass
without breaking it. Keep the blade moving and use
Equalizer® Cutting Lubricant. Use a utility knife to
cut down to the pinchweld, on the outside, taking
care not to let the knife cut into the paint. Use your
Equalizer® LiveWire™ to cut the glass loose from the
urethane. On encapsulated or underside mouldings,
turn the blade over so the flat side is against the pinchweld. If the blade is not turned
over it can cut into the plastic or moulding and damage them.
Plunge Cuts & Cutting
Start the tool with the blade a short distance from the urethane. Then, with the tool
running at full speed, push the blade into the urethane. This is called a plunge cut.
Grip the tool firmly and do not allow it to kick back. Plunge cutting works better
with the tool running at full speed. Plunge cutting is possible because the blade is
sharp around the end. After the plunge cut you can cut in either direction because
the blade is sharp on both sides.
Proper Tool Use
The sheath is curved so the drive unit can be
held away from the glass. This curvature keeps
the blade from bending as it comes out of the
sheath. Not holding the tool so the blade goes
straight in and out can cause excessive friction,
overheating the blade and causing it to break.
Right
Dash
Glass
Glass
Dash
Wrong
Page 4
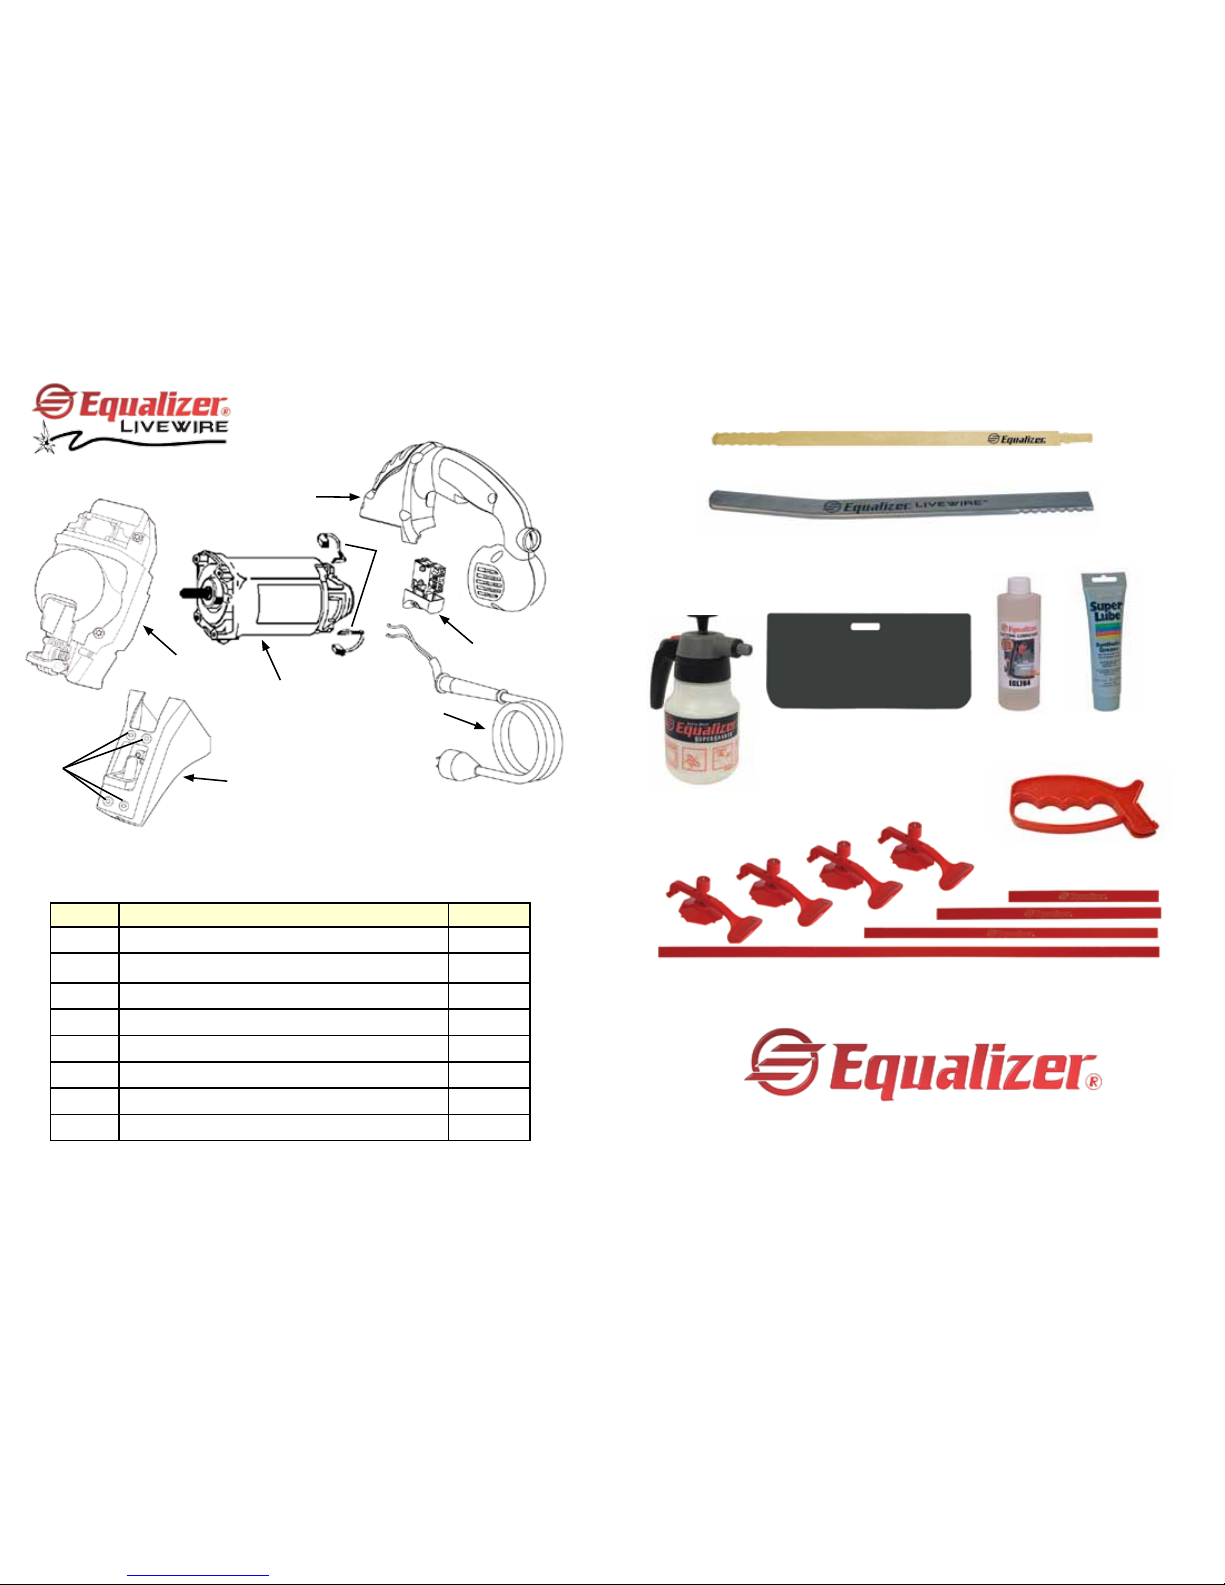
Part No. Description Quantity
2304 Foot Assembly (includes screws) 1
2300 Foot Assembly Screws 4
2301 Gear Case Assembly 1
2302 Motor Assembly 1
2306 Brushes 2
2303 Switch 1
2305 Handle Set 1
4108 Cord and Plug Assembly 1
Model: LFT412
2304
2300
2301
2302
2306
4108
2303
2305
2611 Oakmont Drive • Round Rock • Texas • 78665
Toll Free USA & Canada: 800.334.1334
International: 512.388.7715 • Fax: 512.388.4188
Email: [email protected]
www.equalizer.com
ECL784
POLY2
CU1077 SLL347
GLB611
Additonal Accessories
ASL626
PHV859
SFE329
Page 5
Cut Along Dotted Line To Detach.
TOOL SERIAL #____________________________________________
TOOL TYPE: LFT412
DATE YOU PURCHASED THIS TOOL______________________________
YOUR COMPANY__________________________________________________________
ADDRESS________________________________________________________________
CITY________________________________STATE______________ZIP CODE_____________
TELEPHONE NUMBER ( )_________________________________________________
YOUR NAME_____________________________________
YOUR POSITION______________________
PURCHASED FROM________________________________________________________
THEIR ADDRESS______________________________________________________
CITY, STATE, ZIP___________________________________________________
Cut Along Dotted Line To Detach.
WARRANTY REGISTRATION
Please PRINT clearly and fill in all of the blanks.
Place in envelope and mail to address on right.
2611 OAKMONT DRIVE
ROUND ROCK, TEXAS 78665
 Loading...