

Page 1

Quick Guide
This manual provides an overview of important operating
procedures for this printer. See the User’s Guide (online
manual) for detailed instructions on using the printer.
Getting Ready to Print .......................................................... 2
Media Setting not Available in Printer Driver or
Control Panel............................................................................ 4
Replacing Consumables ...................................................... 6
Cleaning the Print Head and Around the Cap ............. 7
Ejecting Paper to the Basket ...............................................8
Optional Items ......................................................................... 9
Introducing the Software ..................................................10
Menu List .................................................................................12
Accessing the Online Manuals ........................................16
Page 2

Getting Ready to
Print
These pages explain how to get the printer ready for printing.
Carefully follow these steps to get optimum print quality.
Check the Paper
Loading Positions
Roll Paper
Cut Sheet / Poster Board (1 sheet)
Load the Paper Following the
On-Screen Instructions
Touch Paper Setting.
A
Select one of the paper sources.
B
Touch See Description to see detailed on-screen
C
instructions.
2
Page 3

Set the Paper Type and Paper Size Print
The setting items vary according to the paper.
If you select a paper type or size that does not match the loaded paper,
the printout will have creases, ink smudges, or banding.
You can also make advanced paper settings if necessary.
Press OK after you complete the
settings
Paper Type Amount of
remaining paper
or paper size
When Ready. is displayed, you
can start printing.
Paper will start being fed if the screen is not used for 90 seconds.
For Epson Special Paper, set the Paper Type according to the
description on the packaging for the paper.
If the media setting you want to use for printing is not available in
the printer driver or on the control panel, see the following page to
make the media settings. If you print without making media settings,
problems such as creases, scu marks, or banding may occur.
U“Media Setting not Available in Printer Driver or Control Panel”
on page 4
3
Page 4

Media Setting not Available in Printer Driver
or Control Panel
You can use one of the following methods to make media
settings.
• Using the Add Media Setting tool
• Making custom paper settings
Using the Add Media Setting Tool
You can add Media Setting over the Internet. Media
Setting is loaded in the printer driver or the printer itself.
Media Setting
• Printer Driver
• Epson Print Layout
ICC prole or print
mode
Printer driver (Windows)
Download the latest printer driver from the Epson
Website.
Printer driver (Mac)
See the User’s Guide for information on how to display
the Add screen.
Displays a list of paper information that you can add.
Print control
parameters
Use one of the following methods to open the Add
A
Media Setting screen.
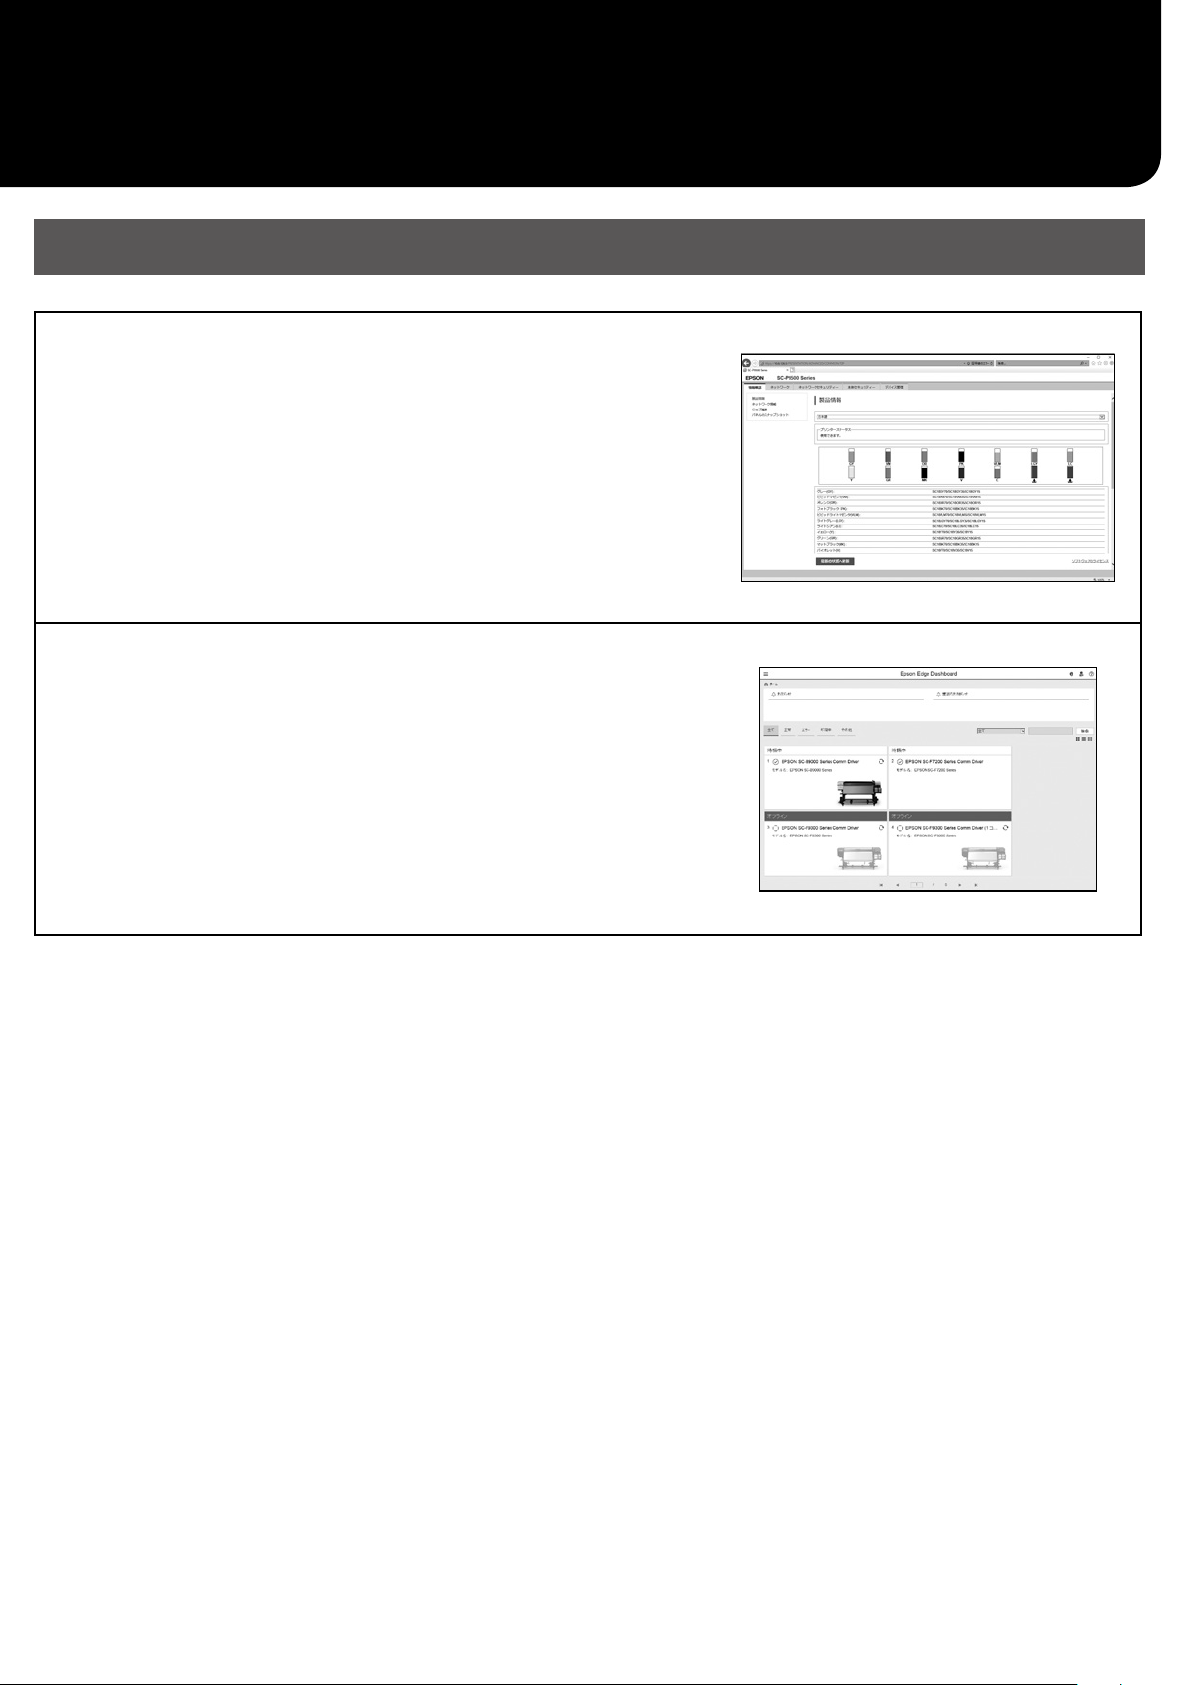
Epson Edge Dashboard
If the Media Setting you want is not available, you can make
custom paper settings using this tool. For information on
making custom paper settings, see the User’s Guide (online
manuals).
Add the Media Setting.
B
Select the paper you want, and then click Download
and Register.
4
Page 5

Select the paper you want to print on in the Paper
C
Type for the printer driver or in Epson Print Layout.
Printer driver (Windows)
Printer driver (Mac)
Epson Print Layout
Making Custom Paper Settings
Select General Settings - Printer Settings -
A
Custom Paper Setting on the control panel.
Select the paper number (1 to 30) to which you
B
want to save the settings.
Set the paper information.
C
Make sure you set the following items.
• Change Reference Paper
• Paper Thickness
• Roll Core Diameter (Roll paper only)
• Paper Feed Oset
For information on other settings, see the User’s Guide
(online manuals).
5
Page 6

Replacing Consumables
A message is displayed on the control panel when it is time to replace consumables. Follow the on-screen instructions to
replace the items. Touch See Description on the control panel to check the procedure.
Location of Replacement Parts
Ink cartridges and cutter
Maintenance box
*SC-P9500 Series only
6
Page 7

Cleaning the Print Head and Around the
Cap
If the print head is clogged and it cannot be cleared using
auto cleaning, try cleaning the print head and area around
the cap.
Wiping the print head
Wiping around the cap
Accessing the Print Head
Touch Maintenance - Cleaning the Maintenance
A
Parts - Wiping the Print Head on the control panel.
The print head moves to the cleaning position.
Remove the maintenance cover (Rear).
B
Follow the on-screen instructions to perform cleaning.
See the following videos to check the cleaning methods.
http://www.epson-biz.com/?prd=sc-p9500_scp7500&inf=playlist
Accessing the Area Around the Cap
Touch Maintenance - Cleaning the Maintenance
A
Parts - Wiping around the Cap on the control
panel.
The print head moves to the cleaning position.
Open the ink cover (right), and then remove the
B
maintenance cover (Front).
Follow the on-screen instructions to perform cleaning.
7
Page 8

Ejecting Paper to the Basket
You can use the basket to eject paper smoothly and
prevent printouts from getting dirty or wrinkled.
c
Eject sheets to the basket one at a time. If you allow multiple
sheets to pile up in the basket, they may not be ejected
correctly.
Ejecting from the front of the printer
It is hard to damage the printed surface since the paper is
ejected with the printed surface facing up.
Installing at the Front
A
B
Ejecting from the rear of the printer
Allows you to eject paper into a small space. See the User’s
Guide (online manuals) for information on installing the
basket.
C
c
You may not be able to eject correctly if printing is performed
when the cloth is too tense or placed on the oor.
8
Page 9

Optional Items
The following outlines the optional items for this printer.
See the manual supplied with each optional item for information on installing them.
Hard RIP
Adobe® PostScript® 3™ Expansion Unit
Turns the printer into a Post Script enabled printer.
Install it in the options slot.
You cannot install the Adobe PostScript 3 Expansion Unit and the Hard
Disk Unit at the same time.
Reprinting easily without a PC
Hard Disk Unit
You can save print jobs and reprint them later without using a PC.
Install it in the options slot.
You cannot install the Adobe PostScript 3 Expansion Unit and the Hard
Disk Unit at the same time.
Ideal for banner printing on roll paper
Auto Take-up Reel Unit
Only available for SC-P9500 Series.
Media is taken up automatically during continuous roll paper printing
or banner printing.
Remove the basket to install this item.
Handle color proong more eciently
SpectroProofer Mounter
You can perform color measurement automatically by attaching the
color measurement device ILS30EP.
The SpectroProofer Mounters are available for SC-P9500 series and
SC-P7500 series.
9
Page 10

Introducing the Software
Printing Software
Print from any application
Printer driver
Use this software to print data sent from a computer to a printer.
Print high-level re-touched data as images
Epson Print Layout
This is plug-in software that is compatible with software such as
Adobe® Photoshop® or Adobe® Lightroom®. You can make high-quality
prints without having to use unfamiliar software.
Easy large format printing from Microsoft® Oce
Epson Print Plug-in for Oce
This is plug-in software that is compatible with Microsoft® Word,
Excel®, and PowerPoint®. You can create posters and banners with a
few simple operations from Microsoft® Oce applications.
Genuine Epson software RIP
Epson Edge Print (optional)
This is genuine Epson software that allows you to maximize the print
head and ink performance. It has been optimized for mass production
usage.
10
Page 11
Utility Software
Make a wide variety of settings over a network
Web Cong
This software allows you to check and change printer settings using
a Web browser. Before you can use Web Cong, you need to set an IP
address for the printer.
Printer management software
Epson Edge Dashboard
You can view the printer status, add media setting, or update the
rmware.
You can manage up to ten printers.
11
Page 12

Menu List
Menu
Paper Settings
Level 1 Level 2 Level 3
Remove
Feed/Cut
Prepare Taking Up
Paper Feed Adjustment
Head Alignment
Conrm ICC prole
Conrm Color Density
Paper Thickness
Platen Gap
Top Margin
Bottom Margin
Margin Between Pages
Paper Suction
Back Tension
Drying Time
Paper Size Check
Auto Cut
Skew Reduction
Roll Core Diameter
Lateral Feed Adjustment
Paper Eject Roller
Paper Feed Oset
Restore Default Settings
Remaining Amount Management
Remaining Amount
Remaining Alert
Paper Type
Paper Width
Paper Feed Adjustment
Head Alignment
Conrm ICC prole
Conrm Multi Duty Factor
Paper Thickness
Platen Gap
Paper Suction
Drying Time
Paper Size Check
Skew Reduction
Paper Eject Roller
Paper Feed Oset
Restore Default Settings
Paper Type
Paper Size
Roll Paper
Cut Sheet
Print Adjustments
Advanced Paper Settings
Remaining Amount Management
Change Paper Type
Change Paper Type/Paper Width
Remove
Print Adjustments
Advanced Paper Settings
Change Paper Type/Paper Size
12
Page 13

Level 1 Level 2 Level 3
Remove
Paper Feed Adjustment
Head Alignment
Conrm ICC prole
Conrm Multi Duty Factor
Paper Thickness
Paper Suction when Loading Paper
Paper Suction
Drying Time
Paper Size Check
Skew Reduction
Paper Feed Oset
Restore Default Settings
Paper Type
Paper Width
Board
Print Adjustments
Advanced Paper Settings
Change Paper Type/Paper Size
General Settings
Level 1 Level 2
LCD Brightness
Sounds
Inside Light
Alert Lamp Notice
Sleep Timer
Power O Timer
Basic Settings
Printer Settings
Network Settings
System Administration
Circuit Breaker Interlock Startup
Date/Time Settings
Language
Screen Customization
Operation Time Out
Keyboard
Length Unit
Default Screen(Job/Status)
Paper Source Settings
Custom Paper Setting
Auto Cleaning
Printing Language
PS3 Menu
Print Nozzle Check Pattern during Print
Save Queue
PC Connection via USB
USB I/F Timeout Setting
Wired LAN Setup
Network Status
Connection Check
Advanced
Security Settings
Format Hard Disk
Restore Default Settings
Maintenance
Level 1
Print Head Nozzle Check
Print Head Cleaning
Power Cleaning
Remove Paper
Replace Ink
Replace Maintenance Box
Replace Cutter
Adjust Cut Position
SpectroProofer Setting
Cleaning the Maintenance Parts
Keeping/Transporting Preparation
Discharging/Charging Ink
Language
Select the language used on the control panel.
Status
Level 1
Print Status Sheet
Firmware Version
Hard Disk Unit
Adobe PS3 Expansion Unit
SpectroProofer
Auto Take-up Reel Unit
Platen Gap Value for Last Print Job
Network
Supply Status
Allows you to check the product numbers for the ink cartridges and the maintenance box.
13
Page 14

MEMO
14
Page 15

Copyrights and Trademarks
No part of this publication may be reproduced, stored in a retrieval system, or transmitted in any form or by any means, electronic, mechanical, photocopying,
recording, or otherwise, without the prior written permission of Seiko Epson Corporation. The information contained herein is designed only for use with this
Epson printer. Epson is not responsible for any use of this information as applied to other printers.
Neither Seiko Epson Corporation nor its aliates shall be liable to the purchaser of this product or third parties for damages, losses, costs, or expenses incurred
by the purchaser or third parties as a result of accident, misuse, or abuse of this product or unauthorized modications, repairs, or alterations to this product, or
(excluding the U.S.) failure to strictly comply with Seiko Epson Corporation’s operating and maintenance instructions.
Seiko Epson Corporation shall not be liable for any damages or problems arising from the use of any options or any consumable products other than those
designated as Original Epson Products or Epson Approved Products by Seiko Epson Corporation.
Seiko Epson Corporation shall not be held liable for any damage resulting from electromagnetic interference that occurs from the use of any interface cables
other than those designated as Epson Approved Products by Seiko Epson Corporation.
EPSON, EPSON EXCEED YOUR VISION, EXCEED YOUR VISION, and their logos are registered trademarks or trademarks of Seiko Epson Corporation.
Microsoft®, Windows®, and Windows Vista® are registered trademarks of Microsoft Corporation.
Mac, macOS, OS X, Bonjour, and Safari are trademarks of Apple Inc., registered in the U.S. and other countries.
YouTube® and the YouTube logo are registered trademarks or trademarks of YouTube, LLC.
Adobe and Reader are either registered trademarks or trademarks of Adobe Systems Incorporated in the United States and/or other countries.
General Notice: Other product names used herein are for identication purposes only and may be trademarks of their respective owners. Epson disclaims any and all
rights in those marks.
© 2019 Seiko Epson Corporation. All rights reserved.
Meaning of Symbols
Important
c
U
Important must be followed to avoid damage to this product.
Indicates related reference content.
15
Page 16

Accessing the Online Manuals
You can see detailed instructions for using this printer.
You can access the Online Manuals using one of the following methods.
Quick Guide
Access from the Manual Launcher
Install the software from the software disc
A
supplied.
Double-click EPSON Manuals on your
B
desktop.
Access the Dedicated Epson Website epson.sn
Access http://epson.sn and search for the
A
product name.
Select Support.
B
Click the manual you want to access to view
C
the manual.
CMP0206-00 EN
Click the manual you want to access to view
C
the manual.
©2019 Seiko Epson Corporation. All rights reserved.
 Loading...