

Page 1
Page 1 of 2
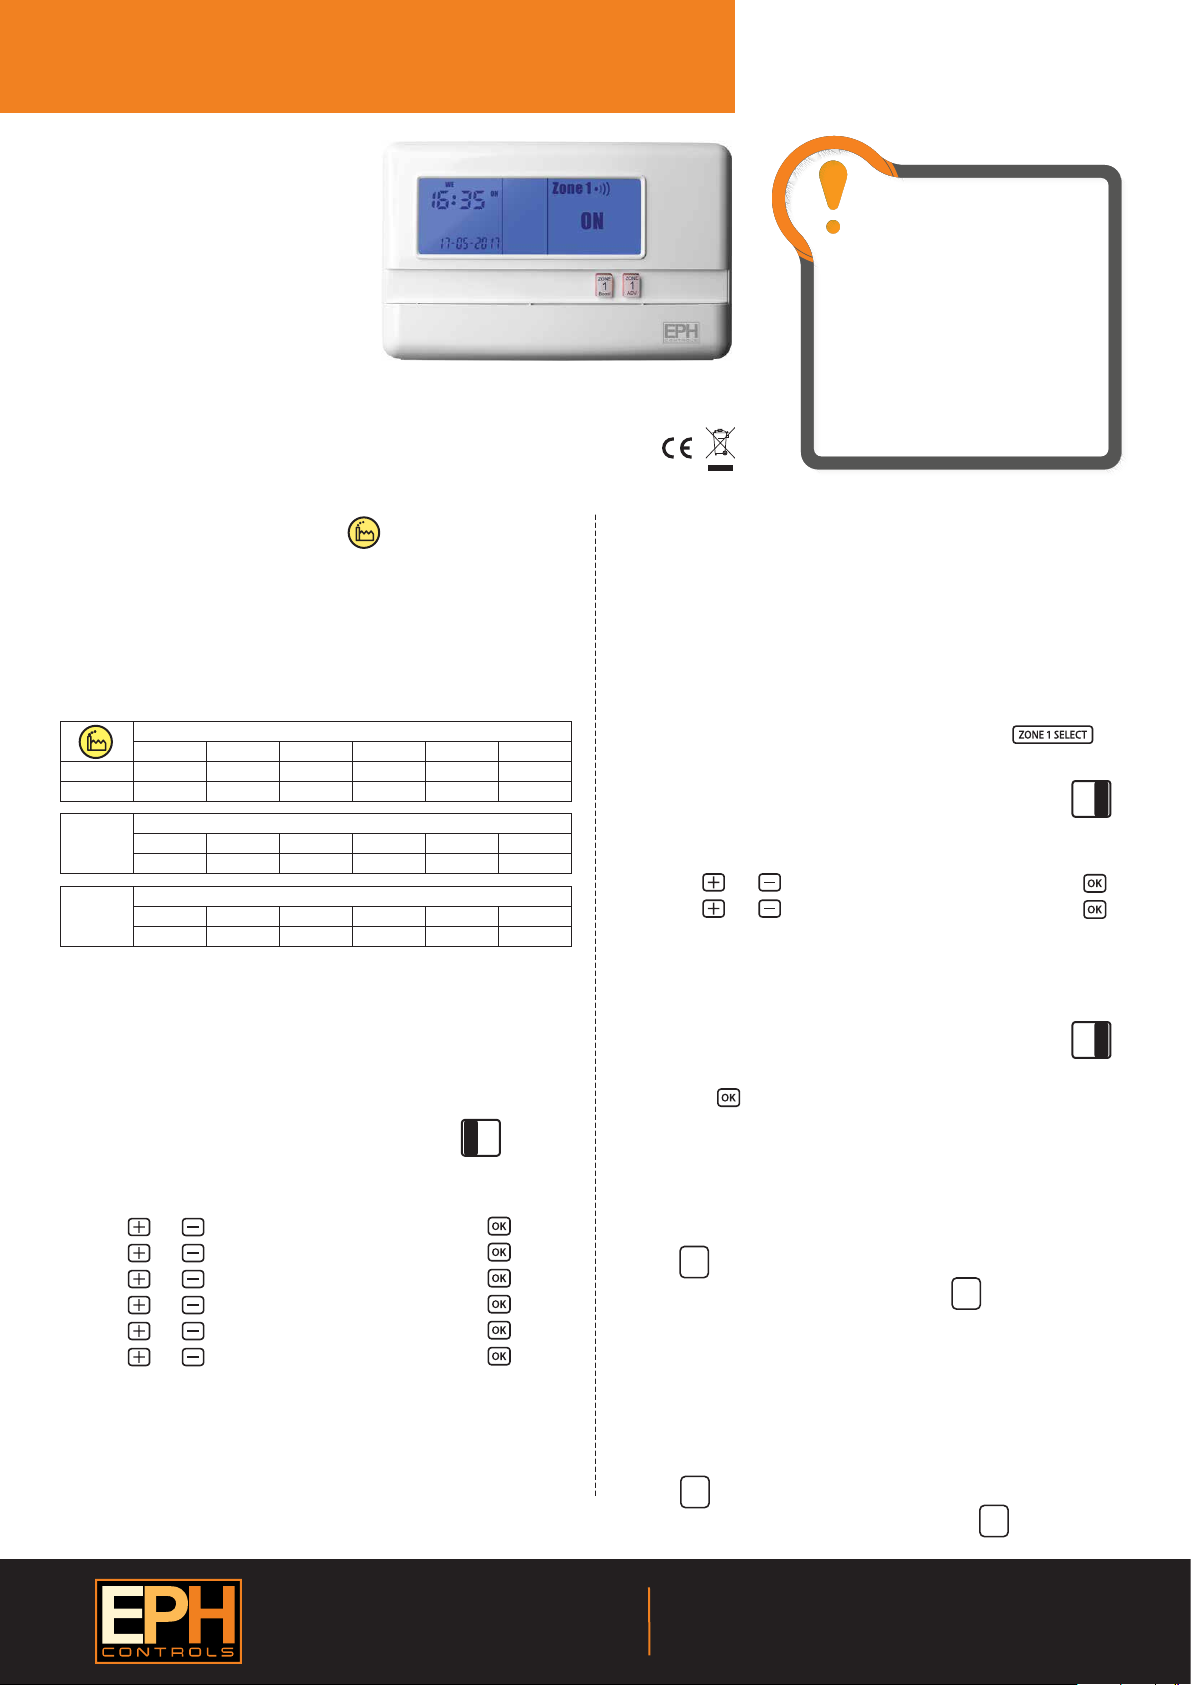
R17-RF - 1 Zone RF Timeswitch
Contents
1. Factory default settings
2. Factory program settings
3. Resetting the timeswitch
4. Setting the date and time
5. ON/OFF period selection
6. Adjusting the program settings
7. Reviewing the program settings
8. Boost function
9. Advance function
10. Holiday mode
11. Connect RF thermostat with the timeswitch
12. Disconnect RF thermostat from the timeswitch
13. Backlight mode selection
14. Keypad lock and unlock
15. Copy function
16. Frost protection
17. Master reset
1. Factory default settings
Program: 5/2D
Backlight: On
Keypad: Unlocked
Frost Protection: O
2. Factory program settings
Mon-Fri
Sat-Sun
All 7 days
Everyday
P1 ON P1 OFF P2 ON P2 OFF P3 ON P3 OFF
6:30
7:30 10:00 12:00 12:00 17:00 23:00
P1 ON P1 OFF P2 ON P2 OFF P3 ON P3 OFF
6:30
P1 ON P1 OFF P2 ON P2 OFF P3 ON P3 OFF
6:30
8:30
8:30
8:30
12:00
12:00
12:00
5/2D
12:00
7D
12:00
24H
12:00
3. Resetting the timeswitch
It is necessary to press the RESET button prior to initial programming.
This button is located behind the cover on the front of the unit.
4. Setting the date and time
Lower the cover on the front of the unit.
Move the selector switch to the CLOCK SET position.
Press the or buttons to select the day.
Press the or buttons to select the month.
Press the or buttons to select the year.
Press the or buttons to select the hour.
Press the or buttons to select the minute.
Press the or buttons to select 5/2D, 7D or 24H
The date, time and function are now set. Move the selector switch to the
RUN position to run the program, or to the PROG SET position to change
the program setting.
Impor tant: Kee p this document
This 1 zone RF timeswitch is designed to
provide ON/OFF control for 1 zone, with
the value added application of in built
frost protection.
CLOCK
SET
16:30
16:30
16:30
RUN
22:30
22:30
22:30
PROG
SET
Press
Press
Press
Press
Press
Press
Operating Instructions
CAUTION!
Before commencing, disconnect the
device from the mains. There are parts that
carry mains voltage behind the cover. Never
leave unsupervised when it is open. (Prevent
non specialists and especially children from
gaining access to it.)
Never remove this product from the
electrical baseplate. Disconnect from mains
supply in the event of any damage to any
buttons. Do not use sharp tools to push any
button.
5. ON/OFF period selection
There are 4 modes available on this timeswitch for users to choose for their
individual application.
AUTO The timeswitch operates 3 ‘ON/OFF’ periods per day.
ALL DAY The timeswitch operates 1’ON/OFF’ period per day.
This operates from the rst ON time to the third OFF time.
ON The timeswitch is permanently on. **ON**
OFF The timeswitch is permanently o. **OFF**
Lower the cover on the front of the unit. By pressing the button,
you can change between AUTO / ALL DAY / ON / OFF for Zone 1.
6. Adjusting the program settings
Lower the cover on the front of the unit. Move the selector switch to
the PROG SET position. You can now program zone 1.
Press the or buttons to adjust the P1 ON time.
Press the or buttons to adjust the P1 OFF time.
Repeat this process to adjust the ON & OFF times for P2 & P3.
When completed, move the selector switch to the RUN position.
7. Reviewing the program settings
Lower the cover on the front of the unit.
Move the selector switch to the PROG SET position.
By pressing this will review each of the ON/OFF times for P1 to P3.
When completed, move the selector switch to the RUN position.
8. Boost function
This function allows the user to extend the ON period for 1, 2 or 3 hours.
If the zone that you wish to Boost is timed to be OFF, you have the
facility to switch it ON for 1, 2 or 3 hours.
ZONE
1
Press once, twice or three times respectively.
Boost
To cancel the boost function, simply press the button again.
ZONE
Boost
1
9. Advance function
This function allows the user to bring forward the next switching time.
If the zone is currently timed to be OFF and the ADV is pressed, the zone will
be switched ON until the end of the next switching time.
If the zone is currently timed to be ON and the ADV is pressed, the zone will
be switched OFF until the end of the next switching time.
ZONE
1
Press for this function.
ADV.
To cancel the ADVANCE function, simply press the button again.
ZONE
ADV.
1
CLOCK
SET
Press
Press
CLOCK
SET
RUN
RUN
PROG
SET
PROG
SET
20170302_AW1077_R17-RF_OpIns_JW
EPH Controls Ireland
Sitecast Industrial Estate, Pouladu,
Cork, T12 W665, Ireland
sales@ephcontrols.com www.ephcontrols.com
EPH Controls UK
Unit E4, Welland Business Park, Valley Way, Market Harborough,
Leicestershire, LE16 7PS, United Kingdom
sales@ephcontrols.co.uk www.ephcontrols.co.uk
Page 2
Page 2 of 2
R17-RF - 1 Zone RF Timeswitch
10. Holiday mode
Lower the cover on the front of the unit.
Move the selector switch to the RUN position.
Press the button.
Holiday
The current date and time will ash on the screen. It is now
possible to enter the date and the time when you plan to return.
Press the or buttons to select the day.
Press the or buttons to select the month.
Press the or buttons to select the year.
Press the or buttons to select the hour.
To activate Holiday mode press the button.
To cancel Holiday mode press the button again.
Otherwise Holiday mode will deactivate on the time and date entered.
11. Connect the RF thermostat with the timeswitch
On the timeswitch
Lower the front cover and move the selector switch to
the RUN position. Press the button for 5 seconds.
Wireless Connect will appear on the screen.
On the RFR wireless room thermostat or RFC wireless cylinder thermostat
Press the Code button. This is located inside the housing on the PCB.
On the timeswitch
Zone 1 will begin to ash. Press the button on the timeswitch.
The wireless symbol appears on the screen.
The thermostat will count upwards to the number of the zone that it is paired
with. When it reaches the number of the zone that it is paired with press the
wheel on the thermostat.
The timeswitch is now operating in the wireless mode. The temperature of the
wireless thermostat is now displayed on the timeswitch.
12. Disconnect the RF thermostat from the timeswitch
On the timeswitch
Lower the front cover and move the selector switch to
the RUN position.
Press the button for 5 seconds.
Wireless Connect will appear on the screen.
Press the button for 3 seconds. This will clear all RF connections
thereby disconnecting all thermostats from the timeswitch.
Press the button.
13. Backlight mode selection
There are two settings for selection. The factory default setting is ON.
ON The backlight is permanently ON.
AUTO On pressing any button the backlight stays on for 10 seconds.
To adjust the backlight setting
Lower the cover on the front of the unit.
Move the selector switch to the RUN position.
Press the button for 5 seconds.
Press either the or buttons to select the ON or AUTO mode.
Press the button.
On
CLOCK
SET
Press
Press
Press
Press
CLOCK
CLOCK
CLOCK
SET
SET
SET
RUN
Holiday
Holiday
Holiday
Holiday
RUN
RUN
RUN
PROG
SET
PROG
SET
PROG
SET
PROG
SET
Operating Instructions
COPY
Holiday
Unlocked
Holiday
Holiday
CLOCK
O
SET
14. Keypad lock and unlock
To lock the keypad, press and hold the and buttons for
5 seconds. will appear on the screen. The keypad is now locked.
To unlock the keypad, press and hold the and buttons for
5 seconds. will disappear from the screen. The keypad is now
unlocked.
15. Copy function
Copy function may only be used if the timeswitch is in the 7d mode.
Lower the cover on the front of the timeswitch.
Move the selector switch to the PROG SET position.
First, program one of the days of the week with a schedule you wish to
copy to other days.
While still on that day press and hold the button for 3 seconds.
This will take you into the Copy screen.
The day of the week that is to be copied is shown and the day it is to be
copied to is ashing.
Press the button to copy the schedule to this day.
Press the button to skip this day
Continue by pressing the button to copy the schedule to the day
ashing and by pressing the button to skip that day.
When you are nished press the button and the timeswitch will
return to the standard schedule programming screen.
Move the selector switch to the RUN position.
16. Frost protection function
Selectable range 5~20°C. This function is set to protect pipes against
freezing or to prevent low room temperature when the timeswitch is
programmed to be OFF or is manually OFF.
Frost protection can be activated by following the procedure below.
Move the selector switch to the RUN position.
Press both the and buttons for 5 seconds, to enter selection mode.
Press either the or buttons to to turn On or turn O frost
protection.
Press button to conrm.
Press either the or buttons to increase or decrease the desired
frost protection setpoint. Press to select.
Zone 1 will be switched ON in the event of room temperature falling below
the frost protection setpoint.
17. Master reset
Lower the cover on the front of the timeswitch. There are four hinges
holding the cover in place. Between the 3rd and 4th hinges there is a
circular hole. Insert a ball point pen or similar object to master reset the
timeswitch.
After pressing the master reset button, the date and time will now need
to be reprogrammed.
RUN
PROG
SET
EPH Controls Ireland
Sitecast Industrial Estate, Pouladu,
Cork, T12 W665, Ireland
sales@ephcontrols.com www.ephcontrols.com
20170302_AW1077_R17-RF_OpIns_JW
EPH Controls UK
Unit E4, Welland Business Park, Valley Way, Market Harborough,
Leicestershire, LE16 7PS, United Kingdom
sales@ephcontrols.co.uk www.ephcontrols.co.uk
 Loading...