

Page 1
BEIJING EPSOLAR TECHNOLOGY CO., LTD. Tel:+86-10-82894112 / 82894962 Website:www.epsolarpv.com/www.epever.com
1 2
LandStar EU series
Solar Charge Controller with USB output
1. Safety Information
Read all of the instructions in the manual before installation.
DO NOT disassemble or attempt to repair the controller.
Install external fuse or breaker as required.
Do disconnect the solar module and fuse/ breakers near to battery before
installing or moving the controller.
Power connections must remain tight to avoid excessive heating from a
loose connection.
Only charge batteries that comply with the parameters of controller.
Battery connection may be wired to one battery or a bank of batteries.
Risk of electric shock, the PV and load can produce high voltages when the
controller is working.
2. Overview
The LandStar EU series controller is a PWM charge controller with USB output
that adopts the most advanced digital technique. It’s an easy operation and
cost efficient controller featured as:
3-Stage intelligent PWM charging:Bulk, Boost/Equalize, Float
Support 3 charging options: Sealed, Gel, and Flooded
Battery status LED indicator can indicates battery situation
Battery temperature compensation function
With humanized settings, operation will be more comfortable and convenient
The USB will provide power supply that can charge for electronic equipment
Battery type and load output can be set via button
Extensive Electronic protection
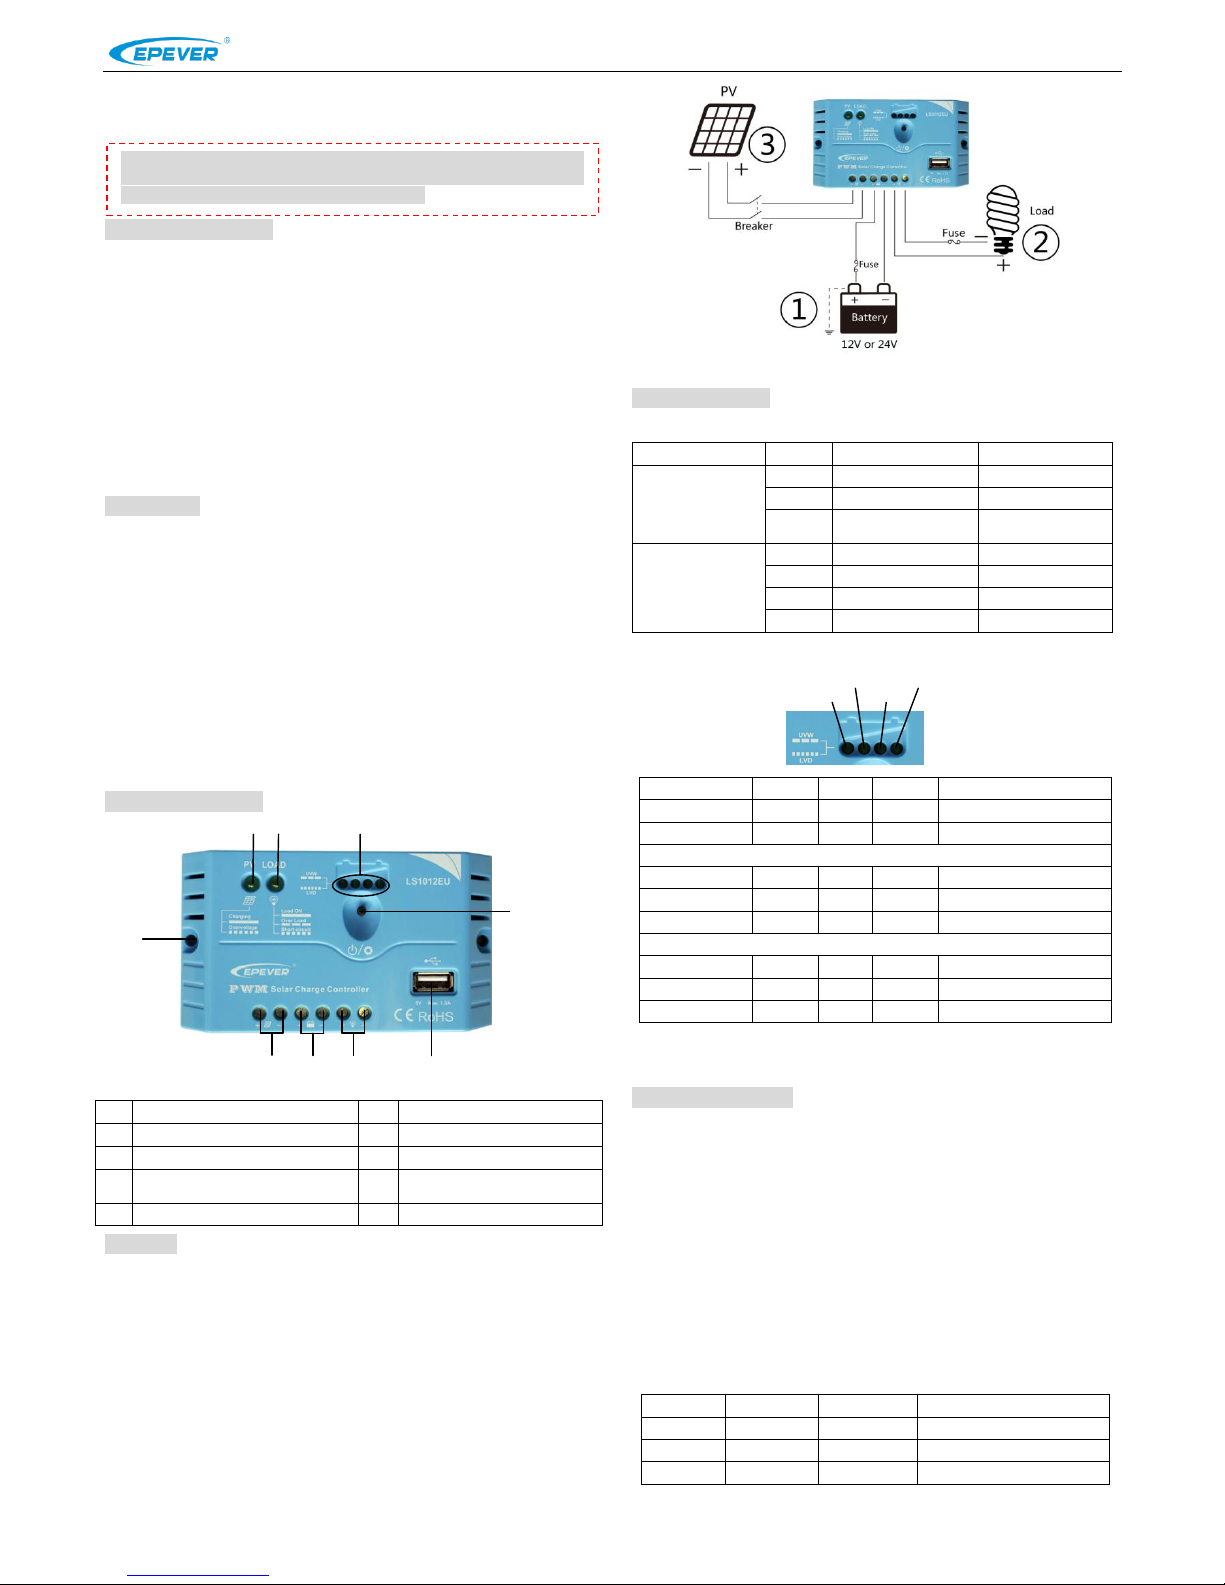
3. Product Features
①
Mounting Hole Φ4.5
⑥
Button
②
PV Terminals
⑦
Battery status LED indicator
③
Battery Terminals
⑧
Load status LED indicator
④
Load Terminals
⑨
Charging status LED
indicator
⑤
USB Output Port
4. Wiring
(1) Connect components to the charge controller in the sequence as shown
below and pay much attention to the “+” and “-”. Please don’t insert the fuse or
turn on the breaker during the installation. When disconnecting the system, the
order will be reserved.
(2) After power on the controller, check the Battery LED indicator on the
controller, it will be on solid green. Otherwise please refer to chapter 8.
Always connect the battery first, in order to allow the controller to recognize
the system voltage.
(3) The battery fuse should be installed as close to battery as possible. The
suggested distance is within 150mm.
5. LED Indicators
1) Charging and load status indicator
Indicator
Color
Status
Instruction
Charging status
LED indicator
Green
On Solid
In Charging
Green
OFF
No Charging
Green
Fast Flashing
Battery Over
Voltage
Load status LED
indicator
Green
On Solid
Load ON
Green
OFF
Load OFF
Green
Slowly Flashing
Load over load
Green
Fast Flashing
Load short circuit
2) Battery status indicator
LED1
LED2
LED3
LED4
Battery Status
Slowly Flashing
× × ×
Under voltage
Fast Flashing
× × ×
Over discharge
Battery LED indicator status during voltage is up
○
○ × ×
12.8V< U
bat
<13.4V
○
○ ○ ×
13.4V< U
bat
<14.1V
○
○ ○ ○
14.1V < U
bat
Battery LED indicator status during voltage is down
○
○ ○ ×
12.8V<U
bat
<13.4V
○
○ × ×
12.4V<U
bat
<12.8V
○
× × ×
U
bat
<12.4V
NOTE:
①Voltage value for 12V system at 25℃, please use 2× in 24V system ;
②"○"LED indicator on; "×"LED indicator off.
6. Setting Operation
1)Load ON/OFF Setting
When the controller is powered on, press the button to control the load
output.
NOTE: The USB will output when the load is on.
2)Battery Type Setting
Operation:
Step 1: Enter setting mode by pressing button for 5s until the battery status
LEDs are flashing.
Step 2: Select the desired mode by pressing button.
Step 3: The mode will be saved automatically without any operation for 5S and
LED will stop flashing.
Battery Type Indicator
LED1
LED2
LED3
Battery type
○ × ×
Sealed(Default)
○ ○ ×
Gel
○ ○ ○
Flooded
NOTE: "○"LED indicator on "×"LED indicator off
Figure 1 Product Feature
Figure 2 Connection diagram
④ ① ⑤ ⑥ ⑦ ⑧ ⑨ ② ③
LED1
LED2
LED3
LED4
※
Thank you for selecting the LandStar EU series solar charge
controller. Please read this manual carefully before using the product
and pay attention to the safety information.※
Page 2
BEIJING EPSOLAR TECHNOLOGY CO., LTD. Tel:+86-10-82894112 / 82894962 Website:www.epsolarpv.com/www.epever.com
3 4
7. Protection
Battery Over Voltage Protection
When the battery voltage reaches to the set point of Over Voltage
Disconnect Voltage(OVD), the controller will stop charging the battery to
protect the battery from being over charged to break down.
Battery Over Discharge Protection
When the battery voltage reaches to the set point of Low Voltage
Disconnect Voltage(LVD), the controller will stop discharging the battery to
protect the battery from being over discharged.
Load Overload Protection
Load will be switched off when 1.25 times rated current overload happens.
User has to reduce load appliance, then press the button or repower the
controller.
Load Short Circuit Protection
Load will be switched off when load short circuit (≥3 times rated current)
happens. User has to clear short circuit, then press the button or repower
the controller.
High Voltage Transients Protection
The controller is protected against small high voltage transients. In lightning
prone areas, additional external suppression is recommended.
8. Troubleshooting
Faults
Possible reasons
Troubleshooting
LED Charging
indicator turn off
during daytime
when sunshine falls
on PV modules
properly
PV array
disconnection
Confirm that PV and battery
wire connections are correct
and tight
No LED indicator
Battery voltage
maybe less than 8V
Measure battery voltage with
the multi-meter. Min.8V can
start up the controller
Charging status
LED indicator Fast
flashing
Battery Over
Voltage
Check if battery voltage is
higher than OVD, and
disconnect the PV
LED1 Fast flashing
Battery
over discharged
When the battery voltage is
restored to or above LVR point
(low voltage reconnect
voltage), the load will recover
Load status LED
indicator fast
flashing
Load over load①
①Please reduce the number of
electric equipments .
②Press the button or repower
the controller.
Load status LED
indicator slowly
flashing
Load short circuit
①Check carefully loads
connection, clear the fault.
②Press the button or repower
the controller.
①When load current reaches1.25 times 1.5 times and 2 times 1.35-1.5 times
more than nominal value, the controller will automatically turn off loads in 60s,
5s and 1s respectively.
9. Technical Specifications
Item
LS0512EU
LS1012EU
Nominal system voltage
12VDC
Rated charge current
5A
10A
Rated discharge current
5A
10A
Battery input voltage range
8V~16V
Max. PV open circuit voltage
30V
Self-consumption
12V≤5mA; 24V≤7mA
Charge Circuit Voltage Drop
≤0.13V
Discharge Circuit Voltage
Drop
≤0.17V
Temperature compensation
coefficient
-5mV/ ºC /2V
USB Output Port
5VDC/1.2A
Working environment
temperature
-35 ºC ~ +55 ºC
Humidity
≤95% N.C.
Enclosure
IP20
Grounding
Common Positive
Overall dimension
109.7x65.5x20.8mm
120.3x67x21.8mm
Mounting dimension
100.9mm
111.5mm
Mounting hole size
Φ4.5
Terminals
14AWG/2.5mm
2
12 AWG /4mm2
Net weight
0.09kg
0.10kg
Item
LS1024EU
LS2024EU
LS3024EU
Nominal system
voltage
12/24VDC Auto
Rated charge current
10A
20A
30A
Rated discharge
current
10A
20A
30A
Battery input voltage
range
8V~32V
Max. PV open circuit
voltage
50V
Self-consumption
12V≤5mA; 24V≤7mA
Charge Circuit Voltage
Drop
≤0.13V
Discharge Circuit
Voltage Drop
≤0.17V
Temperature
compensation
coefficient
-5mV/ ºC /2V
USB Output Port
5VDC/1.2A
5VDC/2A
Working environment
temperature
-35 ºC ~ +55 ºC
Humidity
≤95% N.C.
Enclosure
IP20
Grounding
Common Positive
Overall dimension
120.3x67x
21.8mm
148x85.6x
34.8mm
148x106.8x
43.7mm
Mounting dimension
111.5mm
138mm
138mm
Mounting hole size
Φ4.5
Terminals
12AWG/4mm2
10AWG /6mm2
8AWG /10mm2
Net weight
0.10kg
0.18kg
0.29kg
Battery Voltage Control Parameters
Below parameters are in 12V system at 25 ºC, please double the values in
24V system
Battery Type
Sealed
Gel
Flooded
Over Voltage Disconnect Voltage
16.0V
16.0V
16.0V
Charging Limit Voltage
15.0V
15.0V
15.0V
Over Voltage Reconnect Voltage
15.0V
15.0V
15.0V
Equalize Charging Voltage
14.6V
——
14.8V
Boost Charging Voltage
14.4V
14.2V
14.6V
Float Charging Voltage
13.8V
13.8V
13.8V
Boost Reconnect Charging Voltage
13.2V
13.2V
13.2V
Low Voltage Reconnect Voltage
11.6V
11.6V
11.6V
Under Voltage Warning Reconnect
Voltage
12.2V
12.2V
12.2V
Under Voltage Warning Voltage
12.0V
12.0V
12.0V
Low Voltage Disconnect Voltage
11.1V
11.1V
11.1V
Discharging Limit Voltage
10.6V
10.6V
10.6V
Equalize Duration
120 min.
——
120 min.
Boost Duration
120 min.
120 min.
120 min.
10. Disclaimer
This warranty does not apply under the following conditions:
Damage from improper use or use in an unsuitable environment.
PV or load current, voltage or power exceeding the rated value of controller.
User disassembly or attempted repair the controller without permission.
The controller is damaged due to natural elements such as lighting.
The controller is damaged during transportation and shipment.
Any changes without prior notice! Version number:V1.7
 Loading...