

Page 1
Page 2

E
TTaabbllee ooff CCoonntteennttss
WARNING........................................................................................................................ ...2
FOR YOUR SAFETY......................................................................................2
INTRODUCTION ...........................................................................................3
FEATURES..........................................................................................................................3
SPECIAL NOTES ON LCD MONITORS...........................................................................3
UNP ACKING AND CHECKING THE PACKAGE CONTENTS......................................4
INSTALLING THE MONITOR ..........................................................................................5
CLEANING.........................................................................................................................6
HOW TO OPERATE THE MONITOR ........................................................7
SUPPOR TED TIMING........................................................................................................8
HOW TO USE THE OSD(ON SCREEN DISPLAY) ........................................................9
OSD OPERATING TABLE ...............................................................................................11
TO ADJUST THE TILT ANGLE.......................................................................................12
TROUBLESHOOTING PROCEDURES....................................................13
SAFETY RULES COMPLIANCE STATEMENT .....................................14
FCC COMPLIANCE STATEMENT..................................................................................14
CE COMPLIANCE STATEMENT....................................................................................14
CUL COMPLIANCE STATEMENT .................................................................................14
TECHNICAL INFORMATION...................................................................15
TECHNICAL SPECIFICATION........................................................................................15
1
Page 3

E
WARNING: Do not operate the LCD monitor with unspecified power supply.
Usage of incorrect voltage will cause malfunction and may cause fire or
electric shock.
For Your Safety
z SAFE storage temperature of the LCD Monitor is in a range of 0ºC to +40ºC.
z DO NOT install the monitor where sudden temperature changes may occur, or in
humid, dusty, or smoky areas as it may cause fire, electric shock or damage.
z PLACE the monitor at least 4” (or 10 cm) away from the walls covering of ventilation
slits or holes may cause fire.
z BAD WEATHER CONDITIONS
It is advisable not to operate the monitor during heavy thunderstorms as intermittent
breaks in power may cause malfunction. Do not touch the plug under these
circumstances as it may cause electric shock.
z PROTECT and CORRECTLY USE THE CABLE
Do not pull or bend the power cable and signal cable or place the monitor or any
heavy objects on the cables. If the cables are damaged, they may cause fire or
electric shock.
z DISCONNECT CABLES WHEN MOVING THE MONITOR
When moving the monitor, always turn off the switch, unplug the monitor, and
disconnect the signal cable. If the cables are not properly disconnected when moving
the monitor, it may cause fire or electric shock.
z IMMEDIATELY STOP OPERATING THE MONITOR WHEN YOU DETECT ANY
ABNORMAL OCCURENCE
If you notice any abnormal phenomenon such as strange noise, smoke or smells,
unplug the monitor and contact your dealer or the nearest service center immediately.
z DO NOT USE THE MONITOR NEAR WATER
Operating the monitor in close proximity to water where the water may be spilt or
splashed onto the monitor may cause fire or electric shock.
z DO NOT PUT ANY FOREIGN OBJECT INSIDE THE MONITOR
It may cause fire, electric shock or damage when operating the monitor with foreign
objects inside.
z If you dropped any material or liquid such a s water onto the monitor when cleaning,
unplug the power cable immediately and contact your dealer or the nearest service
center. Always make sure your hands are dry when unplugging the power cable.
2
Page 4

Introduction
Bright and sharp images of text and graphics are what you will find with your LCD
color monitor. They provide a maximum resolution of 1280x1024 pixels with a
flicker-free display at up to 75 Hz refresh rate and offer bright, sharp and vibrant
color display without the radiation emission and hazards of CRT monitors.
Features
˙Support SXGA resolution of 1280x1024pixels
˙Built-in Speakers
˙Wide viewing angle
˙Adjustable Ti lt Angle
˙EPA Energy S tar Compliant
˙Built-in Power Supply
˙Automatic Image Configuration
˙Windows 95/98/2000/XP/Vista Plug & Play Compliant (DDC/2B)
˙Multifunctional OSD Interface
E
Special Notes On LCD Monitors
The following are normal with LCD monitors and do not indicate a problem.
z When first turning on the LCD monitor, if the picture does not fit in the display
area, it is because of the type of computer that is used. In such case, adjust
the picture position to its correct position. (See the OSD Operating Table )
z The screen may flicker during initial use. Turn off the power switch and then
turn it on again the flickering should disappear.
z Users may notice a little uneven brightness on the screen depending on the
desktop pattern they use. It is normal for LCD monitors to show such uneven
brightness.
3
Page 5
Unpacking and Checking the Package Contents
1. Before unpacking your LCD Monitor, prepare a stable, level and clean
surface near a wall outlet for your LCD Monitor.
2. Set the LCD Monitor box in an upright position and open from the top of the
box.
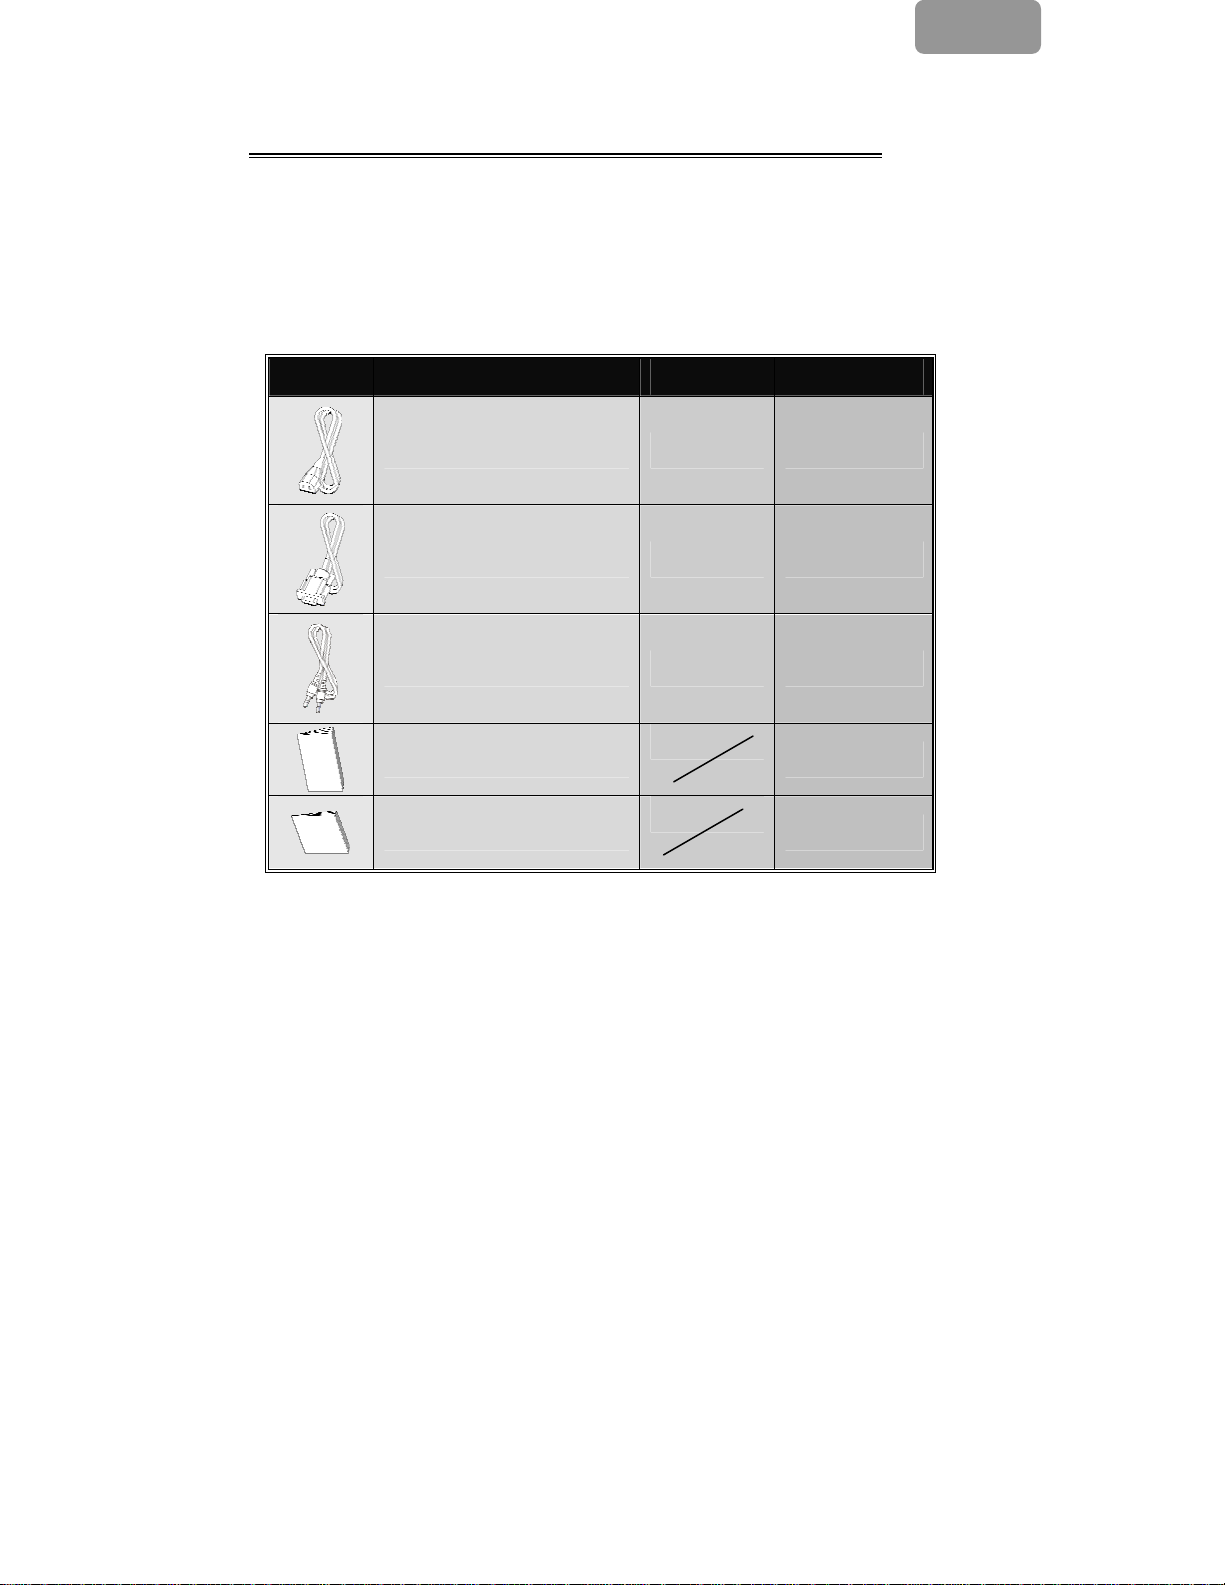
Accessories
Picture Name Length Quantity
Power Cord 5ft (1.5m) 1 pc.
VGA Cable 6ft (1.8m) 1 pc.
E
Audio Cable 6ft (1.8m) 1 pc.
User Manual
1 pc.
Warranty Card
1 pc.
4
Page 6

Installing the monitor
(Referred images for operation)
1
E
2
1.Lie the monitor facedown on a padded
surface (Please see image 1 )
3
3.Line up the stand cover with the
stand and snap into place(please
see image 3 )
2.Align the base rail into the stand
runner by hands, then use proper
force to slide and lock the base and
stand together (please see image 2 )
4.Connect monitor to computer
(please see image 4 )
5
Page 7

Connectivity Chart
X Audio in Connect with Audio cable to audio output of the computer.
E
Y VGA connector
Z Power
Connect with VGA cable to VGA output of the computer.
Connect with Power Cord to AC wall socket.
Cleaning
Caution
z For safety reasons, turn-off the power switch and unplug the monitor before
cleaning.
z Never use any of the following solvents on the LCD monitor. Such harsh
chemicals may cause damage to the cabinet and the LCD screen.
Thinner Spray-type cleaner Benzene Wax Abrasive cleaner Acid or Alkaline
solvent
Cabinet
Remove dirt with a lightly moistened cloth and a mild solvent detergent. Then wipe the
z
cabinet with a soft dry cloth. Rubbing the cabinet with products made of rubb er or
plastic for a long period of time may cause degeneration or loss of paint on the
cabinet.
LCD
z Periodic cleaning with a soft dry cloth is recommende d. Do not scratch or rub
the screen with a hard object. Do not use tissue to clean the screen. It may
damage the LCD screen.
6
Page 8

E
How to Operate the Monitor
Users can adjust the picture to the desired brightness and sharpness by following
the instructions.
Buttons Functions
X
MENU
Y
◄
Z
Power Switch
[
►
\
OK
To access the main menu
Enters the option or sub-menu
Counter-clockwise movement in the OSD
menu
Decreases function setting level
Power ON/OFF the monitor
Green – Normal operation
Amber – Power Management
Clockwise movement in the OSD menu
Increases function setting level
Auto Configure: Automatically adjusts clock,
phase and image positions to optimal state
Exit OSD Menu
7
Page 9

Supported Timing
E
Standard Resolution
VGA 640 x 480
VESA
Macintosh
SVGA 800 x 600
XGA 1024 x 768
SXGA 1280 x 1024
VGA
720 x 400 31.5 KHz 70.1 Hz
640 x 480 35.0 KHz 66.7 Hz
832 x 624 49.7 KHz 74.6 Hz
Horizontal
Frequency
31.5 KHz 60 Hz
37.5 KHz 75 Hz
37.9KHz 72Hz
35.2 KHz 56.3 Hz
37.9 KHz 60.3 Hz
46.9 KHz 75.0 Hz
48.1 KHz 72.0 Hz
48.4 KHz 60.0 Hz
56.5 KHz 70.1 Hz
60.0 KHz
63.98 KHz 60.02 Hz
79.97 KHz 75.02 Hz
Vertical
Frequency
75.0 Hz
8
Page 10

E
How to Use the OSD (On Screen Display)
Structure of OSD
OSD function allows user to easily adjust the display to the desired quality. The
OSD menu includes one main menu, one sub-menu of Advanced Setup and
another sub-menu of Color Temperature.
Main Menu
) Press the MENU button to bring up the OSD Main-M enu which allow user to
adjust all the value settings of “BRIGHTNESS”, “CONTRAST”, “H-POSITION”,
“V-POSITION”, “COLOR TEMPERATURE”, and “VOLUME”. (See the OSD
Operating Table)
ADVANCED SETUP
Making an Adjustment
) Press the ◄ or ► button to select the desired adjustment icon. Then, press
the MENU button to activate the sub-menu, press ◄
adjustment (See the OSD Operating Table )
or ► to make the
) Press the OK button to exit the sub-menu
) Press the ◄ or ► button to select another adjustment icon
Or press the OK button again to exit the Main Menu
) Press the RESET button to set all user settings to the factory preset value.
9
Page 11

E
Hot Keys
Volume Level Adjustment
) Press the ► button, the volume level adjustment interface will pop up. Then
press the ◄ or ► button to adjust the volume (►
decrease volume)
) Press the OK button to exit the Volume Level Adjustment dialog or wait a few
seconds to let it automatically dis-appear.
Mute/Un-mute
) Press the ◄ button to toggle between audio mute and normal audio
(un-mute)
) Press OK to exit the Muting Function or wait a few seconds to let it
automatically dis-appear.
Auto Config
) Press the OK button to execute the Auto Configure function. The dialog box
will disappear automatically after a few seconds.
to increase volume, ◄ to
10
Page 12

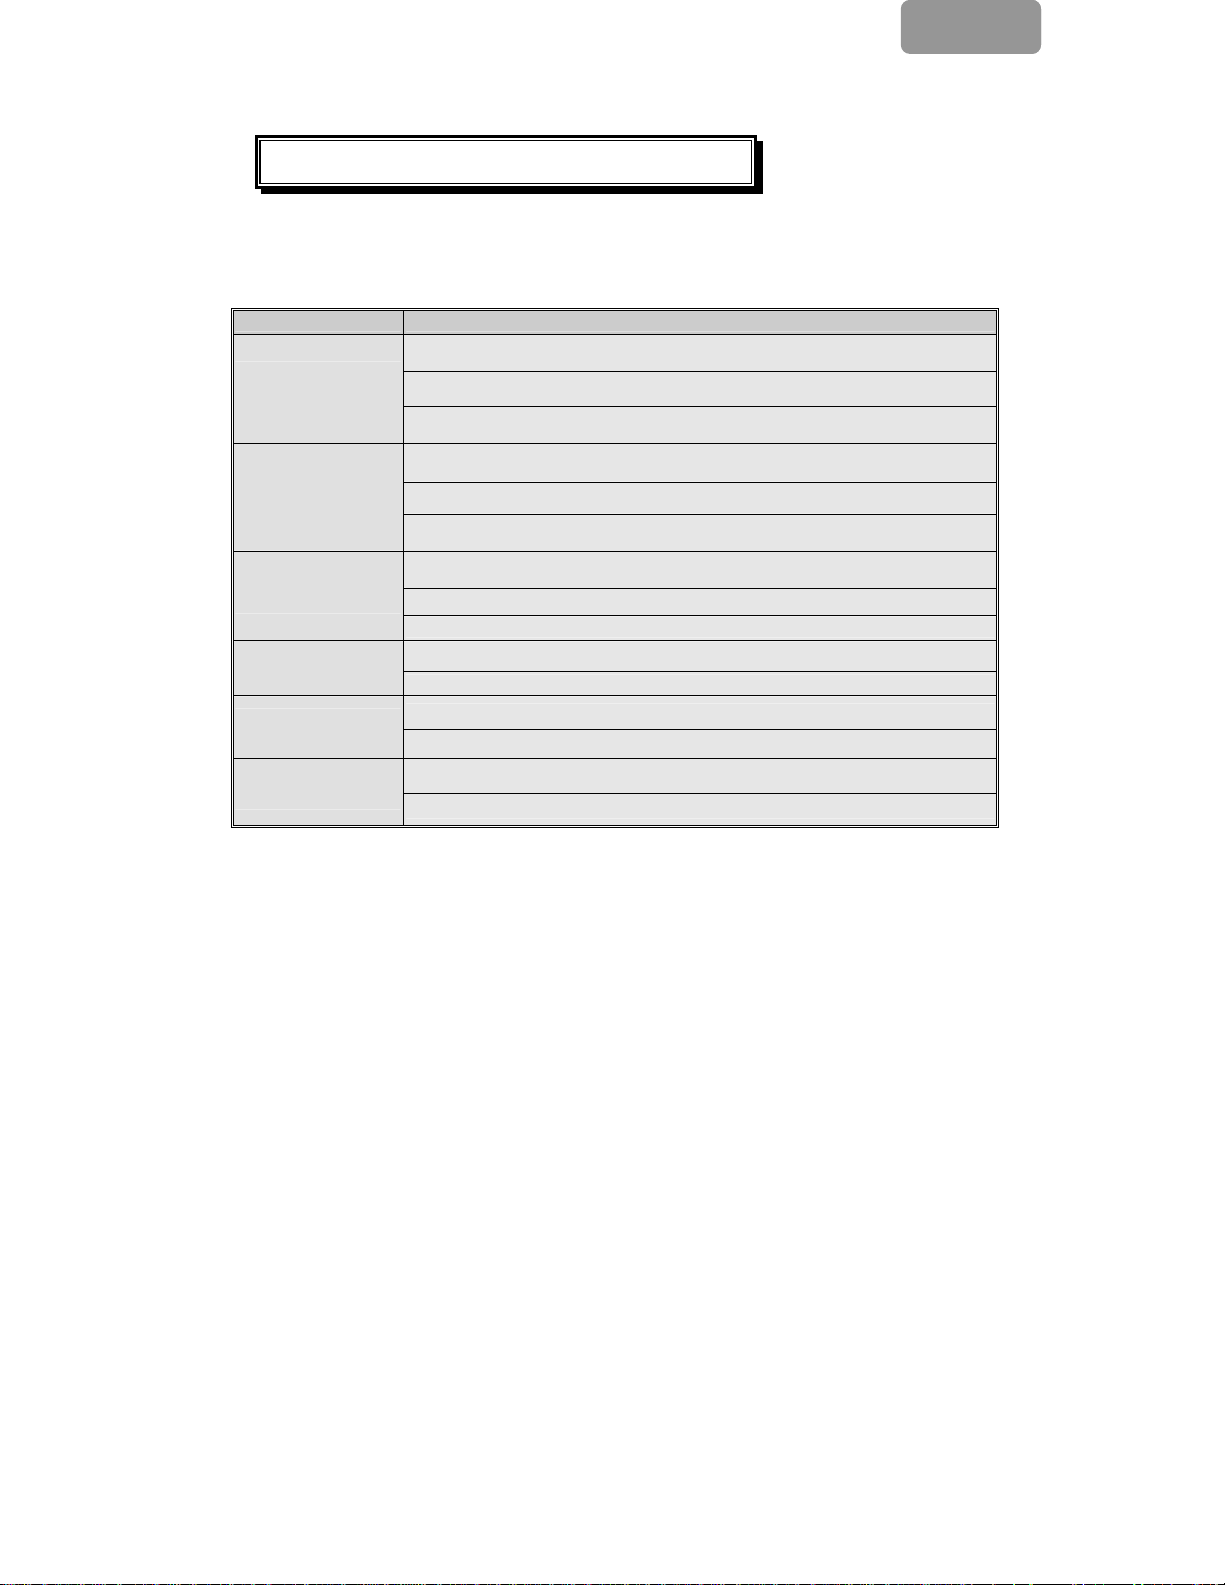
OSD Operating Table
Main Menu
E
Main
Menu
Function Name Situation/Option
BRIGHTNESS
Adjust Brightness level
CONTRAST
Adjust Contrast level
AUTO ADJUST
H- POSITION
V- POSITION
COLOR
TEMPERATURE
ADVANCED
SETUP
VOLUME
Automatically adjusts clock phase and image
positions to optimal state
Adjust the screen horizontal position
Adjust the screen vertical position
Native : Reddish (Preset Color)
Cool : Bluish
Warm : Yellowish
User Color : Adjust Red, Green, Blue color
Enter the advanced setup to adjust the OSD
Timer, Languages, Clock, Phase, OSD Position
and Reset
Adjust Volume level
11
Page 13

SUB-MENU
E
Main
Menu
Sub
Menu
Function
Name
RED Adjust the value of red color as desired
GREEN Adjust the value of green color as desired
BLUE Adjust the value of blue color as desired
TIME OUT
LANGUAGE Select the desired language
CLOCK
PHASE
RESET Set all user settings back to the factory preset value
V- POSITION Adjust OSD vertical position
H- POSITION Adjust OSD horizontal position
Determine the time that the OSD menu is displayed on the
screen before it automatically dis-appears
Adjust the PLL parameters to allow the operator control
over the synchronization of the PLL clock
Adjust the PLL parameters to allow the operator control
over the synchronization of the PLL clock
Situation/Option
To Adjust the Tilt Angle
The tilt angle can be adjusted from 5° downward to 15° upward for optimal viewing.
(±2°)
Downward Upward
5∘ 15∘
12
Page 14
Troubleshooting Procedures
If the LCD monitor fails to function correctly, please follow the following steps for a
possible solution.
1.Perform the adjustments according to
2.Refer to the following items if the problem remains after referring to the How to
Operate the Monitor section
PROBLEM CHECK TO SEE
a) Power indicator
does not light
up.
b) Power indicator
is Green but no
display.
c) Power indicator
is amber.
d) Display is too
dark or too
bright.
e) Display is not in
the center.
f) Display is
shaking.
*One way to check this is to connect another monitor to the computer.
3. When a moving “No Connection” message is displayed, please check to make
sure the VGA cable is connected correctly.
4. When a moving “Out of Range” message is displayed after making a resolution
or refresh rate adjustment in Windows, please wait about 15 seconds for the
display to come back on. Then check and adjust the resolution to the approp riate
one. See Supported Timing section for a list of resolution and refresh rate this
monitor can support.
5. When a moving “No Signal” message is displayed, please check if the com puter
is on.
6. If the problem you are experiencing is not described here or you cannot correct
the problem, stop using the monitor and contact your dealer or tech support for
further assistance.
*If the power cord is firmly plugged in the socket.
*If the power switch is turned on.
*If the AC wall socket is has power by checking it using another
piece of equipment such as a lamp.
*If a blank screen saver is active, touch the keyboard or mouse to
de-activate the screen saver.
Increase the CONTRAST and/or BRIGHTNESS.
*If the signal timing of the computer is within the spec of the
monitor.
*If the monitor is in power management mode, touch the keyboard
or the mouse to dis-activate the power management mode.
*If the computer is ON.
Check if the VGA signal cable is loose.
Please adjust "Contrast" or "Brightness" to the appropriate level.
*If the video output level of the computer is within the spec.
*If the signal timing of the computer is within the spec.
Please press "OK" button to perform Auto Configuration.
*If the power voltage is within the spec.
*If the signal timing of the computer is within the spec.
.
How to Operate the Monitor section .
13
EEE
Page 15

E
Safety Rules Compliance Statement
FCC Compliance Statement
This equipment has been tested and complied with Class B limits, pursuant to Part 15 of
FCC Rules. These rules are designed to provide reasonable protection against harmful
interference when the equipment is operated. If not installed or used in accordance with the
installation instruction, it may cause harmful interference to radio communications. However,
there is no guarantee that the interference won’t be occured even under the particular
installation. If this equipment does cause harmful interference to radio or television reception,
which can be detected by turning the equipment off and on, you are enc ouraged to try to
improve the interference by one or more of the following measures:
* Reorient the receiving antenna
* Increase the separation between the equipment and receiver.
* Connect the equipment into an outlet on a circuit different from that to which the
receiver is connected.
* Consult the dealer or an experienced radio/TV technician for help.
Note:
To maintain compliance with the FCC Class B limit for computer devices, you must use
the shield signal and power cables included with this unit.
FCC warns that any change or modification to this unit without permission from the
organization responsible for compliance may void the user’s right to operate this
equipment.
CE compliance statement
This LCD complies with the relevant CE standards, including:
EN 55022、EN 55024、89/336/EEC、73/23/EEC and 93/68/EEC
CUL compliance statement
This LCD complies with the relevant American and Canadian standards,
including:
UL60950-1 and CAN/CSA –C22.2 No. 60950-1-03
14
Page 16

Technical Information
Technical Specification
LCD Panel 17”TFT
Energy Star compliant VESA
Power Management
Displayable Resolution SXGA 1280x1024 max.Vertical Frequency 75Hz max
Pixel Dimension 0.264x0.264mm
LCD Display Color 16.2M
Tilt Upward 5°± 2° Downward 15° ± 2°
Active Display Area 337.94mmx270.3mm
DPMS compatible
<2W
E
Temperature
Compliance UL,CE,FCC-B,Energy Star
Power InPut Voltage AC100-240V
Speaker 1Wx2
Input Signal RGB Analog
Operating:0°C~ +40°C
Storage:-20°C~+60°C
15
 Loading...