

Page 1
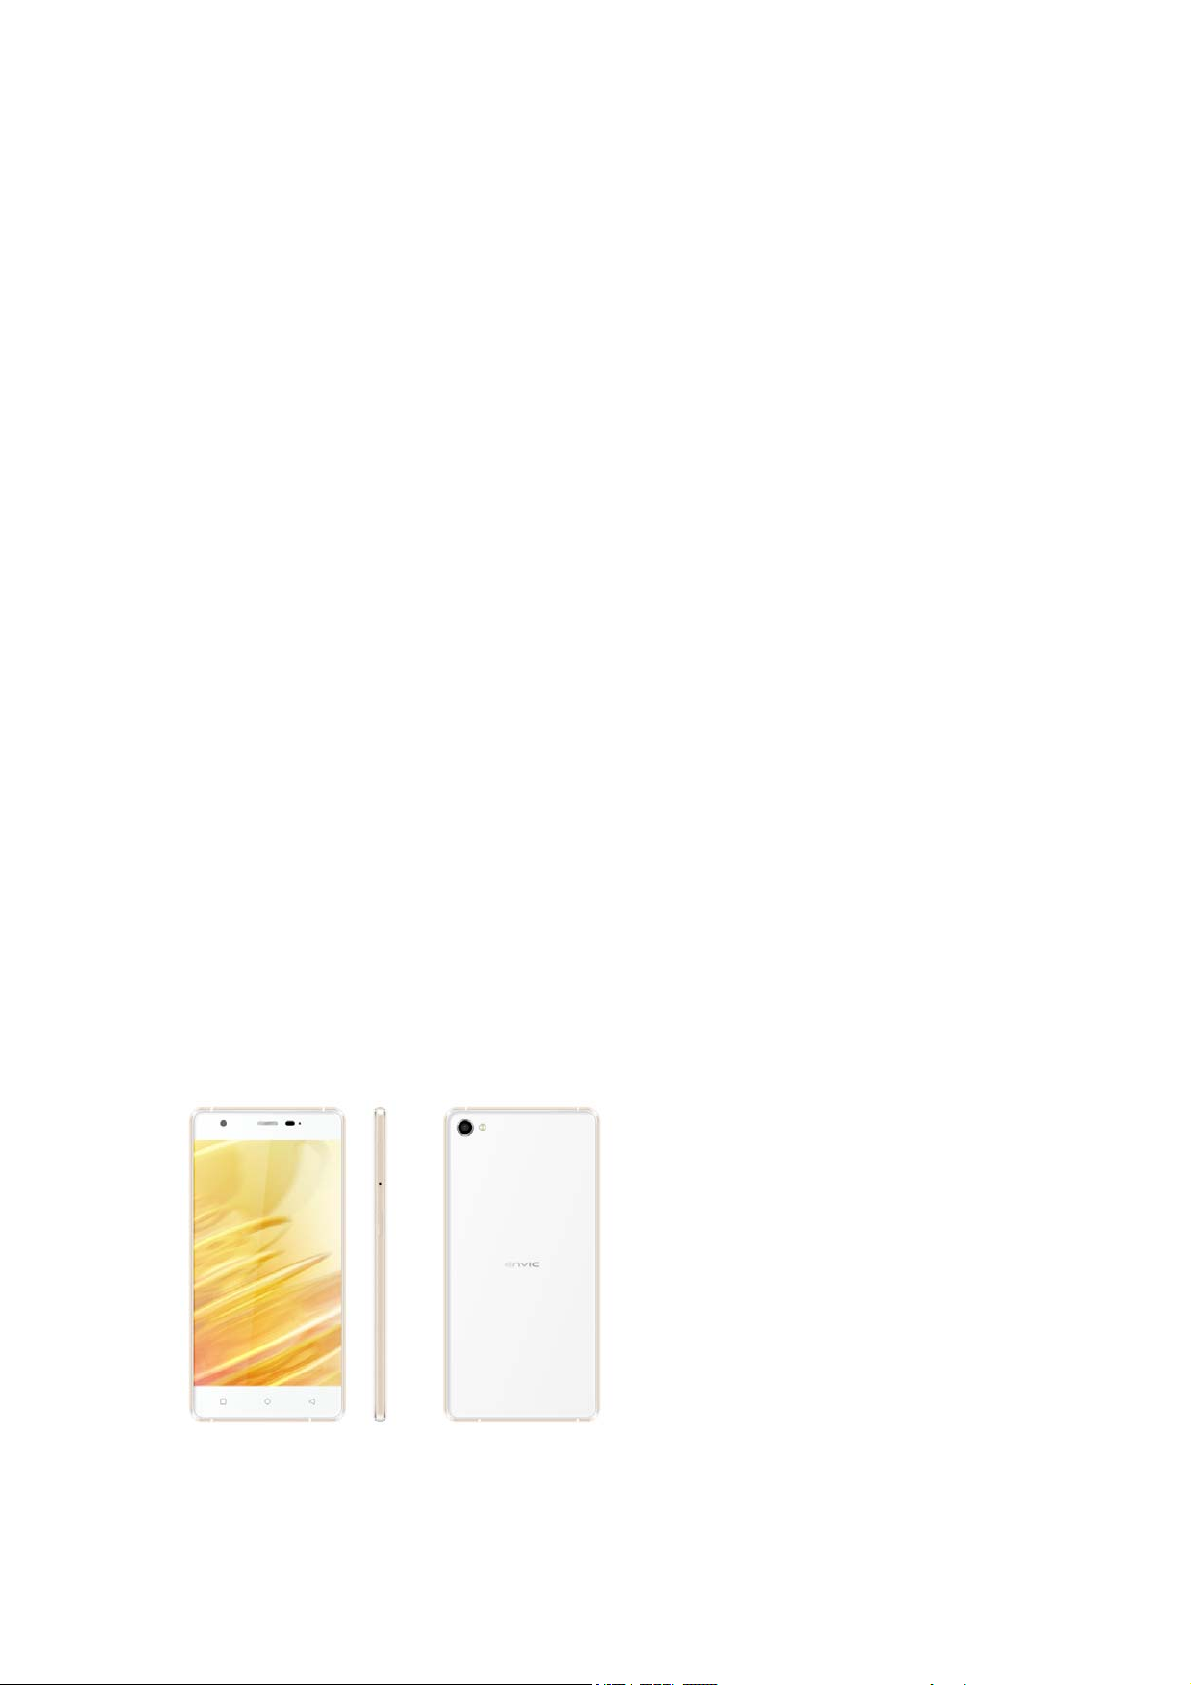
User Manual
Android phone
ESP-01
The advantage Android
ACCENT PEARL comes with Lollipop 5.1 that offers optimized system performance
resulting in a faster, simpler and smoother Android experience.
Read Me First
• Please read all safety precautions and this manual carefully before using your
device to ensure safe and proper use.
• The descriptions in this manual are based on the default settings of your device.
• Available features and additional services may vary by device, software, or
service provider.
• Applications and their functions may vary based on the country, region, software
or hardware specifications. Ronlight is not liable for performance issues caused
by third-party applications.
Understand Your Phone
Page 2
Charging the Battery
Before using the device for the first time, we recommend you to charge the battery
for a minimum of 4 hours。
You can charge the device with
a travel adapter or
connecting the device to a PC
via a USB cable.
Home Screen
(1) Read your notifications
When you see a notification in the status bar, touch the bar and slide your finger
down the screen to open the list of notifications displayed in the sliding window.
Ongoing notifications report activities such as call forwarding ON, current call
status, song playing.
Notifications report the arrival of new messages, calendar events, and alarms. You
can clear notifications list by selecting ‘Clear’ notifications at the top of the
notifications window.
To open the message, reminder or other notification, you can touch the items. To
close the notifications window, slide your finger up the screen.
(2) Create Home screen shortcuts and widgets:
From the Home screen, touch and hold the blank screen, or click MENU Key and select
‘Wallpaper’. Enter the main menu screen, slide your fingertip left to reveal the
widget, select a shortcut to some of your saved information (such as a play list),
a widget (a clock) for your Home screen.
(3) Move objects on the Home screen
•To move an icon or other item on the Home screen, you must first touch & hold i
t to enter move mode. The object will magnify when it’s ready to be moved.
Calling and Messaging
Make a Call
Tap
on the menu screen or the home screen. By default, the dialer will display
a list of contacts on which calls have been made very often .
Tap
to view the dialer
Contacts
Go to
→
Store, use, and synchronize contact details in your contact list. You can now create
contact groups or mark contacts as favorites in your phonebook. Use tabs or swipe
through to view the list of contacts, and favorite contacts list.
Page 3
Airplane Mode
Some locations may require you to disable all wireless features of your device.
Airplane Mode enables you to disable all incoming and outgoing calls, Wi-Fi, and
Bluetooth connections.
To activate the airplane mode:
1. Press and hold the Power button and then select Airplane mode. Or,
Drag notification panel down, and then select AIRPLANE MODE.
Send Message
1. Tap
1. Tap
on the menu screen or home screen and then tap to compose a message.
icon to view the types of files that can be attached and select the
desired type of multimedia file.
2. Tap to select the composition text box and enter your message body in it.
3. Enter the contact name (if it exists) or enter the phone number. You can also
tap the
4. Tap
icon to view and select contact (s) from the contact list.
to send the message.
Multimedia
Camera
Go to
→
All the pictures you can capture or view on your phone are stored on a memory card,
which must be installed in your phone. Before you can use the Camera or view pictures
in Pictures, make sure you have a card installed
Gallery
Go to
→
You can view pictures, play videos and share files from the Gallery. Tap an album
to open and view its contents.
Music Player
Go to
→
Music supports various audio formats, including: MP3, arm, ogg, and wav, etc.
The songs are categorized by Artist, Albums and Songs. You can make your favorite
playlist by long taping on a song and selecting Add to Playlist.
FM Radio
Go to
→
You can listen to your favorite FM channels using the inbuilt FM receiver of your
phone. Before starting the FM, plug-in the headset as it works as antenna for the
FM radio. Use the intuitive buttons and icons on the phone in the radio interface
to enjoy the features of your inbuilt FM radio.
Smart remote
Page 4
Go to →
(1)You can add new remote control
(2)Select device you want to control with your ARemote
(3)Select one new device → search brand →select one brand
(4)How to add the remote:
a. Test all keys for your device.
b. If each key work with your device select (Add this remote)
c. Otherwise test next model.
Settings, Networks
Your phone can connect to various networks and devices, including Internet, Wi-Fi,
GPRS, Bluetooth, devices, such as headsets. You can also transfer files to/from your
PC through the data cable.
Connect to the Internet
Go to
is to be enabled.
You may also need to configure the access point name for the data connection to work.
To configure the access point name:
Go to
SIM for which access point name is to be configured. Select the access point name
from the list.
→ → Data usage→ Cellular and select the SIM on which data connection
→ → More →cellular networks → Access Point Names and select the
By default, the access point
name gets configured once you
insert the SIM, Or, your
network provider sends the
access point name settings
via SMS. You may need to
install these settings. If
the access point names are
not listed by default, please
contact your network
provider for the same.
Tethering & Portability
You can use your device as a modem and connect
your PC or laptop to the Internet, when
required. Start using your SIM data pack on
your PC or Laptop now!
Go to
portable hotspot
USB Tethering
1. Connect your phone with your PC/Laptop
via USB cable.
→ → More → Tethering &
2. Select the USB tethering option.
3. Select your phone network as the network connection in your PC/laptop and get
access to the Internet.
Bluetooth Tethering
1. Pair your phone with the Bluetooth enabled PC/laptop via Bluetooth pairing
option.
2. Select the Bluetooth tethering option in your phone.
3. On the paired PC/laptop, select the Bluetooth device (your phone) and choose
to connect to the internet.
Page 5

Wi-Fi Hotspot
1. Turn on the Wi-Fi hotspot option in your phone.
2. On the other Wi-Fi enabled PC/laptop/handset, choose your phone as a Wi-Fi
network to connect with it.
3. View and configure Wi-Fi hotspot settings by tapping the Wi-Fi hotspot option.
Your mobile operator will
charge you based on your GPRS
data usage.
tap Bluetooth. Your phone scans and displays the Bluetooth devices in range.
2. Tap the ID of the other device in the list to pair with it.
3. You will be prompted to confirm passkey on both devices.
4. Tap Pair to confirm the passkey and pair the devices. On successful pairing,
your phone connects to the device.
Taking Care of your device
Your device is a product of superior design and craftsmanship and should be handled
with care. The following suggestions will help you protect your phone.
• Keep the device dry. Precipitation, humidity, and all types of liquids or
moisture can rust the electronic circuits. If your device gets wet, remove the
battery, wipe it with a dry cloth and take it to an authorized service center.
• Do not store the device in high or cold temperature. Extreme temperatures can
shorten the life of electronic devices and damage batteries.
• Do not use or store the device in dusty, dirty areas. Its moving parts and
electronic components can get damaged.
• Do not attempt to open the device other than as instructed in this guide.
• Do not drop, knock, or shake the device. Rough handling can break internal circuit
boards and fine mechanics.
• Do not use harsh chemicals, cleaning solvents, or strong detergents to clean
the device. Only use a soft, clean, dry cloth to clean the surface of the device.
• Do not store your device near magnetic fields or allow your device to come in
contact with magnetic fields for extended period of time.
Pair With Bluetooth Devices
Go to
1. If Bluetooth is off, turn it on and then
→ → Bluetooth
Battery Recommendations
• Please put the battery in a cool and well-ventilated place out of direct sunlight.
We recommend you to charge the battery at room temperature range.
• Batteries have life cycles. After a full charge, if the power reserve of the
battery tend to deplete inordinately faster than usual, the battery life is at
an end. Replace the battery with a new battery of the same make and specification.
• Do not discard the battery with household trash. Please dispose of used battery
according to your local environmental laws and guidelines.
Page 6

Recycle your Phone
The WEEE logo (shown at the left) appears on the product (battery, handset,
and charger) to indicate that this product must not be disposed off or dumped
with your other household wastes. You are liable to dispose of all your electronic
or electrical waste equipment by relocating over to the specified collection point
for recycling of such hazardous waste.
Collection and proper recovery of your electronic waste equipment at the time of
disposal will allow us to help preserve the environment. Recycling of the electronic
waste equipment will ensure safety of human health and environment. For more
information on best practices for disposal of electronic and electrical waste,
please visit to our web site:
www.ronlight.co.il
Note: Ronlight will not bear any responsibility for any incompliance with the above
mentioned guidelines or improper usage of the mobile phone.
Disclaimer
• The colors, specifications, functions and graphics shown/mentioned in the user
manual may differ from the actual product. In such a case, the latter shall govern.
Images shown are for representation purpose only. Specifications are subject
to change without prior notice. Ronlight keeps the right to modify the content
in this user guide without prior notice.
• Upon first use of your device, your device will send information related to your
mobile, IMEI numbers, location details and other software details through SMS*
automatically. This information may be used as further specified in Ronlight
privacy policy**.
• Talk and standby times are affected by network preferences, type of SIM cards,
connected accessories and individual usage patterns. Services and some features
may be dependent on the network, service/content providers, SIM cards,
compatibility of the devices used and the content formats supported.
• Other product logos and company names mentioned herein may be trademarks or trade
names of their respective owners.
*Operator tariff shall be applicable for SMS.
Page 7

FCC Warning:
This equipment has been tested and found to comply with the limits for a Class B
digital device, pursuant to part 15 of the FCC Rules. These limits are designed to
provide reasonable protection against harmful interference in a residential
installation. This equipment generates, uses and can radiate radio frequency energy
and, if not installed and used in accordance with the instructions, may cause harmful
interference to radio communications. However, there is no guarantee that
interference will not occur in a particular installation. If this equipment does
cause harmful interference to radio or television reception, which can be determined
by turning the equipment off and on, the user is encouraged to try to correct the
interference by one or more of the following measures:
• Reorient or relocate the receiving antenna.
• Increase the separation between the equipment and receiver.
• Connect the equipment into an outlet on a circuit different from that to which
the receiver is connected.
• Consult the dealer or an experienced radio/TV technician for help.
Caution: Any changes or modifications to this device not explicitly approved by
manufacturer could void your authority to operate this equipment.
This device complies with part 15 of the FCC Rules. Operation is subject to the
following two conditions: (1) This device may not cause harmful interference, and
(2) this device must accept any interference received, including interference that
may cause undesired operation.
Specific Absorption Rate (SAR)
Information
SAR tests are conducted using standard operating positions accepted by the FCC with
the Phone transmitting at its highest certified power level in all tested frequency
bands, although the SAR is determined at the highest certified power level, the
actual SAR level of the phone While operating can be well below the maximum value,
in general, the closer you are to a Wireless base station antenna, the lower the
power output. Before a new model phone is a available for sale to the public, it
must be tested and certified to the FCC that it does not exceed the exposure limit
established by the FCC, Tests for each the FCC that it does not exceed the exposure
limit established by the FCC, Tests for each required by the FCC. For body worn
operation, this model phone has been tested and meets the FCC RF exposure guidelines
when used with an accessory designated for this product or when used with an accessory
that contains no metal and that positions the handset a minimum of 10 mm from the
body. Non-compliance with the above restrictions may result in violation of RF
exposure guidelines.
 Loading...