

Page 1

1. Hosted PBX Voice Mail Set-Up
2. Hosted PBX 3-Way Conferencing Set-Up
3. Hosted PBX Attended Call Transfer Set-Up
4. Hosted PBX Call Forwarding Set-Up
5. Hosted PBX Call Hold Use
6. Hosted PBX Find Me Follow Me Set-Up
7. Hosted PBX Last Number Redial Use
8. Hosted PBX Speed Dial Set-Up
9. Hosted PBX Unattended Call Transfer Set-Up
1) Hosted PBX Voice Mail Setup
a) Press the button on your Cisco phone.
b) Enter PIN, then the # key.(PIN provided by Enventis)
c) Listen to voice prompts – to set greeting press 3.
d) To add a personal greeting, such as “Hello you have reached Ben with XYZ Company, please leave your name and
telephone number and I will return your call as soon as possible,” press the 1 key. Follow prompts and record your
greeting, then press the # key to play back the message.
e) To access your Voice Mail from another phone, dial 701-551-6245. The system will ask you for your 10-digit telephone
number and then your PIN. Follow voice prompts to retrieve mail.
2) Hosted PBX 3-Way Conferencing Set-Up
a) First open up your CommPortal (either through https://portal.ideaone.net or with CommPortal Assistant). You will only
use CommPortal if you plan on using a Speed Dial number. If not a Speed Dial number, go to the next step.
b) If on an incomi ng call and you want to conference in a 3rd party, follow these next steps.
c) Tell the customer that you will put them on “Hold” while you conference the 3rd party in – First press the soft key on your
display labeled Conf.
d) After you hear the dial tone, dial the number you wish to conference in, (remember to press 9 first if your system is
requiring this for an outside line).
e) You should hear the 3rd party answer the line, press the Conf soft key again and all three of you will be in conference.
Note: You will be the originator of the three-way call so if you hang up the headset you will terminate the other two
parties.
M10160 (01) October 2012
1 of 4
Page 2
3) Hosted PBX Attended Call Transfer Set-Up
a) First open up your CommPortal (either through https://portal.ideaone.net enter your 10-digit phone number and
password or use CommPortal Assistant).
b) When a customer calls in, answer the call and then press the “xfer” button.
c) After hearing dial tone, dial the third party number, wait until the party has answered the call and then press the “xfer”
button again.
d) If you hang up, the customer will be con nected to the third party.
4) Hosted PBX Call Forwarding Set-Up
a) First open up your CommPortal (either through https://portal.ideaone.net enter your 10-digit phone number and
password or use CommPortal Assistant).
b) Then click on the Call Manager tab up on the top of the box.
c) Next open up the Forwarding tab.
d) Then click on the Forward Calls Immediately check box.
e) Enter the number you want to call forward to and finally click the Apply button.
f) To reverse, return to the Call Manager tab, click on Forwarding and just uncheck the Forward Calls Immediately
button.
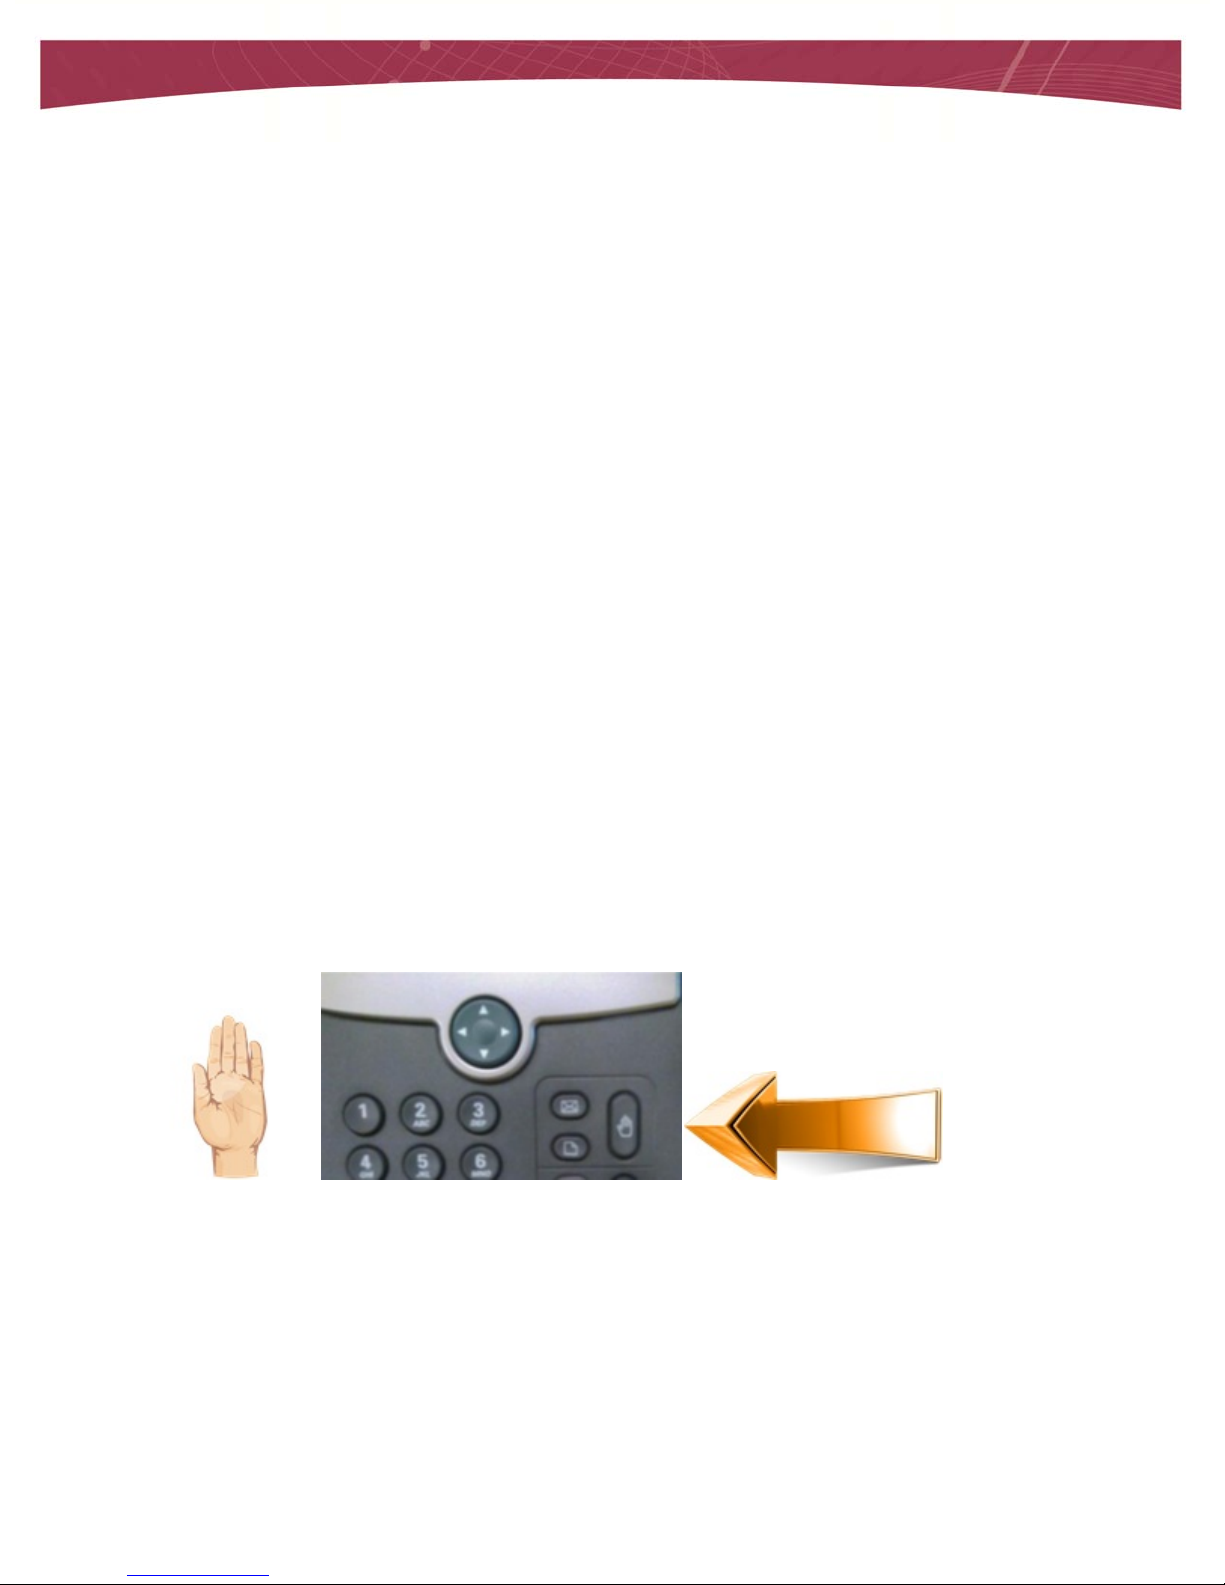
5) Hosted PBX Call Hold Use
a) When on a call and you need to place the caller on hold, press the Hold button shown belo w (hand).
b) To reconnect the call, press the flashing line button on the right hand side of the display.
6) Hosted PBX Find Me Follow Me Set-Up
a) First open up your CommPortal (either through https://portal.ideaone.net enter your 10-digit phone number and
password or use CommPortal Assistant).
b) Then click on the Call Manager tab up on the top of the box, or on your Dashboard page in the lower right hand box
it will say Follow Me.
M10160 (01) October 2012
2 of 4
Page 3

c) Next, open up the Follow Me tab.
d) Click in the box next to the statement that reads “Forward calls you receive to one or more alternate
destinations.” This service is currently INACTIVE. Once you have done this the service type will read ACTIVE.
e) Then under the Settings window you have three choices: 1) a check box to ask callers to record their names
before attempting to call you. 2) ring multiple phones simultaneously 3) ring sequentially in the same order as
the list you will create. Check the appropriate boxes to suit your needs.
f) Next, click on the Add Rule button on the lower left side of the window. In the pop-up window under Telephone
Number, enter the number you wish to add to the Find Me Follow Me rule. Make sure to look below and click on the
days and times you want this rule to operate. Click on the OK button.
g) Finall y, click on the Settings tab up top. Select Preferences, and near the bottom of this window you will see
Voicemail Preferences. Change the number to a small number of seconds, such as 5-7 seconds, to allow the Find
Me Follow Me option to ring your main number for the number of seconds you chose, then move onto the other
numbers you have designated in the prior steps. Note: Make sure to press the Apply button when done.
h) To undo the Find Me Follow Me option, go to the Follow Me tab either through the Call Manager tab or on your
Dashboard view and uncheck the box that will return the system to INACTIVE.
7) Hosted PBX Last Number Redial Use
a) First open up your CommPortal (either through https://portal.ideaone.net enter your 10-digit phone number and
password or use CommPortal Assistant).
b) Through the CommPortal you will need to go to the Settings tab up top. Click on the Phone tab and then Configure
your Phone.
c) A picture of your Cisco SPA504G will appear on your screen. Hold your mouse pointer over the buttons on the phone
and you will notice that the button will have a highlight of either Blue or Red. The Blue color indicates that you can
change the function of that particular key. Red indicates that the key is locked. See Below:
d) When you have the softkey selected and it is Blue, click on it and a pop-up will open and you can then select from
the dropdown menu Automatic Recall. Next, you can type a description of your choice like – redial.
e) This button configuration change will require a phone reboot. Remember this will take your PC down while rebooting.
M10160 (01) October 2012
3 of 4
Page 4

Second method requires less online configuration – Simply use your phone to scroll
through the menu to see the last 60 numbers dialed.
f) Select the menu button on your phone.
g) Scroll down using the circular arrow key and select Call History. Then press select again on Redial List. Use the
circular arrow key to scroll through the dialed numbers until you find the number you wish to redial, then press the
Dial key.
8) Hosted PBX Speed Dial Set-Up
a) First open up your CommPortal (either through the website or with CommPortal Assistant).
b) Then click on the Contacts tab up on the top of the box.
c) Next open the Speed Dials tab.
d) On the right hand side, you will see Speed Dial with a drop down arrow, here is where you assign the actual speed
dial number 2 through 49. In the box directly below enter the 10-digit number to be diale d.
e) Click the Add button and finally the Apply button.
f) To dial a speed dial number, press the number on your phone and press the Dial key on the display.
9) Hosted PBX Unattended Call Transfer Set-Up
a) First open up your CommPortal (either through https://portal.ideaone.net enter your 10-digit phone number and
password or use CommPortal Assistant).
b) When a customer calls in, answer the call and then press the “xfer” button.
c) After hearing dial tone, dial the third party number. When you hear the line ringing press the “xfer” button again.
d) If you hang up, the customer will hear the l in e ringing to the third party without you on the line.
M10160 (01) October 2012
4 of 4
 Loading...