

Page 1
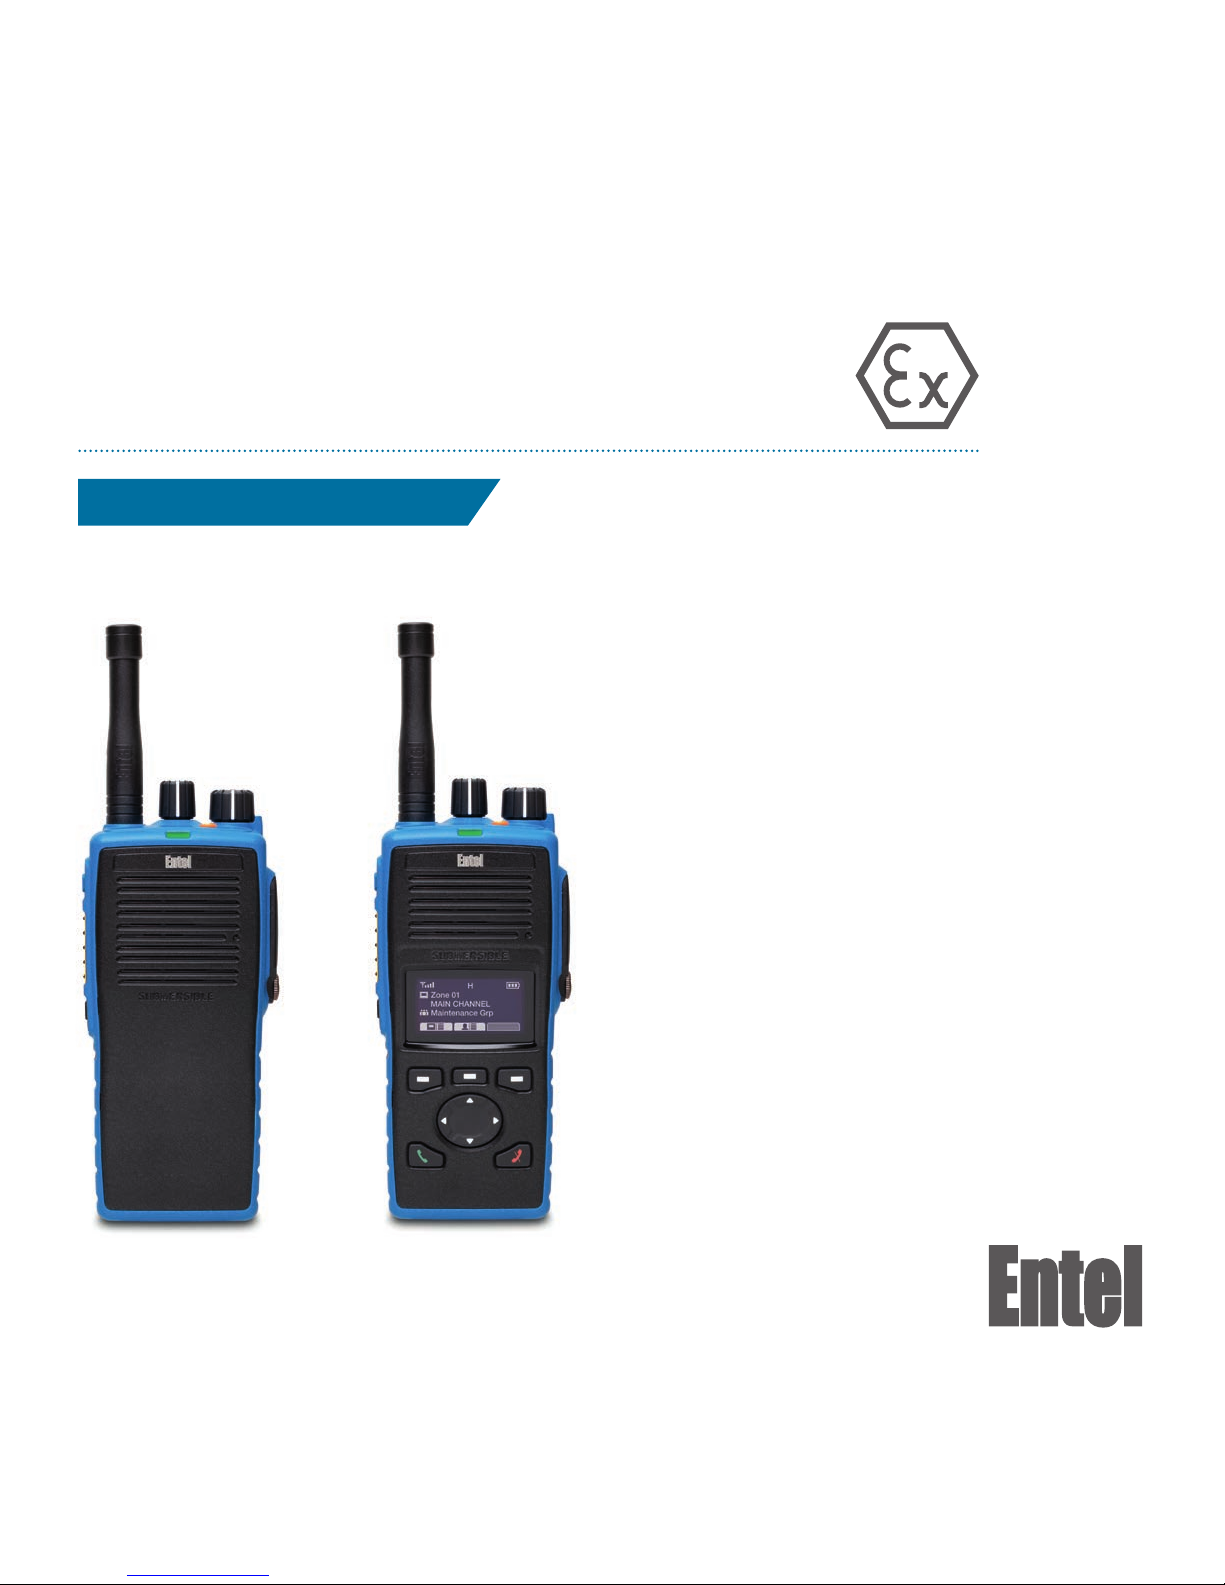
DTEx Land Series
DT500 | DT800 | DT900
Quick Start User Guide
Designed in the United Kingdom
Page 2
Quick Start User Guide V1.1
DTEx Land Series
DT500 | DT800 | DT900
INTRODUCTION
The Entel DTEx intrinsically safe series is designed for those users who
demand the ultimate performance for their business critical communications.
Your radio can be congured for Digital or Analogue channels, or both, and to
meet your exact requirements the radio may have been customised by your
Entel Dealer. These features will be explained in a separate guide issued by
the Dealer.
BATTERY INFORMATION
Battery charging
1. Connect the AC adapter to the charger pod and plug in.
2. Turn the radio off.
3. Insert the battery pack into the charger pod, either with or without the radio
attached. The charger LED status light changes to red and charging begins.
4. When charging is complete the charger LED status changes from red to green.
A fully discharged battery pack will take approximately 3 hours to recharge.
A flashing red LED on the charger indicates there is a problem with the battery.
Remove the battery from the charger and consult your Entel Dealer.
CAUTION
BATTERY PACK PRECAUTIONS
• Do not recharge the battery pack if it is already fully charged. Doing so may
reduce the life of the battery pack.
• After charging is complete, remove the battery from the charger. If the power
to the charger is turned off and on again, charging will restart and the battery
will become overcharged.
• Please ensure that the radio is turned off before placing it in the charger and
never switch a radio on whilst in the charger.
• Only battery packs and chargers stating they are “Part of IECEx BAS
18.0094X and Baseefa18ATEX0152X” may be used.
• Do not short the battery terminals or dispose of the battery in a re.
• Do not charge the radio and/or battery pack if they are wet.
• Risk of explosion if battery is replaced by an incorrect type.
• Dispose of used batteries according to the instructions.
DANGER
DO NOT DISASSEMBLE OR MODIFY THE BATTERY IN ANY WAY!
Your Entel battery pack incorporates a safety circuit to avoid danger. If the safety
circuit is damaged or bypassed, or the battery cells are damaged directly, they
may generate extreme heat, smoke, rupture and emit flames.
REPAIR & MAINTENANCE
Repair and maintenance of this product can only be carried out by Entel. Any
damage to the anti-tamper seal will invalidate the product approval. Should you
have any difculties in operating this product please contact your Entel Dealer
for support.
OPTIONAL ACCESSORIES
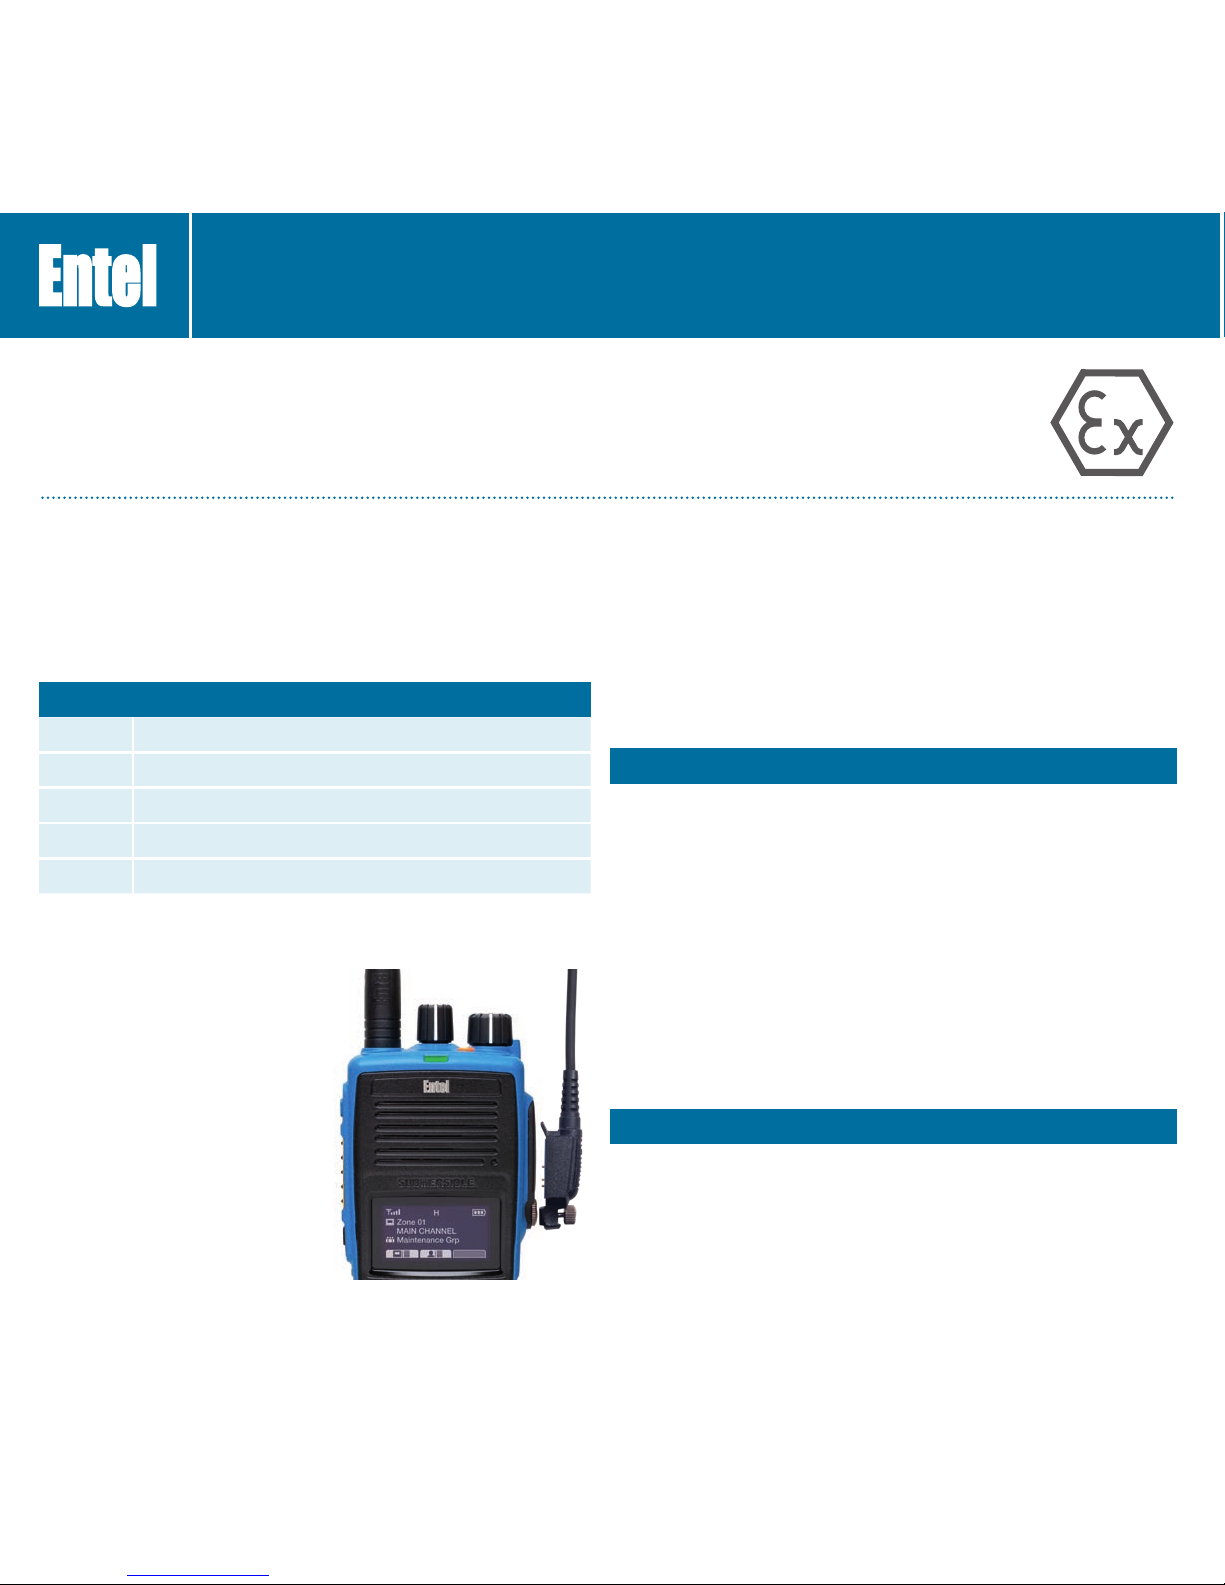
Attaching and removing accessories
To attach an accessory, remove the
accessory cover by unscrewing the
locking screw anticlockwise (leave
cover attached or store in a safe place).
Plug the accessory into the socket,
then carefully tighten the locking screw
clockwise until nger tight (do not overtighten or use any implement).
To remove an accessory, unscrew the
locking screw of the accessory by hand
in an anticlockwise direction.
Ensure you ret the accessory socket
cover (the radio is not submersible
without the socket covered).
PACKING LIST
DTxxx Radio
CSA HT
Rapid charger
CNBxxx Rechargeable Li-Ion battery
CBHxxx Spring loaded belt clip
CATxxx High ef ciency antenna
Page 3
CONTROLS & INDICATORS
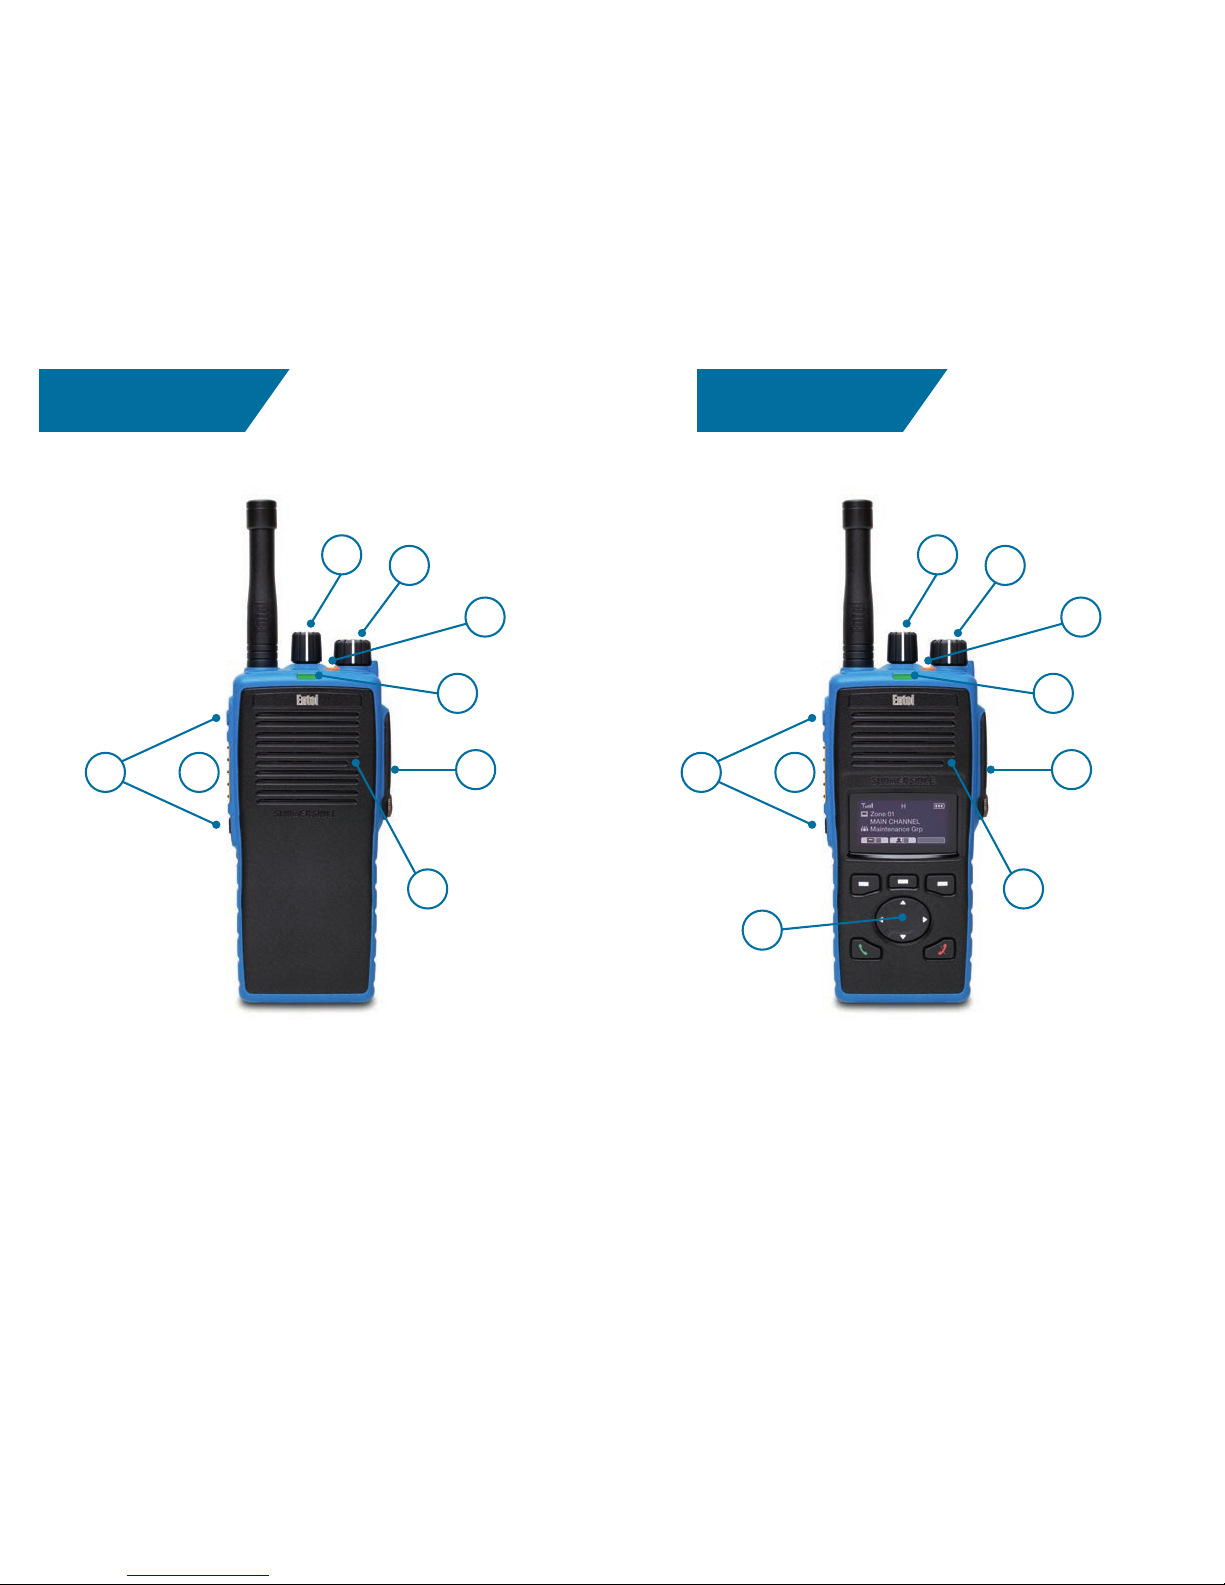
NON DISPLAY
1. On/Off/Volume control.
Rotate clockwise to turn on and increase volume.
Rotate anticlockwise to reduce volume and turn off.
2. Channel control
3. Accessory socket
4. Push-To-Talk (PTT) button.
Press to speak and release to listen.
5. Dealer programmable buttons (ask your Dealer for more information)
NAV KEY LCD
6. LED indicator
Red Steady - Transmitting
Red Double Flash - Low Battery
Red Fast Flash - Error
Green Steady - Receiving
Green Steady (AM) - Monitoring Channel
Green slow flash (DM) - Digital call hang time
Amber steady - Receiving invalid signal
Amber Flash every 5-seconds - Radio in standby
Amber Rapid Flash - Scanning
7. Navigation key
8. Microphone
4
1
5
6
3
8
5
2
Talk here
4
1
5
6
3
8
7
5
2
Talk here
Page 4
PREPARING YOUR RADIO FOR USE
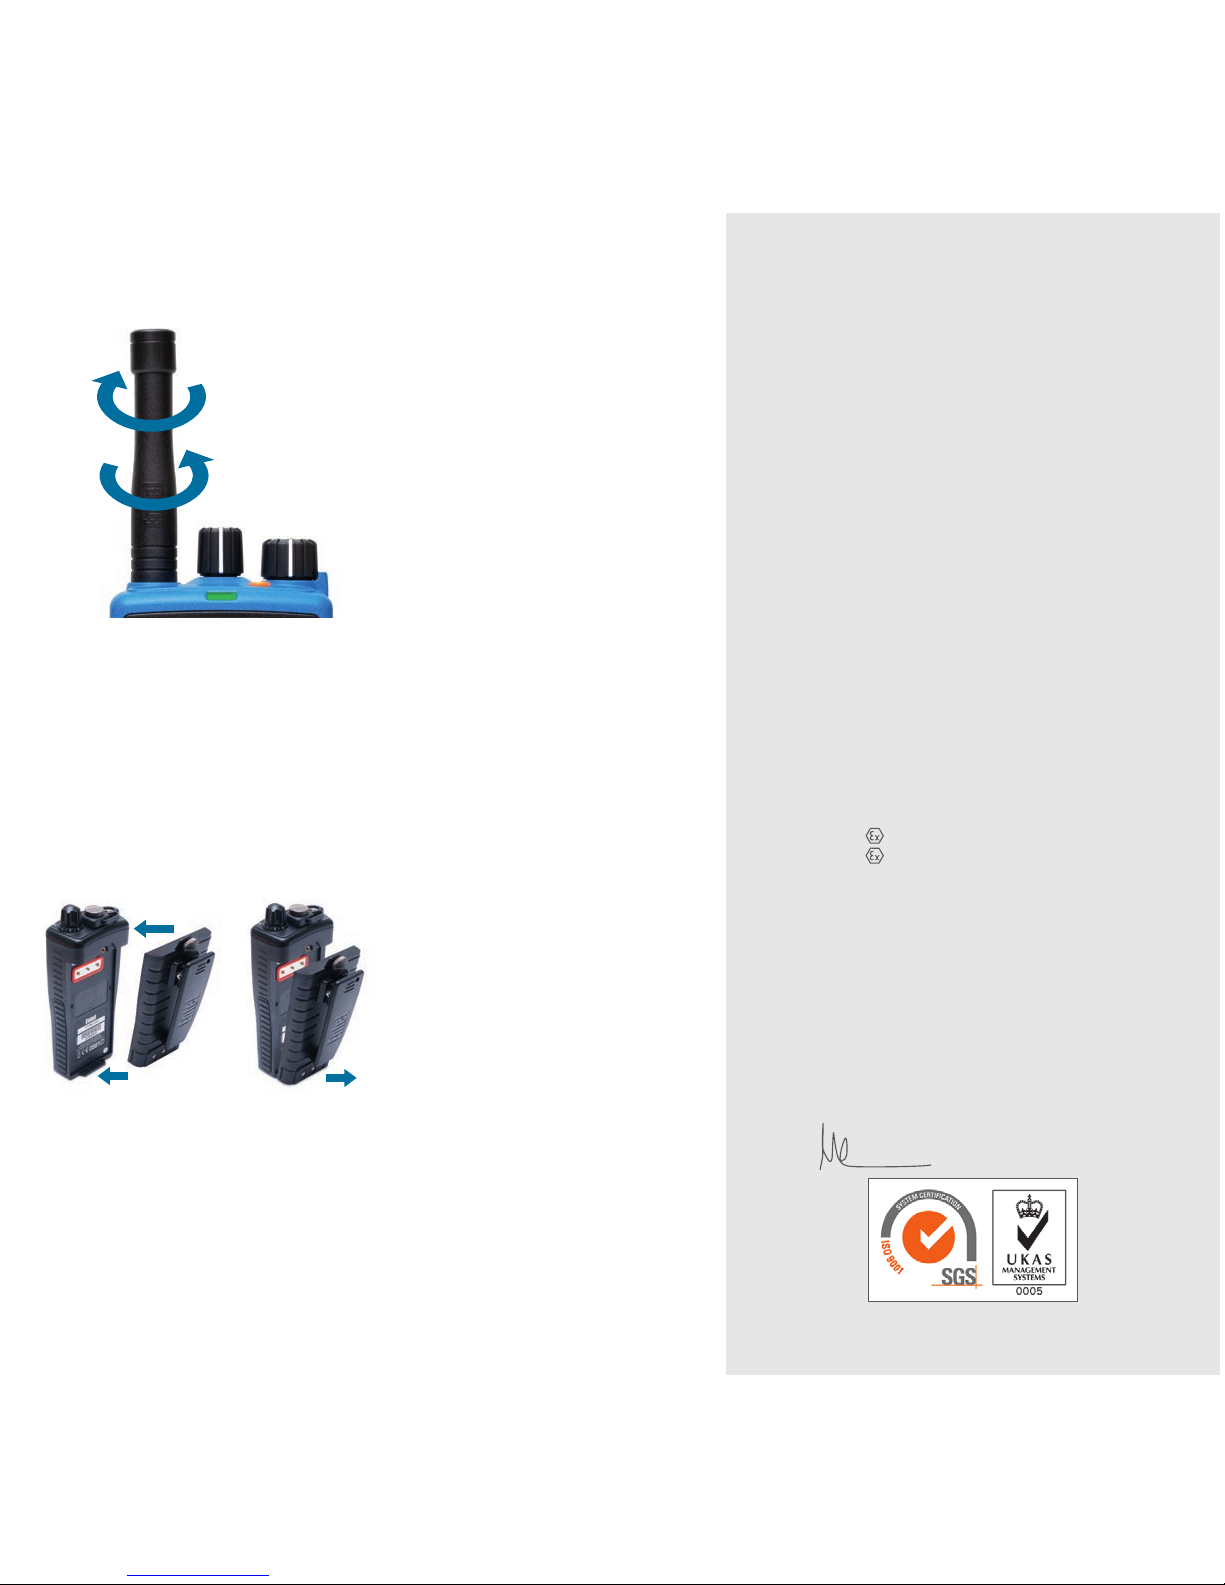
Attaching / removing the antenna
Attaching / removing the battery pack
1. To attach, carefully align the antenna with
the socket. Screw in the antenna clockwise
(taking care not to cross the thread) until it
is seated rmly with the accessory cover’s
rubber ring between the antenna and the
top of the radio (A).
2. To remove, unscrew the antenna anti-
clockwise (B).
Note: antenna supplied with DT952/DT953
are not removable.
1. To attach, locate the pegs on the bottom
of the battery into the slots on the radio
and press the top of the battery against
the radio. Secure battery by tightening the
screw clockwise by hand (do not use any
implement or over tighten) (C).
2. To remove, unscrew the locking screw anti-
clockwise and pull the battery away from the
top of the radio (D).
B
A
www.entel.co.uk
SWITCHING ON, RECEPTION
AND SWITCHING OFF
1. To switch on rotate the on/off/volume
control (1) on the top of the radio
clockwise, you will hear a click from
the control.
2. When the radio has passed its
diagnostic tests, it will emit a fanfare
tone.
3. The radio will enter standby mode.
This is indicated by the LED flashing
amber once every 5 seconds, signaling
that the radio is ready for use.
4. Adjust the volume control (1) to select
the desired volume level.
5. Using the channel buttons, ensure you
have the correct channel selected.
6. When receiving a valid signal, the LED
will illuminate steady green and audio
will be emitted from the radio’s speaker
or audio accessory (if attached).
7. When nished using the radio, switch
off by turning the on/off/volume control
(1) counter clockwise until it clicks and
the radio will be switched off.
EU DECLARATION OF CONFORMITY
Hereby, Entel UK Limited of:
320 Centennial Ave, Centennial Park, Elstree, WD6 3TJ,
United Kingdom
Declares that the radio equipment type:
DT582, DT585, DT882, DT885, DT981, DT982, DT985,
DT952, DT953 is in compliance with Directive 2014/53/EU.
The full text of the EU declaration of conformity is
available at the following internet address:
www.entel.co.uk/red
This declaration is valid for Directive 2014/34/EU
EN 300 086 v2.1.2
EN 300 113 v2.2.1
EN 301 489-1 v2.2.0 & EN 301 489-5 v2.2.0
EN 60950-1:2006/A11:2009/A1:2010/A12:2011/A2:2013
EN 50566:2017, EN 62311:2008 & EN 62209 – 2:2010
EN 300 296 v2.1.1
RED Certication number: BABT-RED001278 i01
DT5xx, DT8xx and DT9xx
IEC 60079-0:2017 EN 60079-0:2018
IEC 60079-11:2011 EN 60079-11:2011
Related certicates:
IECEx: IECEx BAS 18.0094X
ATEX: Baseefa18ATEX0152X
DT5xx marking Ex ib IIA T4 Gb (-20°C ≤ Ta ≤ +40°C)
DT8xx marking II 2G Ex ib IIA T4 Gb (-20°C ≤ Ta ≤ +40°C)
DT9xx marking II 2G Ex ib IIC T4 Gb (-20°C ≤ Ta ≤ +40°C)
SGS Baseefa Ltd
Rockhead Business Park, Staden Lane
Buxton, Derbyshire
SK17 9RZ
Notied Body No. 1180
Quality Assurance Notication:
Intertek Ltd. Intertek House.
Leatherhead, KT22 7SB
Notied Body No. 0359
Name: Mike Jamieson
Position: Quality Manager
Date: 4th February 2019
Signed:
TRANSMITTING
1. Perform steps 1 through to 5 above.
2. Before transmitting, monitor the
channel and make sure it is clear.
3. When receiving a signal, wait until
the signal stops before transmitting.
The radio cannot transmit and receive
simultaneously.
4. Press the Push-To-Talk (PTT) button
(4) to begin your transmission. To
conrm transmission the LED will
illuminate red.
5. For best transmitted speech quality,
you must talk directly into the radio’s
microphone (8) at around 4cm
between your mouth and the radio.
6. Please note: if you talk into the top of
the radio or with your mouth further
away, you will transmit poor quality
speech.
7. When the transmission is nished
release the PTT button.
C
D
All Rights Reserved. Copyright Entel UK Ltd.
Page 5

Model Description ATEX IECEx Permitted models
CNB550EV2 1800mAh Li-Ion battery pack
DT500 Series
CNB950EV2 1800mAh Li-Ion battery pack
DT800, DT900 Series
CM P/DT5 Remote speaker microphone
DT500 Series
CMP/DT9 Remote speaker microphone
DT800, DT900 Series
CHP950D* Ear defender headset with headband
DT500, DT800, DT900 Series
CHP950HS* Ear defender headset/hardhat/single sided
DT500, DT800, DT900 Series
CHP950HD* Ear defender headset/hardhat/double sided
DT500, DT800, DT900 Series
CXR5/DT9** Bone conductive throat microphone & earpiece
DT500, DT800, DT900 Series
CXR16/DT9** Bone conductive skull microphone & earpiece
DT500, DT800, DT900 Series
PTT-E/DT9 Heavy duty PTT switch for CHP Series
DT500, DT800, DT900 Series
PTT-C/DT9 Heavy duty PTT switch for CXR Series
DT500, DT800, DT900 Series
EA12/ DT 9 Earpiece microphone & PTT
DT500, DT800, DT900 Series
EA15/ DT 9 Cover t earpiece microphone & PTT
DT500, DT800, DT900 Series
EA19/DT9 Earpiece with boom microphone & PTT
DT500, DT800, DT900 Series
EH P/DT9 Listen only earpiece
DT500, DT800, DT900 Series
*CHP950D, CHP950HS and CHP950HD must be ordered in conjunction with PT T-E/DT9
**CXR5 and CXR16 must be ordered in conjunction with PTT-C/DT9
Specic conditions of use:
The Entel ATEX transceivers should only be used with the specic, permitted accessories, as detailed above.
Page 6
CONTACT
For more information about our products, please contact us:
+44 (0)20 8236 0032
entel.co.uk
All Rights Reserved. Copyright Entel UK Ltd.
For a detailed specication on all products listed please visit our webpage - entel.co.uk
 Loading...