

Page 1
Quickstart guide Tikee PRO 2+
Page 2

Introduction
This quick start guide is non exhaustive. Before using your
Tikee, please read carefully all the safety precautions and
instructions for use in the manual available at https://enlaps.io/
user-guide/?lang=en
Follow us on
Page 3
Basics
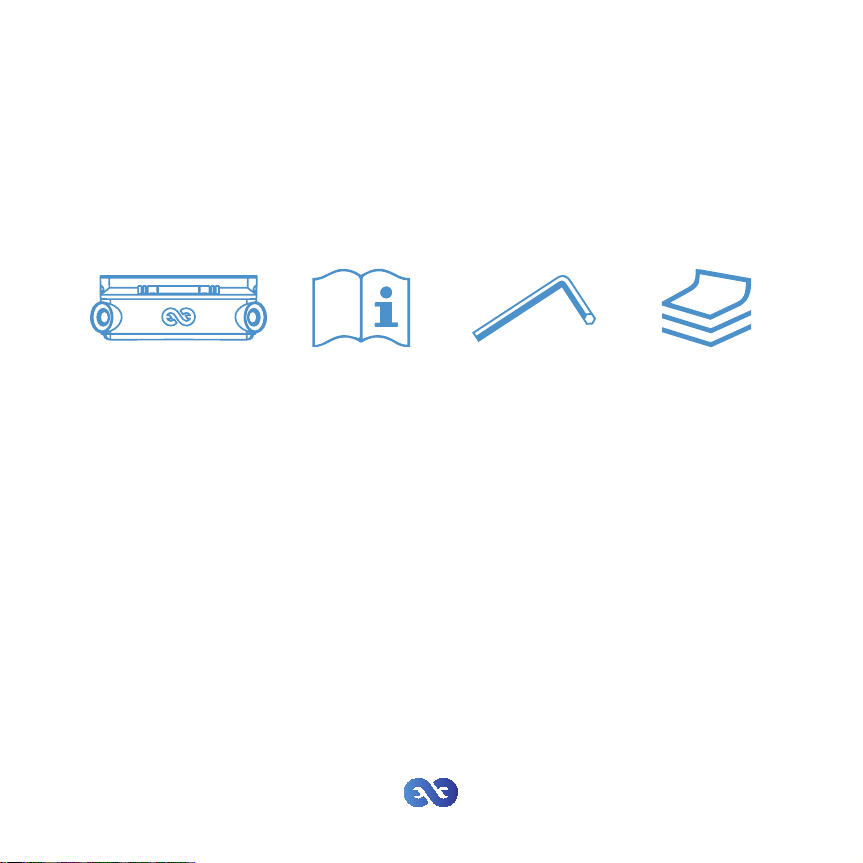
Content
1x Tikee PRO 2+ 1x Quick
Start Guide
1x Hexagon
wrench
1x Microber
cloth
Requirements
A microSD card (not provided) is required to use your Tikee :
- Compatible cards : microSDHC/ microSDXC.
- Speed class : U1 or U3
- Capacity : 8 Go - up to 512 Go
For the 4G connectivity: an activated microSIM (not provided)
with a subscription adapted is required to upload data using 4G
connectivity.
Page 4
Overview
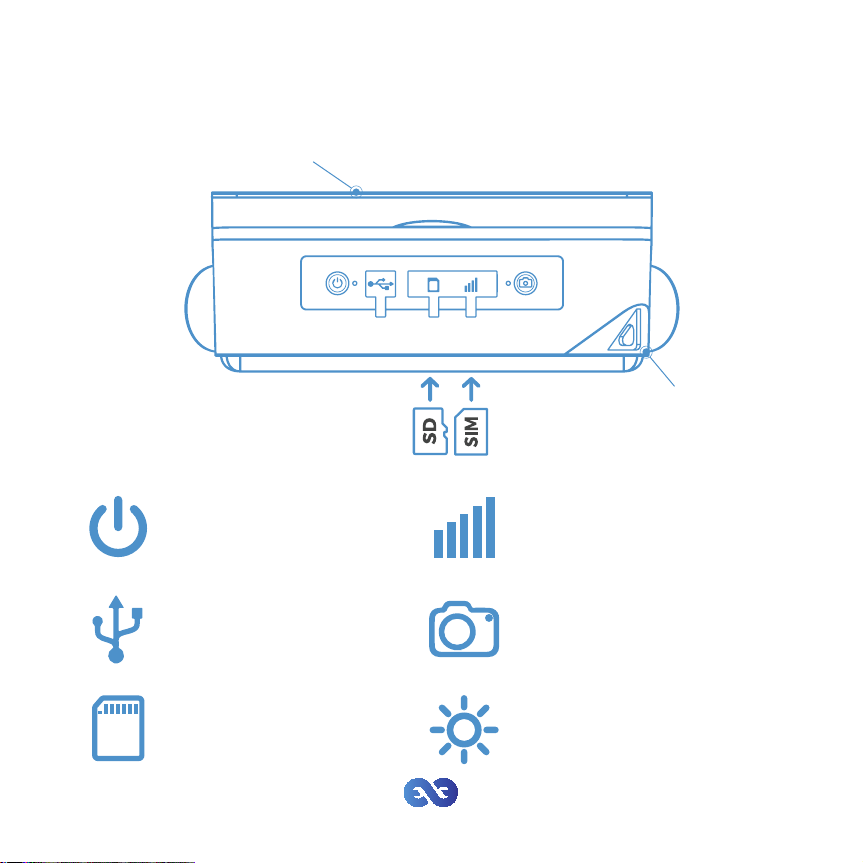
Solar panel
Anti-theft system
Power button
Press and hold for three
seconds to power on/off
Micro USB slot
Charge your Tikee
(Micro USB cable not
provided)
MicroSD card slot
Slot for memory card
Micro SIM slot
Slot for micro SIM card
Trigger button
Start or stop a pre-set
timelapse sequence
Power LED and trigger LED
Indicate status, battery level and
in-progress sequence
Page 5
Getting started
1. Remove the plastic lm from the solar panel and charge the
battery of your Tikee using a micro USB cable (not provided).
Prior use, perform a full battery charge.
!
(LED blinking blue once completely charged)
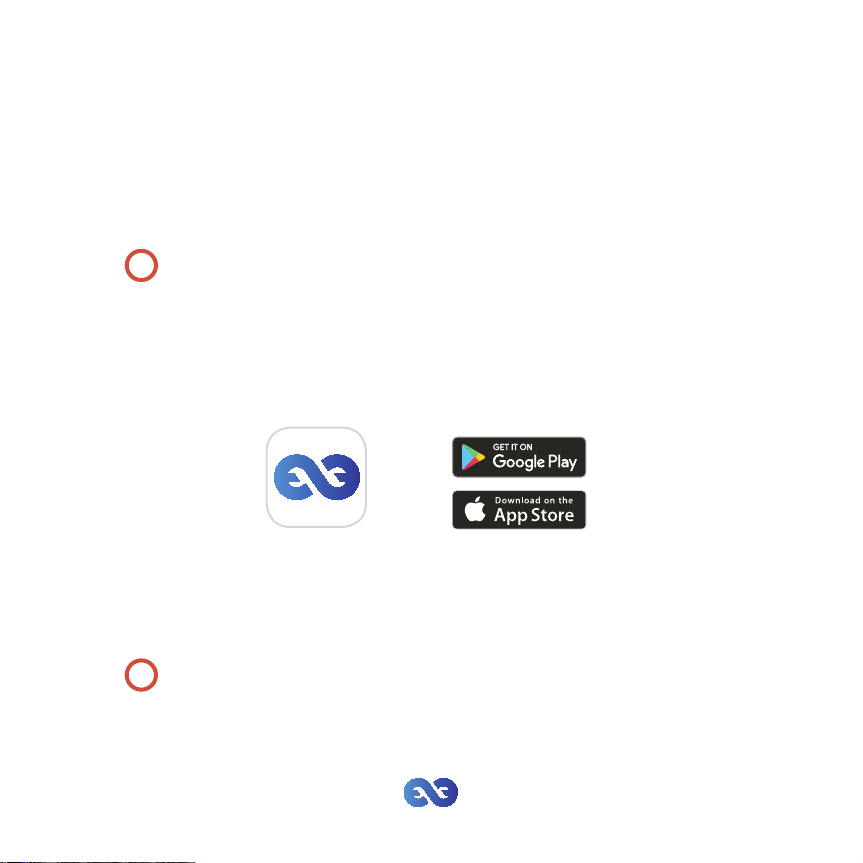
2. Create an account on our web application at my.tikee.io
Download the mobile app Tikee Remote from Google PlayStore
or AppStore.
3. Insert a microSD card into your Tikee PRO 2+.
Insert a microSIM card to use 4G.
Be careful, micro SD and micro SIM card slots are
fragile and should be handled with care. Do not use
!
tools to insert or remove cards.
Page 6
3G / 4G
4. Press 3 seconds the Power button to power on.
LED starts blinking and then turns xed. The color indicates battery
level. To power off press and hold the power button for 3 seconds
until the LED starts blinking.
5. Check bluetooth and location is on on your mobile phone/tablet. Launch Tikee Remote mobile app close to your Tikee camera and log in with your user ID created during step 2.
Select your Tikee from the list.
You access directly to Tikee’s status screen:
6. Choose the wireless settings :
Optional step for ofine use
Wi
Wireless setup
Test connection
Save
Click on the Wi icon or the 4G icon, set the connection credentials
and test connection. This allows data to be sent from Tikee to the
web app.
Page 7
7. Properly level your camera, horizontally and vertically. Frame
Preview
your subject, to ensure a proper panorama stitching, avoid
foreground object closer than 5m in the central aera.
8. Check the framing of your Tikee camera with the preview.
Only available if Wi or 4G connectivity is functional.
9. Create your rst sequence :
TL Sequence
Choose a type of sequence and congure it.
Page 8

LONG-TERM MODE INTERVAL 1 MIN AND +
Up to 24 hours between each shot for an event that can
last for months or more.
By default upload occurs each 25 images or at least once
a day.
Suggested use :
and automatic images send via network every 25 images.
BURST MODE INTERVAL < 1 MIN
site monitoring with 1 image every 15 minutes
Burst between 100 and 200 images with an interval
between 5s and 45s as a complement to a long-term
sequence.
The upload of the whole burst takes place at the end of
the sequence.
Suggested use : sunset with 30 sec interval during 1h30 and
automatic images send via network at the end of the burst.
EVENTS MODE INTERVAL < 1 MIN
An interval from 5 to 45 seconds between each shot to
record a few hours event.
The upload is manually done from the microSD card.
Suggested use : lling of a concert hall with 10 sec interval,
images storing on the microSD card and upload.
Page 9

10. Start a timelapse by clicking on Start recording from the
mobile app or pressing the Trigger button on Tikee.
The right LED blinks every 10 seconds.
Timelapse will start at preset time. To stop ongoing recording
sequence press 3 seconds the Trigger button again.
You can view the status of your Tikee at any time from the screen
in the mobile app Tikee Remote (close to your Tikee)
or from in the web app Mytikee.
10. Follow and edit your timelapse with Mytikee web app.
Image upload needs to be activated during step 7 to move
!
on to the following step.
Page 10
Previewing and sharing your timelapse
To preview your timelapse go to the web app at my.tikee.io
and log in. The timelapse is available once 100 photos have been
uploaded.
By default, timelapses are private.
Share them with the Community by making them public !
By the way do not forget the #tikee on social networks
so we can watch your timelapses. ;)
Want to know more?
You can edit your timelapses and congure your
Tikee remotely. Tutorials are available on the website
at enlaps.io.
If you have any questions please contact us at
[email protected] or on Facebook.
 Loading...