

Page 1

1
USER MANUAL
Passion for innovation
Model TP-600
Portable Multi-Channel FM Transmitter
(72-76 Mhz)
Page 2

2
TP-600 Table of Contents
About this Manual…………………………………………. 3
Package Contents ………………………………………..… 3
System Overview …………………………………………… 3
Quick Reference:
Controls, Displays and Connectors……………….…. 5
Set-up Instructions ………………………………………… 8
General Set-Up Instructions ………………………… 8
Enersound Frequency Chart………………………… 12
Menu Setting Instructions …………………………… 14
Safety Information ……………..………………….…… 26
Trouble Shooting ………………..…………………….…… 29
FCC & IC Statements ……………………………….….…… 32
Limited Warranty Statement …………………...….… 35
TP-600 Optional Accessories ………………….…….… 38
Technical Specifications ……………………….………… 39
Page 3

3
About this Manual
Read this user manual carefully before setting up
and operating your TP-600 portable FM transmitter.
Use the product only as described to avoid
accidental injury, damage or hearing impairment.
Also, read safety warnings carefully. Keep this
manual for future reference. If you give this product
to someone else, remember to include this manual.
Package Contents
(1) TP-600 Portable FM Transmitter (72-76 MHz)
(1) User Manual
System Overview
Thank you for choosing the Enersound TP-600 FM
transmitter. This professional 17-channel portable
transmitter, designed for assistive listening and
language interpretation, wirelessly broadcasts a
speaker’s voice, music or audio signal up to 150 ft.
The audience can use an optional Enersound FM
receiver or any other compatible FM receiver
operating within the 72-76 MHz frequency band to
pick up the broadcast. The TP-600 transmitter
Page 4

4
features 2 audio inputs, including a 3.5 mm locking
jack for headset microphones, and a 2.5 mm jack as
an auxiliary audio input.
The TP 600 features a dedicated MUTE button
conveniently located on the upper side of the unit
that enables the user to silence the microphone and
enable it back.
Its LCD display allows the user to easily program the
various useful functions, such as the microphone and
auxiliary gains, compression ratio, display mode
(frequencies or channel numbers), and battery type.
The TP-600 is powered by either Alkaline or NiMH
rechargeable batteries. It features an on-screen
battery level indicator. When used with NiMH
rechargeable batteries, the optional CHR-600 dropin fast charger sold separately, allows to recharge
the batteries without removing them from the
transmitter. Battery life with alkaline batteries is up
to 25 hours and up to 22 hours per charge with NiMH
rechargeable batteries.
Page 5

5
Quick reference: Controls, Displays and Connectors
Top of Transmitter
Front of Transmitter
Page 6
6
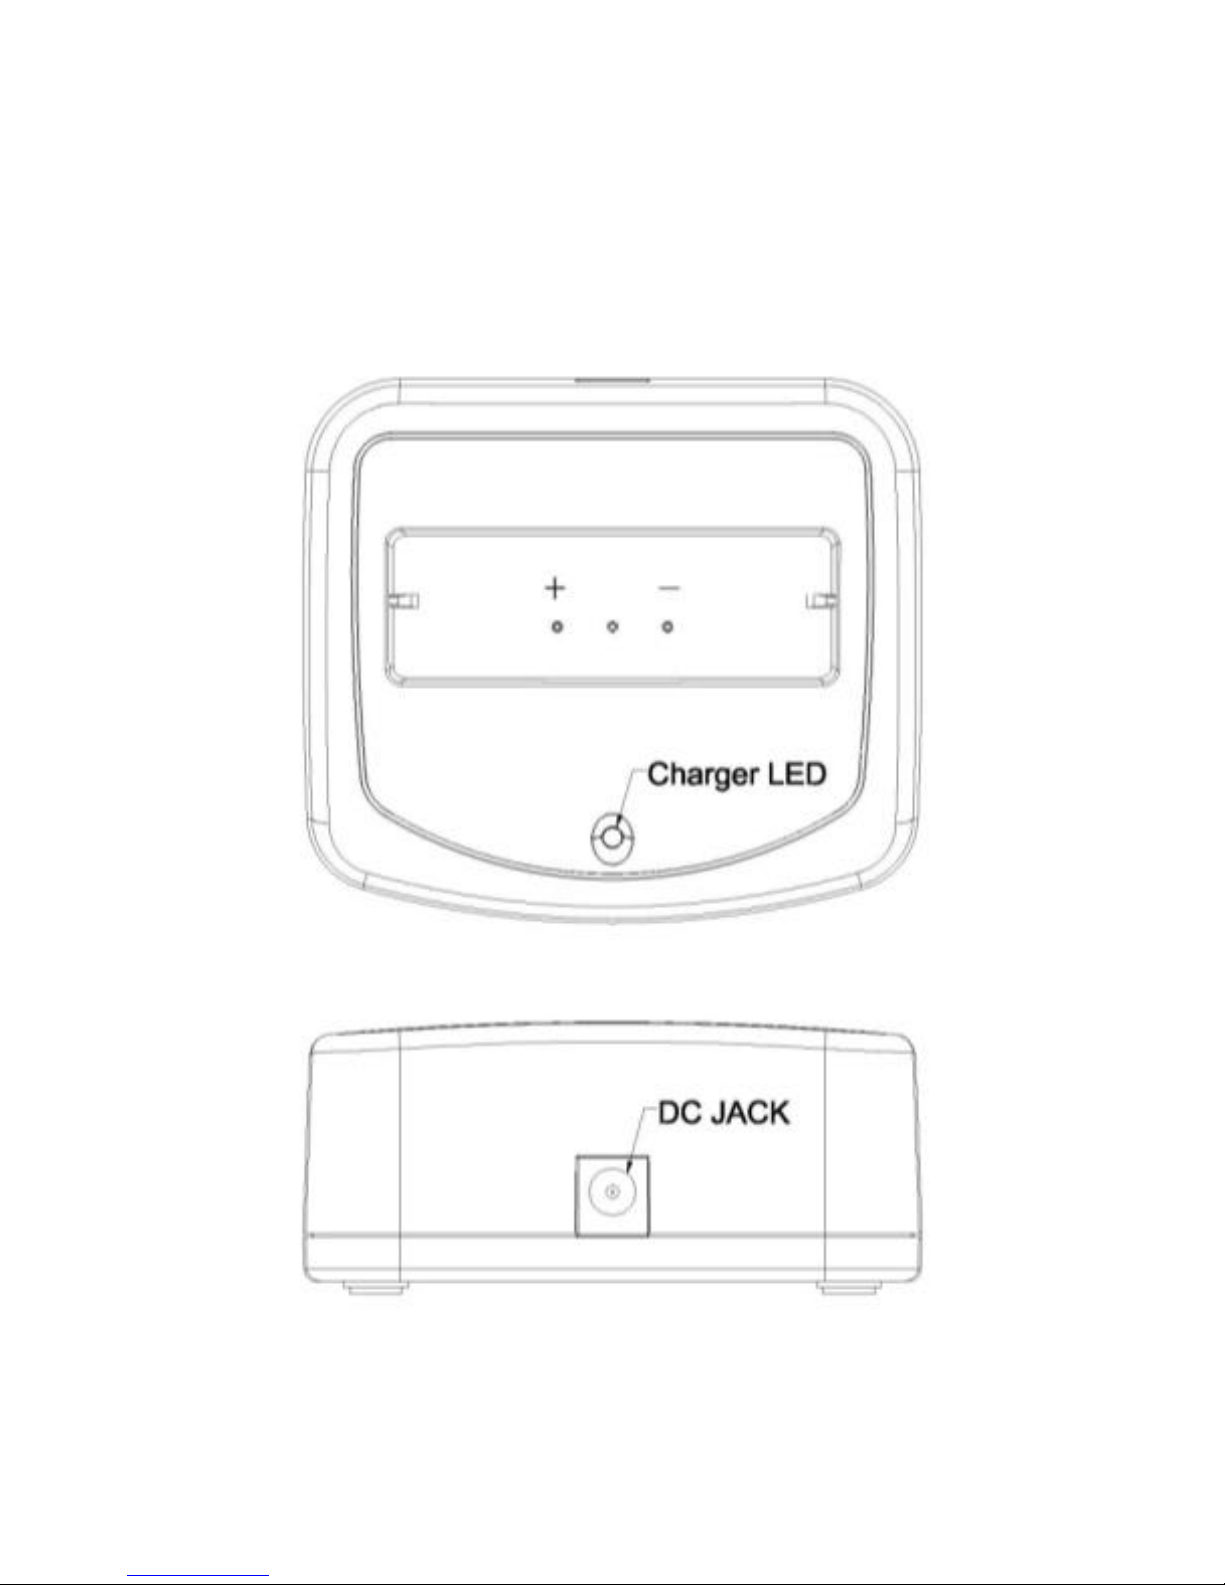
Optional CHR-600 Drop-in Charger Sold Separately.
Page 7
7
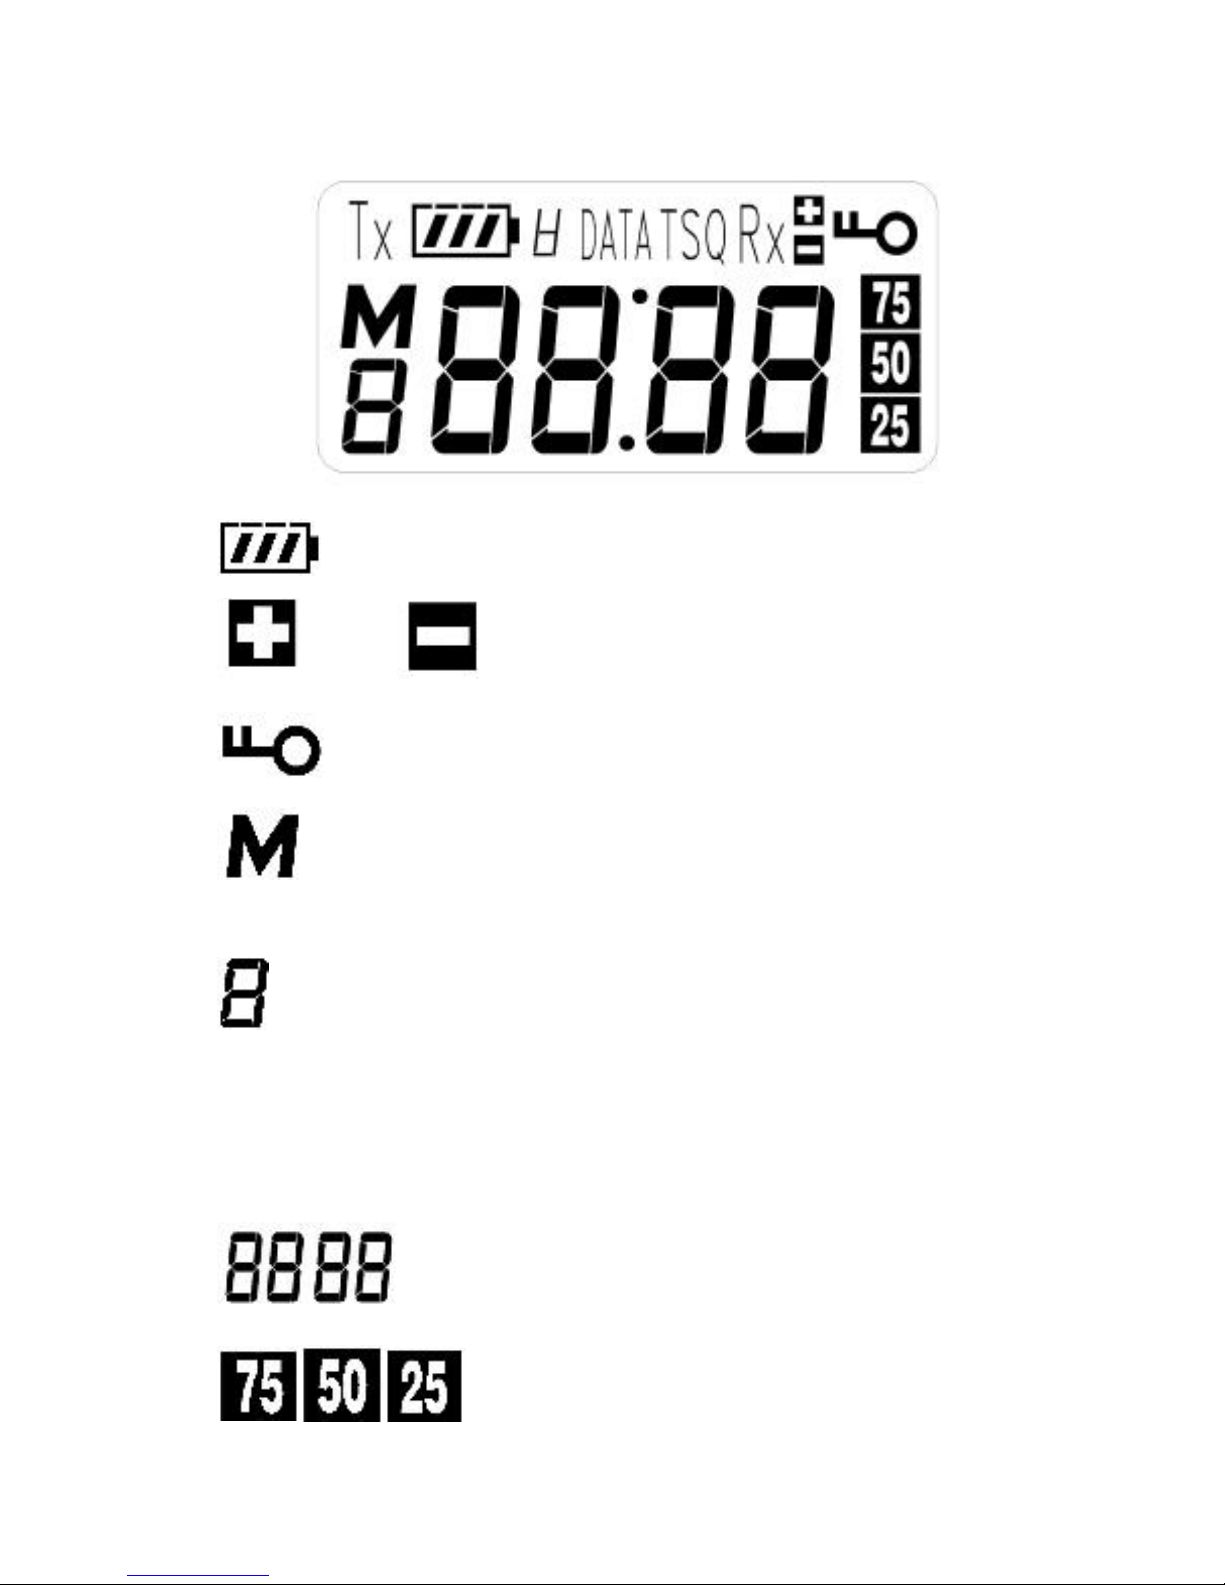
LCD Display
1. Battery Level Indicator
2. 2:1, 1:1 Compression Ratio
3. Locked Buttons
4. Mute Microphone Indicator (when
flashing) / Microphone Gain Setting Indicator
5. Battery Type Setting Indicator
A= Alkaline r=Rechargeable
Function Indicator during “Menu” Operation
Preset 1 or 2 indicator during Bidirectional Mode
6. Main 4-Digit Display
7. Audio Level / FM Deviation
Page 8

8
Set-up Instructions
General Set-up Instructions:
• Unpack the transmitter: Remove outer packaging
and plastic cover. Inspect for physical damage and
immediately report any issues.
• Install batteries: Open the battery compartment by
pressing and pulling the two locking tabs located at
each upper side of the battery lid. Install 2 AA
batteries. Use alkaline or NiMH batteries only *. Be
sure to observe proper polarity (+/-). Damage due
to improper battery installation may void the
product warranty. The battery icon on the LCD
display will flash when it is time to replace or
recharge batteries.
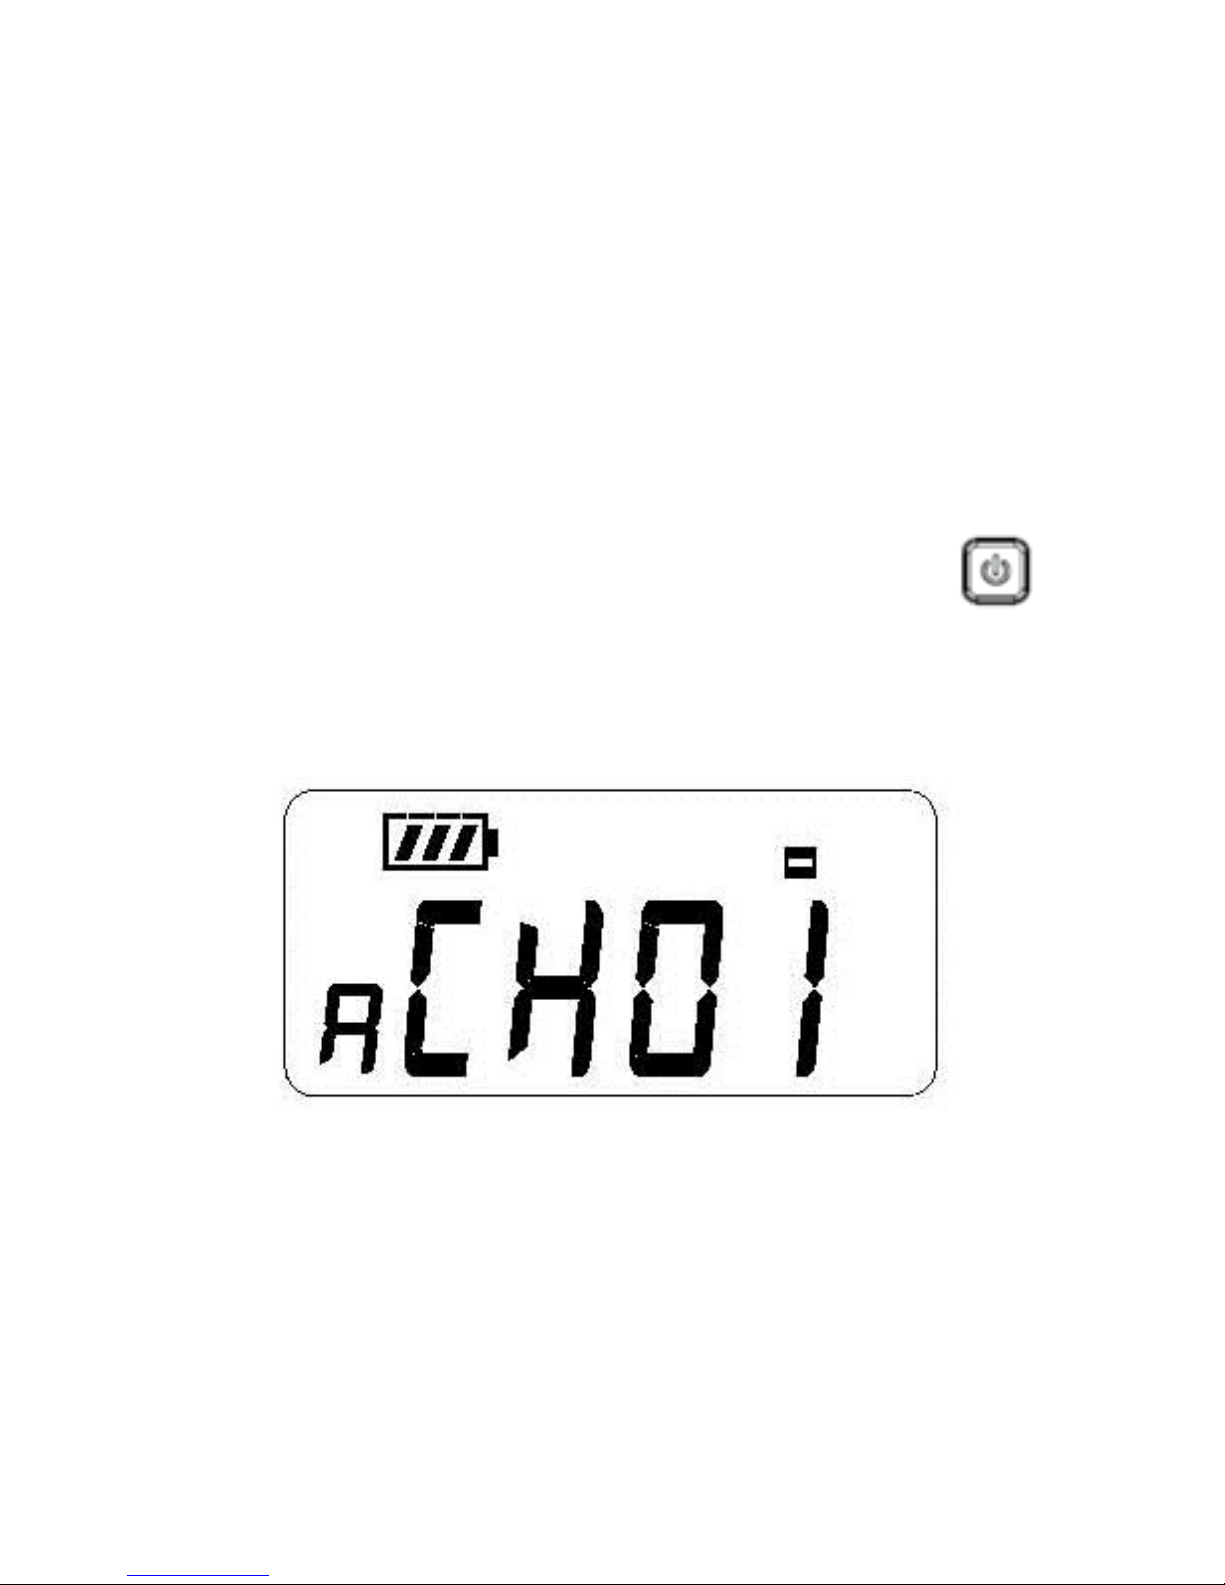
*Note: Make sure the transmitter is set for the
correct battery type. When powering on the
transmitter, the LCD display with show for 2 seconds
either “ALkA” or “rECH” indicating the transmitter
setting. In addition, during Standard operation
mode, on the left bottom corner of the LCD display
you will see either an A (Alkaline) or r (rechargeable)
also indicating the transmitter setting. If the setting
does not match the type of battery you installed, go
to Advanced S ettings menu (See page 16) and select
Page 9
9
the correct battery type. Use “ALkA” for nonrechargeable alkaline batteries, “rECH” for
rechargeable NiMH batteries only.
If the battery setting is not in the correct option,
battery level indicator may be inaccurate, the unit
may not charge, or alkaline batteries may explode if
placing the unit in the charger. Caution! Never
recharge alkaline batteries.
• Turn the unit on: Press and hold the
“POWER” button for 3 seconds. You can turn it off
also by pressing and holding the “POWER” button
for 3 seconds.
• Connect a microphone: Plug in an Enersound
compatible microphone (sold separately) onto the
“Mic Jack” on top of the transmitter and lightly
screw in the locking nut clockwise.
Warning: Do not tighten the nut excessively. Once
you feel a little resistance, stop screwing.
Page 10
10
We recommend using the following Enersound
compatible headset microphones: MIC-200SEN,
MIC-400SEN, and MIC-500SEN. Other compatible
microphones are MIC-300SEN and LAV-100SEN.
Check for other Enersound compatible
microphones at the time of purchase.
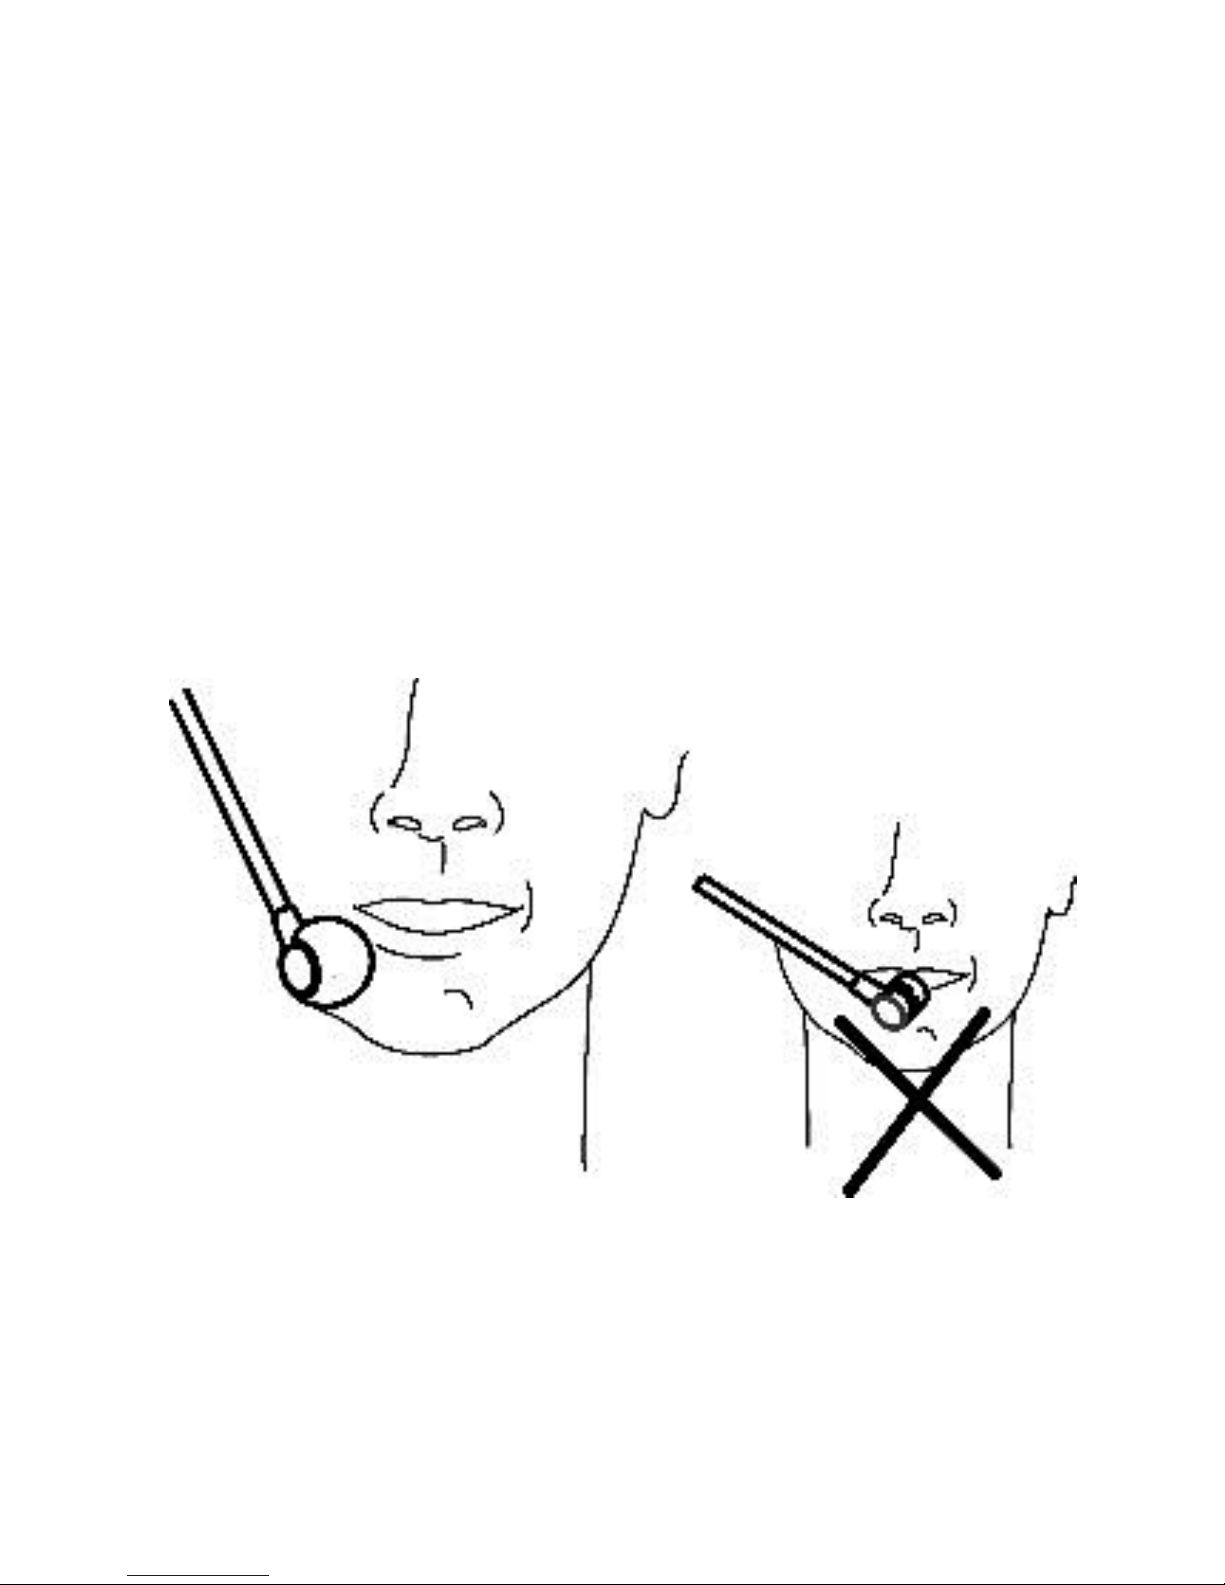
When using a headset microphone, place the
capsule at the corner of your mouth so that it rests
at about 1 inch away from your face. Do not place
it in front of your mouth!
• You may also plug in an auxiliary audio source, such
as a CD or MP3 player using the “Aux Input” 2.5 mm
stereo jack. If mic and auxiliary sources are used
together, the audio will be combined. If only an
Page 11

11
auxiliary source is desired, the mic can be muted.
Important: Do not remove the mic from the “Mic
Jack” as the microphone cable also functions as the
transmitting antenna. When the antenna is
correctly plugged in a green TX light will be lit.
• Select channel: Choose the desired channel by
using the UP or DOWN buttons on the
front of the transmitter. If the unit is locked, unlock it
by pressing and holding the DOWN button for 4
seconds.
Depending on the display mode, the screen will show
either the channel number (channel mode) or the
frequency (frequency mode).
If necessary, after selecting the desired channel, you
can lock it by pressing and holding the DOWN button
for 4 seconds.
Note: Make sure the FM receivers are tuned to the
same frequency as the TP-600 transmitter. If you are
using compatible Enersound receivers, the channels
will correspond to the channels on the TP-600
transmitter. If you are using compatible receivers of
other brands, frequencies may differ. Consequently,
we recommend setting the Enersound TP-600
Page 12

12
transmitter on Frequency Display mode.
To set the transmitter on Frequency Display mode,
press and hold the MENU button for 5 seconds to
access the Settings menu, then access Advanced
Settings. See page 16 for more details.
Enersound Frequency Chart
CH 1
72.1 MHz
CH 10
75.9 MHz
CH 2
72.5 MHz
CH 11
72.2 MHz
CH 3
72.9 MHz
CH 12
72.6 MHz
CH 4
75.7 MHz
CH 13
75.4 MHz
CH 5
74.7 MHz
CH 14
75.8 MHz
CH 6
75.3 MHz
CH 15
72.8 MHz
CH 7
72.3 MHz
CH 16
72.4 MHz
CH 8
72.7 MHz
CH 17
75.6 MHz
CH 9
75.5 MHz
Page 13
13
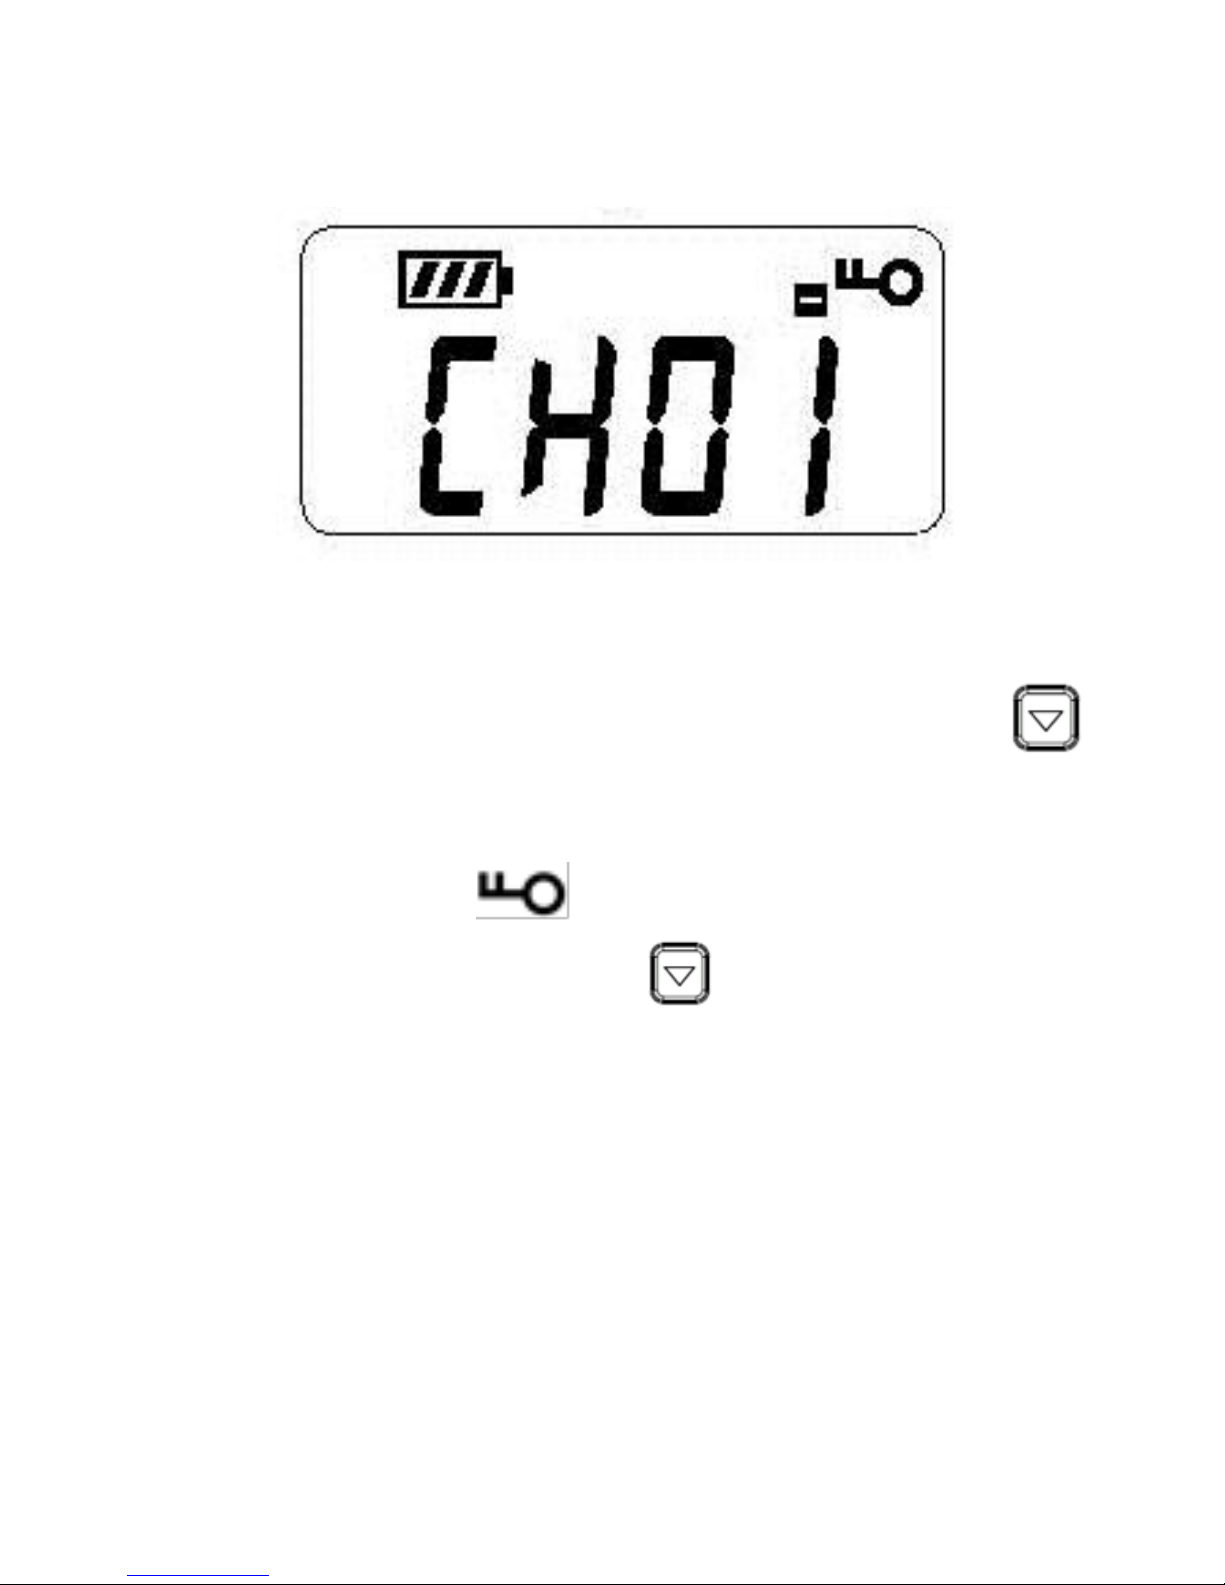
• Locking/ Unlocking the transmitter:
This function is used to lock all the buttons except
the MUTE and POWER buttons. Press and hold
the DOWN button for 4 seconds to lock the
transmitter. The icon will appear on the
screen. Press and hold the DOWN button for 4
seconds again to unlock it.
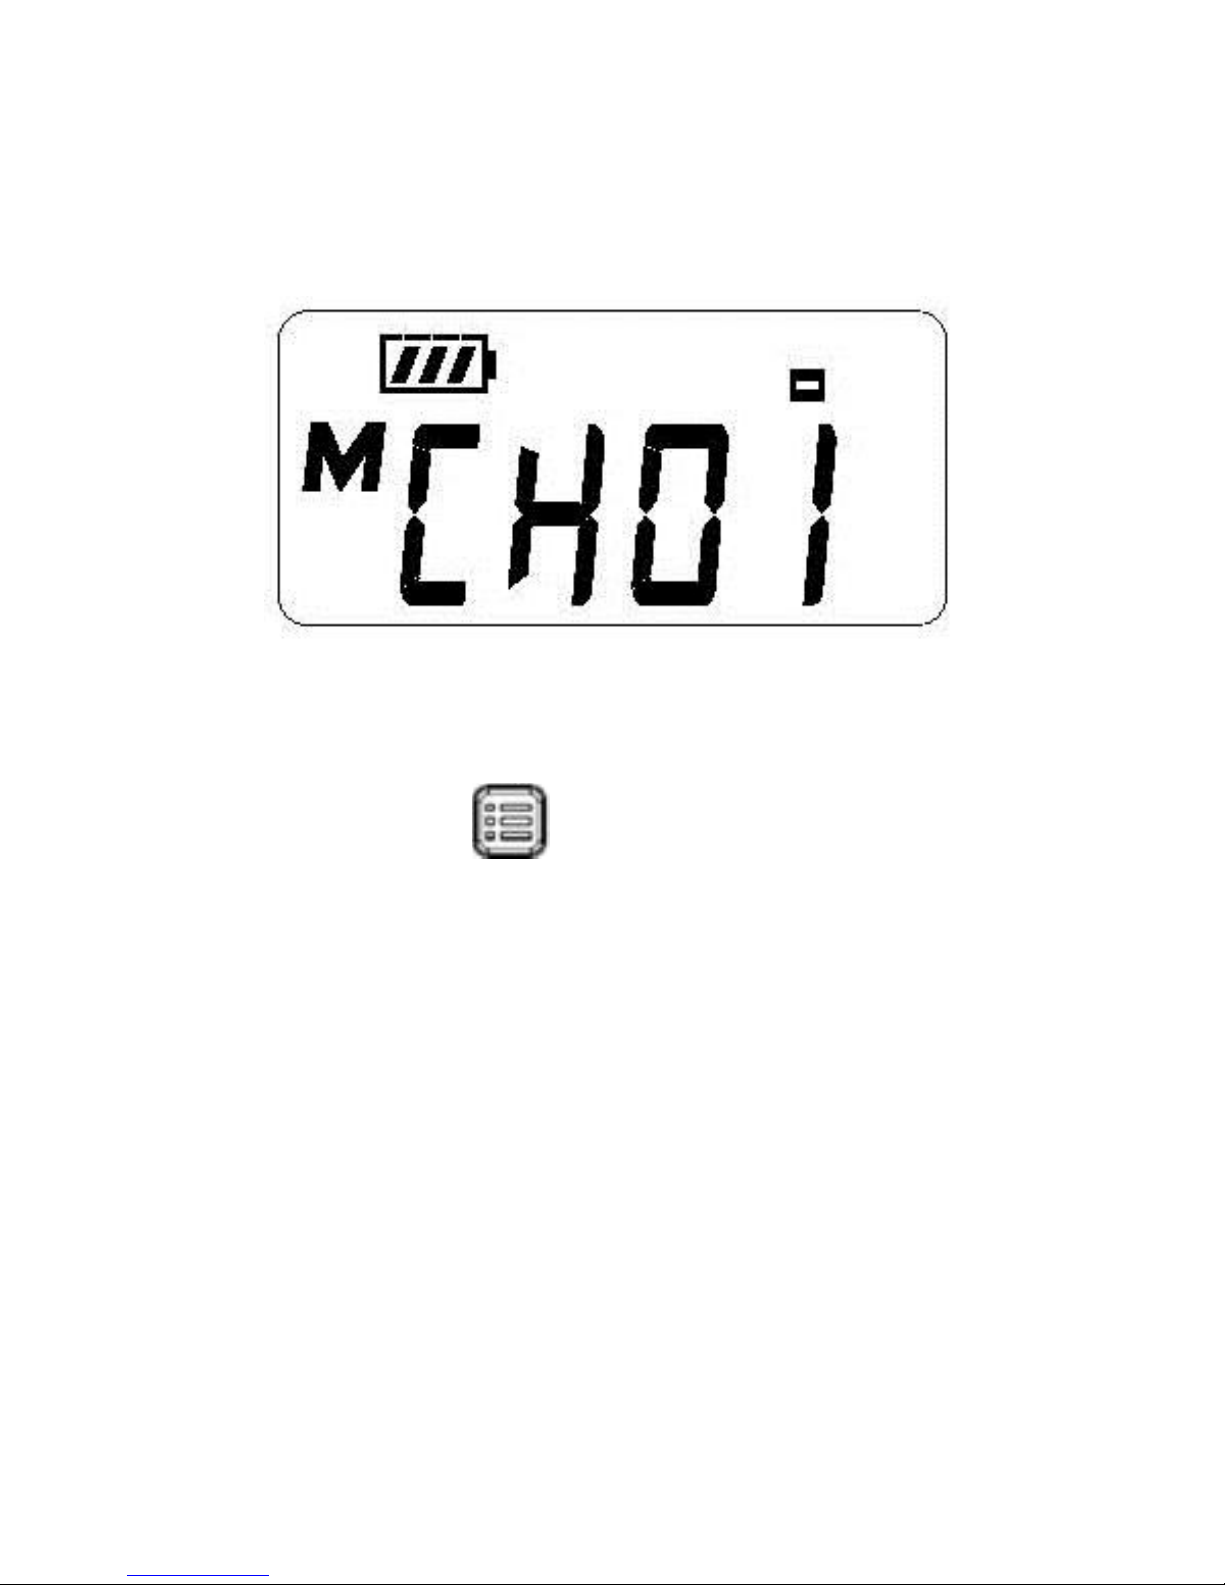
• Muting/ Unmuting the microphone: To mute the
microphone, press and release the MUTE button
located at the top of the transmitter. The red MUTE
light indicator will start flashing and an “M” icon will
flash on the LCD display. To unmute the
Page 14
14
microphone, press and release the MUTE button
again.
Note: The AUX Audio Input is not affected by the
mic mute.
Menu Setting Instructions:
Press & hold the MENU button for 4 seconds
to access the Settings menu. To move to the next
menu option, press and release the Menu button
once. To modify option value, press the UP or DOWN
buttons. If no button is pressed for 10 seconds, the
transmitter will automatically exit the Settings
menu. To exit the Settings menu, you may also
navigate through all the options by pressing and
releasing the Menu button repeatedly until exiting.
Page 15
15
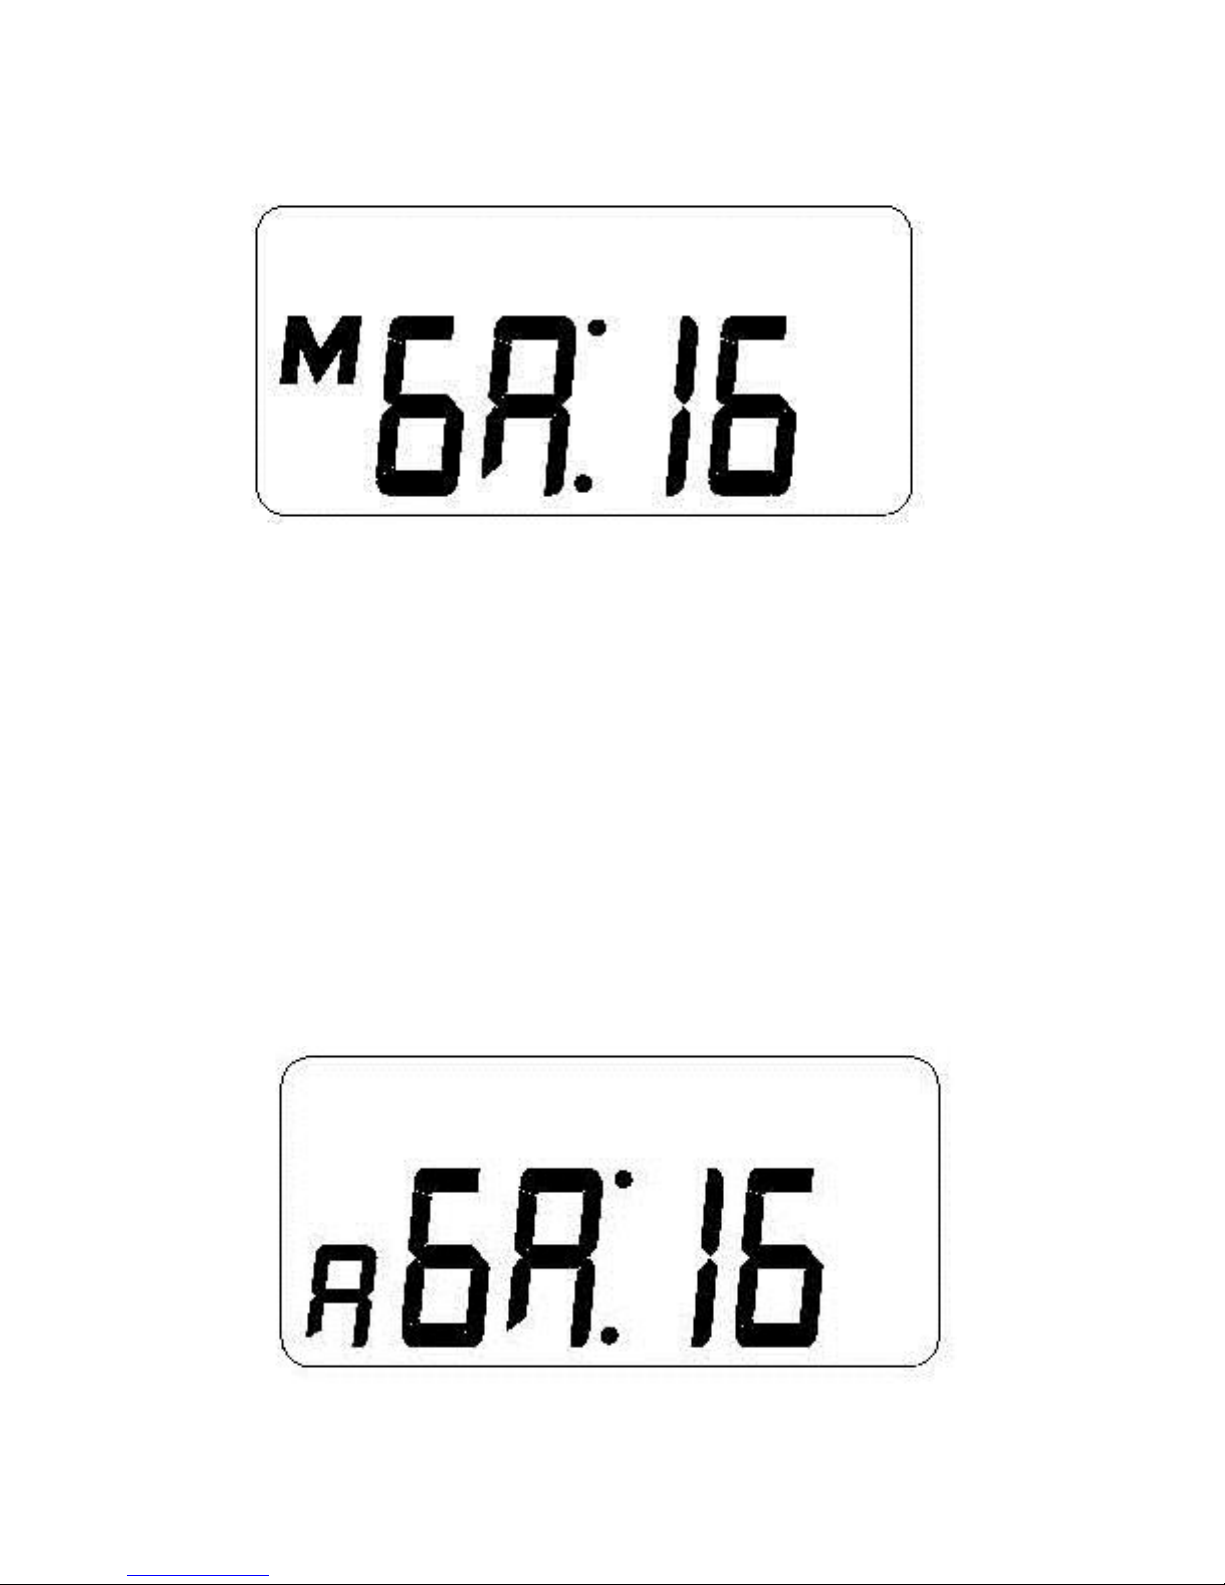
• Microphone Gain (Volume):
Press & hold the MENU button for 4 seconds. The
LCD display will start blinking and the first option
MICROPHONE GAIN will be shown.
Press the UP or DOWN button to increase or
decrease the microphone gain (volume) between 0
and 32. The default gain is 16.
• Auxiliary Gain:
Page 16
16
To move to the next setting, press and release the
MENU button and AUXILIARY GAIN will start blinking.
Press the UP or DOWN button to increase or
decrease the auxiliary gain (volume) between 0 and
32. The default gain is 16.
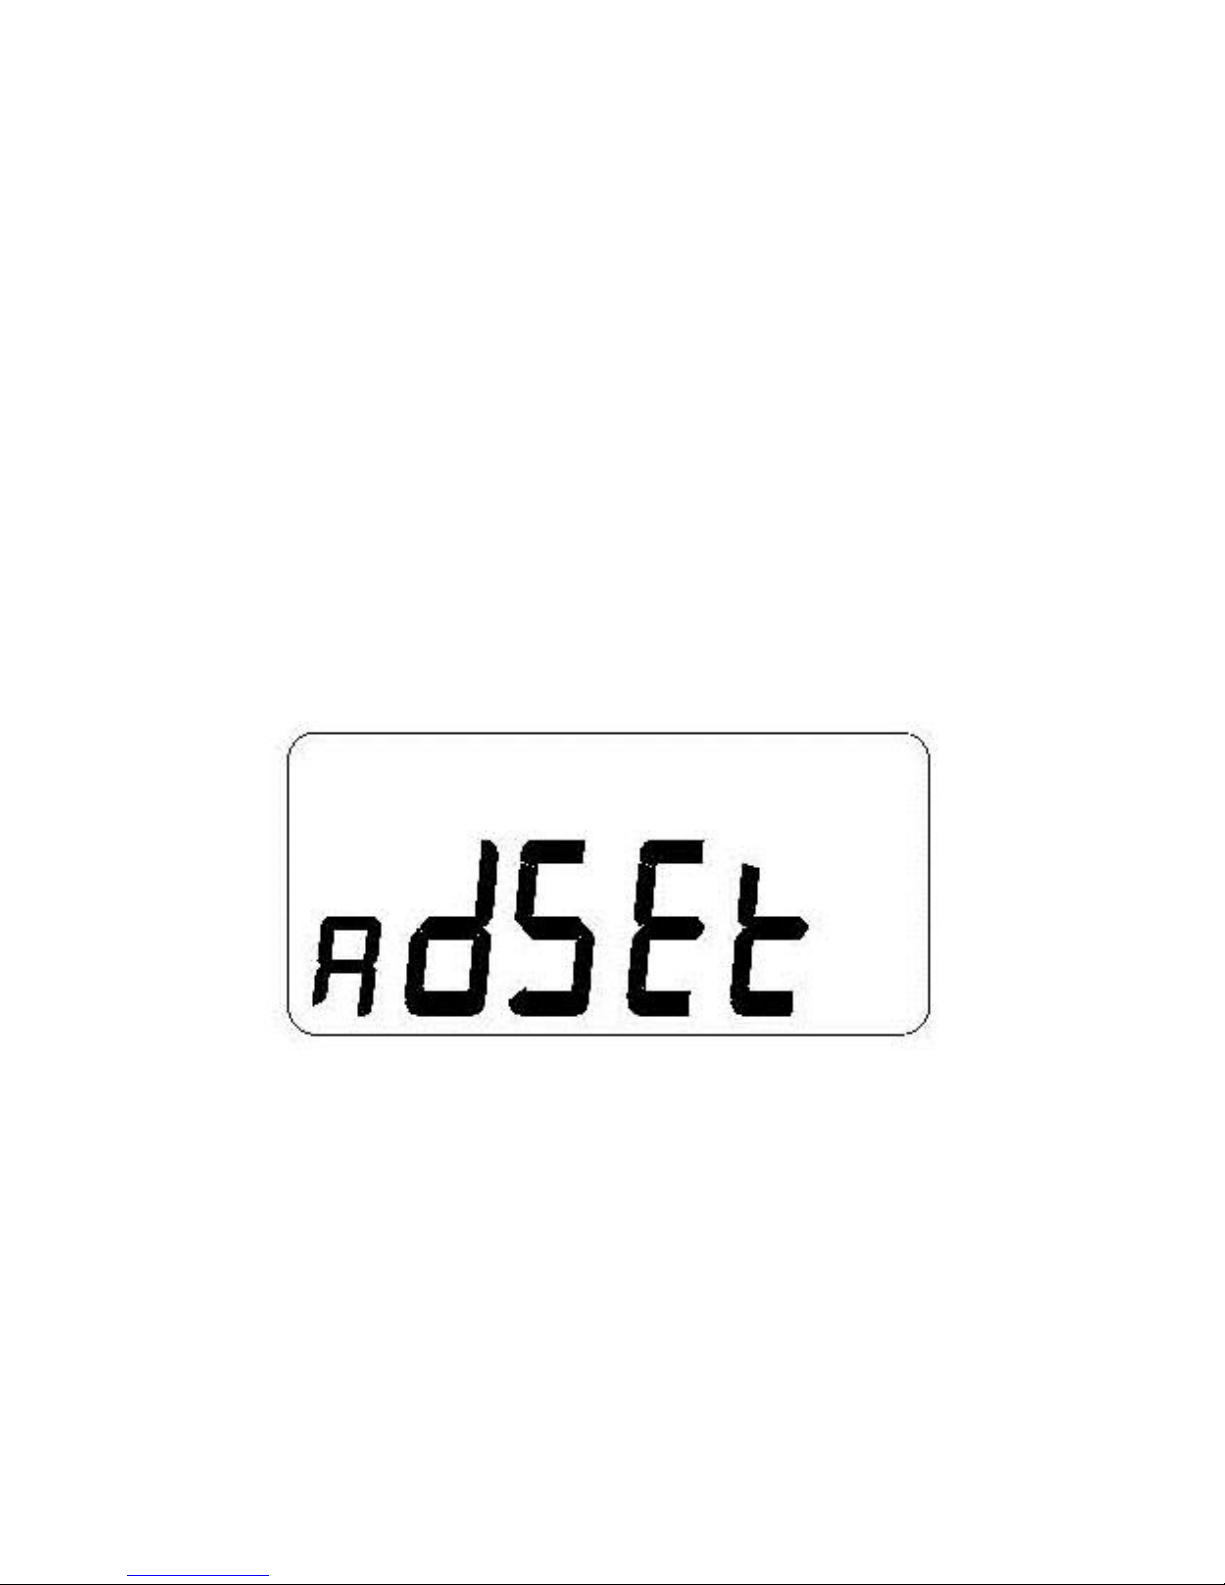
To move to the next setting, press and release the
MENU button and ADVANCED SETTINGS will start
blinking. To exit without entering Advanced Settings,
press and release the Menu button again.
• Advanced Settings:
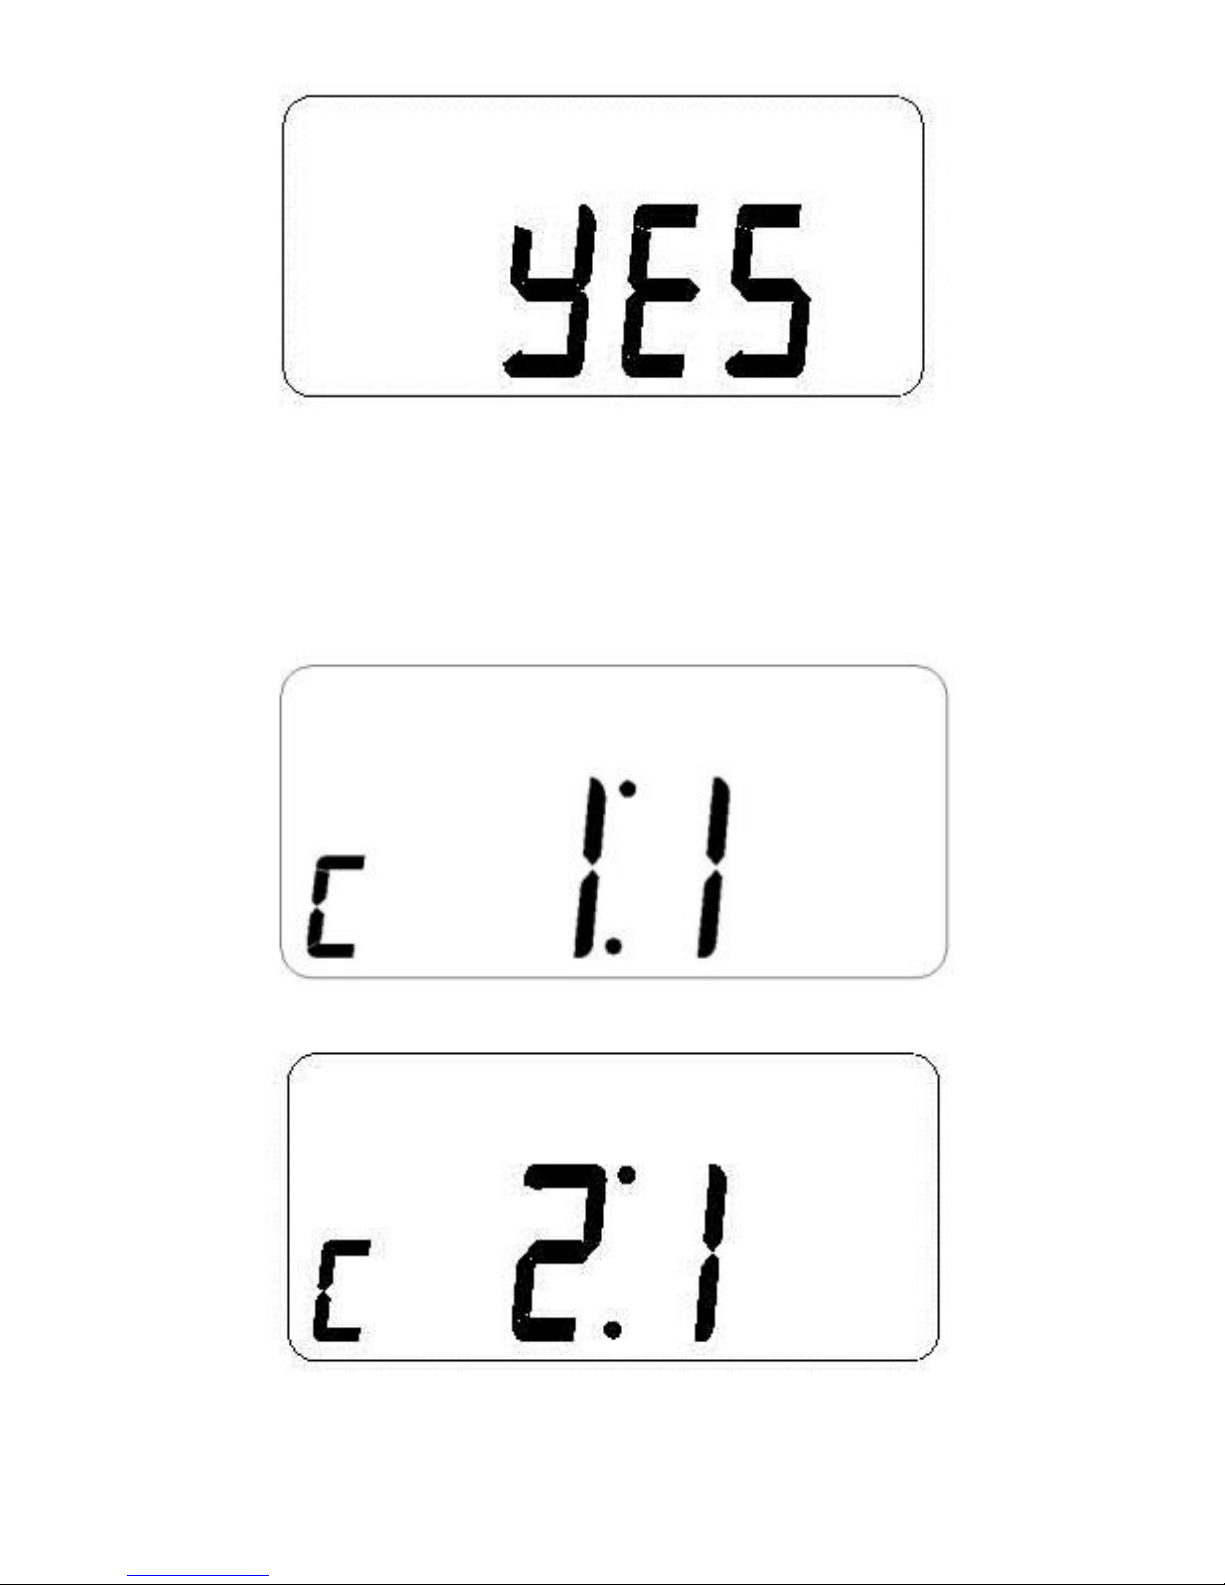
To enter Advanced Settings menu, while Advanced
Settings is blinking, press the UP or DOWN buttons
to select YES. Then, press the menu button once.
Page 17
17
The first Advanced Settings option, Compression
Ratio, will start blinking.
• Compression Ratio:
Page 18
18
Audio Compression reduces the volume difference
between loud and soft sounds. Press the UP or
DOWN buttons to modify the compression.
1:1 = compression off
2:1 = compression on
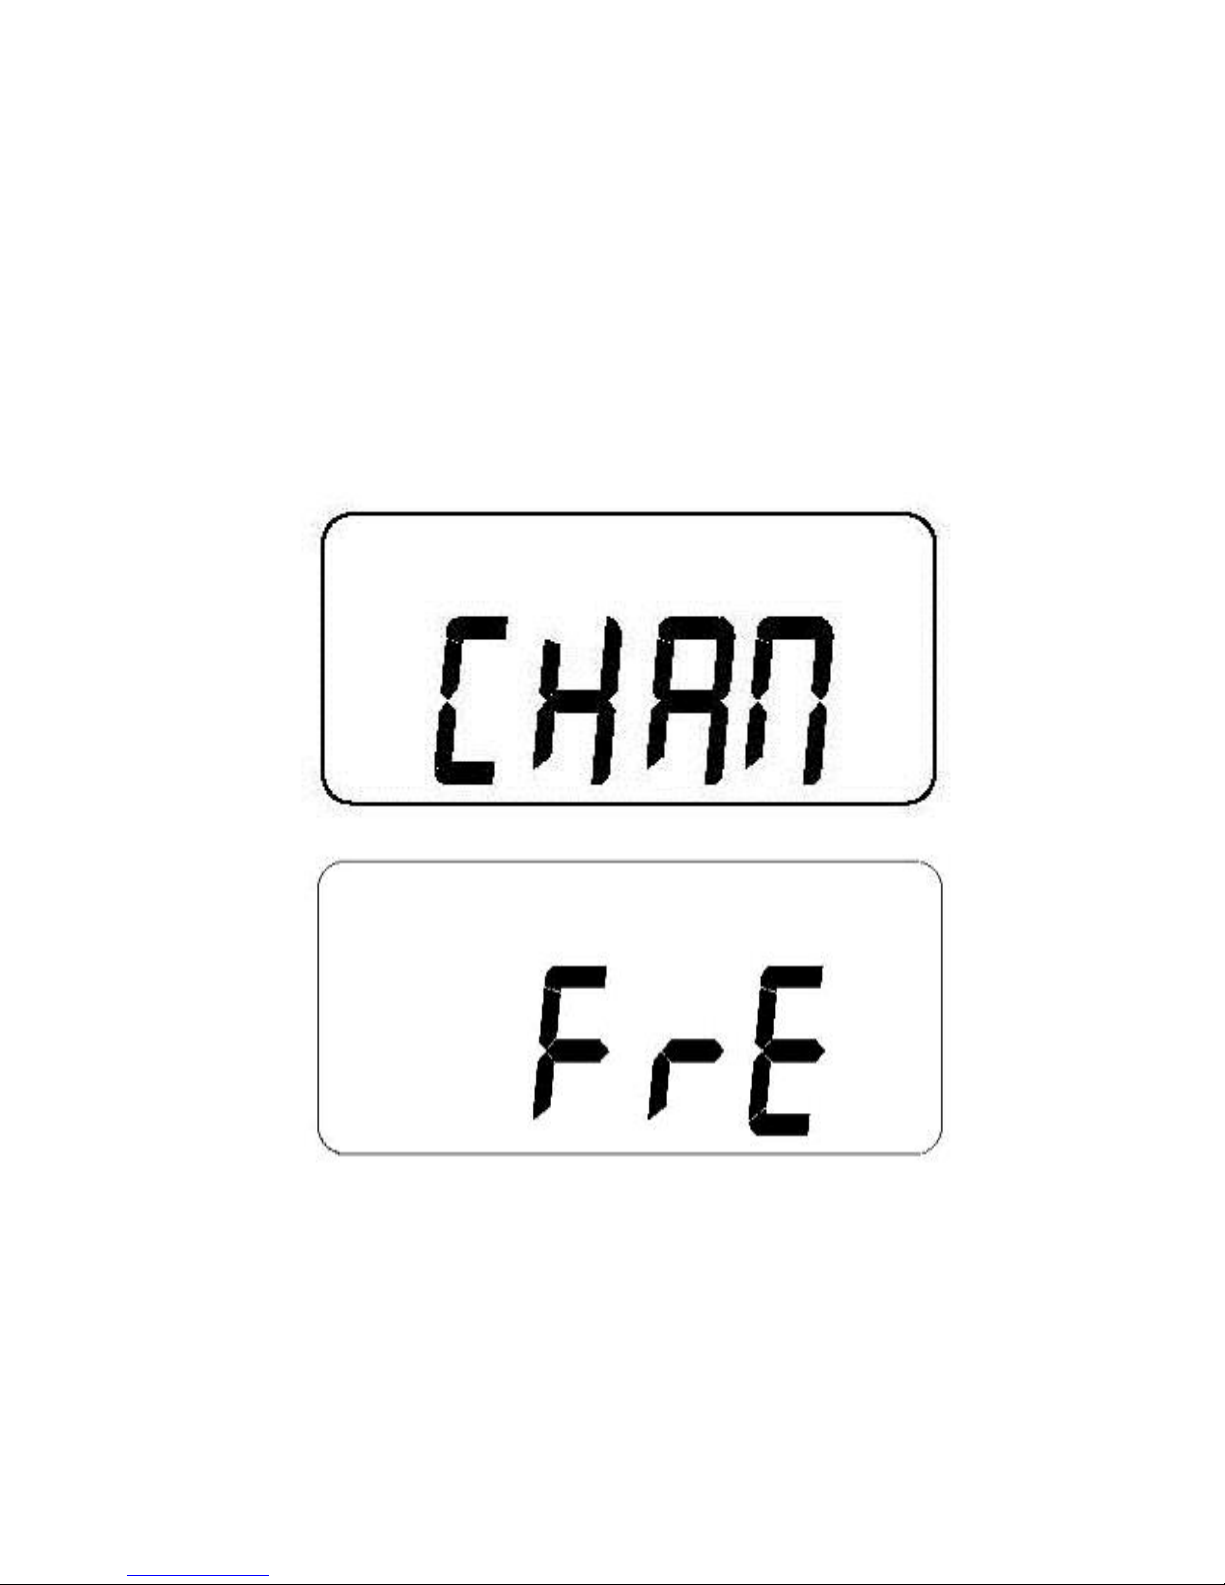
• Channel/ Frequency Mode:
You can choose the screen to show either channel
numbers or frequencies. If you are using Enersound
R-120 receivers or other compatible Enersound
receivers, the receiver channels will correspond to
Page 19

19
the TP-600 transmitter channels. If you are using
compatible receivers of other brands, frequencies
may differ. Consequently, when using receivers from
other manufacturers, we recommend setting the
Enersound TP-600 transmitter to Frequency Display
mode.
While in the Advanced Settings menu, press the
MENU button to navigate through the options until
you reach CHAN/ FRE. When CHAN or FRE is blinking,
press the UP or DOWN buttons to change the
settings to Channel Display Mode (CHAN) or
Frequency Display Mode (FRE). To exit the Menu,
wait for 10 seconds or press the MENU button
several times to navigate through the options.
• Battery Type:
Page 20
20
It is very important to select the correct battery
type installed in your transmitter. Please see
important note on Page 8 under Install Batteries in
General Set Up Instructions.
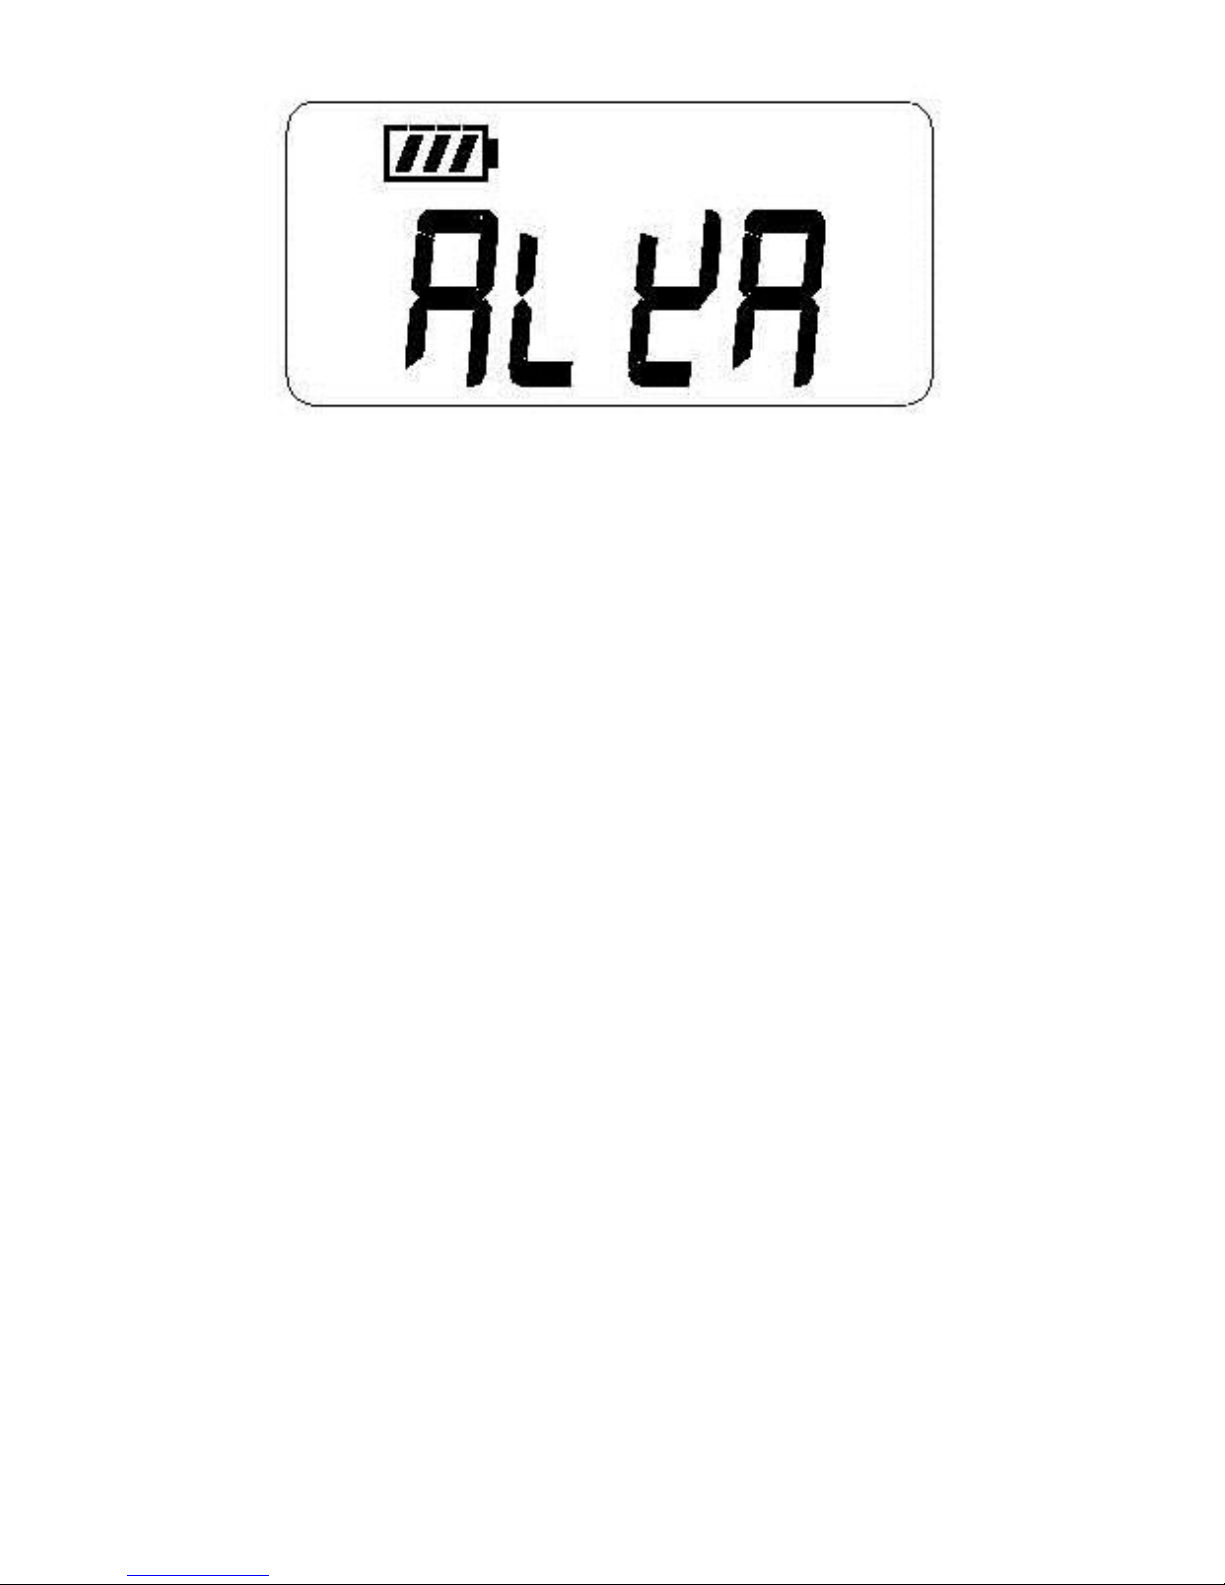
While in the Advanced Settings menu, press the
MENU button to navigate through the options until
ALkA or rECH is blinking.
Press the UP or DOWN buttons to select the desired
option Use “ALkA” for non-rechargeable alkaline
batteries, “rECH” for rechargeable NiMH batteries
only.
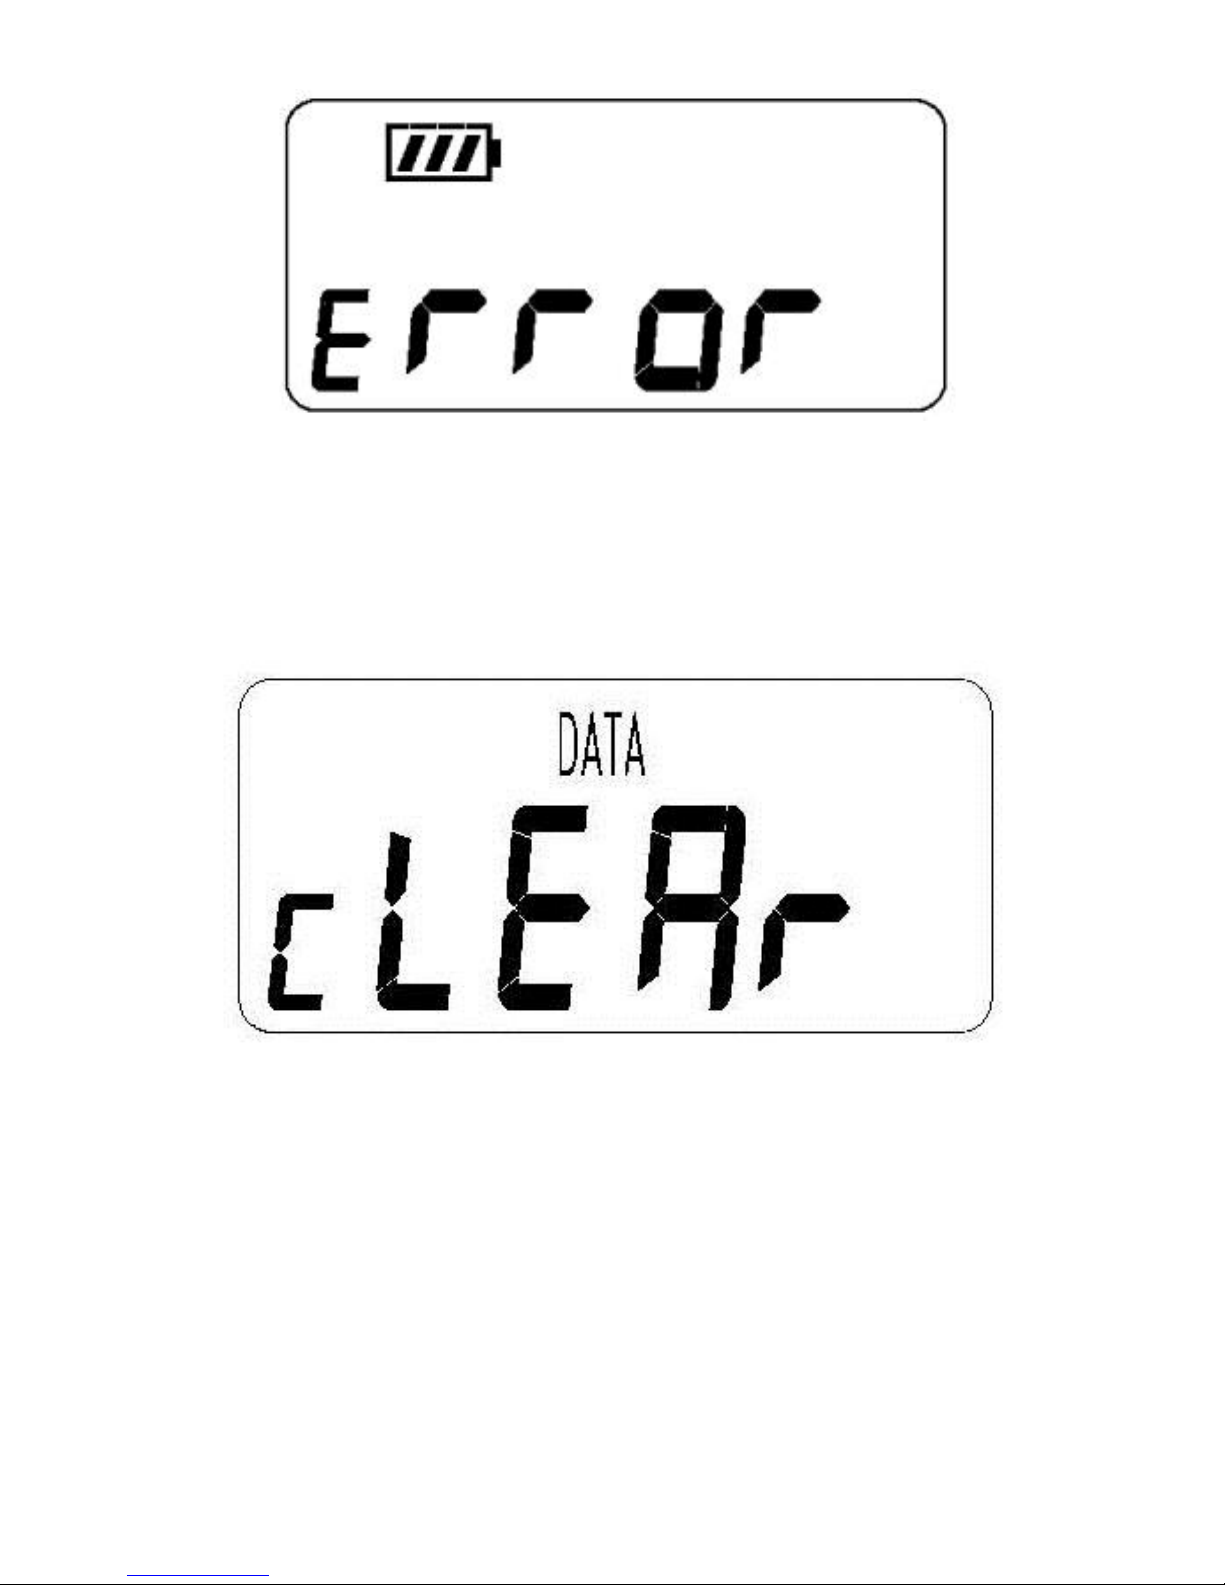
Note. When the transmitter is set to “ALkA” and the
transmitter is placed on the charger, the LCD
display with indicate “Error” and a green LED light
will start flashing.
Page 21
21
Caution! Never recharge alkaline batteries.
• Clear data to factory default:
To restore factory default settings, while in the
Advanced Settings menu, press the MENU button to
navigate through the options until you reach “cLEAr”.
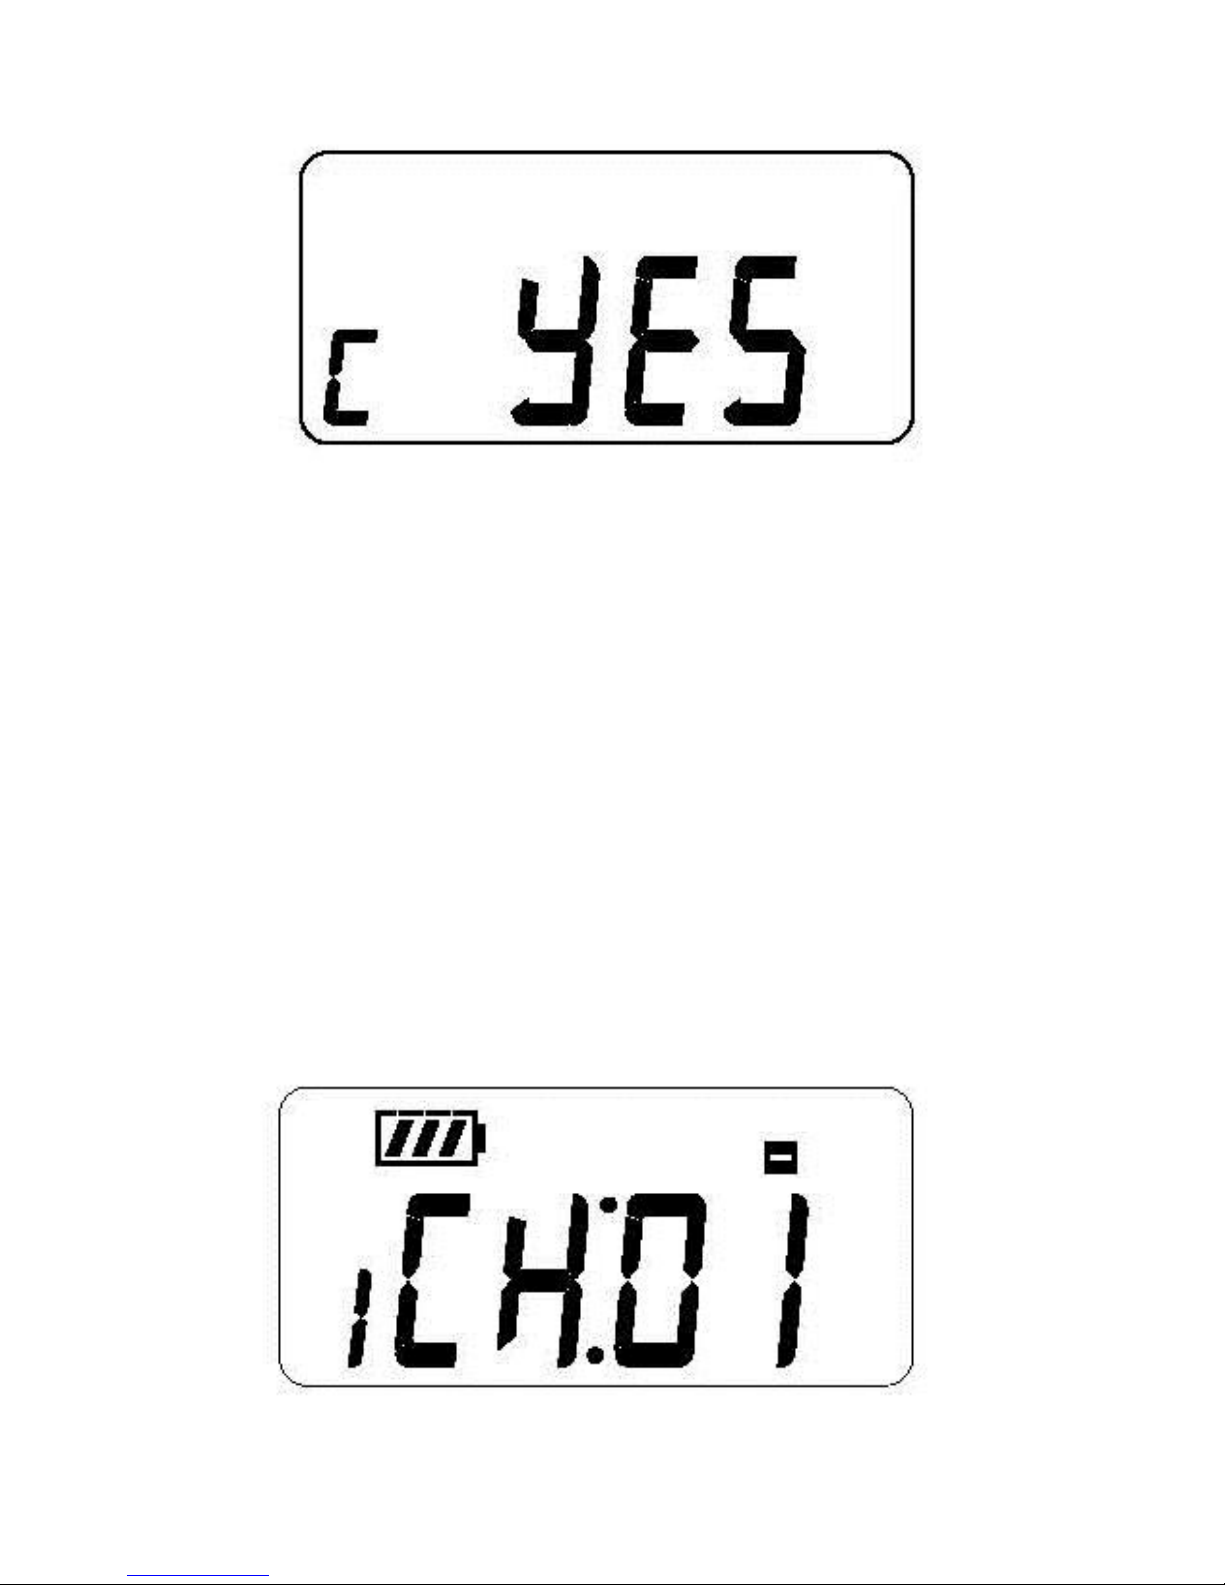
Press the UP or DOWN buttons to select [Yes]. Then,
press the menu button once to confirm.
Page 22
22
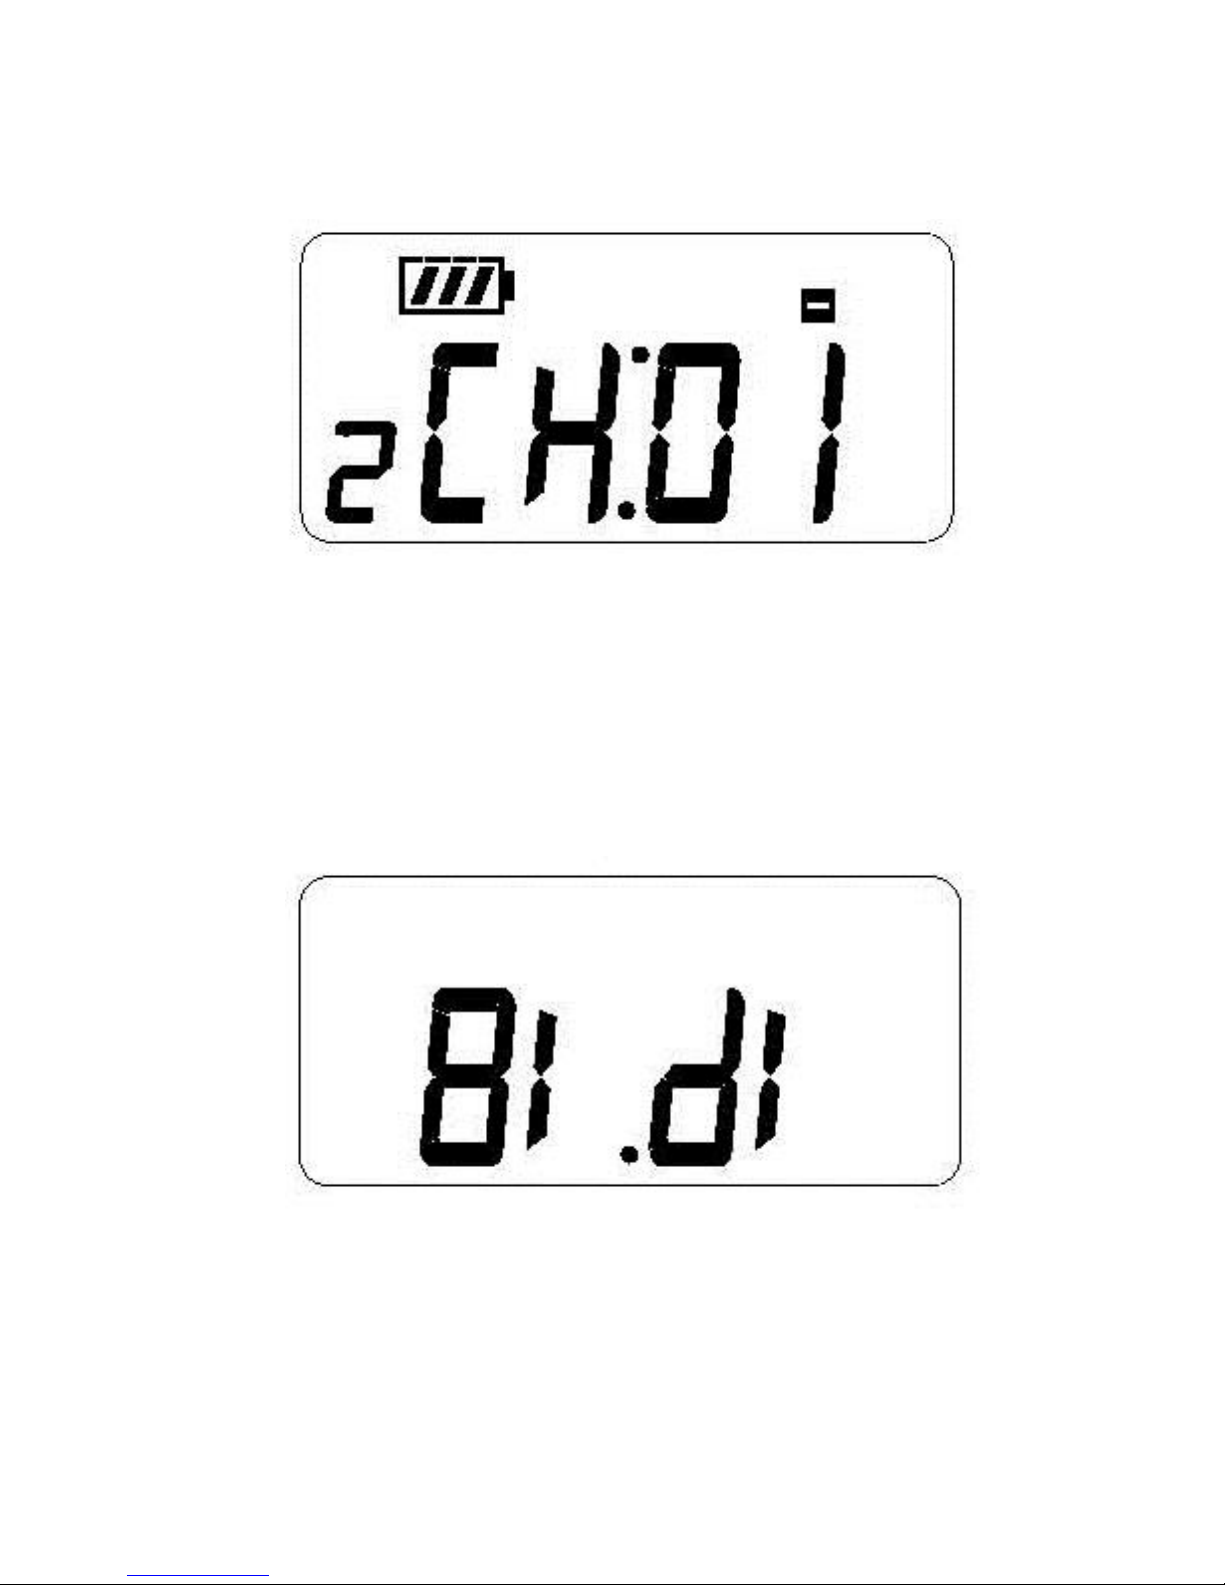
Bidirectional, Two-Channel Mode:
The Bidirectional Mode allows the user to easily
switch between two preset channels or frequencies
without passing through all the channels. Each
preset has its own frequency/ channel. All other
settings remain the same. To toggle between the
two presets, press the UP or DOWN buttons. The
DOWN button will set the transmitter to the
channel or frequency defined in preset 1.
Page 23
23
The UP button will set the transmitter to the
channel or frequency defined in preset 2.
Note: Only one frequency/channel can be
transmitted at a time.
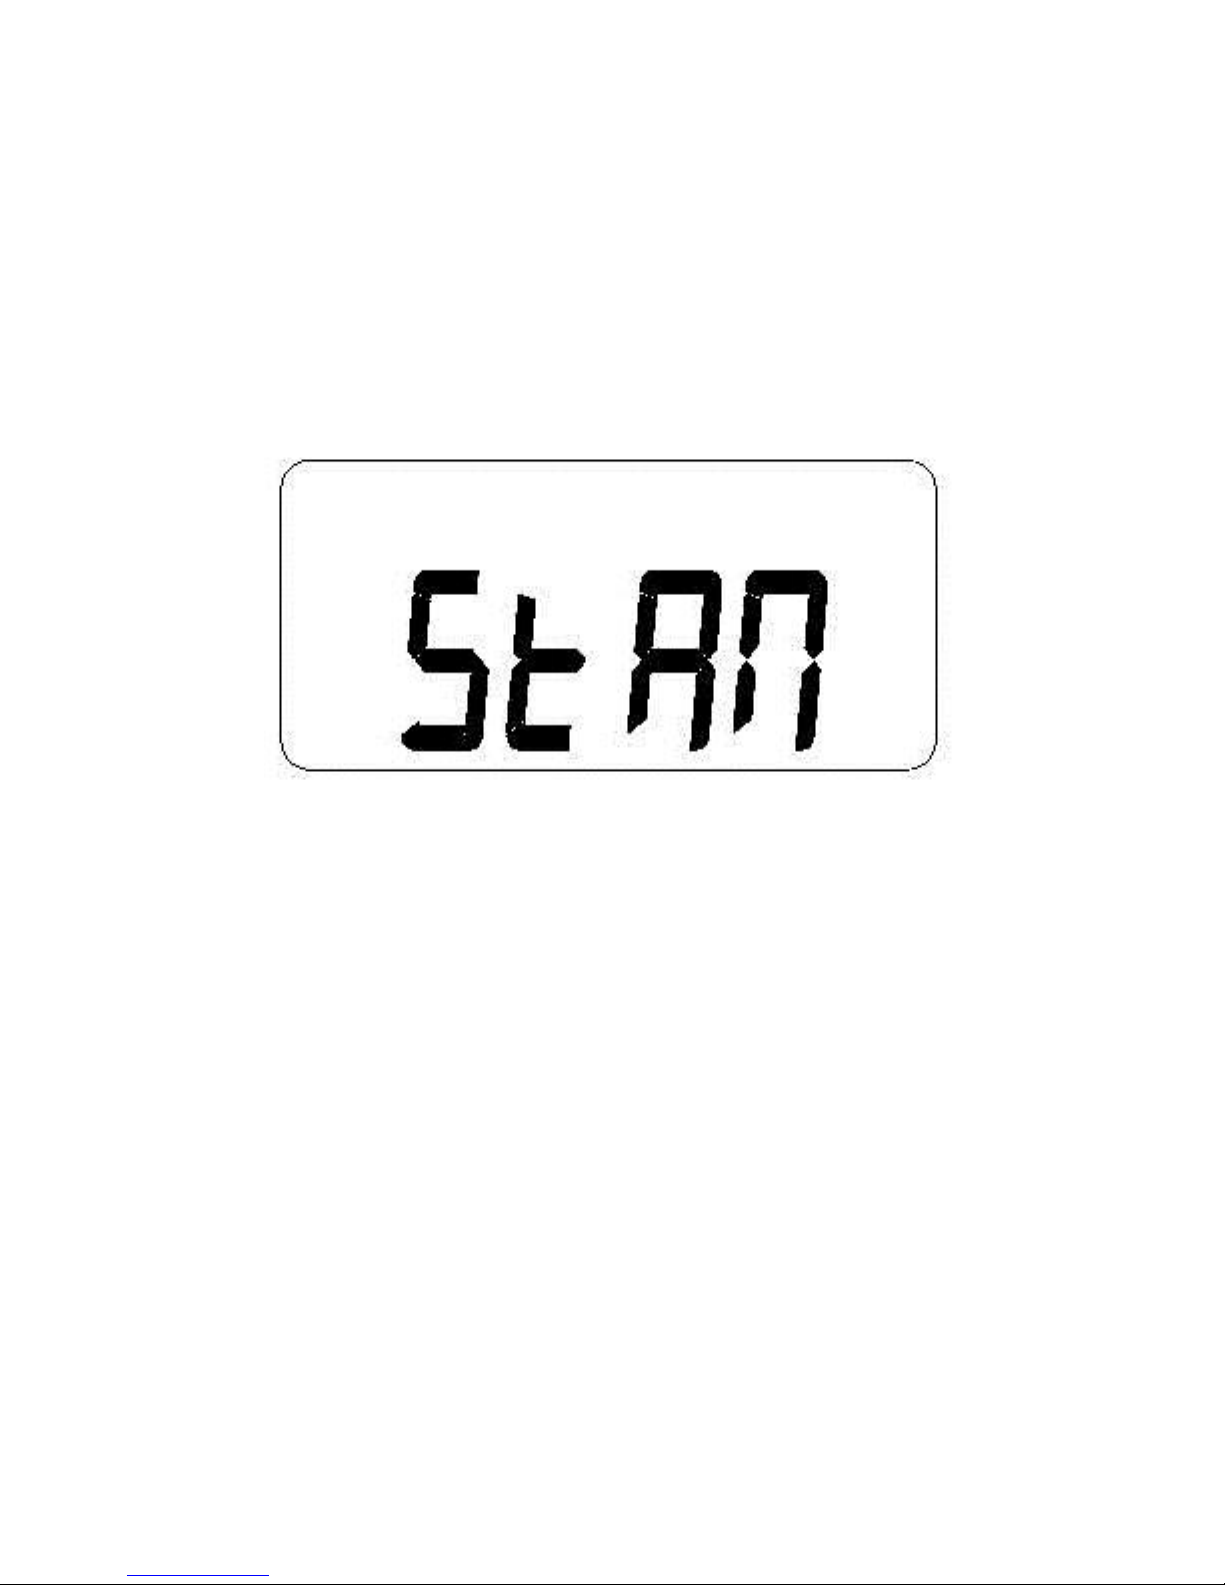
Setting the transmitter to bidirectional mode
To set the transmitter to the bidirectional mode,
with the transmitter powered off, press and hold
the Power and Menu buttons together for 8
Page 24
24
seconds until “Stan” appears. Press the UP button
once to select “Bidi” and press Menu button.
To confirm your selection, press UP button until
“Yes” appears. Then confirm by pressing the Menu
button once. Wait a few seconds and the
transmitter will be set to Bidirectional Mode.
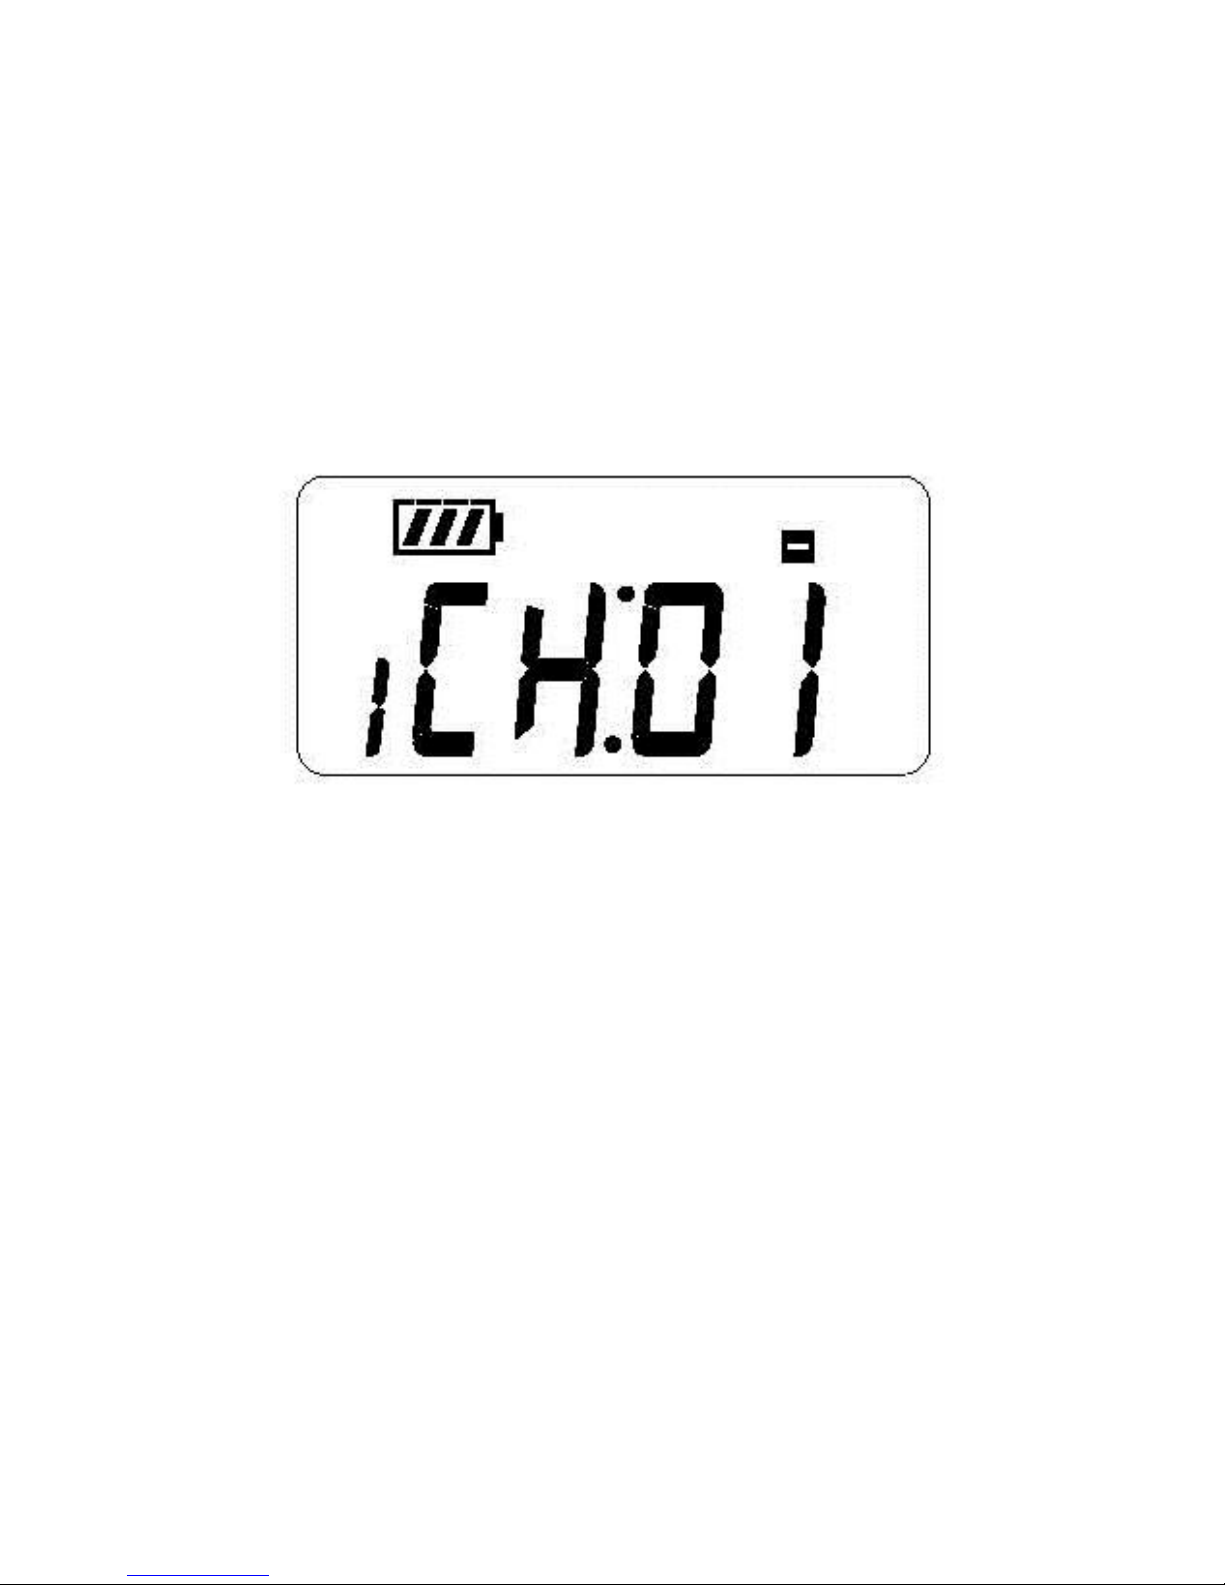
To go back to Standard mode, with the transmitter
powered off, press and hold the Power and Menu
buttons together for 8 seconds until “Bidi” appears
Press the UP button once to select “StAn” and press
the Menu button. To confirm your selection, press
UP button until “Yes” appears. Then confirm by
pressing the Menu button once. Wait a few
seconds and the transmitter will be set to Standard
Mode.
Page 25
25
Assigning a channel to each preset
Once in the Bidirectional Mode, you must assign a
channel to each of the two presets.
• To assign a channel or frequency to preset 1, first
select preset 1 by pressing the DOWN button. Then,
press and hold the Menu button for 4 seconds.
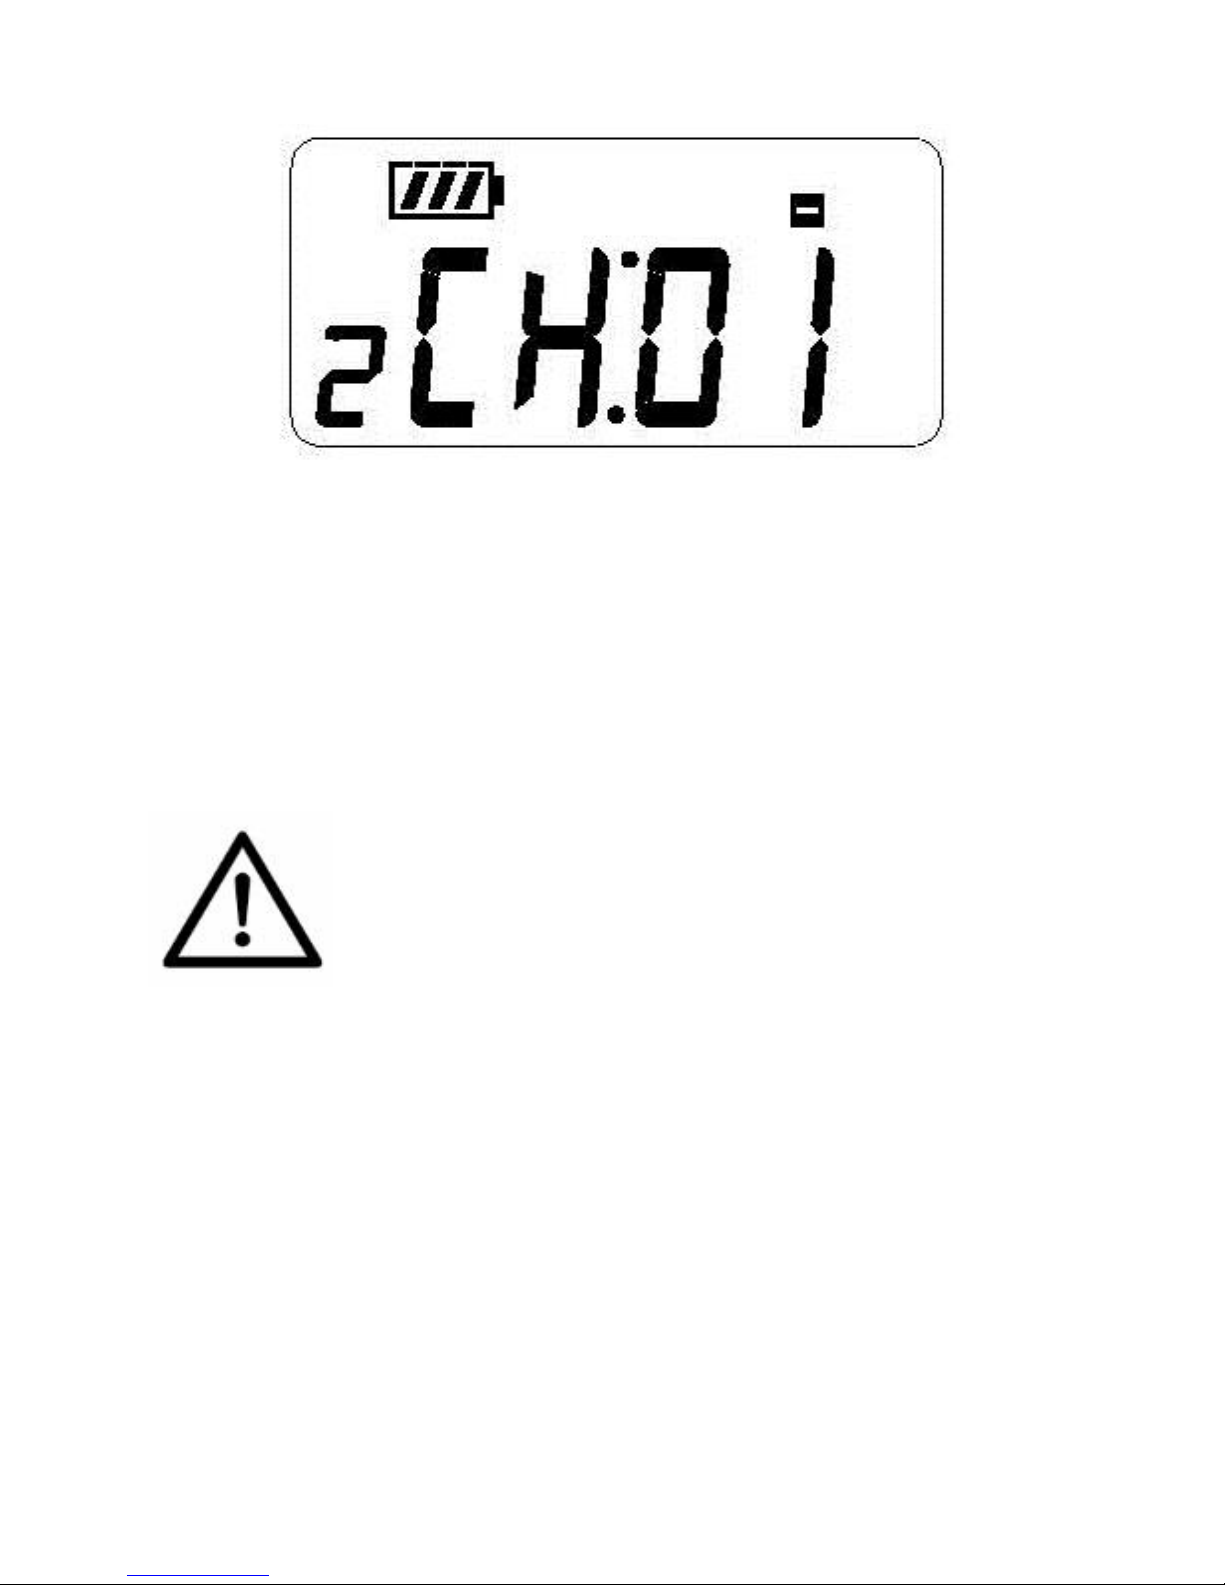
Preset 1 Channel will start blinking.
Select the desired channel or frequency with the UP
or DOWN buttons. Then, press the Menu button
several times to navigate through all Menu options
until exiting. All the options such Microphone Gain
and Auxiliary Gain will be the same as in Standard
Mode and will be shared by both presets. To
modify any of these options, follow the steps
explained in Menu Settings Instructions.
• To assign a channel or frequency to preset 2, first
select preset 2 by pressing the UP button. Then,
press and hold the Menu button for 4 seconds.
Preset 2 Channel will start blinking.
Page 26
26
Select the desired channel or frequency with the UP
or DOWN buttons. Then, press the Menu button
several times to navigate through all Menu options
until exiting.
Safety Information:
HAZARD! Pacemaker Safety
• Before using this transmitter and/ or receivers
with a pacemaker or another medical device,
consult your physician or the manufacturer of
your pacemaker or another medical device.
• If you have a pacemaker or another medical
device, make sure that you are using this
transmitter and/or receivers in accordance
Page 27

27
with safety guidelines established by your
physician or the pacemaker manufacturer.
WARNING! Damage to your Health
• Using earphones or headphones at a loud volume
or over a prolonged period of time can lead to
permanent hearing damage. To protect your
hearing and others:
a) Turn down the volume before putting on the
earphones or headphones.
b) Adjust the volume at the minimum
comfortable level.
c) If feedback (a squealing or howling noise)
occurs, turn down the headphone volume, and
move the microphone away from the receiver’s
headphones.
Other Safety Considerations
• Do not leave the device in places with high
temperatures or high humidity.
• Do not handle the charger power cord with wet
hands.
• Keep this device away from fire and heat sources.
• Keep this product, accessories and its packaging
out of the reach of children. Plastic bags, packing
material, electrical cords and other accessories
Page 28

28
may cause choking, suffocation and/or
electrocution!
• Do not open the unit. There are no user
serviceable parts inside.
• Reduce the volume to its lowest setting before
use.
• To clean the transmitter and the optional charger,
be sure to first switch off and unplug the unit from
the power outlet, then wipe with a dry cloth.
When extremely dirty, use a soft cloth dampened
in neutral detergent. Never use benzene, thinner
or chemically-treated towels, which may damage
the product’s finish.
Recycling Instructions
Help Enersound protect the environment by
disposing of your TP-600 transmitter and accessories
properly!
• Please do NOT dispose of your Enersound
equipment in the household trash. Take the
equipment to an electronics recycling center.
• Please do NOT dispose of used batteries in
the household trash. Please take them to your
local collection point or recycling center. This will
help to protect the environment.
Page 29

29
Troubleshooting
The transmitter will not power.
• Verify that batteries are corrected installed and
charged. Also, check for signs of battery leakage or
corrosion.
• Make sure you are pressing and holding the
POWER button for 5 seconds.
There is no audio or the audio is low on the
receivers.
• Verify that both the transmitter and receiver are
powered ON.
• Make sure that both the transmitter and receiver
are on the same channel/frequency. If using
receivers of other brands, check the frequency
chart corresponding to the receivers’ channels.
The frequency on both receivers and transmitter
must match; channel numbers may not necessary
be the same.
• Make sure that the mute function is off and that
you are using a compatible microphone in working
condition.
• Check the earphone/headphone connector is
plugged in all the way on the receiver jack.
• Check the microphone and auxiliary gain levels. If
necessary, adjust the gain.
Page 30

30
• Make sure the microphone is plugged in as the
cord serves as the transmitting antenna. The same
applies to the receiver earphone/headphone
cord, which also acts as the receiving antenna.
• When using the Aux input, verify the aux source is
playing, and a microphone is connected on the
transmitter mic input to serve as the antenna. You
can mute the microphone if needed.
There is too much ambient noise.
• Adjust the microphone gain in the Menu.
• Place the microphone closer to the mouth.
There is insufficient range
• Make sure the microphone is plugged in as the
cord acts as the transmitting antenna. The same
applies to the receiver earphone/headphone
cord, which also acts as the receiving antenna.
Verify the cord is not coiled up.
• Verify that your receivers are working properly.
• Avoid obstacles between the listening area and
the transmitter that may affect the signal
strength, like partitions, metal objects, dense
materials, studs, pipes, heating or AC ducts, metal
grids or concrete.
• Try using a different channel/ frequency since a
strong interfering signal may exist.
Page 31

31
• Verify that the distance between the transmitter
and receiver is within the specified range (150ft).
• Make sure no other transmitters are in the same
area tuned in the same channel or interfering with
the frequency.
There is feedback (squealing noise).
• Move away the receiving earphones from the
transmitter microphone.
• Lower the microphone gain (volume) in the
Settings menu.
There is distortion in the audio.
• Verify if the audio input level is too high that
overloads the input. Adjust the gain if necessary.
Page 32

32
FCC Statement
In the US, the FCC limits the use of this device to
assistive listening and simultaneous interpretation.
This transmitter cannot be used in all countries.
Check with your government’s radio regulations for
72-76 MHz operation.
Any changes or modifications not expressly
approved by the party responsible for compliance
could void the user's authority to operate the
equipment.
This device complies with part 15 of the FCC Rules.
Operation is subject to the following two conditions:
(1) this device may not cause harmful interference,
and
(2) this device must accept any interference
received, including interference that may cause
undesired operation.
IC Statement
This device complies with Industry Canada licenseexempt RSS standard(s). Operation is subject to the
following two conditions:
(1) this device may not cause interference, and
Page 33

33
(2) this device must accept any interference,
including interference that may cause undesired
operation of the device.
This radio transmitter (TP-600) has been approved
by Industry Canada to operate with the antenna
types listed below with the maximum permissible
gain and required antenna impedance for each
antenna type indicated. Antenna types not included
in this list, having a gain greater than the maximum
gain indicated for that type, are strictly prohibited
for use with this device.
The device is in compliance with RF field strength
limits; users can obtain Canadian information on RF
exposure and compliance.
Le présent appareil est conforme aux CNR
d'Industrie Canada applicables aux appareils radio
exempts de licence. L'exploitation est autorisée aux
deux conditions suivantes:
(1) l'appareil ne doit pas produire de brouillage, et
(2) l'utilisateur de l'appareil doit accepter tout
brouillage radioélectrique subi, même si le brouillage
est susceptible d'en compromettre le
fonctionnement
Le présent émetteur radio (TP-600) a été approuvé
par Industrie Canada pour fonctionner avec les types
Page 34

34
d'antenne énumérés ci-dessous et ayant un gain
admisible maximal et l'impédance requise pour
chaque type d'antenne. Les types d'antenne non
inclus dans cette liste, ou dont le gain est supérieur
au gain maximal indiqué, sont strictement interdits
pour l'exploitation de l'émetteur.
Le présent appareil est conforme Après examen de
ce matériel aux conformité aux limites DAS et/ou aux
limites d’intensité de champ RF, les utilisateurs
peuvent sur l’exposition aux radiofréquences et la
conformité and compliance d’acquérir les
informations correspondantes.
Page 35

35
Limited Warranty Statement
Enersound warrants the TP-600 motherboard to be
free from defects in workmanship and material
under normal use and conditions for the useful
lifetime of the product from date of purchase from
an authorized dealer. All other TP-600 parts or
accessories, including shell, jacks, microphones,
earphones, headphones, batteries, chargers, cables,
carry cases, and most other accessory products carry
a one-year warranty from the date of purchase. This
warranty is only available to the original end
purchaser of the product and cannot be transferred.
Damage due to battery corrosion, and/or a result of
charging non-rechargeable batteries, will VOID the
product warranty. If the product is determined to be
defective, Enersound will repair or replace it, at its
discretion, at no charge. Customer must pay for
shipping. This warranty is void if damage occurred
because of misuse or if the product has been
repaired or modified by anyone other than a factoryauthorized service technician. Warranty does not
cover normal wear and tear on the product or any
other physical damage unless the damage was the
result of a manufacturing defect.
Page 36

36
Enersound has no control over the conditions under
which this product is used. Therefore, the company
disclaims all warranties not set forth above, both
express and implied, with respect to the T-500
transmitter, including but not limited to any implied
warranty of merchantability or fitness for a
particular purpose. Enersound products
manufacturer, distributors and/or dealers shall not
be liable to any person or entity for any medical
expenses or any direct, incidental or consequential
damages caused by any use, defect, failure or
malfunction of the product, whether a claim for such
damages is based upon warranty, contract, tort or
otherwise. The sole remedy for any defect, failure or
malfunction of the product is replacement of the
product. No person has any authority to bind
Enersound to any representation or warranty with
respect to the Enersound TP-600 transmitter. This
warranty gives you specific legal rights, and you may
also have other rights, which vary from state to state.
Some states do not allow limitations on how long an
implied warranty lasts, and the exclusion or
limitation of incidental or consequential damages, so
the above limitation may not apply to you. This
warranty applies to products sold only within the
Page 37

37
United States of America and does not cover
products sold AS IS or WITH ALL FAULTS. For
products sold outside the U.S., please consult with
your local dealer about the terms and conditions
applicable in your country. Proof of purchase in the
form of a bill of sale, invoice number or receipted
invoice, which is evidence that the unit is within the
warranty period, must be presented to obtain
warranty service. If you experience any issues with
your TP-600 transmitter, send an email to
[email protected] with your name, address,
phone number and a complete description of the
problem. We will respond to you as soon as possible
and if it is necessary to return the product for service,
your Customer Service Representative will give you a
Return Authorization Number (RAN) and shipping
instructions.
For more information, visit www.enersound.com.
You may also call 1-305-731-2416 or our toll-free
number 1-800-644-5090 within the U.S.
Page 38

38
TP-600 Optional Accessories
CHR-600
Drop in charger for TP-600
with power supply
MIC-200SEN
Headband microphone with
3.5mm locking plug (black)
MIC-400SEN
Earset Microphone with
3.5mm locking plug (beige)
MIC-500SEN
Miniature Pro Headset
Microphone with 3.5mm
locking plug (beige)
To purchase accessories, contact your local dealer.
If you are unable to find a dealer in your area,
contact us for more information:
Toll free: 1-800-644-5090
International: +1-305-731-2416
www.enersound.com
Page 39

39
Specifications: TP-600 FM Transmitter
RF
Operating Frequency
72.1-75.9MHz
Number of Channels
17 Selectable
Frequency Deviation
Wide Band: +/- 75KHz
Transmitter Stability
+/- 10ppm
Output Power
Hi: 80,000uV/m at 3meter
Antenna
Integral with microphone cord
Compliance
FCC part15, Industry Canada
AUDIO
Frequency Response
180Hz ~15KHz
Signal to Noise
Ratio
67db
System Distortion
< 1% (THD) at 45KHz deviation.
MIC Input
Locking 3.5mm 1/8’’ TRS jack,
supplies +DC on tip for electret
mics.
AUX Input
2.5 mm stereo jack w/adjustable
gain
Audio Processing
Built-in signal compression 2:1.
POWER
Battery Type
(2) AA 1.5 V non-rechargeable
Alkaline
(2) AA 1.5 V NiMH rechargeable
Battery Life
Up to 25 hours with alkaline
batteries
Up to 22 hours per charge,
recharges in 6-7 hours with
CHR-600 drop in charger
Page 40

40
Specifications: TP-600 Continuation
ENVIROM.
Temp. Operation
-5℃ (23F) to + 40℃ (104F)
Temp. Storage
-20℃ (-4F) to + 60℃ (140F)
Humidity
0~95% Relative Humidity
PHYSICAL
Dimensions
Without Belt Clip: 4.1” x 2.8” x 0.9”
(104mm x 71mm x 23mm)
With Belt Clip: 4.1” x 2.8” x 1.1”
(104mm x 71mm x 27mm)
Color
Black
Unit Weight
2.9 oz (84 gr) without batteries
Shipping Weight
2.2 lbs. (1.1 Kg)
OTHER
Warranty
Lifetime Limited Warranty on
motherboard, 1 year on other parts
Controls Buttons
Power, Up, Down, Lock, Menu &
Mute
Indicators
LCD display with backlight
Green LED transmitting indicator
Red LED Mute indicator
We reserve the right to make technical and design
modifications to the transmitter without notice.
©2018 Enersound. All rights reserved.
 Loading...