

Endeavor Holbeck, E129R, E139R Installation And Operation Instructions Manual

Wall Mounted Electric Fire
Model No. E129R/E139R
INSTALLATION AND OPERATION INSTRUCTIONS
Please read the instructions carefully before installation or
use and keep for future reference.

CONTENTS
1. Important Safety Information ·········································································1
2. Technical Specifications ··················································································3
3. Parts and Hardware ························································································4
4. Appliance Dimensions ·····················································································6
5. Installation Instructions ··················································································6
6. Operating Instructions ····················································································9
6a. Manual Control Panel ············································································ 10
6b. Remote Controls ···················································································· 11
7. Maintenance ································································································ 17
8. Others ······································································································ 18

1
1.1 Read all of the instructions carefully before using
the appliance.
1.2 For indoor use only. This appliance is not suitable
for use outside the house and only suitable for well
insulated spaces or occasional use.
1.3 Do not use this appliance in the immediate
surroundings of a bath, a shower or a swimming
pool.
1.4 Do not use this fire as a free-standing appliance. It
must always be fixed to the wall.
1.5 This fire must not be located immediately below a
socket-outlet.
1.6 This appliance must be earthed.
1.7 This appliance must not be supplied through an
external switching device, such as a timer, or
connected to the circuit that is regularly switched
on and off by utility in order to avoid a hazard due
to the inadvertent resetting of the thermal cut out.
1.8 A non-rewirable plug fitted with a 13A fuse is
supplied. Should the fuse or plug need replacing,
and you are competent to do so, it must be
replaced with a 13A fuse
1
.
IMPORTANT
SAFETY
INFO
RMATION

2
or plug being 13A BS1363A approved.
1.9 If the power cord is damaged, it must be repaired
by the manufacturer, its authorised service centre
or professional person.
1.10 The meaning of figure in marking is DO
NOT COVER. Warning: in order to avoid
overheating, do not allow the appliance to be
covered or let the air inlet/outlet become
obstructed. Please note the
warning symbol on the appliance (see above).
1.11 To reduce the risk of fire, keep textiles, curtains, or
any other flammable material a minimum distance
of 1 meter from the air outlet.
1.12 Keep the power cord away from hot surfaces and
hot conditions. Do not route the power lead in
front of the
appliance.
1.13 Do not use this fire in rooms that have explosive
gas in them (for example petrol), or if you are using
solvents, glue, aerosol spray or in flammable
paints, as these may
catch fire.
1.14 This appliance can be used by children aged from
8 years and above and persons with reduced

3
physical, sensory or mental capabilities or lack of
experience and knowledge if they have been given
supervision or instruction concerning use of the
appliance in a safe
way and understand the hazards involved.
1.15 Children and vulnerable people must be
supervised at all times when using this appliance,
as some parts can
become very hot and cause burns.
1.16 Do not use this appliance in small rooms when
they are occupied by persons not capable of
leaving the room on their own, unless constant
supervision is provided.
1.17 Children aged from 3 years and less than 8 years
only can switch on/off the appliance provided that
it has been placed or installed in its intended
normal operating position and instructions and
supervisions concerning the safe way of the use of
the appliance are
offered.
1.18 Cleaning and user maintenance shall not be made
by children without supervision.
1.19 This appliance shall not be played with by children.
1.20 Children of less than 3 years should be kept away
unless continuously supervised.

4
Model No.: E129R
Supply Voltage: AC 220-240V 50Hz
Maximum power consumption: 2KW
Power for flame effect: 18W (LED 14W + Motor for flame 4W)
Power for Moodlight: DC12V, 1W, 0.08A
Heat Output:
Nominal heat output (Pnom): 2KW
Minimum heat output(indicative) (Pmin): 1KW
Maximum continuous heat output (Pmax): 2KW
Auxiliary Electricity Consumption:
At nominal heat output (elmax): 12.5W
At minimum heat output (elmin): 12.0W
In standby mode (elSB): 0.36W
2. TECHNICAL SPECIFICAT
ION
S
5
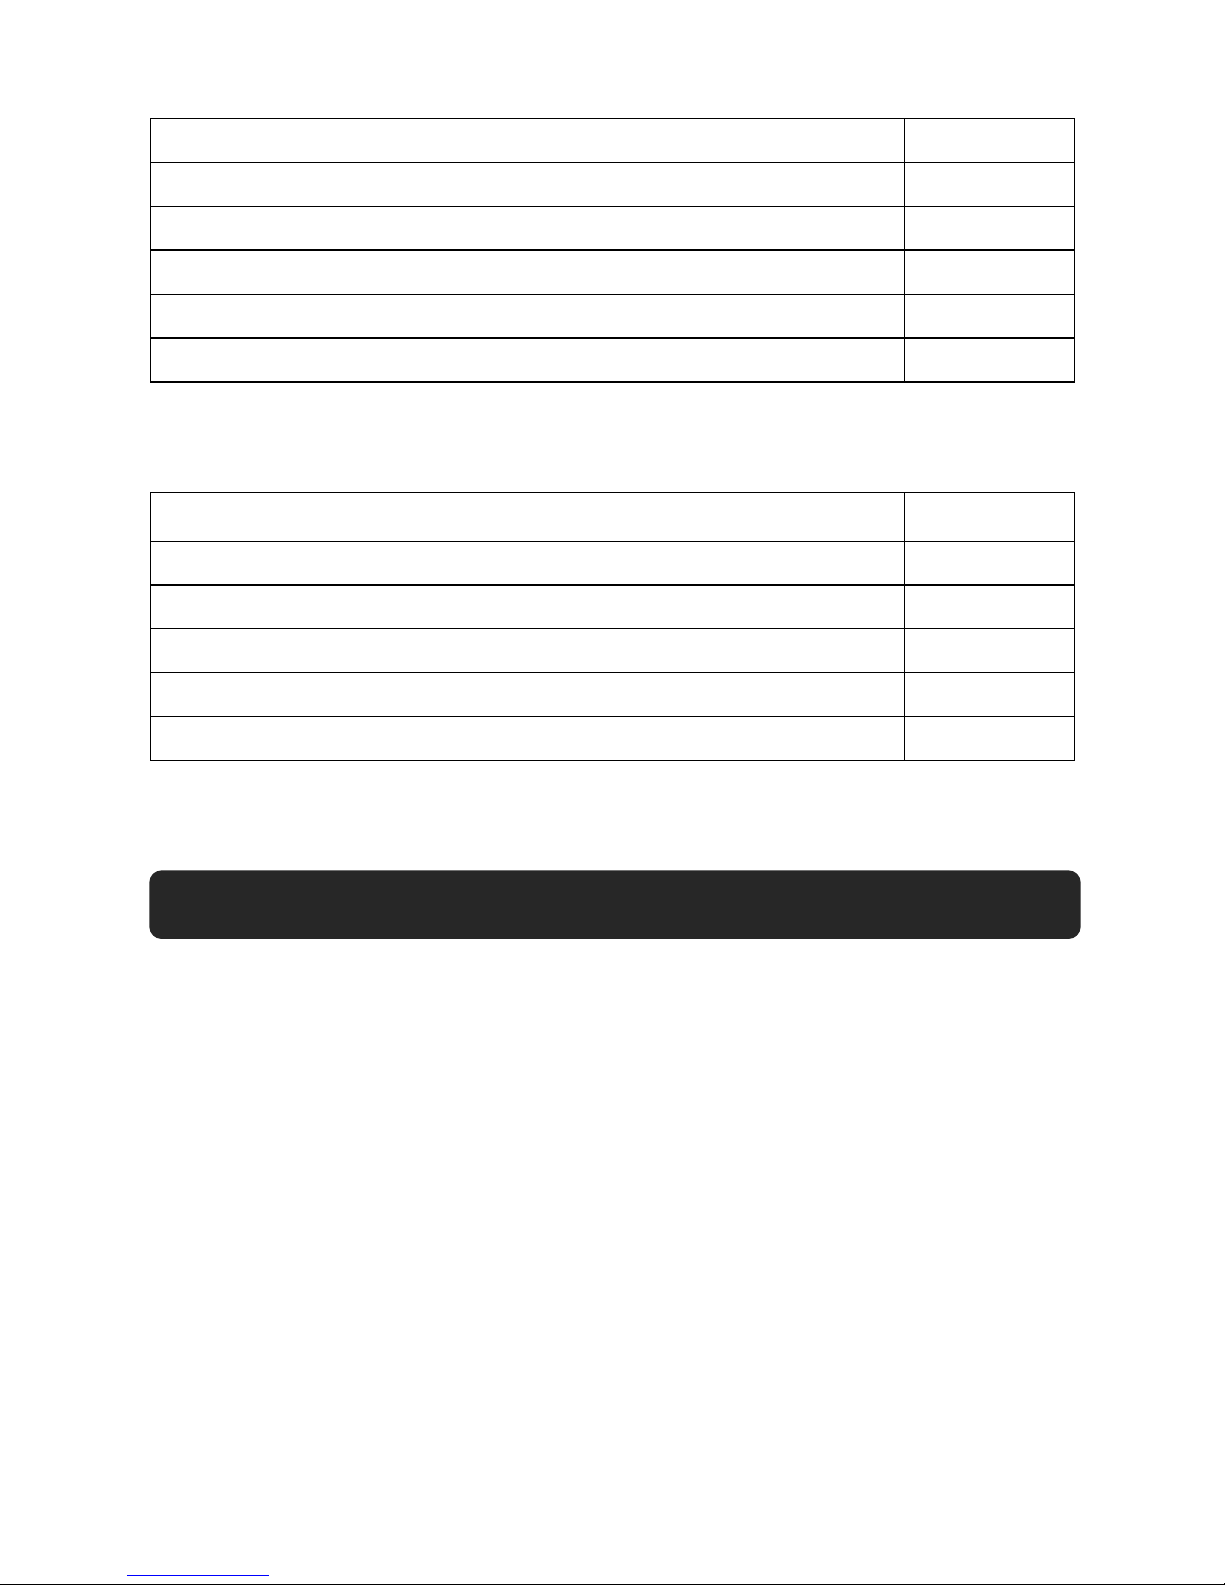
Type of heat output / room temperature control
Single stage heat output and no room temperature control
No
Two or more manual stages, no room temperature control
No
With mechanic thermostat room temperature control
No
With electronic room temperature control
Yes
Electronic room temperature control plus day timer
Yes
Electronic room temperature control plus week timer
Yes
Other Control Options
Room temperature control, with presence detection
No
Room temperature control, with open window detection
Yes
With distance control option
No
With adaptive start control
Yes
With working time limitation
No
With black bulb sensor
No
3.1 Unpacking the fire carefully, make sure that the appliance is intact with no signs
of damage caused by transport and no part has been exposed to water.
If in doubt, do not use the appliance and contact an authorised service centre.
3.2 Keep plastic wrapping away from children.
3.3 Save the original packaging as this may be required in the event of service
complaint with product.
3.4 Check that all parts are removed from the packing.
3. PARTS
AND
HARDWARE

6
A.
Firebox (1)
B.
Wall Mount Bracket ( 1 )
NOTE: The wall mount
bracket is attached to the
back of the fire by two
screws.
C.
Instruction (1)
D.
Remote Handset (1)
E.
AAA Battery (2)
F.
Plastic Wall Plugφ8*40 (6)
G.
Screw ST4*10 (2)
H.
Screw ST5*40 (6)
 Loading...