

Page 1

ENPS-MF1
1 USB Port
Multifunctional Print Server
Quick Inst allation Guide
V1.0
Specifications or features are subject to change without prior notice.
All brand names or trademarks are the property of their respective owners.
Page 2
Packing List:
z ENPS-MF1 MFP server box
z 100-240VAC power adapter
z Setup CD includes user manual for Windows® 2000/XP / Windows Vista™
z Quick installation guide (this one)
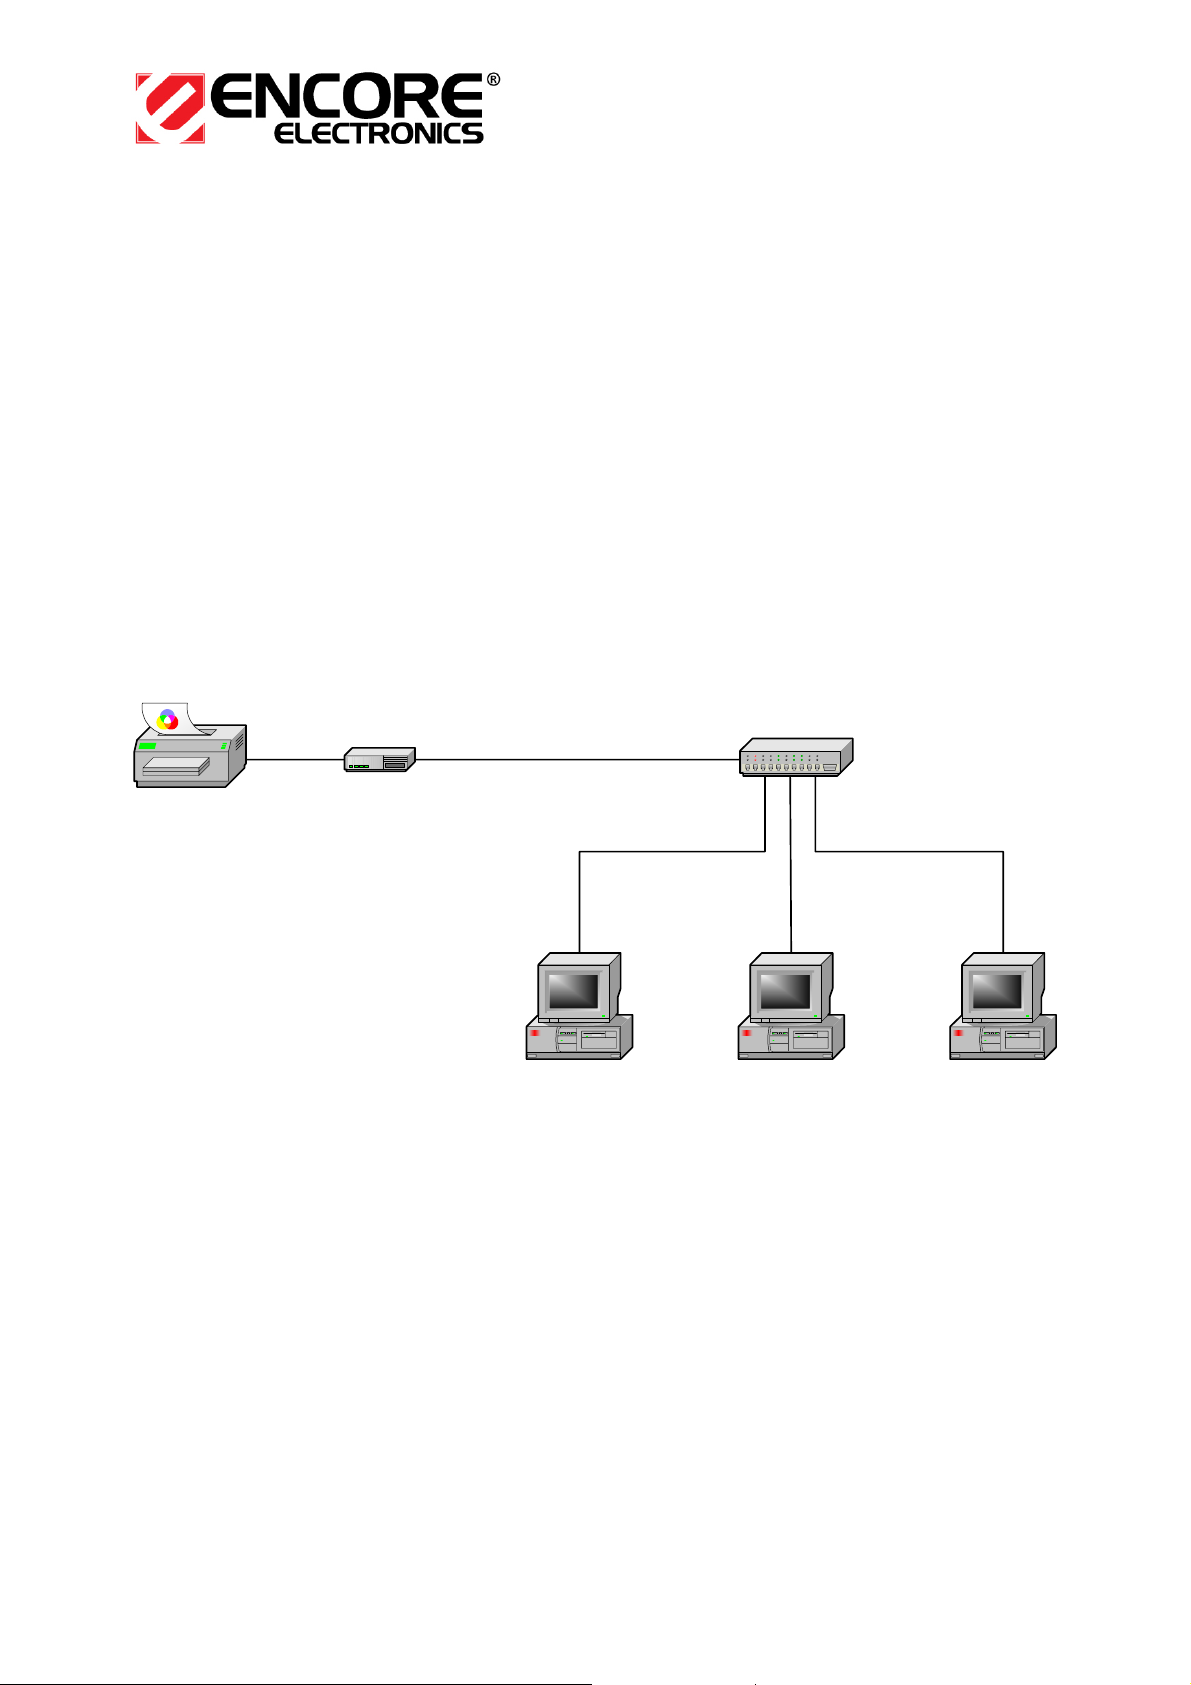
Wired Network with ENPS-MF1 Multifunctional Print Server:
USB
MFP Printer
ENPS-MF1
MFP Server
Computer Computer Computer
HUB
Hardware Installation:
1. Connect one end of the UTP cable to the Ethernet port on ENPS-MF1 MFP Server
and the other end to a wall jack or HUB.
2. Connect the power adapter.
3. Connect the USB cable to the USB port on the side of ENPS-MF1 MFP Server and
the other end to your MFP device.
Software Installation:
1. Insert the ENPS-MF1 MFP server setup CD. If the start-up screen does not appear,
2
Page 3

1 USB 2.0 Port MFP Server
Quick Installation Guide
double-click My Computer, double-click the CD-ROM icon, and then double-click
autorun.exe.
2. Choose Installation to install all software programs.
3. Click OK.
4. Click Next.
3
Page 4
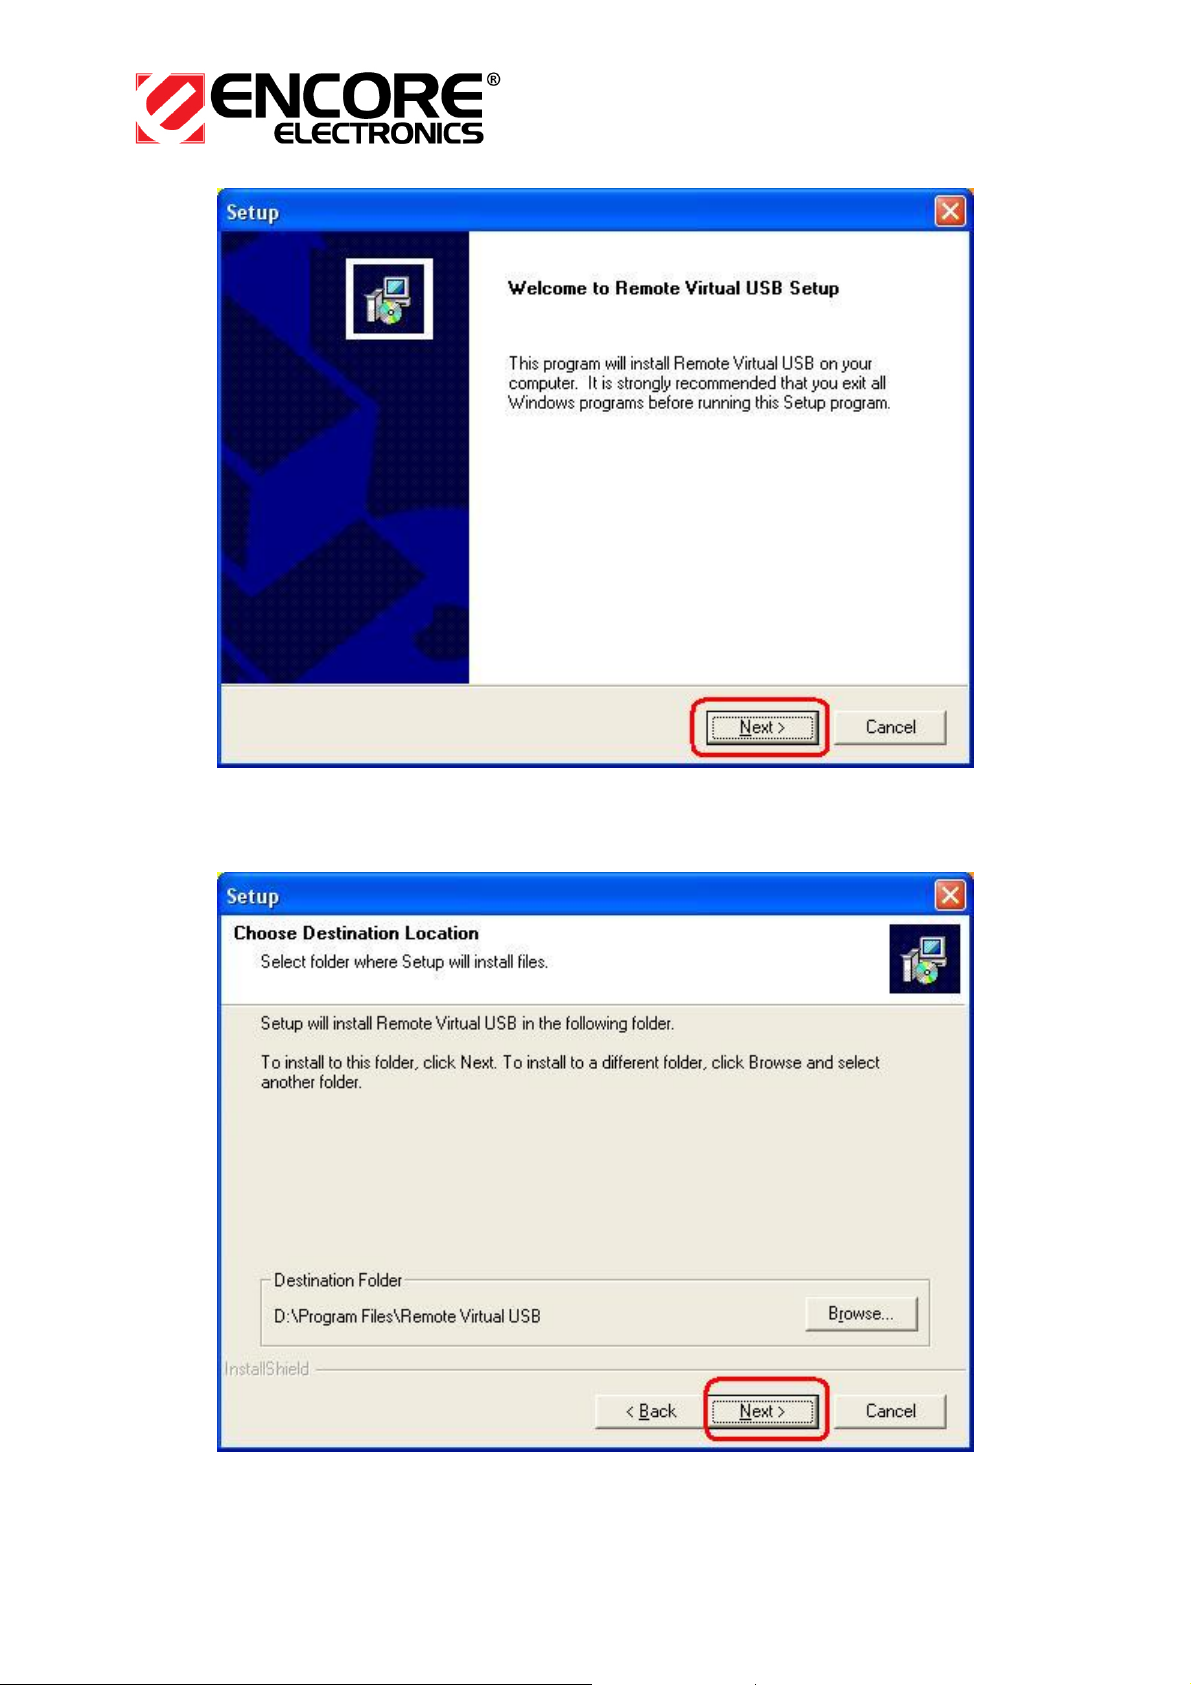
5. Click Next.
6. Click Next.
4
Page 5

1 USB 2.0 Port MFP Server
Quick Installation Guide
7. Click OK.
8. If you would like the ENPS-MF1 MFP server software to run automatically when
starting your computer (recommended), leave this box checked and click Finish.
5
Page 6

9. Select No, not this time, and then click Next.
10. Select Install the software automatically (Recommended), and then click Next.
6
Page 7

1 USB 2.0 Port MFP Server
Quick Installation Guide
11. Click Continue Anyway.
12. Click Finish to complete the software installation.
7
Page 8

13. Then, start to setup MFP server. Click start -> All Programs -> Remote Virtual
USB folder; click Remote Virtual USB to launch MFP server utility.
8
Page 9

1 USB 2.0 Port MFP Server
Quick Installation Guide
14. If you have Windows XP and the Windows Firewall is enabled you will see this
window pop-up message when the MFP server utility is first launched. Make sure
you click the unblock button to allow communication with the MFP server. Other
software firewalls may display similar options – make sure the MFP server software
is allowed to bypass such programs.
15. The ENPS-MF1 MFP server utility will search your network for the ENPS-MF1 MFP
server and display it in the window. If no ENPS-MF1 MFP server is found, please
make sure any third party firewalls have been disabled or bypassed and click the
Search button to try again.
9
Page 10

Note:
The default IP address of ENPS-MF1 MFP server is 192.168.0.10, and subnet mask
is 255.255.255.0. If the MFP server utility didn’t find ENPS-MF1 MFP server, please
make sure of the MFP server and your computer’s IP segment are the same, e.g.
192.168.0.xxx.
16. Click the “+” in front of the MFP server name to show the name of the attached
printer. Then select the printer name and click the Connect button in the MFP server
utility.
10
Page 11

1 USB 2.0 Port MFP Server
Quick Installation Guide
17. The printer should be detected as if it was plugged directly into the computer. Finish
any remaining setup needed by the printer software. Your MFP printer should be
ready to use.
18. If you would like the connection to this printer to be restored automatically when the
MFP server utility launches, you will need to add the device to your favorites list.
Click the “+” in front of Connected devices and right-click the name of the printer.
Choose Add to favorites from the menu that pop-up menu.
19. Click OK to confirm that the printer is in your favorites list.
11
Page 12

20. Once you have connected to the ENPS-MF1 MFP server you can close the
ENPS-MF1 MFP server utility. Be sure to use the close box with an X in the top right
corner so that the ENPS-MF1 MFP server utility continues to run in the background.
The large button labeled Exit will shut down the MFP server utility and disconnect
your computer from the printer.
21. From Windows 2000/XP system, go to start -> Printers and Faxes and make sure
of the icon of MFP printer appeared.
12
Page 13

1 USB 2.0 Port MFP Server
Quick Installation Guide
22. Congratulations! Your MFP printer is now ready to share.
Note:
If you wish to setup more MFP servers, start MFP server utility from your Windows Start
menu: start -> All Programs -> Remote Virtual USB -> Remote Virtual USB and
repeat the setup procedure.
All contents are subject to change without prior notice.
MS8616U2 V1.0
13
 Loading...