

Page 1
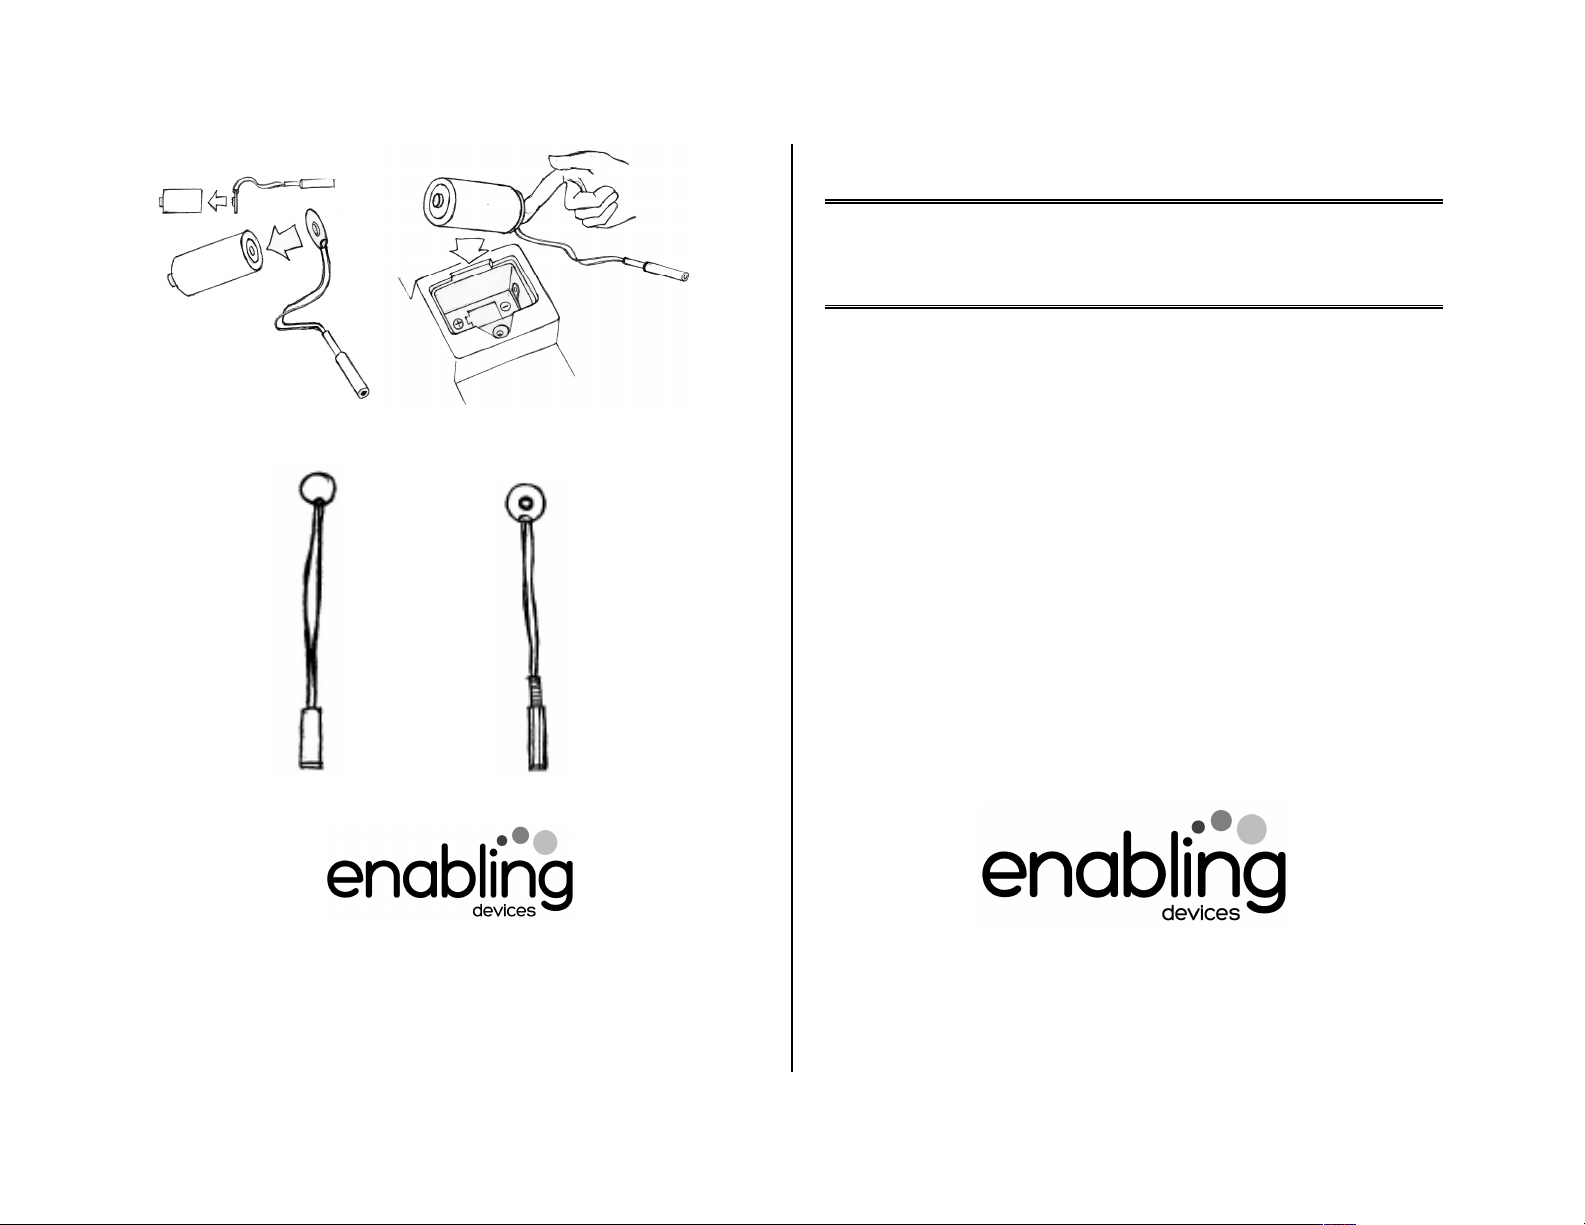
Model No. 640 Model No. 641
AA Batteries C & D Batteries
Model No. 640 Model No. 641
Model No. 640 Model No. 641 Model No. 640 Model No. 641
AA Batteries C & D Batteries
AA Batteries C & D BatteriesAA Batteries C & D Batteries
Battery Interrupter #640 & 641
USER’S GUIDE
For Technical Support:
For Technical Support:
For Technical Support:For Technical Support:
Call our Technical Service Department
Monday through Friday, 9 a.m. to 5 p.m. (EST)
1-800-832-8697
customer_support@enablingdevices.com
50 Broadway
Hawthorne, NY 10532
Tel. 914.747.3070 / Fax 914.747.3480
Toll Free 800.832.8697
www.enablingdevices.com
Page 2

Adapt your own toys, radios, devices!
Adapt your own toys, radios, devices!
Adapt your own toys, radios, devices!Adapt your own toys, radios, devices!
This handy interrupter allows you to use any of our switches with
battery operated un-adapted toys or devices. The Battery
Interrupter is easy to install. Works with most battery operated
devices that have an on/off switch. Weight: 2 oz.
The
Battery Interrupter
is easy to install and it can be easily
removed – to change a battery, to fix the toy/device or to use with
another product that functions with the same size batteries!
This small economical device will bring joy and learning into the
lives of younger or older children. It can make life more productive
for
all
ages!
Batter
Battery Interrupters
BatterBatter
y Interrupters
y Interrupters y Interrupters
are available in two
are available in two models:
are available in twoare available in two
models:
models:models:
#640
#641
#640 “AA” Interrupter with 1/8" Jack
#640#640
#641 “C” and “D” Interrupter with 1/8" Jack
#641#641
Adapting a Toy with a Battery Interrupter
Adapting a Toy with a Battery Interrupter::::
Adapting a Toy with a Battery InterrupterAdapting a Toy with a Battery Interrupter
••••
Everything you need: A
Everything you need: A battery-operated toy/device, batteries,
Everything you need: AEverything you need: A
a switch, and the
Battery Interrupter
••••
Procedure:
Procedure:
Procedure:Procedure:
1)
1) Position the disc of the
1)1)
Battery Interrupter
against the wall
of the battery compartment on the negative end (where the
negative side of the battery will go)
2)
2) Make sure that the small “silver bump”
2)2)
(For Model 641 Only)
For Model 641 Only) is facing outward into the battery
For Model 641 Only)For Model 641 Only)
compartment.
3)
3) Insert the battery into the compartment. If it is a really tight
3)3)
fit, you may want to insert the
Battery Interrupter
and the
battery simultaneously so that they will slide in better.
4)
4) The small “silver bump,” (For Model 641 Only)
4)4)
For Model 641 Only) if installed
For Model 641 Only)For Model 641 Only)
correctly, should fit into the dent on the negative side of
the battery.
5)
5) Close the lid of the battery compartment (if applicable).
5)5)
6)
6) Plug a switch into the Jack at the other end of the
6)6)
Interrupter
. If you are using an adapter, make sure that it is
in tight leaving NO gaps.
7)
7) The toy/device can now be controlled with the switch!
7)7)
NOTE
NOTE:
NOTENOTE
The Battery Interrupter will not work with every batteryoperated toy/device. It will work best with toys/devices
that only require a simple ON/OFF switch to activate their
features.
You only need one battery interrupter per battery
compartment. Example: even if the battery compartment
includes 4 batteries, you still only need one
Battery
Interrupter.
Do not submerge in water
Rev
Rev 2/2/17
Rev Rev
Battery
2/2/17
2/2/172/2/17
 Loading...