

Page 1
All information is subject to change without notice.
All brand names and trademarks are the properties of their respective owners.
VolariSeries V.1_E K400020110
1 Year Warranty
Product Warranty
Emprexproducts are warranted to be free of defects in materials and workmanship for a limited period of
one year from the invoice date of the original purchase. In the event of a defect during the warranty period,
we will repair or replace the defective product, when it is returned by the purchaser. The limited warranty will
be considered void if the unit is tampered with, improperly serviced, has its security seal removed subject to
misuse, negligence or accidental damage.
Purchaser must retain the original sales receipt as proof of purchase for any and all warranty claims!
This warranty is valid if the Product:
Ÿ Was not damaged while being installed.
Ÿ Was not damaged by software or hardware from a company or individual other than Emprexor by
motherboard incompatibility.
Ÿ Was operated in accordance with Emprexspecifications, instructions and technical support directions.
Ÿ Was not modified or damaged by altering the default core or memory clock settings, tampering, user error,
accident, disaster, abuse, misuse, power supply, power application, alteration, repair, modification, a fix or
replacement by someone other than Emprex.
Emprexliability under this warranty, or in connection with any other claim relating to the Products, is limited
to the repair or at Emprexoption, the replacement of the portion of the Products which were defective in
material or workmanship with new or refurbished product.
The limited warranty is exclusive, with no other warranties, implied or statutory, including, but not
limited to any implied warranty of merchantability or fitness for a particular purpose. This warranty
is not affected in any part by Emprexproviding technical support or advice.
A Return Material Authorization number (RMA #) must be issued byEmprexbefore any product is returned
to Emprex. Product shipped to Emprexwithout an RMA # will be refused and returned to shipper.
Technical Support is available 10 am to 5 pm, Monday through Friday PST.
Tel: 510-657-3956
Fax: 510-657-1859
URL: http://www.emprex.com
Technical Support:
Tel: 510-657-3956 Ext. 321
Email: tech_us@emprex.com
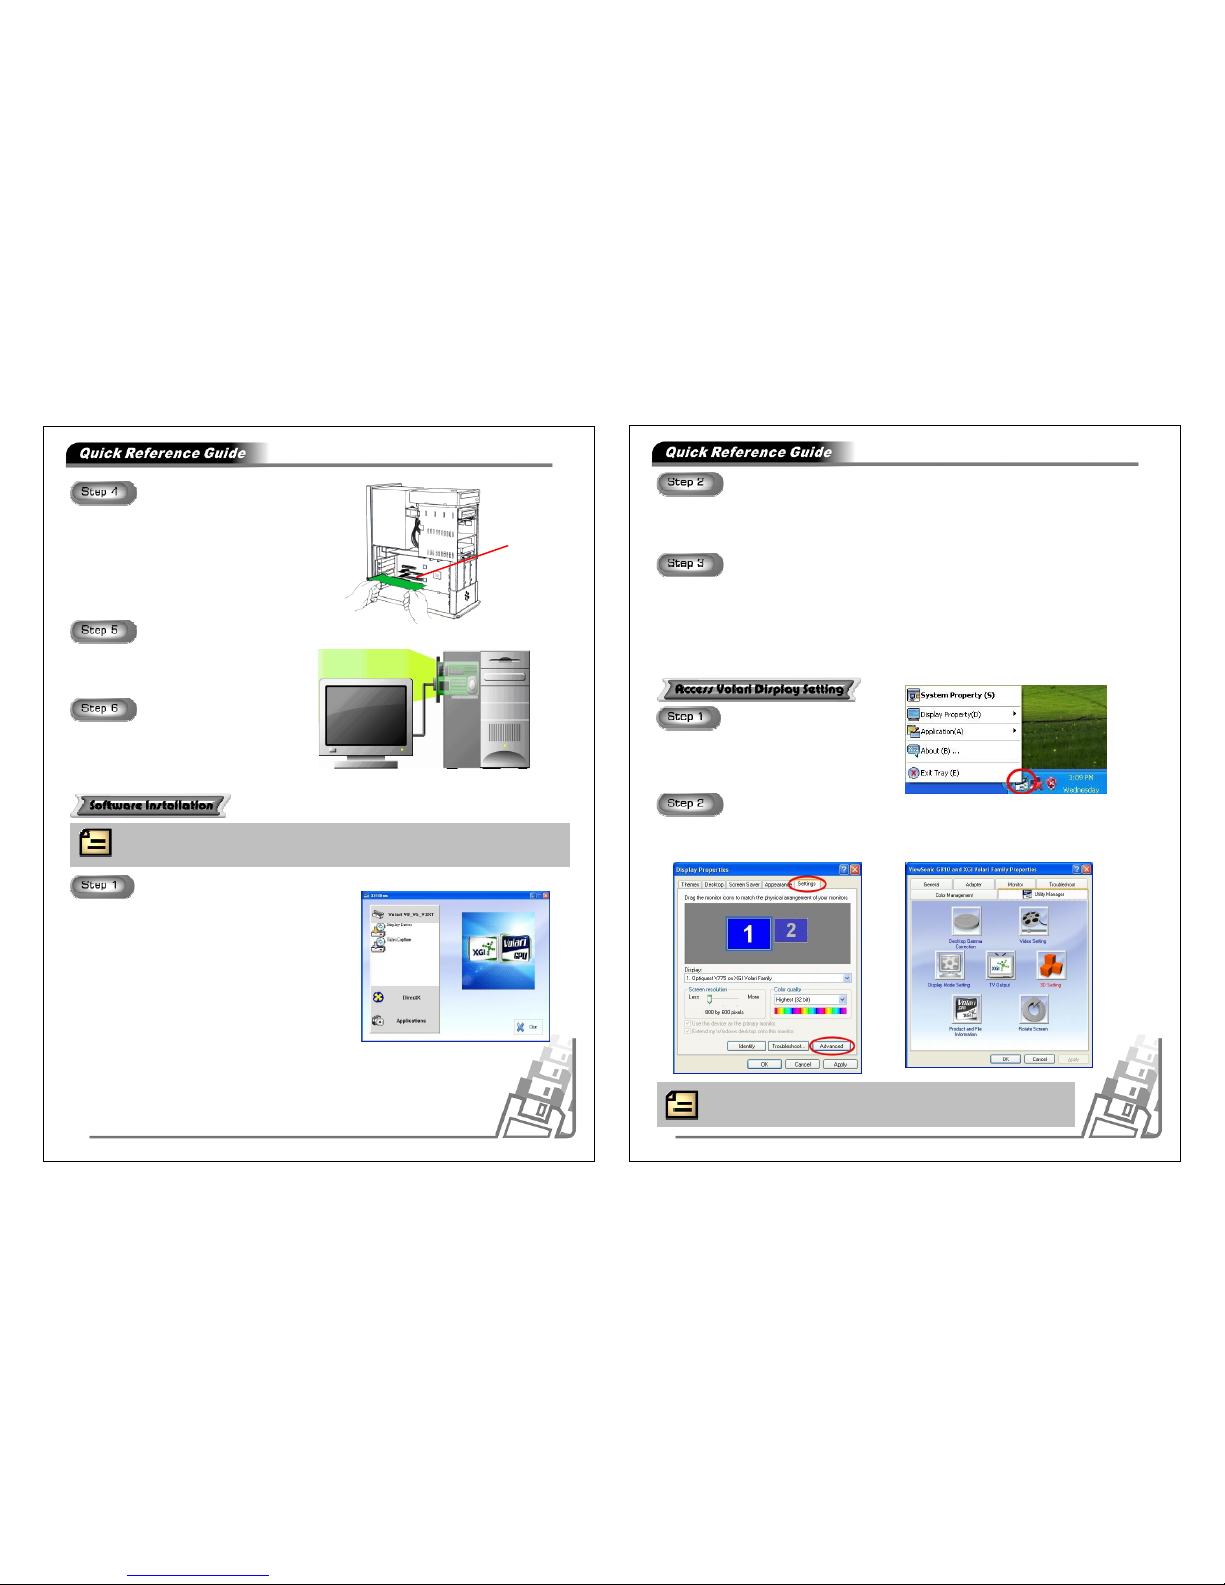
Turn off your computer and monitor and disconnect
the power cord.
Remove the computer chassis cover.
Remover the old card if it exists.
Note: Before installing the hardware or software, you need to remove any old graphics card
drivers you may have. Removing the graphics drivers will not harm your computer. When you
restart the system, the display will be in a low resolution and may look different. This is normal and
will resolve once the new driver are installed.
Warning: It is important that all power to the computer is unplugged before you install the graphics
card. Discharge your body’s static electricity by touching a grounded surface before touching the
graphics card. A grounded surface is the computer chassis, or some other surface you know to be
grounded. Following these rules prevents damage or harm to you, the graphics card, and your computer.
Note that you will be installing your new graphics board into the graphics card slot inside your computer
system. You may already have a graphics board installed in this slot. If so, you will be replacing that existing
board with your new graphics board.
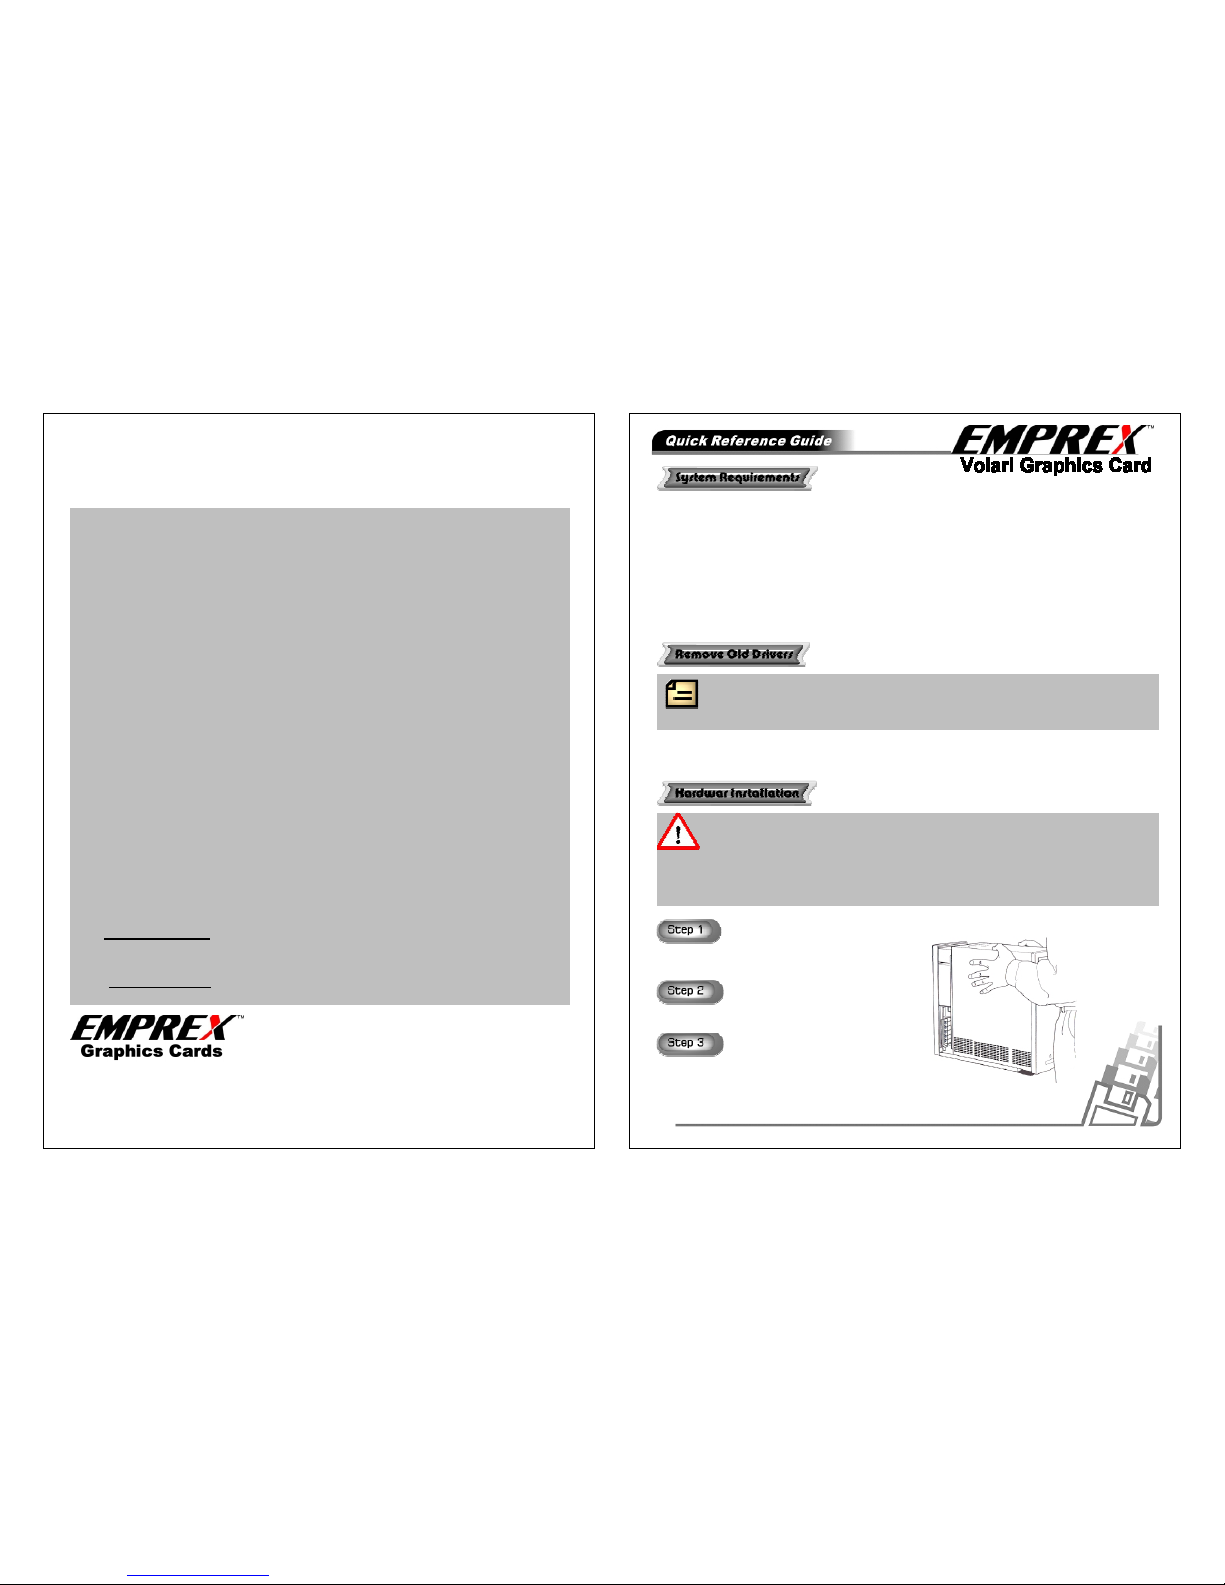
•Intel Pentium III, Pentium 4or AMD Athlon or compatible CPU
•Motherboard with AGP 4x/8x slot
•Windows 2000/XP
•50MB of available disk space for full installation
•128MB system RAM
•Minimum power supply 250W
•CD-ROM or DVD-ROM drive
•VGA or DVI-I compatible monitor
Page 2
Graphics Card
Slot
Reconnect any cables that were removed earlier.
Connect your monitor's cable to the graphics board
connector, as shown in the figure right.
Replace the screw to fasten the card the card into
the chassis, and replace the computer chassis
cover.
Grasp the edge or bracket of the card, align your card with
an empty graphic card expansion slot and slide it into place.
Note the notched edge on the board. This corresponds to a
connector lock on the graphic card slot. Disengage the lock
and install the graphics board into the graphic card slot. Be
careful not to damage the pins in the connector. Use firm
pressure to seat the card.
• Insert VGA Driver Package CD into CD-ROM driver.
• Click [Install Graphics Card Driver].
• Click [Display Driver] to start the installation process.
• Click [Next] to continue.
• Select [Setup Type] and then click [Next].
• Type a program folder name in the dialog box provided or
leave it default, and then click [Next] to copy file.
• If users select [Yes], the read me file will display. And
then Click [Next]
• Select [Yes, I want to restart computer now] or [No, I
will restart my computer later], then click [Finish] to
complete the installation.
Note: All the hardware must be installed prior to installation of software. See the previous
section if you have not installed the hardware.
Installing Display Driver
• Click [DIRECTX].
• Select [I accept the agreement] then Click [Next] .
• Click [Next].
• Click [Finish] to restart the computer.
• Click [Photo Album SE].
• Click [Next].
• Choose a license agreement language then click [Next].
• Click [Yes] to express the acceptance of the license agreement. .
• Click [Next].
• Select [Yes, I want to restart computer now], and click [Finish] to restart the computer.
Installing DIRECTX
Installing Photo Album SE
Windows Taskbar Access
Right click Utility Tray to select the menu.
Windows Display Properties Setting Access
Right click from your Windows desktop to open the desktop menu.
Click Properties ’ Settings tab’ Advanced ’ Utility Manager tab toopen Utility Manager Setting
Menu.
Note: TV Output setting only works when TV is connected.
 Loading...