

Page 1
tape delay
user manual
Page 2

Introduction
During the development of our Vintage Modified Superdelay, we
spent over 2 years perfecting the tape modes, painstakingly
recreating some of our favourite analog tape machines. Empress is
proud to have these tape modes available all on their own. We've
added features like an all-analog dry path, soft touch switches, trails
and true bypass, as well as an advanced configuration mode that
lets you customize the functionality of the tape delay to suit your
needs.
Thanks for your support!
- Steve Bragg
PS. You can extend your warranty to 4 years by registering your
pedal at www.empresseffects.com/warranty.html
Page 3

Quick Start
Basic tape delay: warm and dark repeats with wow and flutter
Dotted eights: rhythmic delay (tap quarter notes on the tap switch)
Page 4

The Tap Stompswitch
The tap stompswitch does different things depending on which
mode it's in.
Tap mode: When the delay time toggle is set to "tap", the Tape
Delay is in tap mode. The tap stompswitch is used to tap in a tempo.
The "d time|ratio" knob can be used to select various ratios of this
tempo.
Preset mode: When presets are enabled (see "Using Presets" and
"Advanced Configuration"), the tap stompswitch is used to toggle
through presets.
Non-tap mode with presets disabled: When the delay time toggle is
set to "slow" or "fast", and presets are disabled, the delay speed is
controlled by the d time|ratio knob. If blips are disabled (which is
the default behaviour), pressing the tap stompswitch erases the
audio in the delay line. This is useful if you want to play chords that
don't run into each other. If blips are enabled (see Advanced
Configuration), holding this down leads to some blips and blops..
Page 5

Using Presets
The Empress Tape Delay ships with presets disabled, but can be set
to use either 2 or 3 presets, using the Advanced Configuration. Note
that presets cannot be used while the Tape Delay is in tap tempo
mode. The rest of this section will assume that presets have been
enabled and that the delay time toggle switch is away from the tap
mode.
To toggle through the presets, simply press the tap stompswitch.
The color of the tap led indicates the current preset. All changes
made to the controls of the Tape Delay will be automatically saved
to the current preset.
You can lock your presets, to prevent them from being overwritten,
by using the Advanced Configuration. When presets are locked,
changes made while the preset is engaged will not be saved.
Page 6

delay time: sets the range of the d time|ratio knob to
slow or fast. alternatively, set to tap to control the
delay time via the tap stompswitch
tape age:
new - lush, clean repeats. tape delay machine with a
new tape and a full frequency response
vintage - added wow and utter giving the rich, full
bodied feel of a vintage tape machine
old - saturated, warm delay. lots of compression and
dark, rolled o high end oered up by old tape and
worn heads
mix: controls the level between the dry signal and the
wet, delayed signal. counterclockwise is 100% dry,
clockwise is 100% wet and center is 50% / 50%
d time | ratio: controls the delay time. in tap mode, it
controls the ratio of the delay time relative to the tempo
that is tapped
for example, at 1:2, the delay time will be twice
as fast as the tempo tapped
tap stompswitch: in tap mode, this sets the delay time
when tapped. it will change to the new delay time after
2 taps and will average the last 4 taps
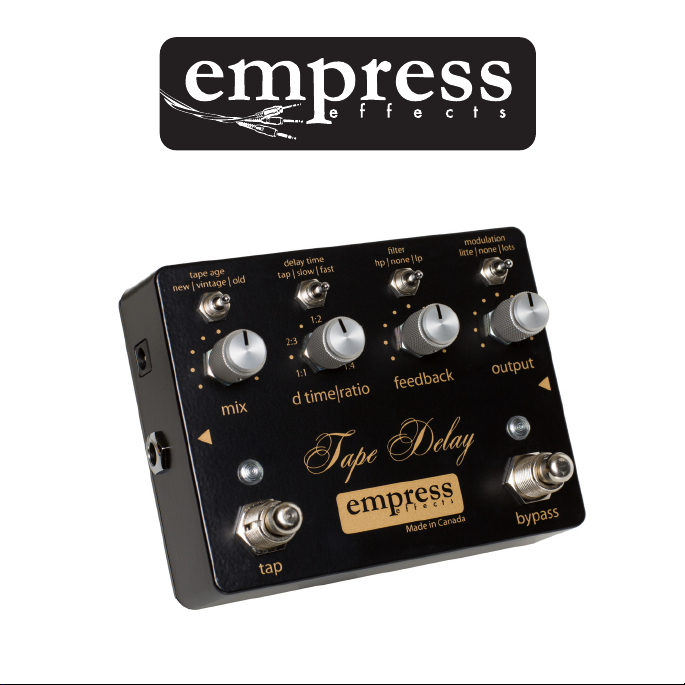
Controls at a Glance
+
Power: 9V - 18V DC negative
tip 2.1mm jack. 280mA or greater
-
Page 7

lter: adds a high pass (hp) or a low pass (lp) lter to the
delayed signal
modulation: applies modulation to the delayed signal
- the little setting is a slower, more subtle modulation
- the lots position is a faster, slightly deeper modulation
output: sets the overall output level(volume) of the pedal
feedback: controls how long the delayed signal takes to
decay. If turned fully clockwise, the signal will swell instead
of decay
bypass stompswitch: when the LED is shining, the delay
eect is applied to the signal. when o, the pedal is being
bypassed
Page 8

Page 9

Advanced Configuration
The Empress Tape Delay ships with the following default behaviour:
no presets, buffered bypass, and smooth delay time changes. You
can modify this behaviour in the advanced configuration.
Entering the advanced configuration: Unplug the power from the
Tape Delay. Plug the power back in while holding down both the tap
and bypass stompswitches. The bypass LED should blink twice to
confirm that you are in the advanced configuration.
Factory reset: While in the advanced configuration, press the
following stompswitches in order: tap, bypass, tap, bypass. The LEDs
will do a little dance to confirm that the Tape Delay has been reset
to its factory settings. Please note that this overwrites the current
presets with the factory presets.
Modifying the advanced configuration: Each toggle controls a
configuration parameter. When a parameter is modified, the red
tap LED will blink to confirm that a change has been made.
Page 10

Exiting the advanced configuration: Hold down both the tap and
bypass stompswitches. The bypass LED will blink twice to confirm
that the Tape Delay has exited the advanced configuration.
Buffered Bypass vs. True Bypass
The Tape Delay can operate with buffered bypass or true bypass. It
ships with buffered bypass enabled. This option can be changed in
the Advanced Configuration.
Buffered bypass: When the effect is bypassed, the input to the
delay line is disconnected and the dry signal is set to unity gain. The
output of the delay line is still summed with the dry signal however,
so the delay repeats (commonly referred to as "trails") will be
heard.
True bypass: When the effect is bypassed, it is completely
disconnected from the signal chain using a mechanical relay.
Page 11

Adjusting the Headroom
The Empress Tape Delay has an internal switch which allows for the
adjustment of the input headroom. This switch is accessed by
removing the back plate. The pedal ships with the switch in the -6dB
position, which allows for an input level of +5.1dBu. If the input to
the Tape Delay is especially loud, and you are noticing distortion
under normal conditions, you can increase the headroom by moving
the switch to the -12dB position. If the input is low, and you'd like to
increase the signal-to-noise ratio, you can move the switch to the
center position.
Page 12

Specifications
Input Impedance:
1MΩ
Output Impedance:
1KΩ
Frequency Response (-3dB):
Input Headroom with -6dB pad:
Input Headroom with -0dB pad:
Input Headroom with -12dB pad:
Output Headroom:
Distortion:
Signal to Noise:
8Hz – 18.5kHz
+5.1dBu
+0.2dBu
+10.8dBu
+10.2dBu
0.40%
102.7dB
Input Voltage:
9VDC-12VDC
Required Current:
Power Input Connector:
Height (enclosure only):
Height (including controls):
Length:
Width:
Weight:
280mA
2.1mm Barrel Connector
1.5”
2”
3.5”
4.5”
12.5oz
www.empresseffects.com
 Loading...