

Page 1
EEMMPPIIRREE FFEEEEDDNNEECCKK
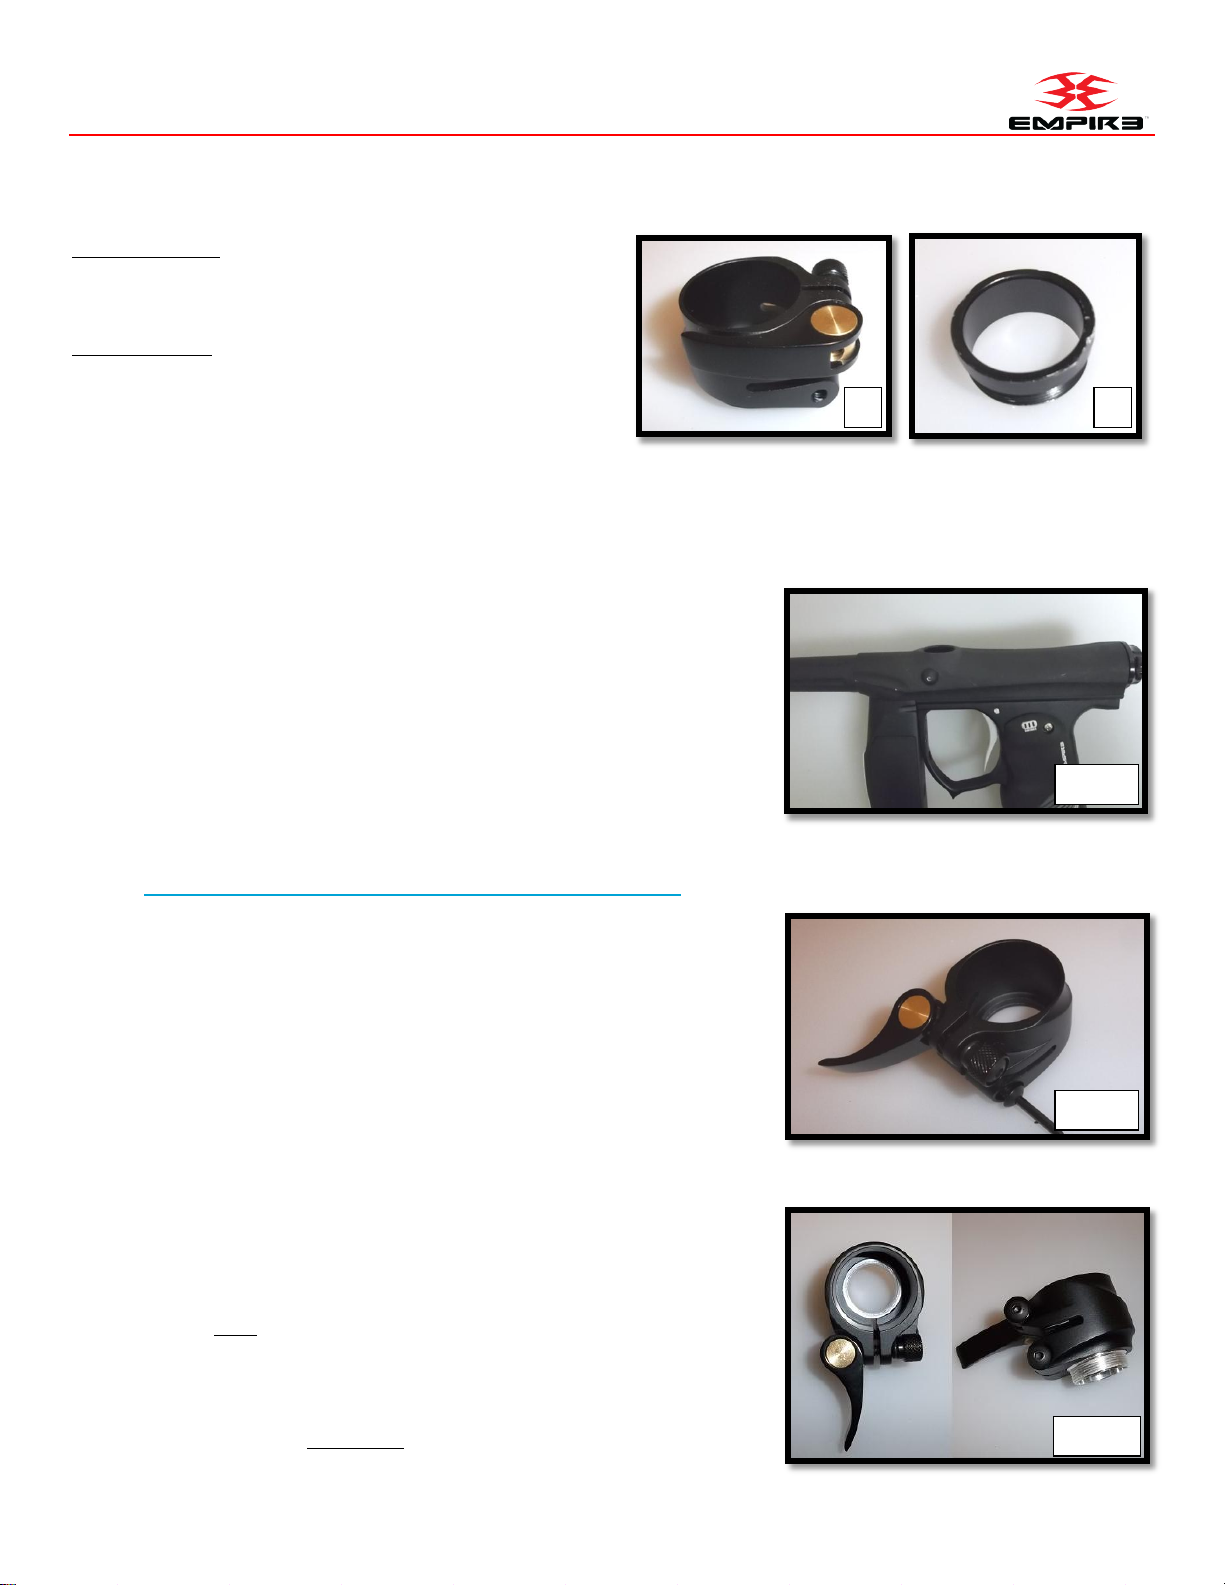
Fig. B
Fig. C
1
2
Fig A
SKU# 17637
Included Items:
1. Clamping Feedneck / Feedneck de serrage
2. Feedneck Adapter / Adaptateur de Feedneck
Required Tools
Hex Wrench 3/32” / Clé à six pans 3/32”
Thread-locking fluid / Freine filet
FEEDNECK INSTALLATION INSTRUCTIONS
1) The Empire Feedneck fits on markers with ICD threads, which includes the Empire Axe and Empire
Mini markers.
Le Feedneck Empire Feedneck s'adapte sur les marqueurs à filetage
ICD tels que l' Empire Axe et les marqueurs Empire Mini.
2) Remove the existing feedneck from your marker, using
caution to not damage the body threads. (Fig. A)
Retirez l'ancien feedneck de votre marqueur en prégnant soin de ne
pas endommager le filetage de la carcasse. (Fig. A)
a) This YouTube video shows an excellent method to remove the feedneck without destroying it.
http://www.youtube.com/watch?v=4Ga0oVq37PI
Cette video Youtube vous montre une excellente méthode pour
retirer votre feedneck sans endommager votre marqueur.
3) Using a 3/32” Hex wrench, completely loosen the screw at
the base of the feedneck and the screw within the lever
thumbscrew. (Fig. B)
A l'aide de la clé à six pans 3/32”, desserrez complètement la vis à la
base du feedneck et la vis située à l'intérieur de la vis de serrage de
levier. (Fig. B)
4) Place the adapter within the feedneck and position it so
that the lip of the adapter matches the inside lip of the
feedneck, and the threads out the bottom of the feedneck.
(Fig. C) Note- Adapter is silver colored for example only
Placez l'adaptateur à l'intérieur du feedneck et positionnez-le de façon
à ce que le rebord de l'adaptateur soit au même niveau que le rebord
interne du feedneck et que le filetage dépasse de la base du
feedneck. (Fig. C) Remarque - l'adaptateur n'est pas toujours de
couleur argent, comme ci-contre.
Page 2
EEMMPPIIRREE FFEEEEDDNNEECCKK
Fig. D
(continued)
5) Tighten the screws to secure the adapter to the feedneck
Serrez les vis et assurez-vous que l'adaptateur est correctement fixé sur le feedneck
6) Put a few drops of Thread Locking Fluid onto the threads of the adapter. High Strength (Red) is
recommended.
Versez quelques gouttes de freine filet sur le filetage de l'adaptateur. Il est recommandé d'utilisé du freine filet haute
résistance (rouge).
7) Thread the Feedneck + Adapter into the body of the marker
until snug. DO NOT OVERTIGHTEN (Fig. D)
Faites coulisser le feedneck et l'adaptateur dans la carcasse du
marqueur jusqu'à ce que l'ajustement soit parfait. NE SERREZ PAS TROP
(Fig. D)
8) Using a 3/32” Hex wrench, completely loosen the screw at
the base of the feedneck and the screw within the lever thumbscrew.
A l'aide de la clé à six pans 3/32” desserrez complètement la vis à la base du feedneck et la vis située à l'intérieur de
la vis de serrage de levier.
9) Once loose, rotate clockwise to position the Feedneck in the correct orientation with the body of
the marker.
Une fois desserrée, tournez dans le sens des aiguilles d'une montre afin de positionner le feedneck dans le
prolongement de la carcasse du marqueur.
10) With the Hex wrench, tighten the screws of the feedneck and installation is complete.
A l'aide de la clé six pans, serrez les vis du feedneck, l'installation est maintenant terminée.
 Loading...