

Emphasys IC8.5, IC6.7, IC6.5, IC6.0 Installer's Manual
EMPHASYS
IC8.5 IC6.7 IC6.5 IC6.0
Installer's Guide
In-Ceiling Speakers
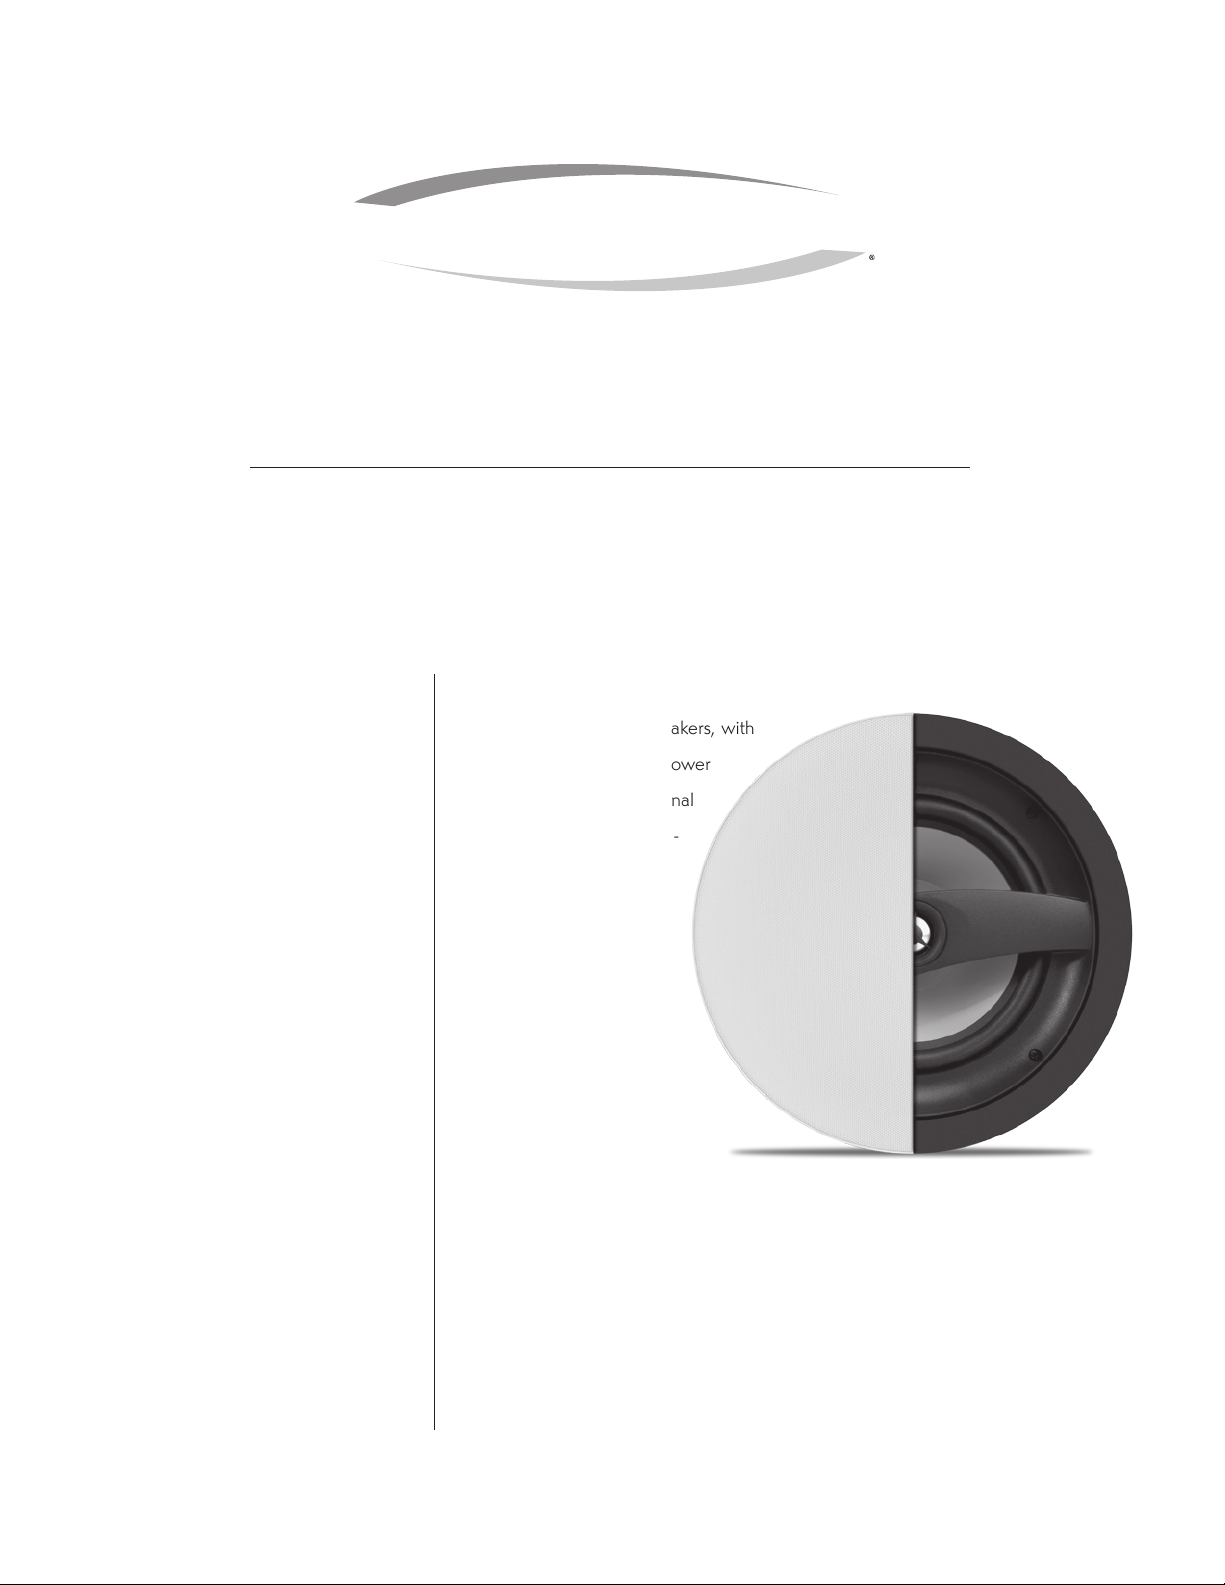
from EMPHASYS are designed to deliver
crisp, full-range sound for today’s home the-
ater and distributed audio environments,
where digital media places extreme demands
on a speaker’s capability. Accordingly, these
models are formulated for distortion-free
sound with the power handling needed for
movies, concerts, sports events and TV shows.
The IC8.5 and IC6.7, for example, combine
an aluminum cone woofer with a pivoting
aluminum dome tweeter for extended re-
sponse and high power handling. Moreover,
the IC6.7 and IC8.5 feature separate switch-
es for bass and treble adjustment, making it
possible to tailor the speaker’s response to
room acoustics. The IC6.5 and IC6.0 offer
Positioning the Speakers
EMPHASYS In-Ceiling Speakers, with
their superior clarity and power
handling, provide exceptional
versatility for the home the-
ater environment. A single
speaker can be used for
the front center channel,
or a pair can be used for
left and right in the front
or rear of the system.
The In-Ceiling Speaker as a Center Channel
In-Ceiling Speakers are designed to blend seamlessly with other EMPHASYS speakers
and accessories, and to fill the specific needs of any installation. However, if the speaker
the smooth sound of a polypropylene woofer
and soft dome tweeter. For any configura-
tion, large or small, there’s an EMPHASYS
In-Ceiling model that works beautifully.
is to be used for the center channel, it should be placed directly above the TV.
Additionally, the performance of the overall system will be enhanced if the center
channel speaker is aligned as closely as possible to the horizontal plane of the front left
and right speakers.

Speaker Adjustments
Creating a Zone for Optimized Listening
The In-Ceiling Speakers should be placed so that they project, as
much as possible, toward the listening position. This will ensure
an accurate stereo image and help minimize the creation of
excessive sound reflections.
If the speakers are to be mounted in a very high ceiling, the
pivoting tweeters (not in IC6.0) should be aimed directly toward
the listening position. (See Diagram 1)
In other cases it might be preferable to aim the tweeters slightly
outward, away from the listening position.
CAUTION: The tweeter dome, whether aluminum or silk, can be
damaged through direct contact with fingers or objects. Please be
careful when installing and adjusting the speaker.
Preparing the Surface for Mounting
Precautions for Installation
Careful consideration should be given to the possible presence of
electrical conduits, piping, HVAC duct work and other elements in
the ceiling before the In-Ceiling Speakers are installed. If there is
any doubt regarding the most acceptable locations for the speakers, please consult EMPHASYS Technical Support or the dealer.
New Construction: Unfinished Ceiling
A new construction bracket, available from your dealer, can be
installed prior to drywall application across joists (up to 24" oncenter) where a speaker will be located. After the hole is cut and
the drywall is installed, the speakers can be easily installed following the instructions for mounting in “Finished Ceiling” below.
Note: If the speakers are to be mounted more than 24" on-center, a
special “extra-long wing” is available from your dealer.
Diagram 1:
Tweeter
Push Tweeter Here
3. Mark the hole. A template for setting the hole is provided in
the box. Position the template in the desired position and outline
it on the ceiling using a pencil.
4. Cut the hole. CAUTION: This is the most important part of the
installation.
tions in the desired mounting area, use a drywall saw to cut a
small hole at the center of the spot you’ve outlined. Cut at a 45°
angle toward the inside of the hole (see Diagram 2).
If you aren’t certain whether there are any obstruc-
Diagram 2:
Ceiling Cutout
Finished Ceiling
Prior to the actual installation of the speakers, it will be necessary
to run speaker wire to the locations in which they’ll be mounted.
See your dealer for more information. Then, with the wire in
place, the speakers can be mounted. To ensure a professionallooking result, follow the simple steps described below:
1. Choose the general location for the installation of each speaker, being certain that these areas present no obstructions such as
electrical conduit, HVAC duct work or water lines.
2. Find the joists nearest the desired location for the speaker.
EMPHASYS recommends the use of a good stud finder for this
procedure. If you are lining up the speakers to some other object
or molding in the room, be sure to allow for the size of the baffle,
which extends beyond the mounting hole on all four sides of the
In-Ceiling Speaker.
You can use the cutout piece to fill the hole again if obstructions
are found. Once the mounting location is deemed to be free of
obstructions, cut the outline at a 90° angle relative to the surface
of the ceiling.
5. If the area in the ceiling isn’t already insulated, add insulation
material sufficient to fill the cavity. If the insulation material used is
faced with foil or paper, position the foil or paper away from the
speaker.
CAUTION: Speaker components can get hot while playing music at
moderate to high volume levels. There should be nothing at all touching the speaker. Material in proximity to the back of the speaker must
have at a minimum 1” or 26mm clearance for non-flammable materials
and more for flammable materials like plastic vapor barriers.
2
 Loading...