

E-MOTO VeloCity 2.0, VeloCity 2.5 Assembly Manual
ELECTRIC
BICYCLE
Assembly Guide
www.emotoev.com
VeloCity 2.0 and 2.5
with Headlights

Getting Started...
Set out the carton paying attention to the “This Side Up” markings on the box.
Next, open both the inner and outer cartons. With the box open you should
remove the seat and any other loose accessories laying on top of the bike. With
the loose parts removed, lift the bike out of the carton and rest it on the oor.
Check the bottom of the box for any other remaining accessories. Accessories
included in the box are:
Battery Charger•
Seat•
Fenders•
Owners Manual•
Tool Kit•
Headlight•
Lock Chain•
Warranty Registration Card •
If anything is missing from the carton contact e-Moto immediately at 888-443-6686
for a replacement.
Remove the Packing...
With the bike sitting on the ground, begin to carefully remove the packing
material on the bike-- and separate the parts bound to the bike with wire ties.
When removing the packing material use diagonal wire cutters instead of a knife
to prevent scratching of the frame.
Tool List
#1 and #2 Phillips Screwdriver•
Metric Combination Wrenches, Size M8, M10, and •
M15
Metric Hex (Allen) Wrench, Size M4, M5, M6•
Diagonal Wire Cutters•
Utility Knife•
Note: Your e-Moto bicycle comes with a tool kit that contains most every tool
needed for assembly. Even though these tools are included, mechanics tools make
for an easier assembly and should be used if available.

Remove the protective plastic cap from the end of the handle bar
assembly, and insert the two pieces at the end of the stem into the headset
bearing as shown above. There is a maximum installed height etched into the
stem- pick a height within the allowed range and tighten the jam nut using your
M6 hex wrench. Install the Seat.
If you do not have a bicycle assembly stand, at this point you can turn
the bike upside down so that it rests on the seat and handlebar. If you do have
a stand, mount the bike now.
Installing the Handlebar
Installing the Fender
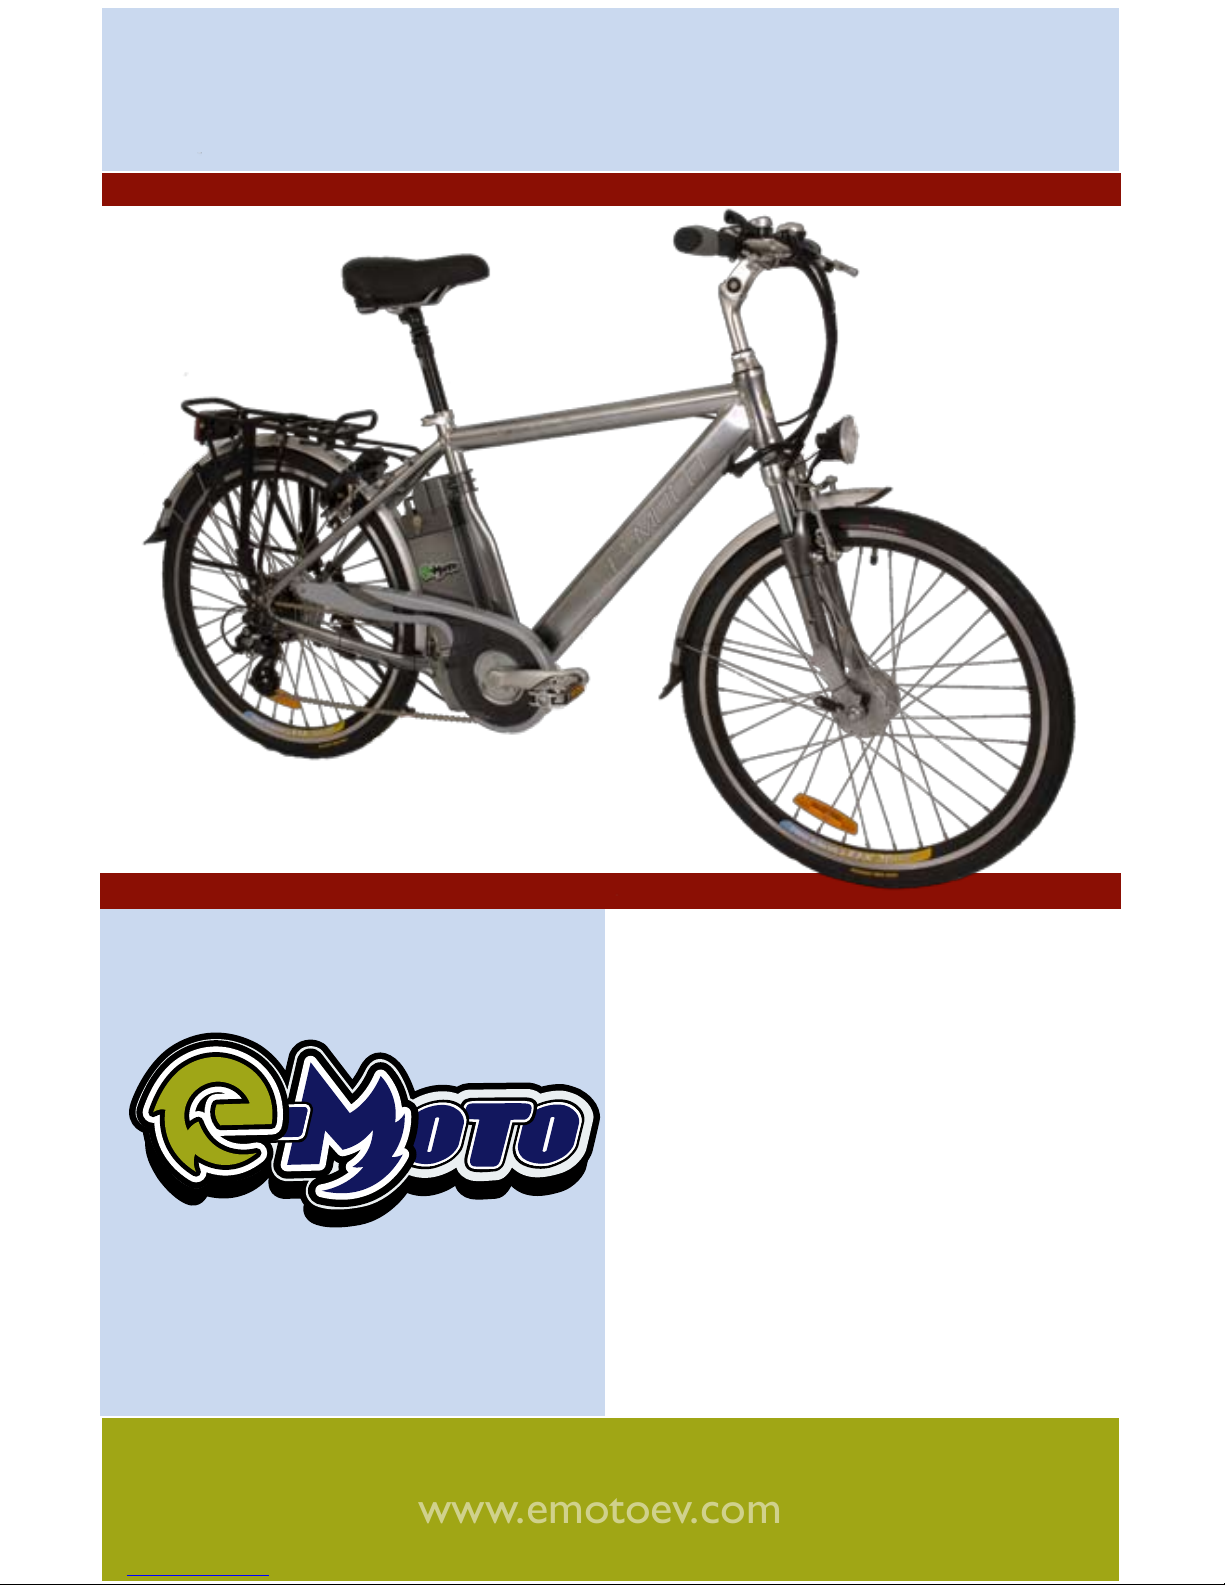
Remove the bolt and lock nut from the horseshoe bracket on the front forks
using 2 M10 wrenches. Find and remove the packing from both the Front
Fender and Headlight assembly.
Mount the headlight on the removed bolt so that it rests on the front side of
the bracket, then mount the fender to the back side of the bracket. Tighten.
Installing the Fender
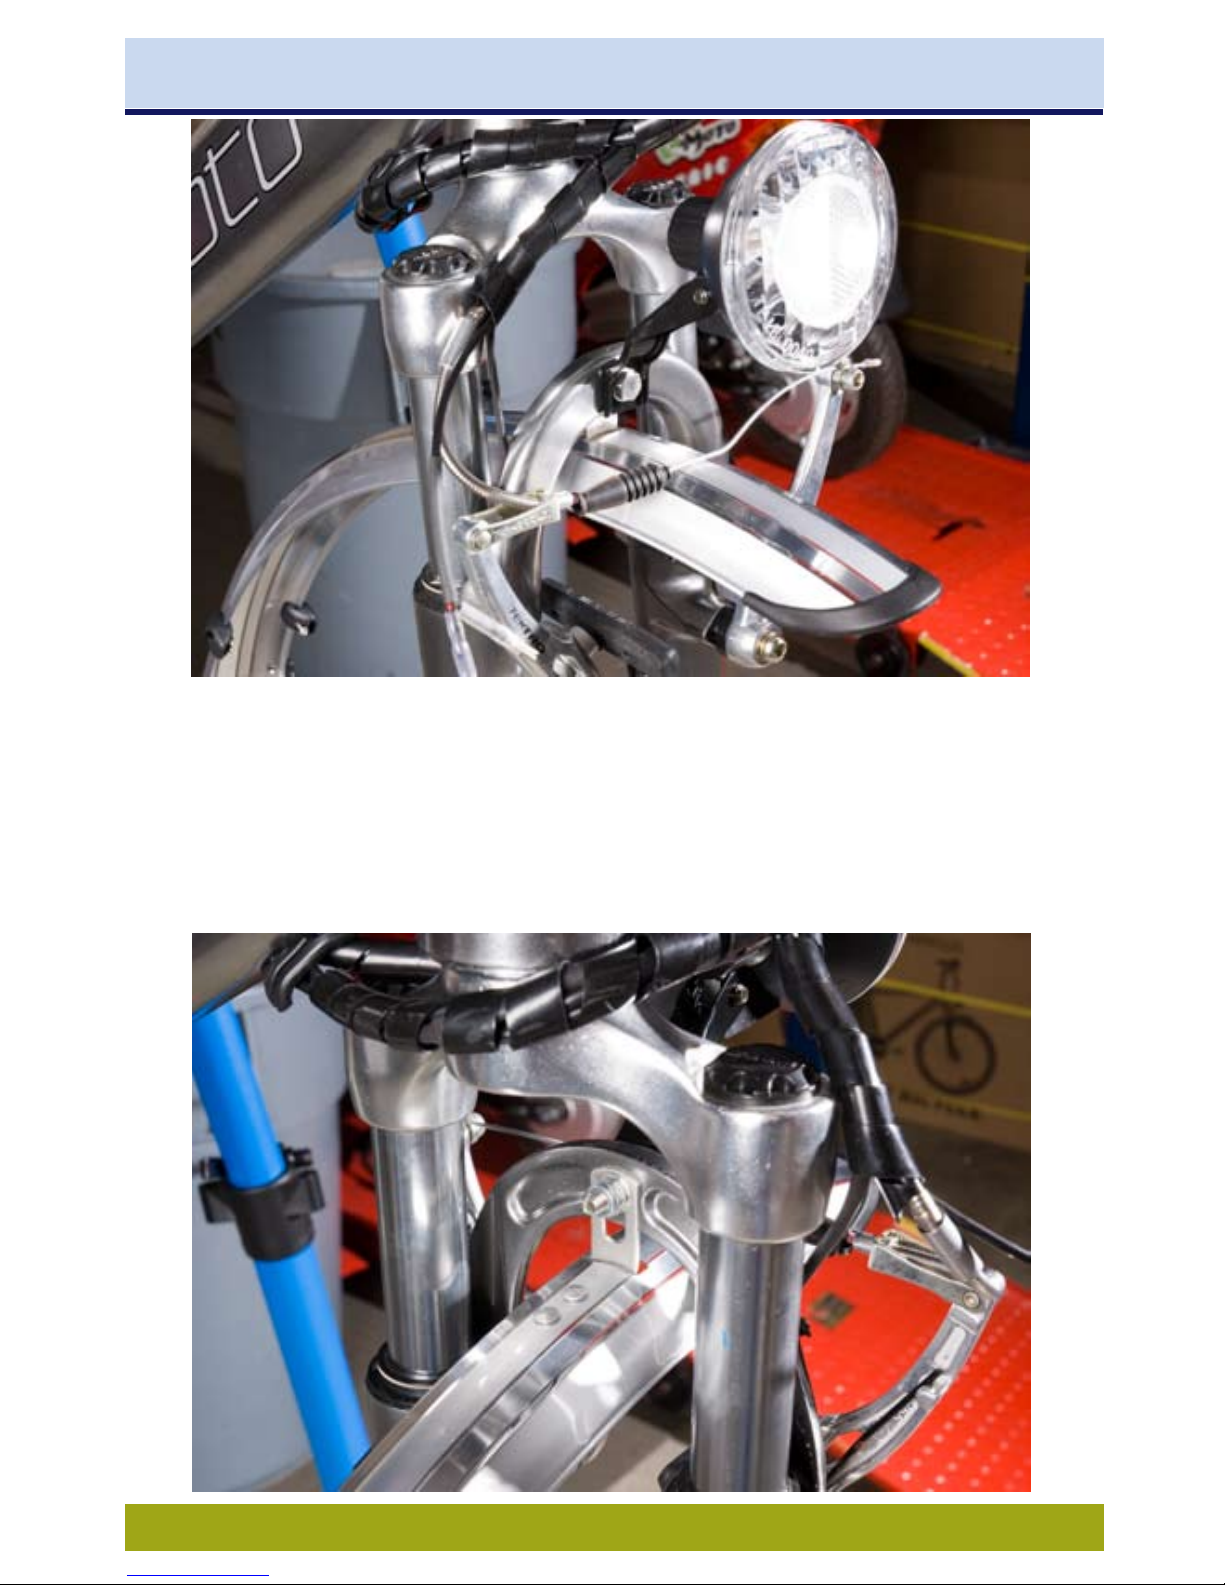
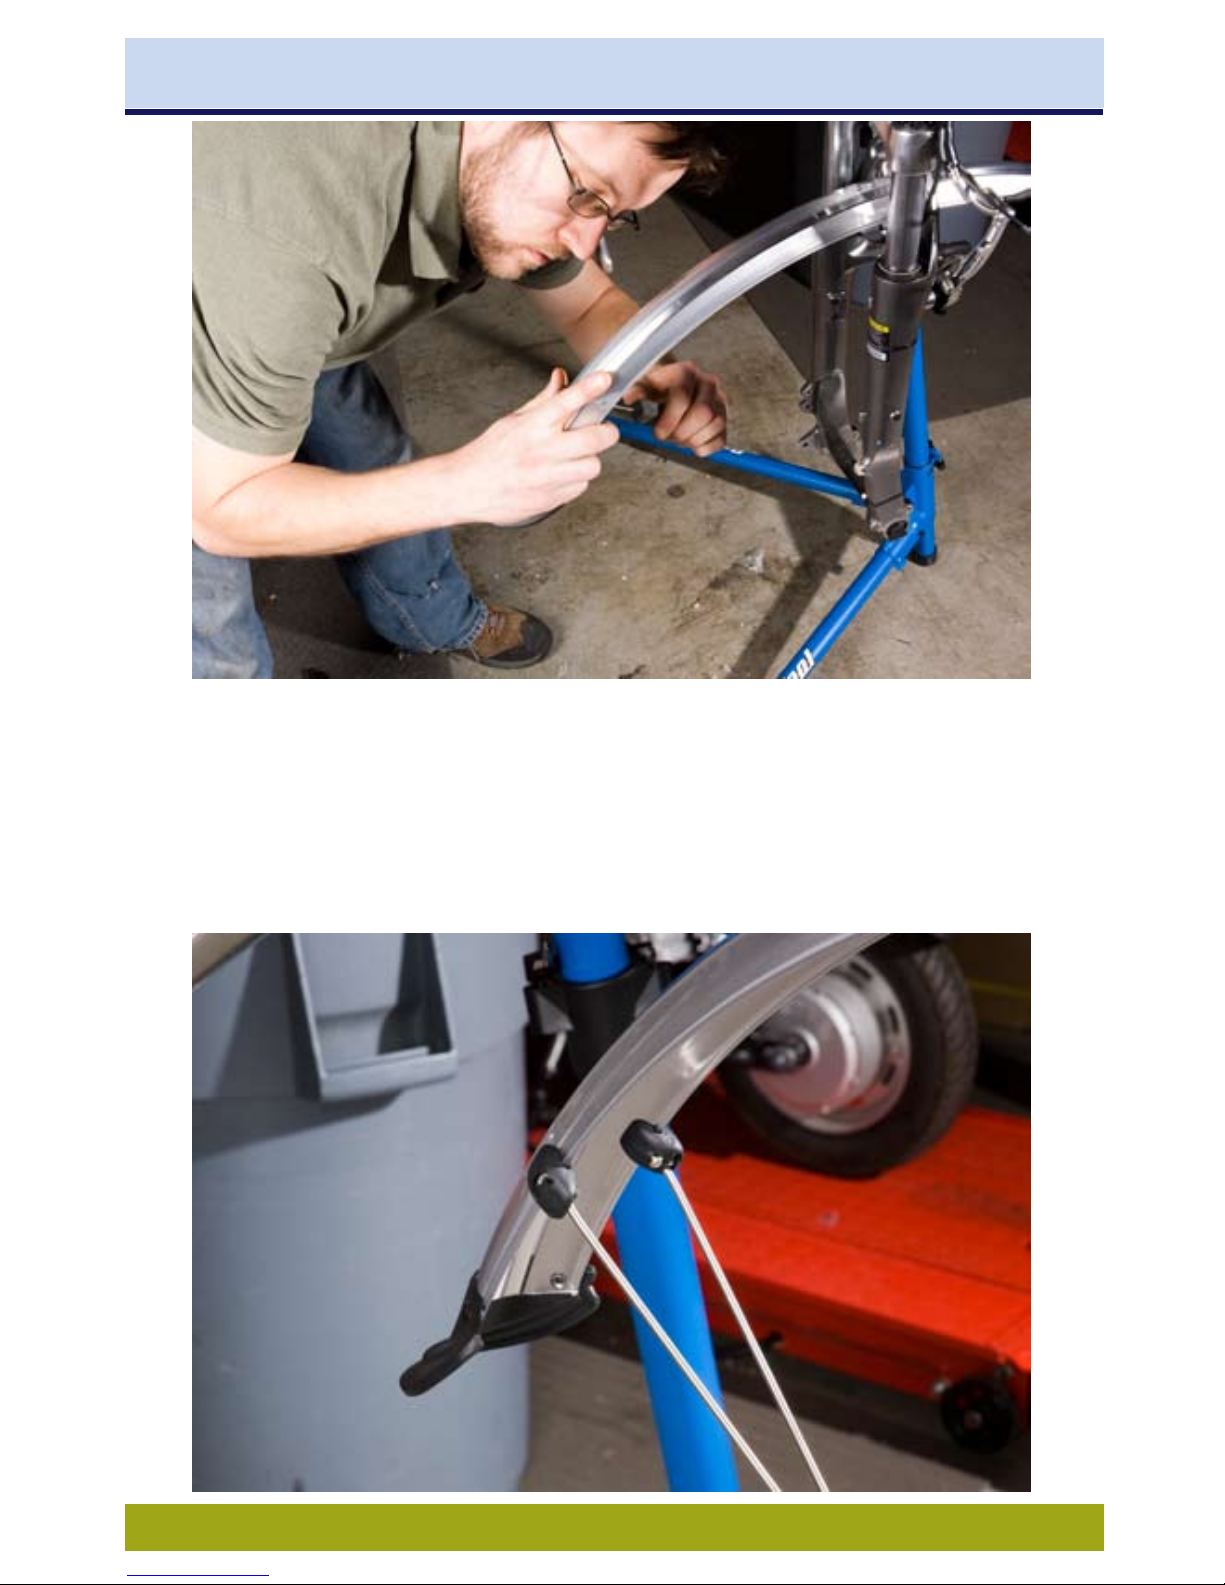
Next, using a #2 screwdriver, loosen the screws in the black plastic mounts
for the fender stays. With the screws loosened, push the bare metal ends of
the stays into the mounts, then retighten the screws. The mounts should be
parallel, and as close to the end of the fender as possible.
 Loading...