

EMGA coffee queen 320.504 series Service Manual
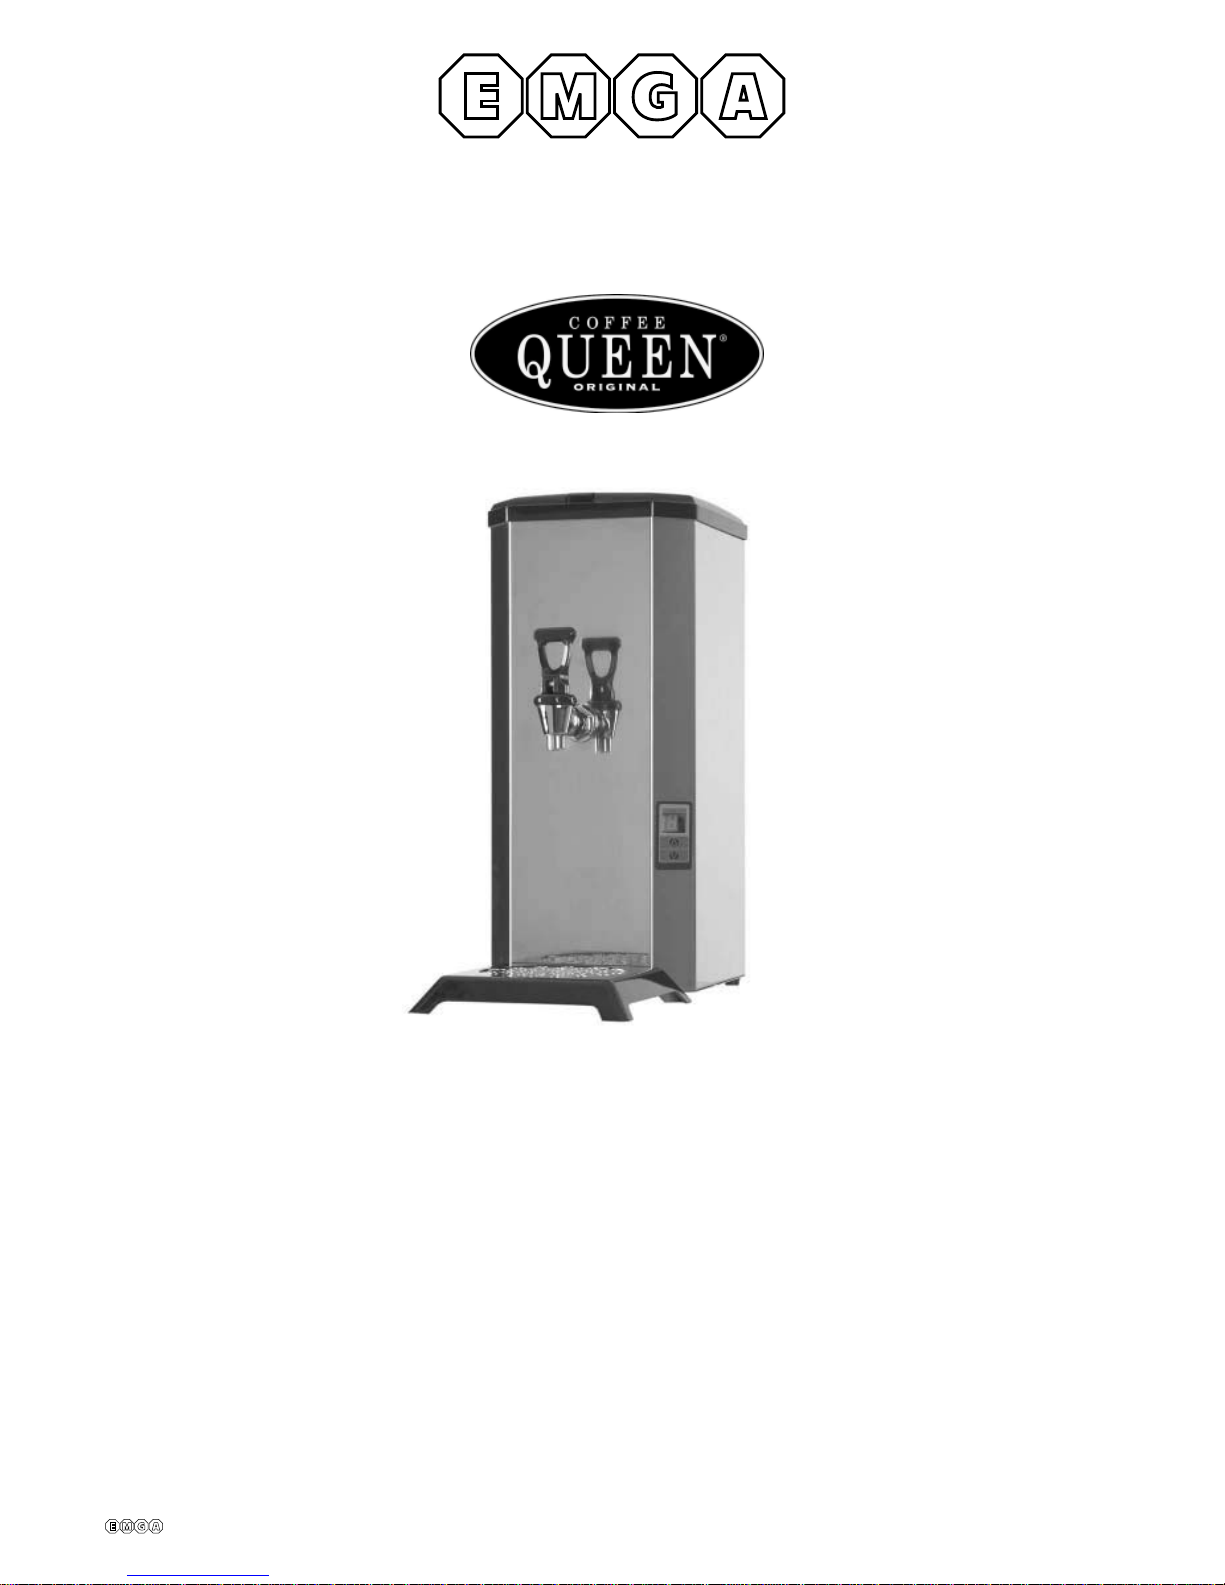
COFFEE QUEEN
Servicemanual
*320.
320504 en ma 2012 07

320504 en ma 2012 07 2/15
Contents.
Contents 2
Introduction 3
Functional description 4
Installation and starting 5-6
Programming: Calibration 7
Fault indications 8
Important 9
Care 10
Programming: Automat – Manual 11
Exploded view, HVA 12
Exploded view, Tank complete 13
List of spare parts. 14
Sketch of dimensions 15

320504 en ma 2012 07 3/15
Introduction.
HVA/HVM Hot water automat
Congratulations on choosing an HV A/HVM hot water automat.
Read through the instructions before you use the machine.
- This manual contains important instructions for correct and safe usage of the hot water
automat.
- Always keep the manual in a handy place.
Coffee Queen AB is certified according to ISO 9001 and ISO 14001 standards
and therefore has a minimum impact on the environment.
HVA/HVM Hot water automat
- Digital display with temperature indication
- Electronic temperature control
- Manufactured in bright stainless sheet metal.
Facts
mm 005thgieH
mm 522htdiW
mm 014htpeD
T ank capacity 7.5 litres
Electrical connection 230 V / 2200 W
3-phase electrical connection 380 V / 8000 W
Cold water connection ½” external thread
81:yticapaC litres/hour
Capacity: 3 phase 67 litres/hour
320504 en ma 2012 07 4/15
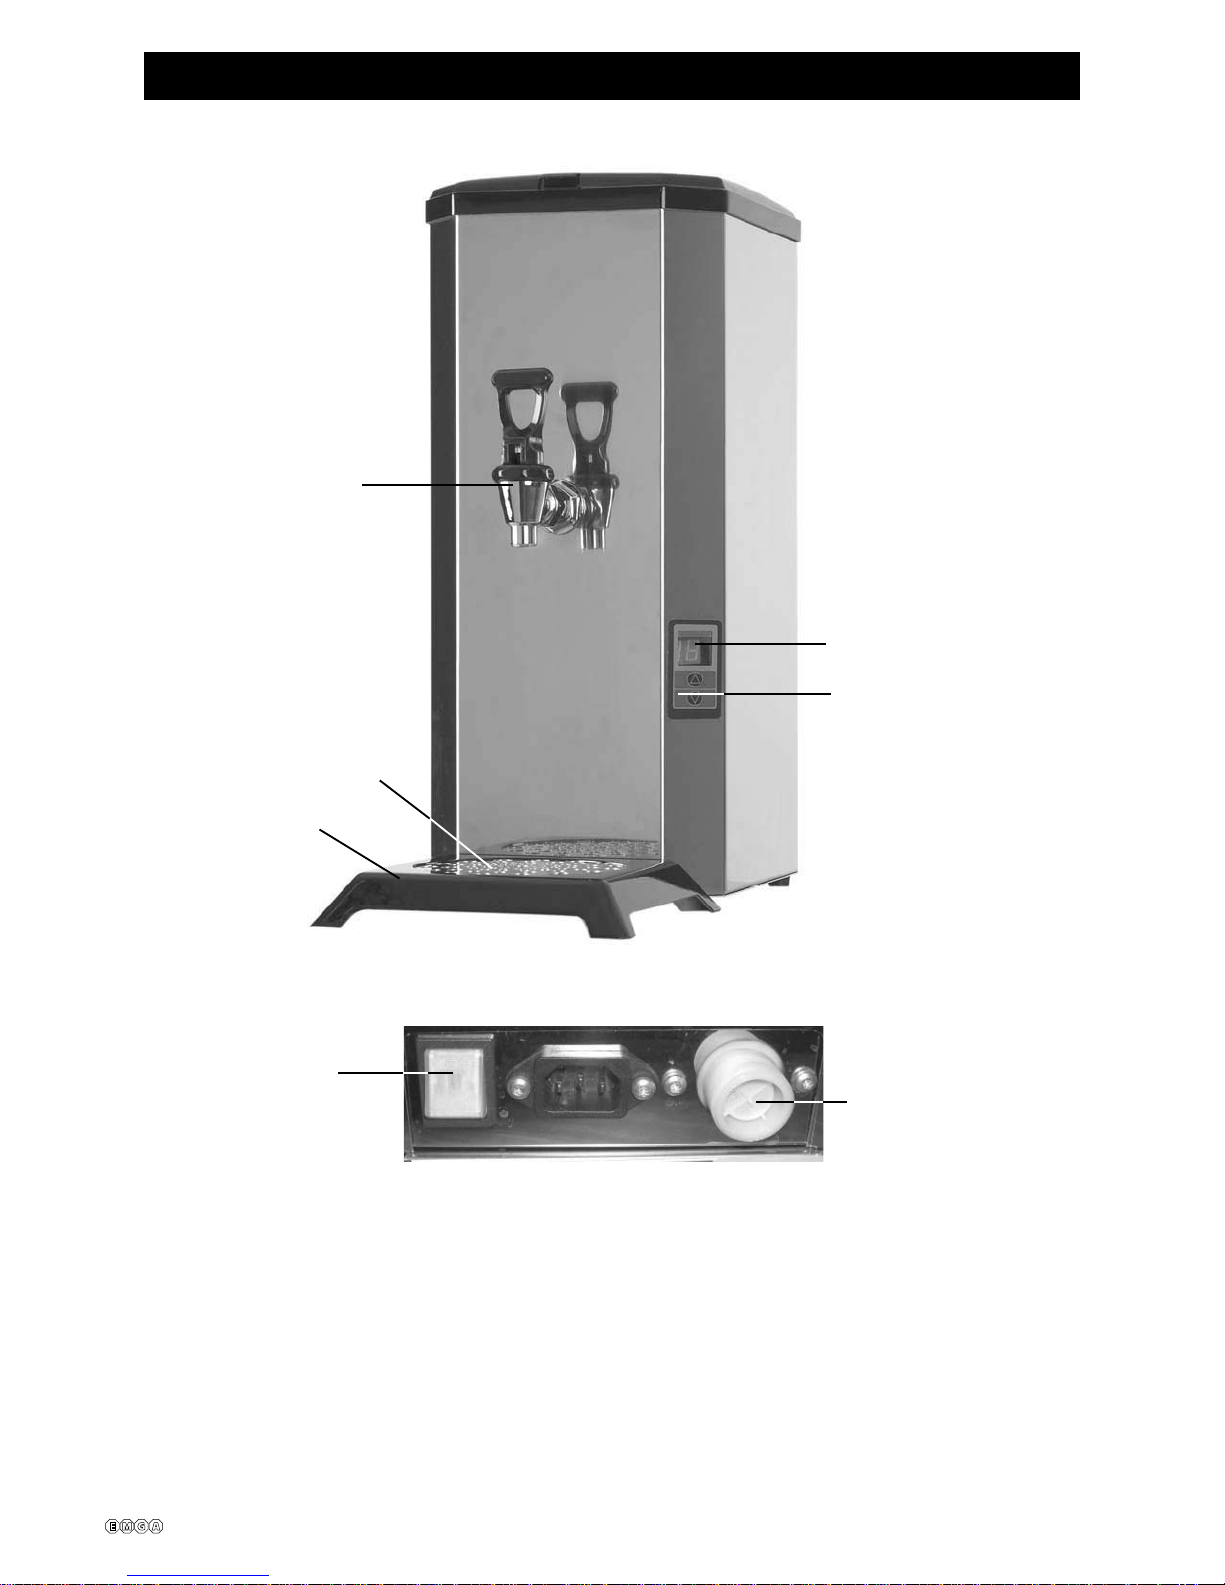
Functional description.
Hot water tap
Display
Electronic temperature
control
Drip tray insert
Functional description
The hot water automat comprises a tank which holds 7.5 litres.
The water level is regulated by a level guard that switches and opens a solenoid
valve.
The water temperature is regulated by a thermostat and an element.
Hot water automat connected to the water supply .
Drip tray
ON/OFFswitch
Connection for
filling with water

320504 en ma 2012 07 5/15
Installation and starting.
1.3. Insert the power plug in a separately-earthed wall
socket. 230 V, 10 A.
1.1. Place the machine on a level and watertight
surface.
1.4. Switch on using the switch that is located at the
back of the machine.
Check that the light comes on.
1.2. Connect to the Cold water supply using the hose
provided. The most appropriate connection is to
a tap that can be turned off.
The pressure shall be 14.5 – 72.5 PSI
(1 – 5 bar) for the automat to function
properly
Refer to Programming on page 1 1 when filling
the water manually .
 Loading...