

Page 1
CR519BE2
Visit our Web site at www.emersonradio.com
Page 2

THIS PAGE INTENTIONALLY LEFT BLANK
Page 3
Page 4
Page 5

1. The Handle
2. Refrigerator Door
3. Leveling Feet
Page 6

Thermostat Control Knob
1.
Chiller Compartment
2.
3. Drip Tray
4. Shelf
Refrigerator Compartment
5.
6. Crisper Drawer Cover
7. Crisper Drawer
8.
Bottle Storage
9.
Soda Can Storage
Door Gasket
10.
Page 7

NOTES: Temperature range of the chiller compartment is 30°F to 48°F at room temperature of 77°F
(25°C). Ice cream and Popsicles must be kept cool at -5°F to 0°F, hence this chiller compartment is not
suitable to store these types of items.
USING THE THERMOSTAT
The th ermos tat contr ol for th e refri gerat or and
chil ler is lo cated a t the upper right ha nd
c
orne r of the
The fi rst tim e you turn th e unit on , adjus t the
ther mosta t control knob to 3 an d give yo ur
refr igera tor time to cool dow n compl etely
efor e
b
ecom mende d.
r
Afte r it is fully cooled , test it a nd adju st
owar ds 1 to
t
c
ool mo re to bes t suit
t
he set ting of 3 s hould be
ome or o ff ice refrigerator use.
h
NOTE:
t
he
OFF po sition will stop t he cool ing cyc le.
chil ler com partment.
addi ng food ; a full 24 hours is
make l ess coo l or towards 6 to
Tur ning th e cont rol kno b to
your n eeds. H oweve r,
appr opria te for
thermos tat
DEFROSTING
Chiller compartment:
accu mulat ed exce ssive frost/ic e pleas e do the
foll owing :
1. Turn t he ther mostat knob to the O FF
p
osit ion and
2. Rem ove all f ood and ice cube tra y or
rans fer to
t
3. Pla ce towe l under compact re frige rator o r
m
ove
amag e can
d
4. Cle an and wi pe out the melted fr ost wit h a
c
loth .
leav e the chi ller do or open.
refr igera tor compartmen t.
refr igera tor outdoors whe re no wat er
occu r.
If the c hille r has
NOTE:
To avoid dam aging t he chil ler
c
ompa rtmen t
o
bjec ts to rem ove the
f
roze n food.
5
wall , do not us e any sharp
fros t or to sep arate the
Page 8

1
.
To avoid to you rself a nd/or property, we re comme nd some one ass ist you d uring the door
reve rsal pr ocess .
inju ry
NOTE:
To take the door off it is necessary to tilt the
Appliance backward. You should rest the
Appliance on something solid, e.g. a chair just
below the top panel.
DO NOT lay the Appliance completely flat as
this may damage the coolant system.
• Ensure the Appliance is unplugged and empty.
• Adjust the two leveling feet to their highest
position.
• We recommend you have someone to assist
you.
• 8mm socket screw driver
• Phillips style screw driver
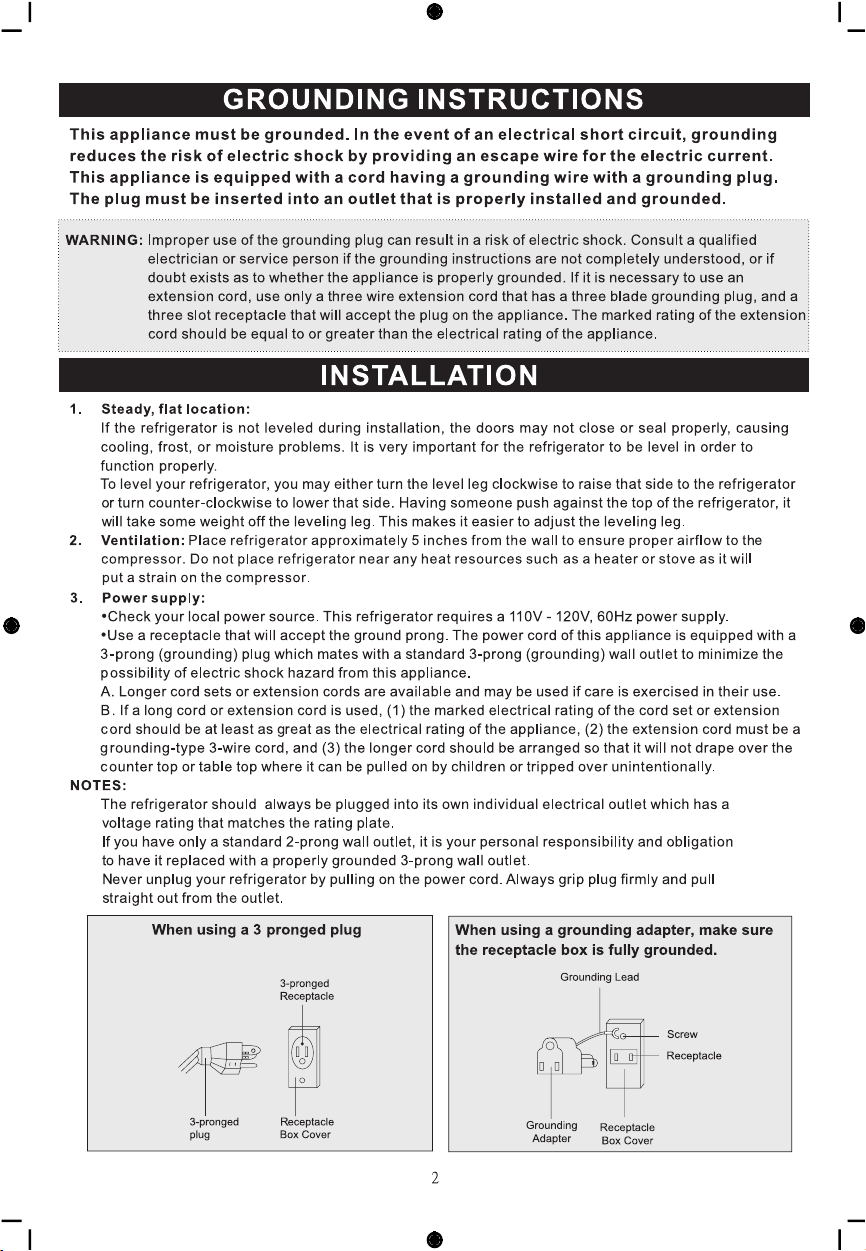
1. Upper Hinge Bracket
2. Adjustable Leveling Foot
3. Machine Screw
4. Bottom Hinge Bracket
5. Level Foot
Remove the upper hinge cover, then unscrew the upper screws of metal hinge bracket and take off
the hinge. Then take off the left side screw cover. Pull the appliance door upward to take it off.
At the same time, remove the mounting screws next to left leveling foot .
Remove left leveling foot and the bottom hinge bracket by unscrewing the mounting screws.
REVERSING THE DOOR POSITION
2
Page 9
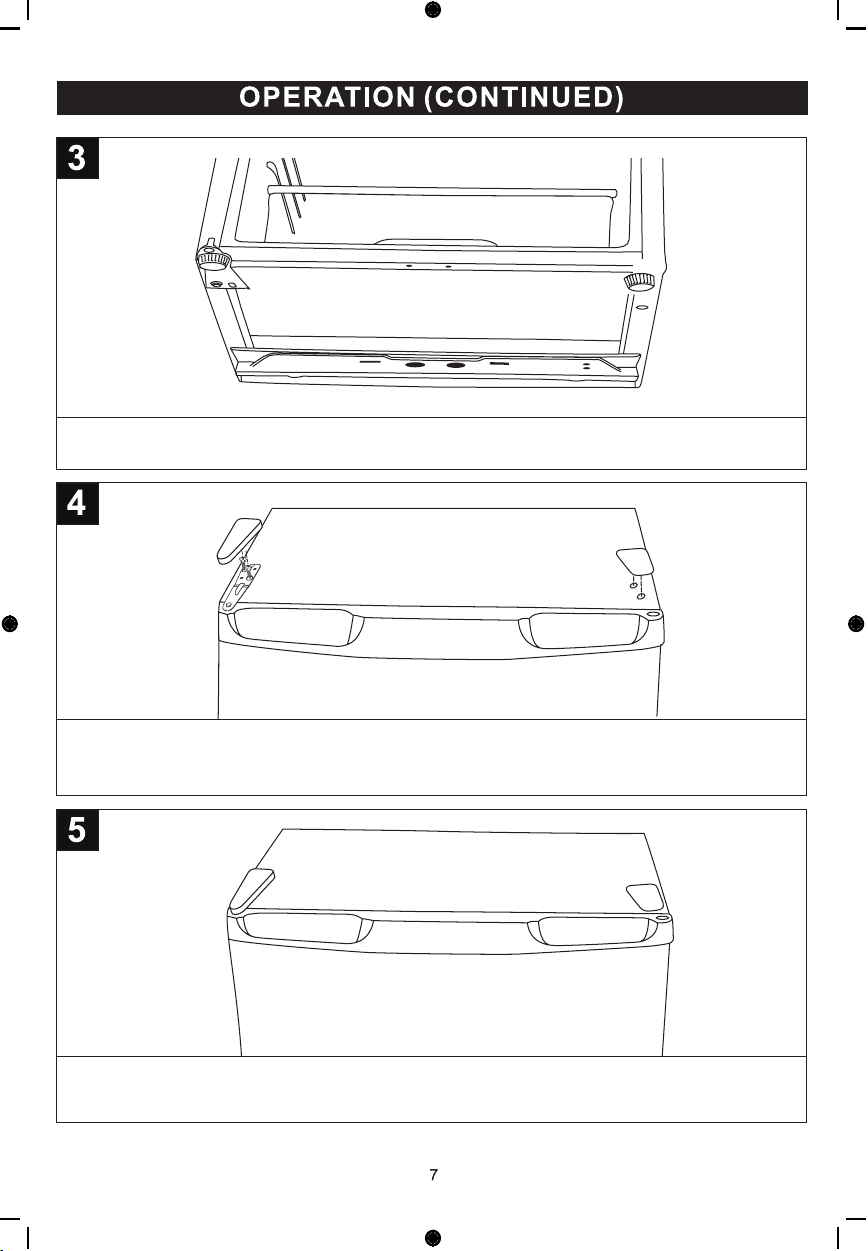
3
BOTTOM VIEW
Install the leveling foot and the bottom hinge bracket on the new bottom side. Then tighten the
screws of the bottom hinge bracket.
Slot in the appliance door into the bottom hinge pin. Replace the upper hinge bracket on the new
side and check the fitting between the door/ hinge moving smoothly. Then tighten the screws of
upper hinge bracket. Replace the hinge cover and the right side screw cover.
4
Check that the door is aligned horizontally and vertically and that the seals are closed on all
sides before finally tightening the upper hinge. Re-adjust the leveling feet.
Page 10

0.8A
226 kwh
Page 11
Page 12

CR519BE2-20140222-01
 Loading...