

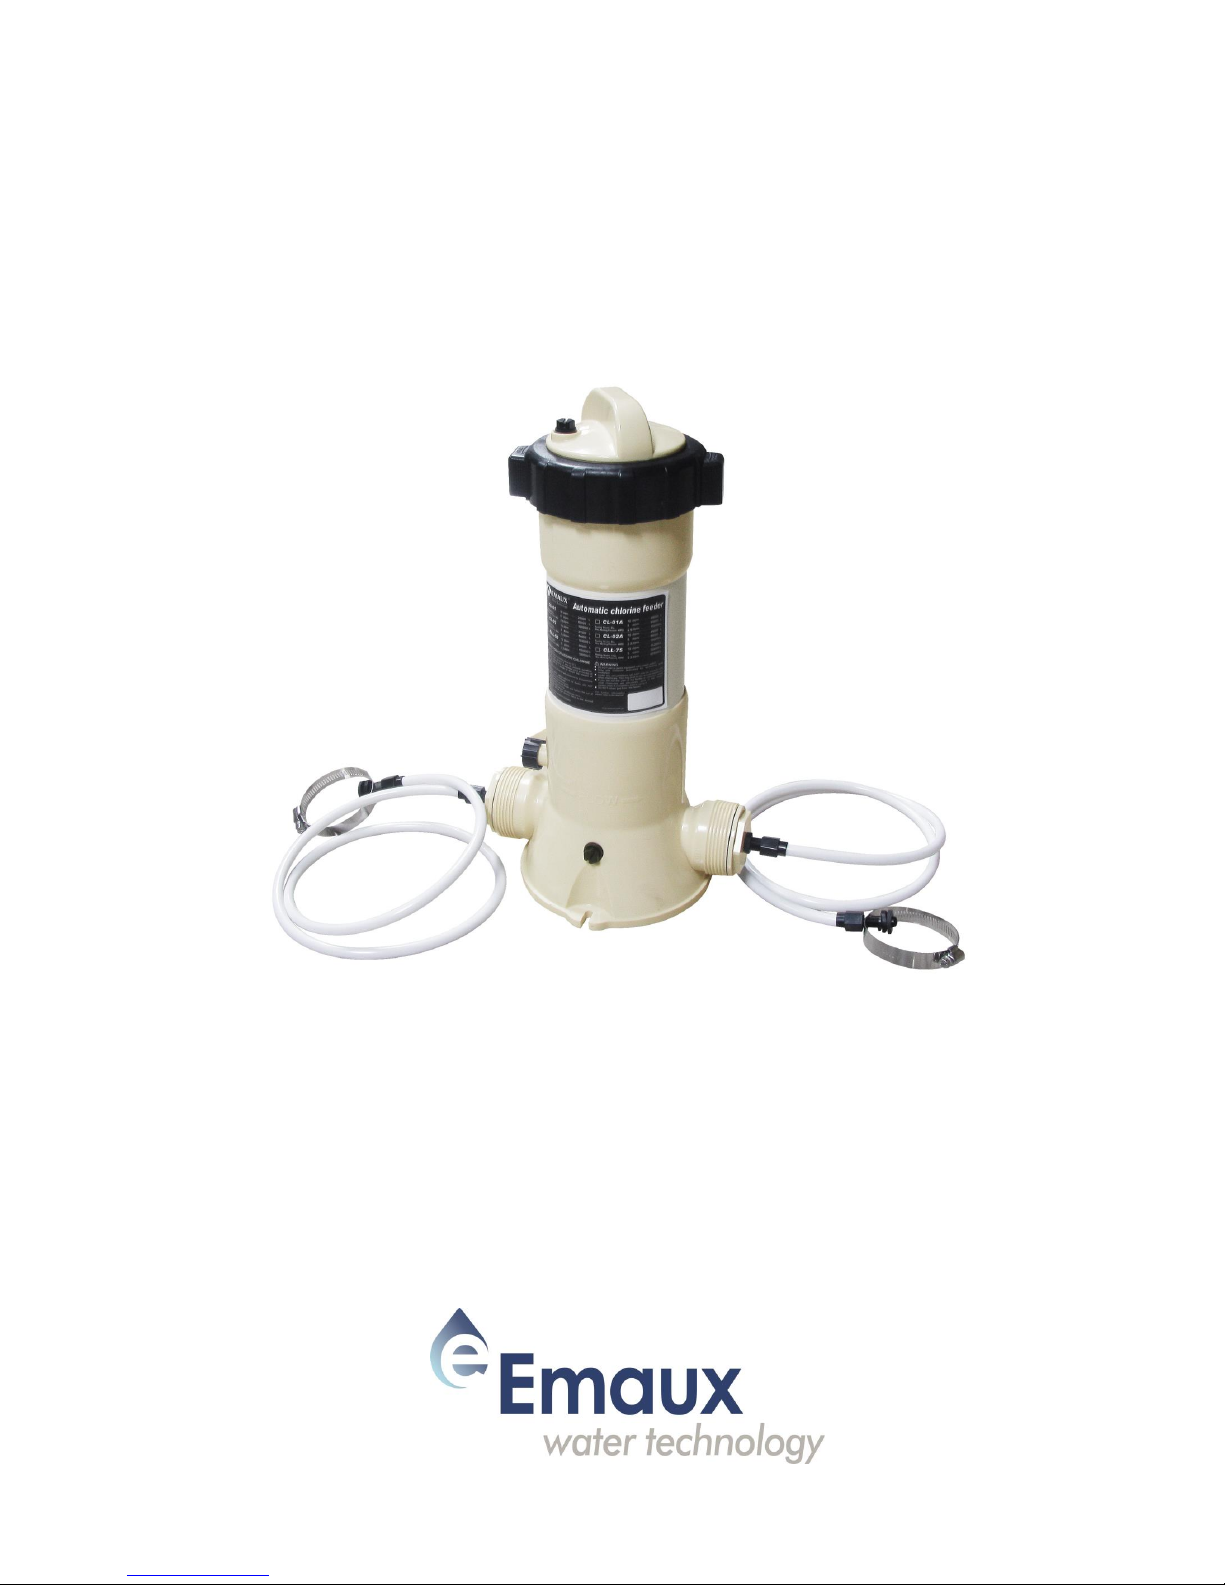
Chemical feeder
CL-01A
User Quick Guide

Thank you for choosing this CL-01A chemical
feeder system.
On the next page, you will find the main
information about this equipment by taping
onto each section.
Let us invite you to learn more about our entire
range of products.
If you click on the Emaux logo below, a URL link
will take you to our website.
We hope you like it!
Dear client:
Go to Index

Index
1. Security warnings
2. Facility scheme
3. Installation guide
4. Operating instructions
5. Maintenance
Go to Introduction

Before installing this product, read and
follow the following notes and
instructions:
• All the installation, operation and
maintenance procedures must be done
by a qualified professional, or by a
person who has been properly
instructed.
• Always use chlorine, bromine or oxygen
tablets and do not mix chemicals.
• Never open the lid of the equipment
when the system is running. To open the
feeder, follow the instructions in section
5.Maintenance
• After any maintenance, verify that the
system is not leaking.
• For cleaning, use the appropriate safety
equipment and refer to the chemical's
instructions on how to handle and
dispose these products.
1. Security warnings
Go to Index

1
2
3
4
5
6
7
2. Facility scheme
1. Pump
2. Filter
3. Ozone injection
4. UV system
5.Chemical feeder
6.Check valve
7.Heat pump
Go to Index
Go to Installation guide

For a correct installation, follow the recommendations
listed below:
3. Installation guide
• Follow the arrangement shown in 2.Facility
scheme
• Once you have located the dispenser, make
sure that the length of the hoses allows to reach
the facility pipes.
• Drill a 10mm hole in the filter outlet pipe. Remove
burrs and debris.
• Next, present the gasket and place the saddle
clamp with the adaptor, as shown in the
following figure:
Go to Index
• Tighten the whole assembly and make sure you
have connected the flexible hose to the saddle
fitting adaptor.
• Repeat the same procedure for the outlet pipe, as
indicated in 2.Facility scheme
• Once the two connections are fixed to the pipes,
connect the free ends of the hoses to the inlet (E)
and outlet (F) of the dispenser.

B
C
D
E
F
4. Operating instructions
Go to Index
• In both operation and maintenance sections ,
follow the indications mentioned in section
1. Security warnings.
• The equipment should be started once the
bromine level in the pool is between 1 and 3 ppm.
When using Emaux UV Nanotech Ozone these
levels can be reduced between 0.25 to1ppm.
• To open and load the equipment, follow the
instructions in section 5.Maintenance.
• Check that there are no leaks in the installation
before starting it up.
• To adjust the dosage level, adjust the valve (C)
located upon the equipment inlet (E).
• The adjustment of the dose varies according to
the conditions of use: water temperature, number
of bathers, solar radiation, among other factors.
A

Refilling pucks
• Stop and open the chemical as it’s said in the
chapter above.
• Refill the needed amount of chemical .
Go to Index
Stop and opening
• Let the system run for 15 min before stoping the
pump and closing the valve(C).
• Isolate hydraulically (water flow closed) the
chemical feeder in order to release pressure
and empty the system.
• Unthread the air bleeder (A) and carefully open
the lid (B) trying not to breath nor to get
splashed. Spot the inner O-ring(G) inside the
lid(B).
5. Maintenance
Closing
• Make sure that the O-ring (G) it’s well placed
before closing again the lid(B).
• Thread the lid (B) tightly and close as well the air
bleeder (A).
G
B

Gaskets replacement for the control valve
• Stop the equipment according to the detailed
instructions in the stop and opening section.
• Turn the valve (C) anticlockwise until you hear a
double click.
• Then you will be able to remove the valve (C)
with the two joints (H) incorporated.
• Change the gaskets (H) and insert the valve (C)
in the dispenser again.
• Turn the valve (C) clockwise until it can be
completely closed.
Go to Index
Winterization
• Follow the instructions as shown in the chapter
stop and opening.
• Empty all the chemical feeder and rinse it with
fresh water afterwards.
• Open the drain plug (D) so that the whole system
empties totally.
• Close the drain plug (D) and thread it again
without tighting the lid (B) completely.
C
H
D

 Loading...