

Page 1
USER MANUAL
EWT117
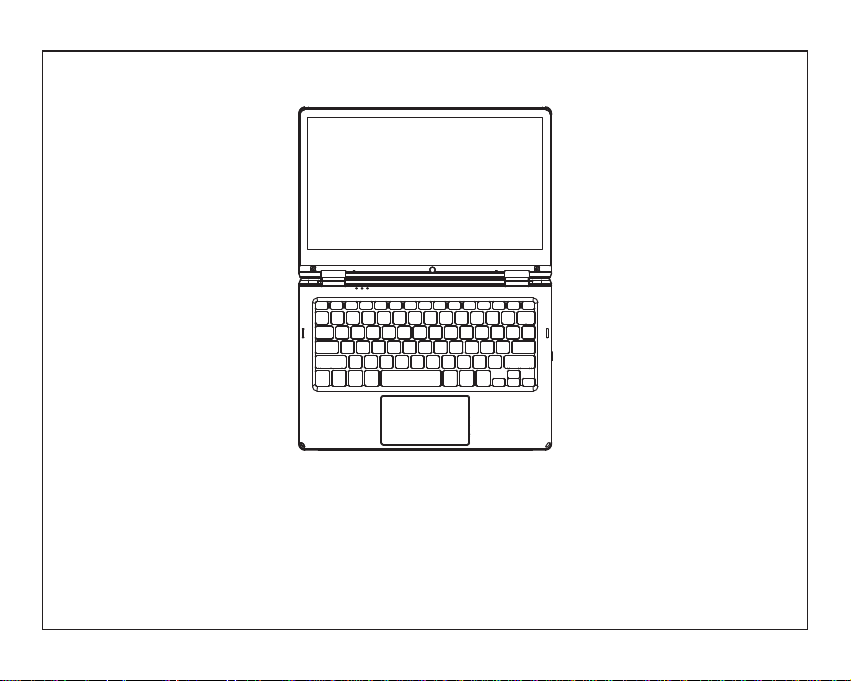
Thank you for your choosing the new device
This guide serves to enable users to get to know and familiar with our product as soon as possible.
Here we have made a brief introduction to the key layout and definitions in figures and words.
Page 2

Precautions before Use
1. This production is suitable for use in non-tropic areas below 2,000 meters.
2. Prevent the device from falling to the ground or being strongly impacted otherwise.
3. Do not use it in the long term in any environment where the air is too cold, too hot (<35℃),
too humid or with too much dust. Do not expose the Device to sunlight.
4. Avoid using it in the strong magnetic and strong static environment as much as possible.
5. Once any water or other liquid splashes onto the Device, close it immediately and do not use
it until it dries out.
6. Do not clean the Device with any detergent containing chemical element or other liquid to
avoid causing damage due to corrosion and becoming damp. If cleaning is really necessary,
clean it with dry soft cloth tissue paper.
7. Our company shall not bear any and all responsibilities for loss or deletion of material inside
the machine caused due to abnormal software and hardware operation, maintenance or any other accident.
8. Please back up your important material at any time to avoid loss.
9. Please do not disassemble the Device by yourself; otherwise you will lose the right to warranty.
1
Page 3
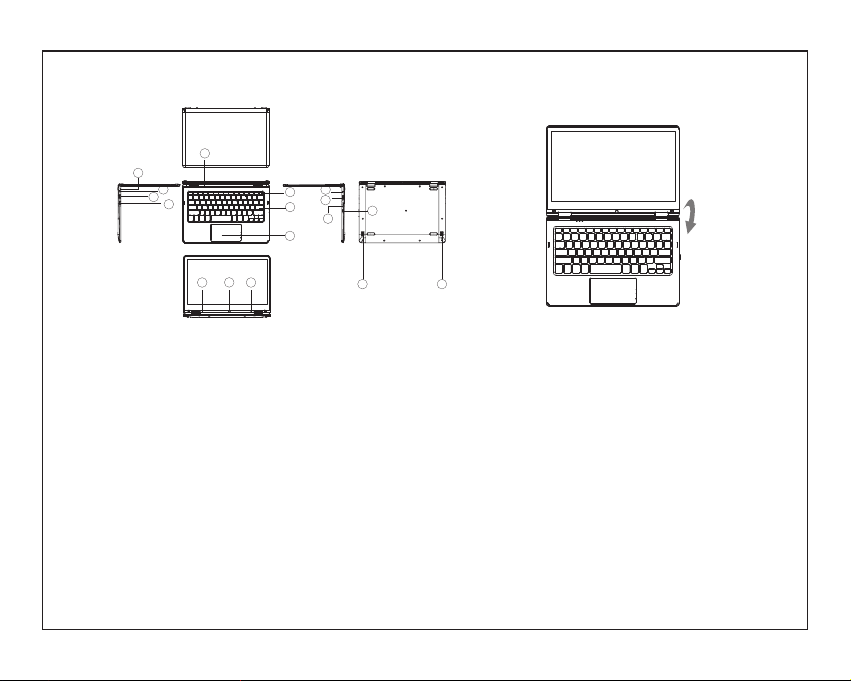
Unit at a Glance
7
1. Power button: Press it down to start or close the touch screen panel.
You can also let the computer to enter dormancy through this button or wake from the dormancy mode.
2. Front camera: take pictures, shoot video.
3. Touchpad: The device can be operated directly.
4. Keyboard board: the device can be operated directly.
5. Indicators: 1 is the green light when the Caps Lock indicator Caps Lock;
2 charging indicator, red when charging connector adapter;
3 work light, bright green when the machine starts to work.
6. Microphone: it can transmit audio signals to a device at work.
7. Charge indicator: red light when plug adapter
8. DC charging base: use the built-5V / 2.5A charger.
9. USB Interface: You can insert U disk, mouse, keyboard directly.
10. Mini-HDMI Interface: High-Definition Multimedia Interface.
11. Headphone jack: This jack device can transmit audio signals to the speakers or headphones.
12. USB Interface: You can insert U disk, mouse, keyboard directly.
13. Micro SD card slot: built-in memory card reader slot that supports Micro SD format.
14. Speakers: the built-in speaker lets you hear the sound of work without additional connected devices.
15. POWER key
5
8
9
10
6 6
2
12
1
11
4
3
13
14 14
15
2
360°
Page 4

Interface Introduction
Windows 10 start image: On the start screen, you can
see many programs fixed in the image. These
application programs are displayed in the form of
“magnet”. As long as you click them, you can easily visit
them. You need to log on your Microsoft account before
the application program completely runs.
Applications Introduction
In addition to already fixed on the start screen of the
application, you can open all applications in
the.homepage.
If you want to add multiple applications on the Start
screen, refer to the operation as shown below
(1)Right-click on the Properties icon
(2)Select fixed at the beginning of the page
3
Page 5

Conversely, if you want to cancel or delete sta rtup
screen a certain applica tion, (1) R ight-click (2),
and.then.select.th e.undoc ked.from.the.start .page.
Menu bar
Touch or U SB m ous e to c li ck wi th w ind ow s
home b ut ton a pp ea rs on t he m enu b ar
Expand the menu bar from the screen, usually: a file
manager, settings, power supply and all applications,
you can sleep / shutdown / restart the device
You can manage your files and applications in the
device.
You can set up your device.
You can choose more applications.
4
Page 6

Search menu
After Huna can login account can be set up after the
language or text dialogue, if not logged on account
only for text searches.
Multitasking operating
interface
Click the Desktop task view to operating a multi-
Devi ce m enu C li ck o n the n ot ifi ca ti on me nu
Basic Operations
Sleep, restart, power off
Short press the power button Hibernation
5
Page 7

Specifications
Pro ce ss or
Sto ra ge
Display
Wi- Fi Netwo rking IEE E 80 2. 11 b/ g/ n
Audio Out pu t 3.5mm h ea dp ho ne
USB Hos t
HDMI
Bluetoo th
Camera
Ope ra ti ng
Sys te m
Power
P Adapter (D C IN 5 V,2 .5 A)ower
Speaker s
INT EL C he rr y Tra il Z 83 50
RAM
ROM
11.6” TN LCD(1366*768)
1xUSB 3. 0, 1 xU SB 2. 0
MIN I HD MI x 1
4.0
0.3M
WIN DO WS 1 0
Recharg ea bl e Li -p ol y ba tt er y
2x1W sp ea ke rs
2G
32 GB
Power supply adaptor
Manufacturer: Shenzhen TEKA Technology Co., Ltd.
Model number: TEKA018-0502500UK
6
Page 8

FCC WARNING
This device complies with part 15 of the FCC Rules.
Operation is subject to the following two conditions: (1) this
device may not cause harmful interference, and (2) this
device must accept any interference received, including
interference that may cause undesired operation.
Any changes or modifications not expressly approved by the
party responsible for compliance
could void the user's authority to operate the equipment.
NOTE: This equipment has been tested and found to comply
with the limits for a Class B digital device, pursuant to Part
15 of the FCC Rules. These limits are designed to provide
reasonable protection against harmful interference in a
residential installation. This equipment generates, uses and
can radiate radio frequency energy and, if not installed and
used in accordance with the instructions, may cause harmful
interference to radio communications. However, there is no
guarantee that interference will not occur in a particular
installation.
If this equipment does cause harmful interference to radio or
television reception,
which can be determined by turning the equipment off and on, the
user is encouraged to try to correct the interference by one or more
of the following measures:
-- Reorient or relocate the receiving antenna.
-- Increase the separation between the equipment and receiver.
-- Connect the equipment into an outlet on a circuit different
from that to which the receiver is connected.
-- Consult the dealer or an experienced radio/TV technician for help.
The device has been evaluated to meet general RF exposure
requirement. The device can be used in portable exposure condition
without restriction
FCC ID: XHWEWT117
 Loading...