

Page 1

USERMANUAL
/ Join th e BLAZE Movement
www.blazethenight.com
Page 2
/Cautions & Warnings
/Cautions & Warnings
WARN ING: U se ca ution when usi ng yo ur Bl azeSp ark a s par t of your
acti ve lif esty le. Alway s be awar e of your sur roun dings to a void inju ry
to y ourse lf and oth ers.
Abide by all loca l la ws whe n usi ng yo ur Bl azeSp ark a nd re lated mou nts
and a ccess ories , inc ludin g all pri vacy laws , whi ch ma y res trict use and
reco rding in c erta in are as.
CAUTI ON: B lazeS park is n ot wa rrant ed ag ainst wat er da mage. Do not
subm erge in wa ter. Ta ke gr eat c are wh en us ing B laze Spark in w et
envi ronme nts.
Failu re to fo llowin g the se ca ution s cou ld re sult in d amage to
Blaze Spark and voi d the war rant y.
WARN ING: C ontai ns Li thium -ion b atte ry. Do not drop , disa ssemble ,
open, crus h, ben d, defo rm, pu ncture , shred , micr owave, inci nerate or
paint the camer a. Do not i nsert f oreign obje cts in to the camer a hous ing.
Do no t use t he cam era if it h as been dama ged—fo r exam ple, if crac ked,
punct ured o r harme d by w ater. Disas semblin g or p uncturi ng the batt ery
can c ause a n expl osion o r fire .
WARN ING: B lazeS park is n ot de signe d to be a cel l pho ne “P rotec tive
Case .” Dropp ing o r mish andli ng ma y dam age c ell phon e.
WARN ING: B e sur e tha t you r cel l pho ne’s d ata c onne ctor is c ompat ible
with Blaz eSpar k. Inse rting a c ell ph one w ith t he wr ong v ersio n of
Blaze Spark cou ld da mage both Bla zeSpa rk an d the cel l pho ne’s data
conn ector . Ch eck t he Bl azeSp ark p ackag ing t o mak e sur e you have th e
appr opria te ver sion for your ce ll pho ne.
Page 3
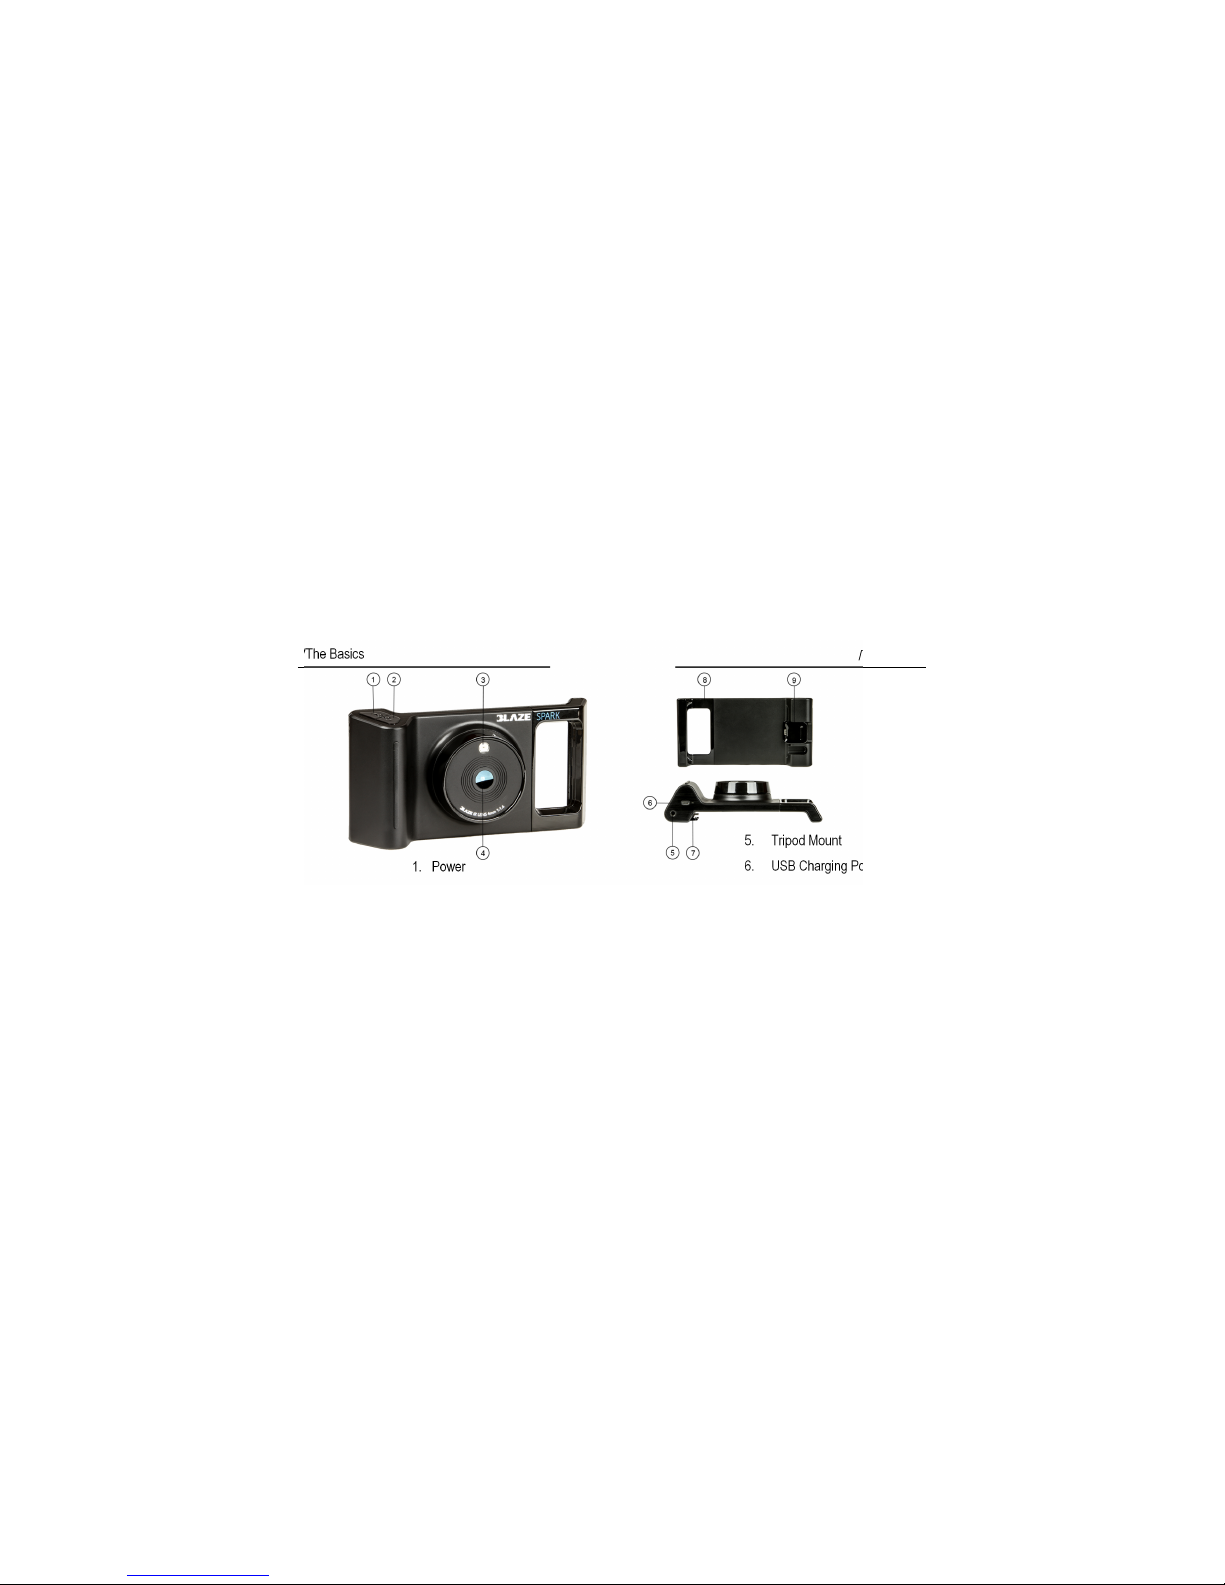
1. Power
2. IR Illuminator Power
3. IR Illuminator
4. Sensor Lens
/The Basics
/The Basics
5. Tripod Mount
6. USB Charging Port
7. Charge Indicator
8. Cell Phone Slider
9. Cell Phone Data Port
Page 4
/Getting Started
CHARGING THE BATTERY
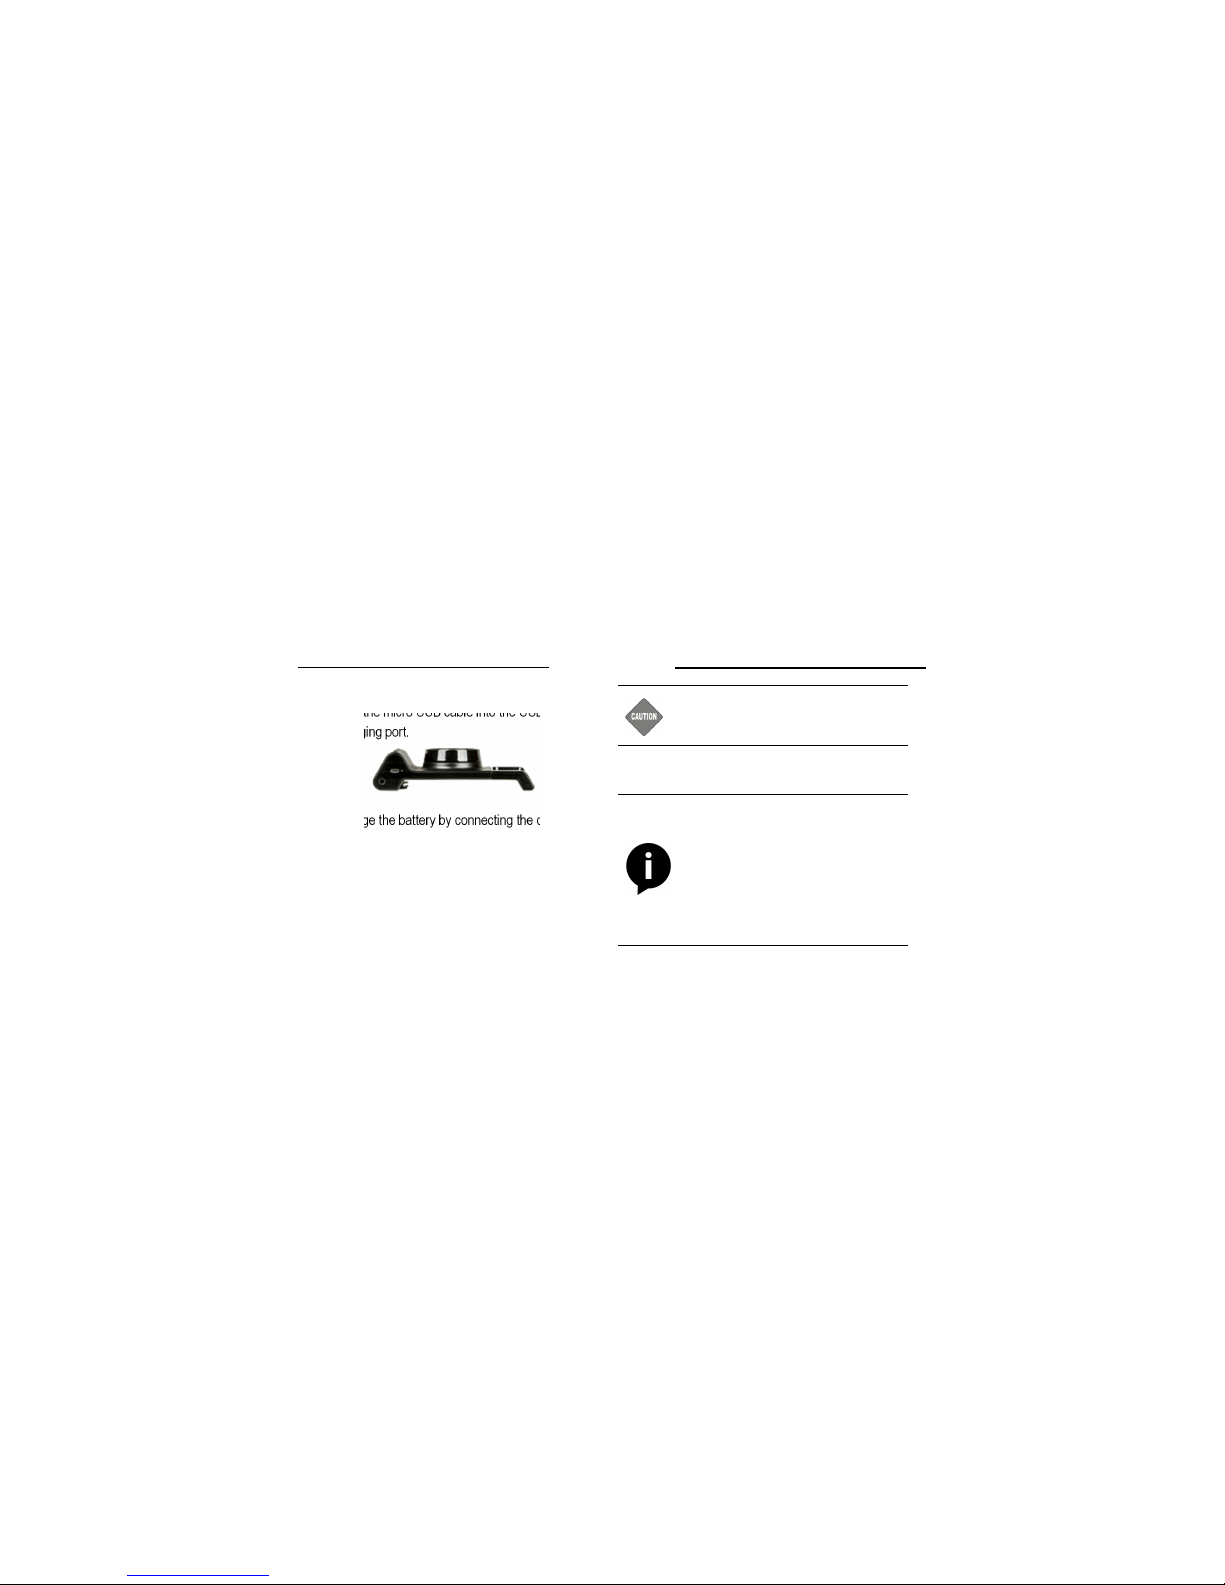
1. Plug the micro USB cable into the USB
charging port.
2. Charge the battery by connecting the camera
to a computer or other USB charging adapter
using the included USB cable. The Charge
Indicator will show the following:
- Solid Green: Charging
- Indicator off: Fully Charged
- Blinking Green: Faulty Battery
/ Get ting Starte d
When charging with a computer, be sure that the computer
is connected to a power source. If the camera charging
indicator does not turn on, use a different USB port.
The included lithium-ion battery comes partially charged. No
damage occurs to the camera or battery if used prior to a full
charge.
The camera does NOT take or supply power to the cell
phone.
CAUTI ON: C ontac t Bla zeSpa rk Cu stome r Sup port for Fault y Bat tery
indic ation
Page 5
/Getting Started
INSTALL PHONE APPLICATION
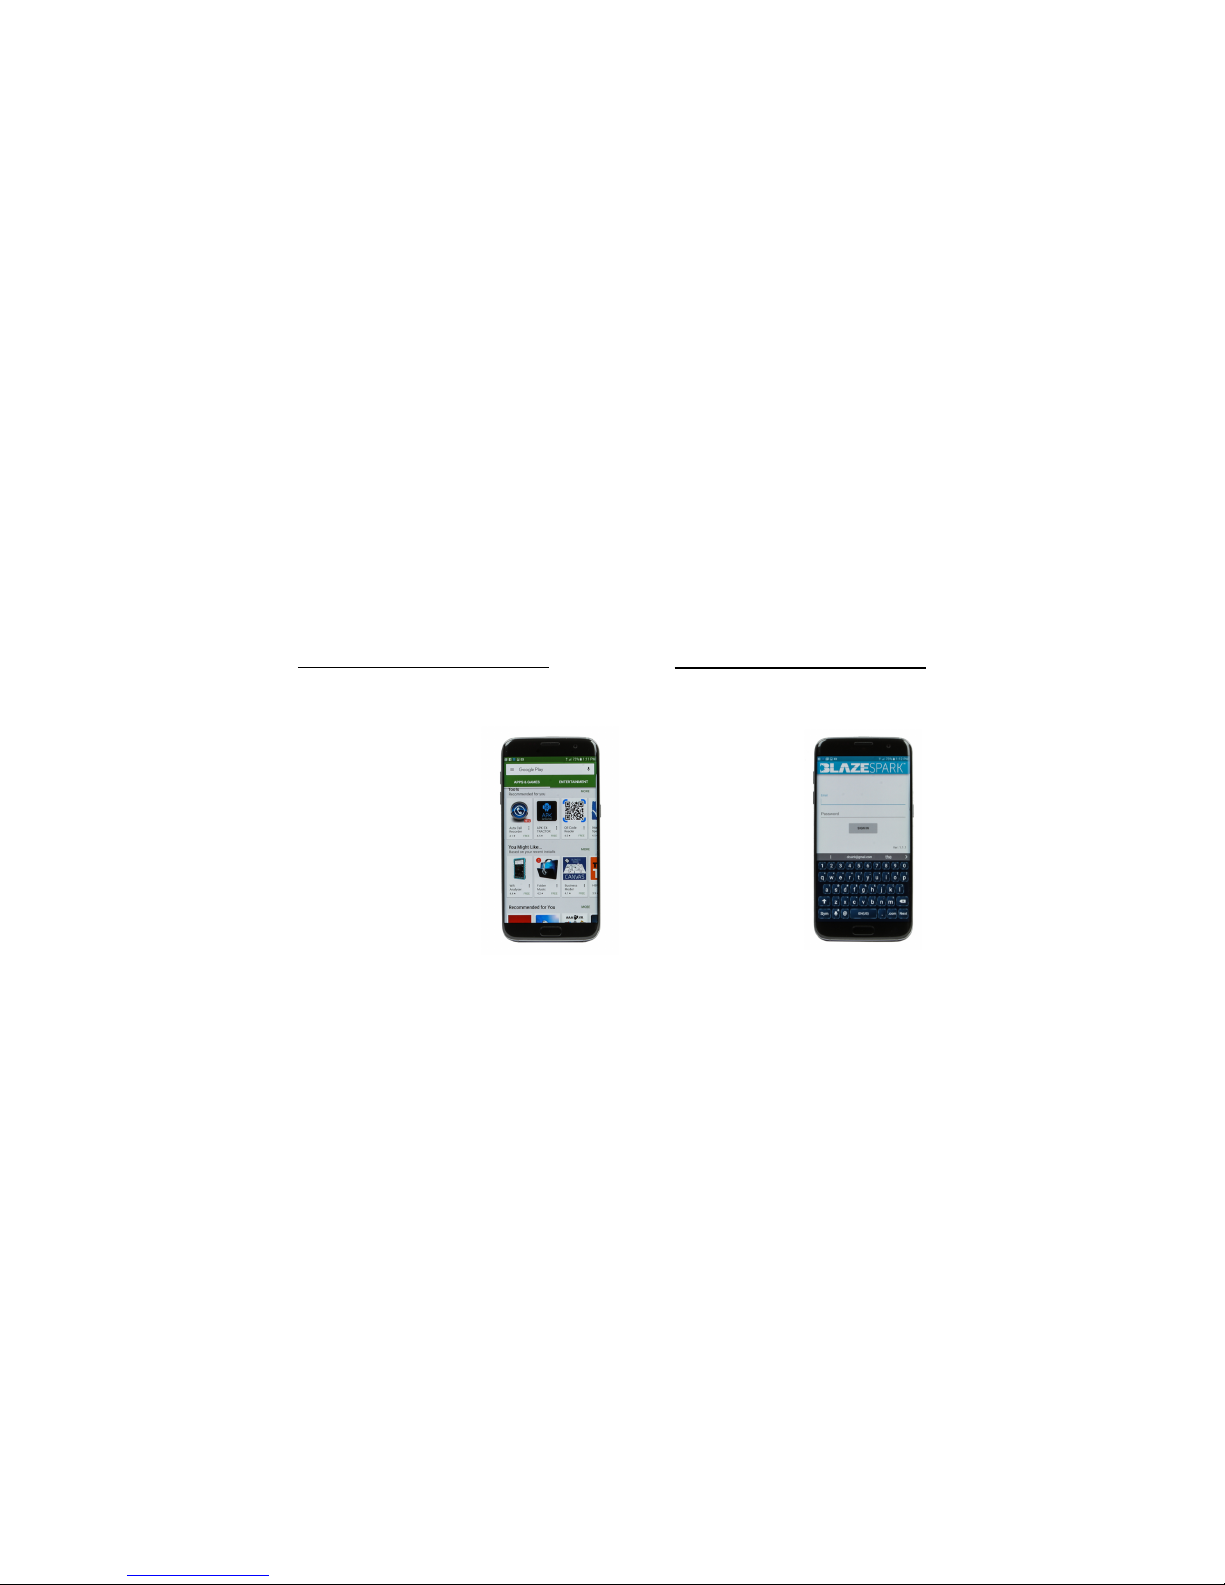
Download and install from this link:
play.google.com
INSTALL PHONE APPLICATION
Create your account:
Username & Password
NOTE:
If you have purchased multiple
BlazeSparks and intend to use
them simultaneously, you will need
to create a separate account for
each unit.
ABOUT THE APP
The BlazeSpark app is your gateway to
capturing and sharing all your night
adventures. Live broadcast
(streaming), chat, emojis, viewing other
night time adventures around the
world, and more.
/ Get ting Starte d
Page 6
/Getting Started
POWERING ON + OFF
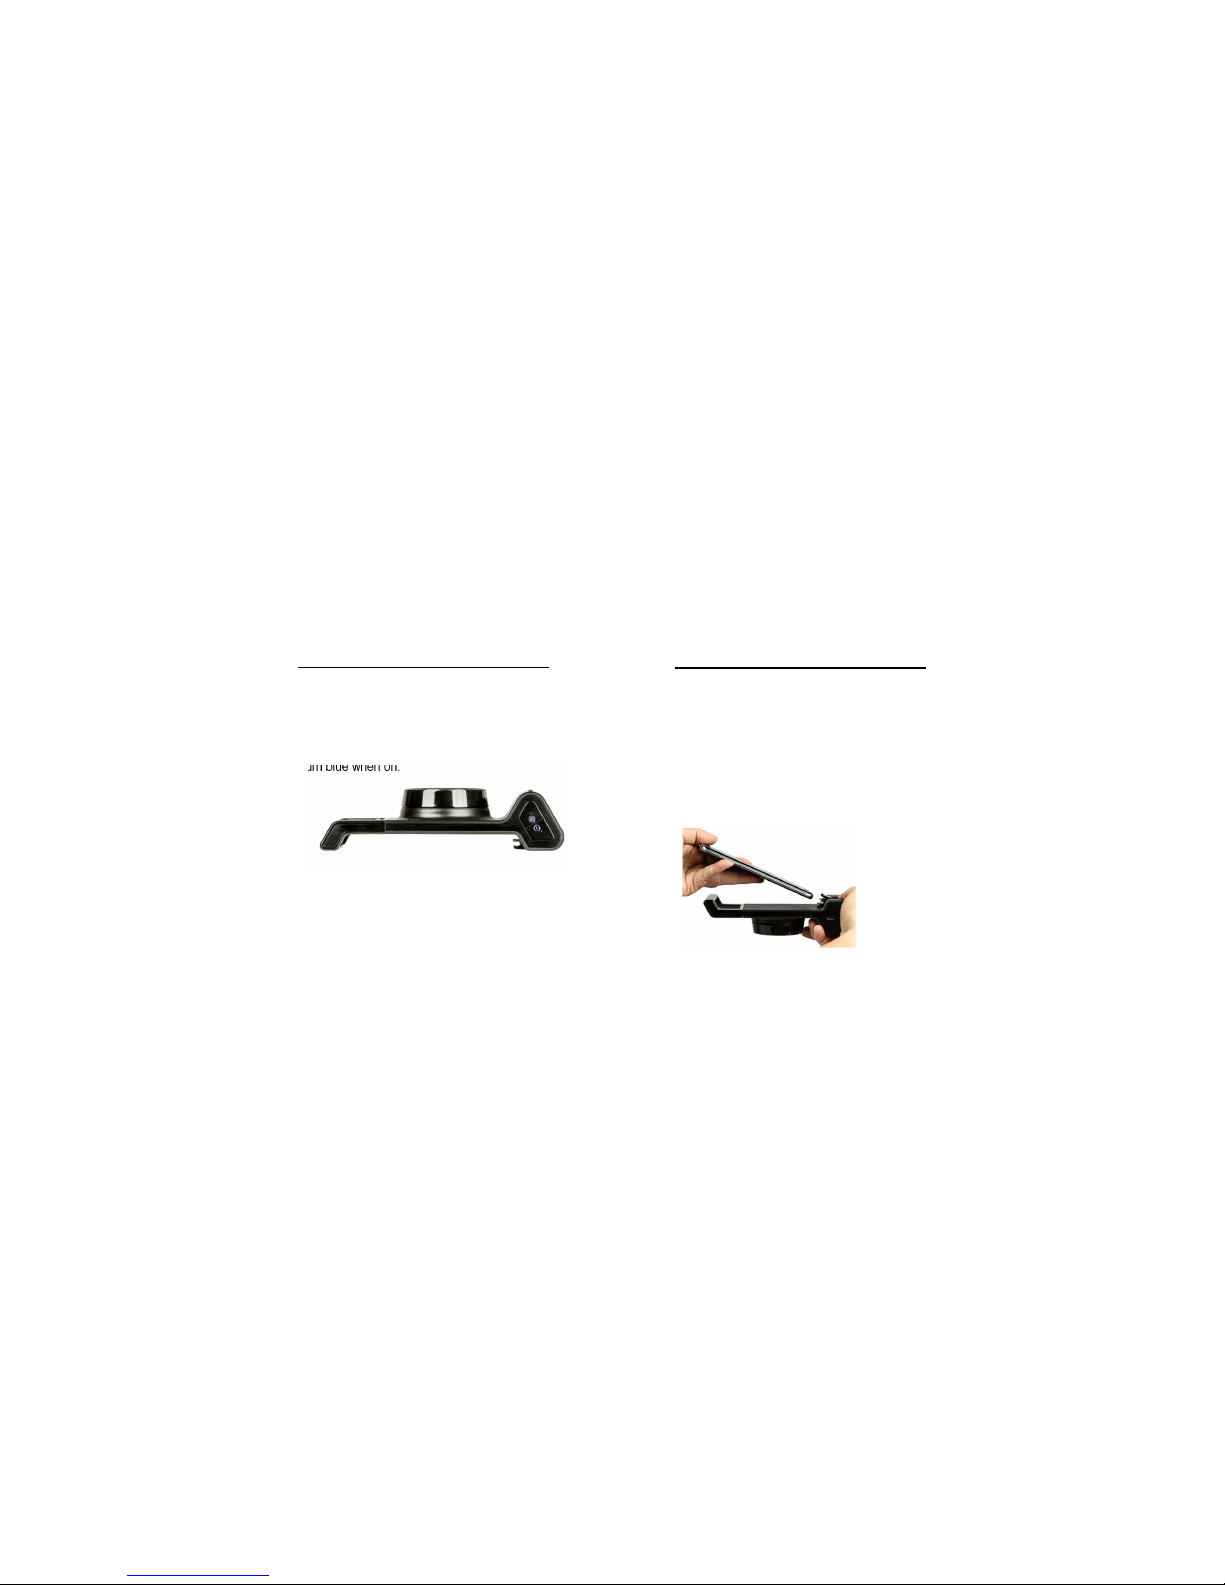
To Power On:
Press the ON/OFF button. Power status light will
turn blue when on.
To Power Off:
Press and hold the On/OFF button for more than 2
seconds. The blue status light will turn off.
INSERTING CELL PHONE
1. Turn on cell phon.
2. Be sure BlazeSpark is powered off.
3. Depress the cell phone data port on the body
of BlazeSpark in order to angle it upwards
while inserting your cell phone.
/ Get ting Starte d
Page 7
/Getting Started
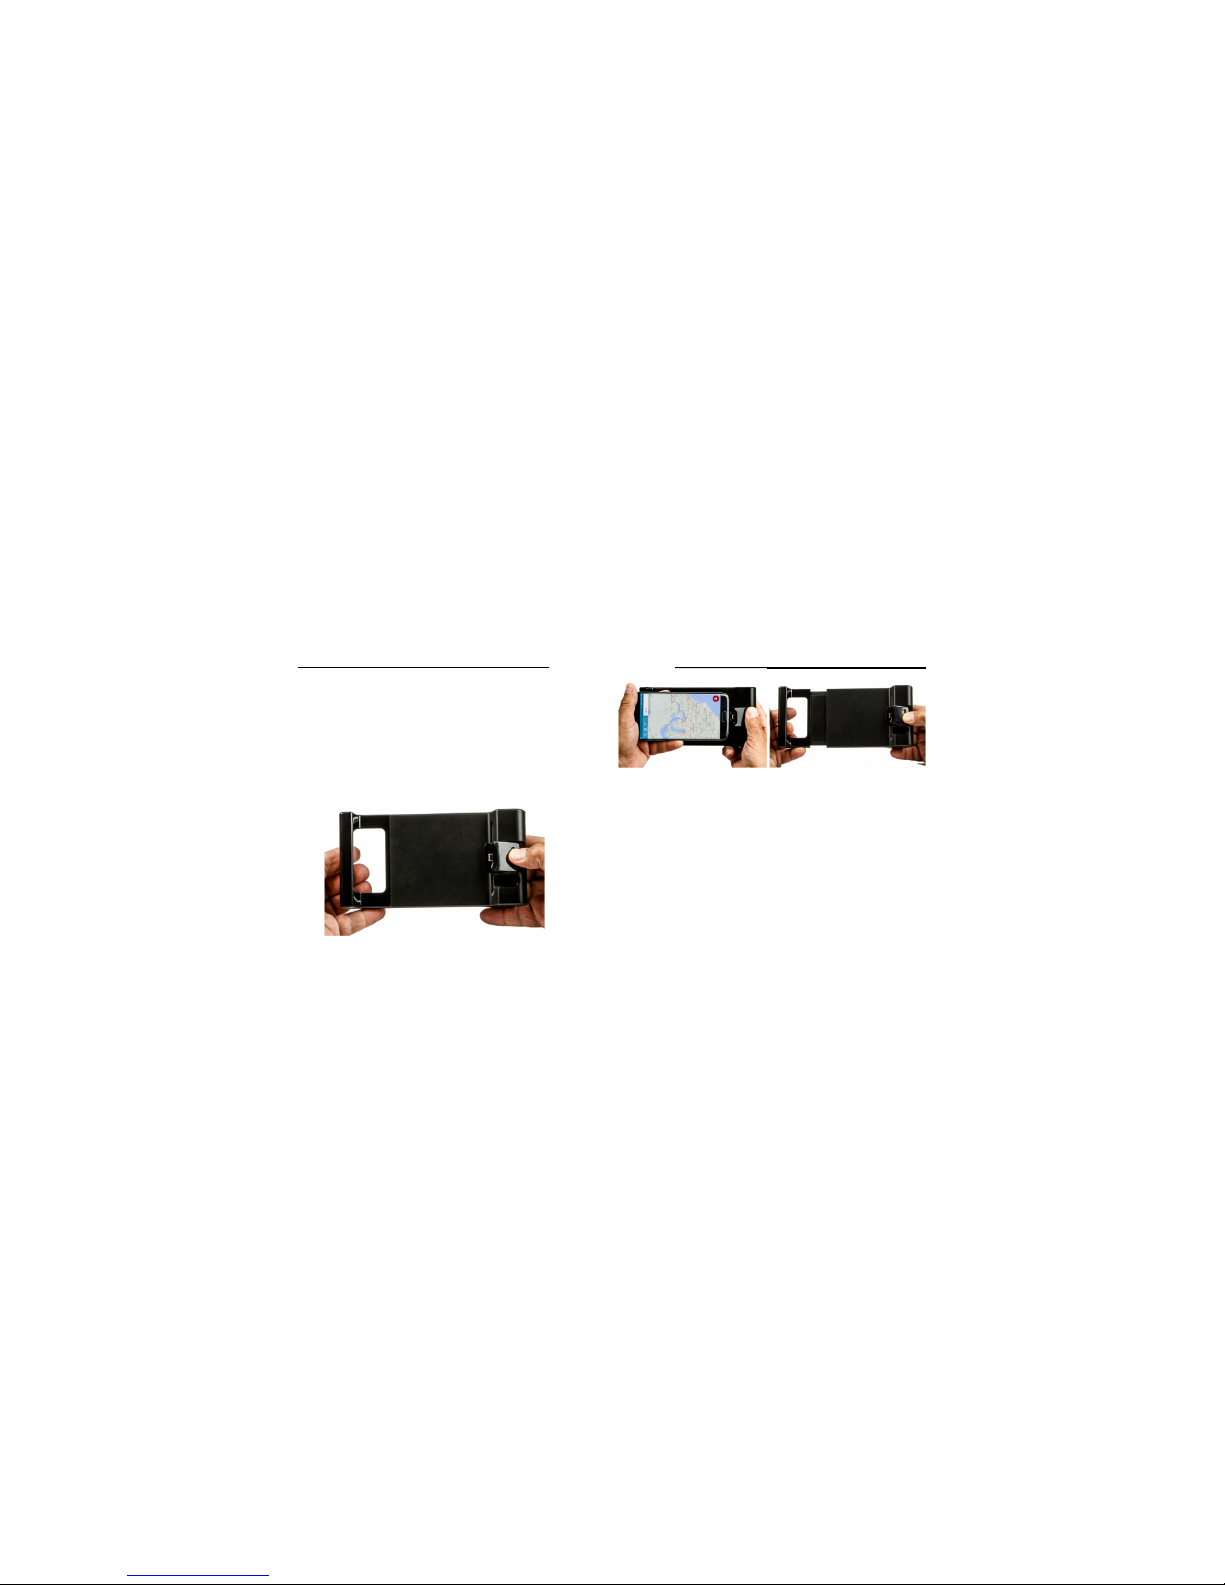
4. Slide your cell phone onto the data port
connector while extending the cell phone slider
on the BlazeSpark body.
/ Get ting Starte d
REMOVING CELL PHONE
1. Turn off BlazeSpark.
2. Pull out the slider.
3. Lift cell from the slider side while pressing the
data port connector.
4. Pull and disconnect cell phone from data port.
Page 8
/Using BlazeSpark
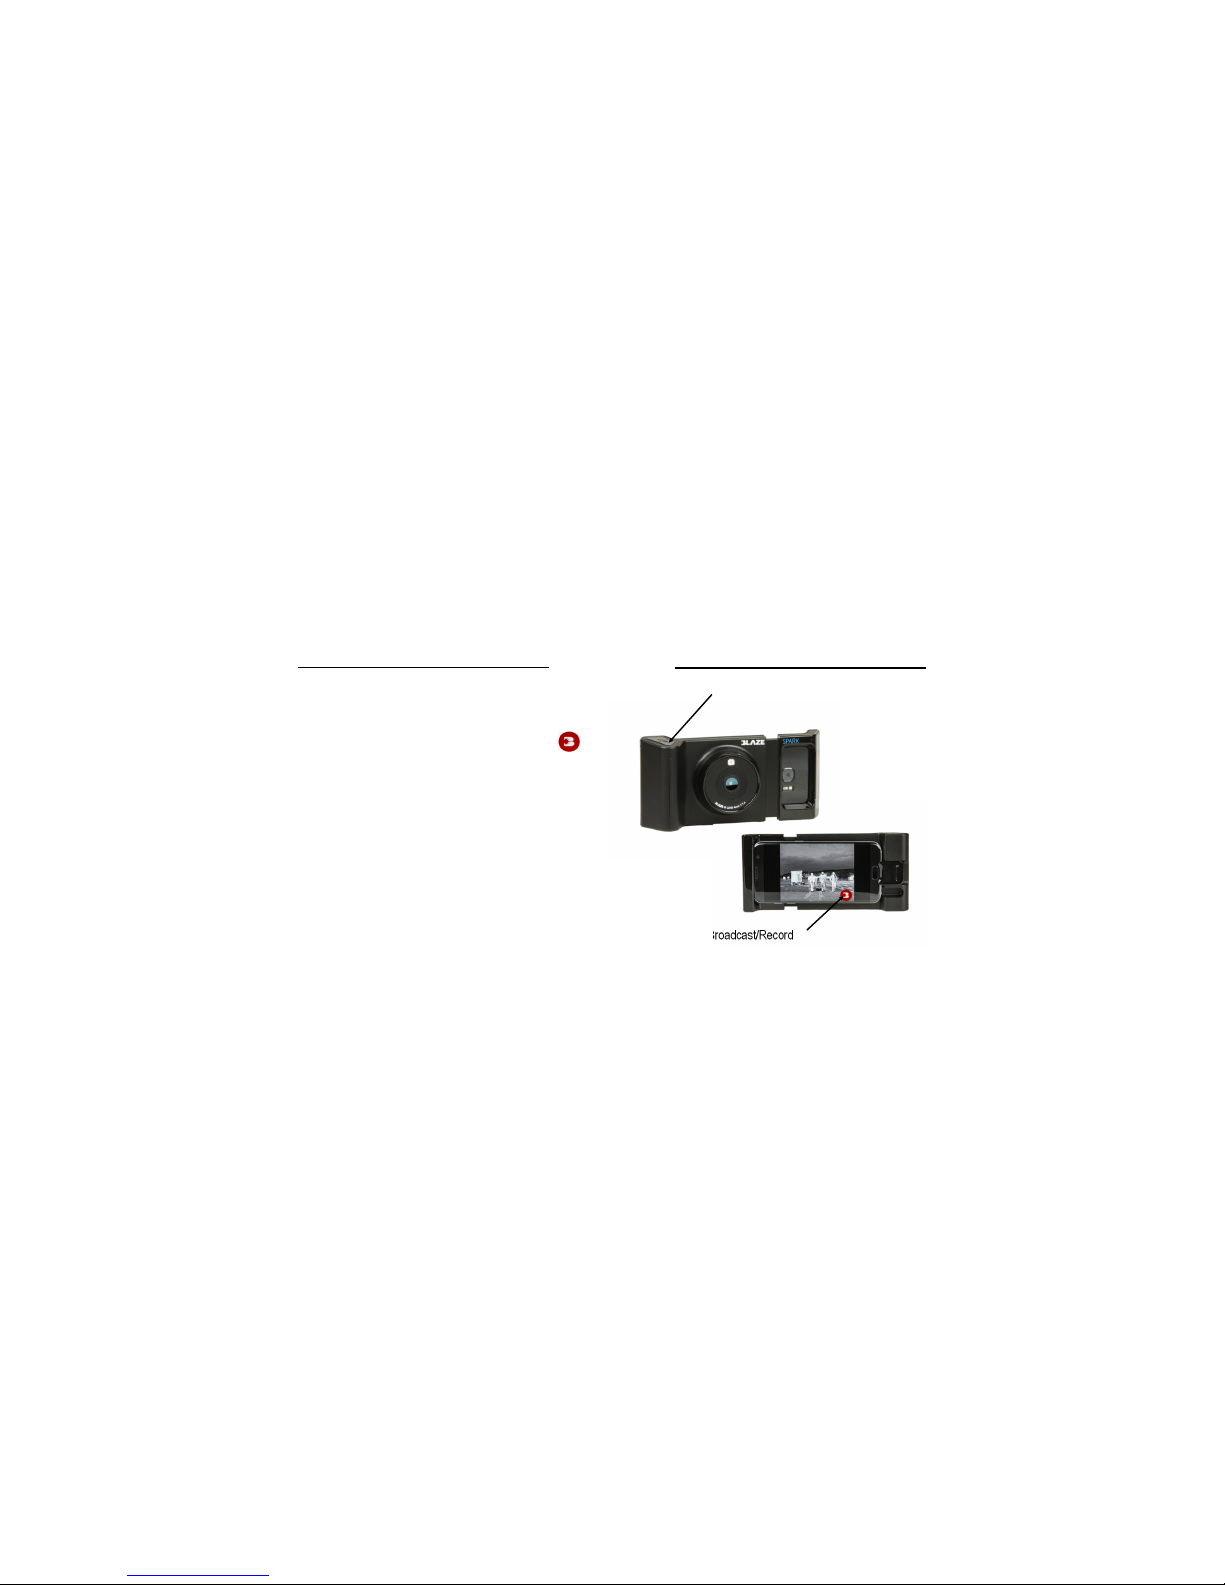
Once the phone is properly inserted into the BlazeSpark
case, the Spark app will start on its own. When you have
logged in to your account, you’ll be able to begin
streaming or record video by pressing the Blaze icon
on the phone’s display.
That’s all there is to it, if you need additional IR
illumination, turn on the IR light by pressing the IR button
on top of the camera.
You may also use your phone’s camera if you wish to
record regular video while the phone is inserted in the
Spark case. The Spark app will allow you to switch back
and forth between the night vision camera and the
phone’s camera.
/ Using BlazeSpark
IR Illumination ON/OFF
Broadcast/Record
Page 9
/Using BlazeSpark
eMagin is dedicated to providing the best possible
service. To reach BlazeSpark Customer Support, visit
www.blazethenight.com
Blaze, BlazeSpark, aretrademarks or registered
trademarks of eMagin Corp. in the US andinternationally.
Other names and marks are the property of their
respective owners.
/ Customer Support
WARN ING: B e sur e to use a mo unt c apabl e of supp ortin g the wei ght o f
both Blaz eSpar k and an inse rted cel l phon e. Othe rwise dam age c ould
occu r to b oth d evice s.
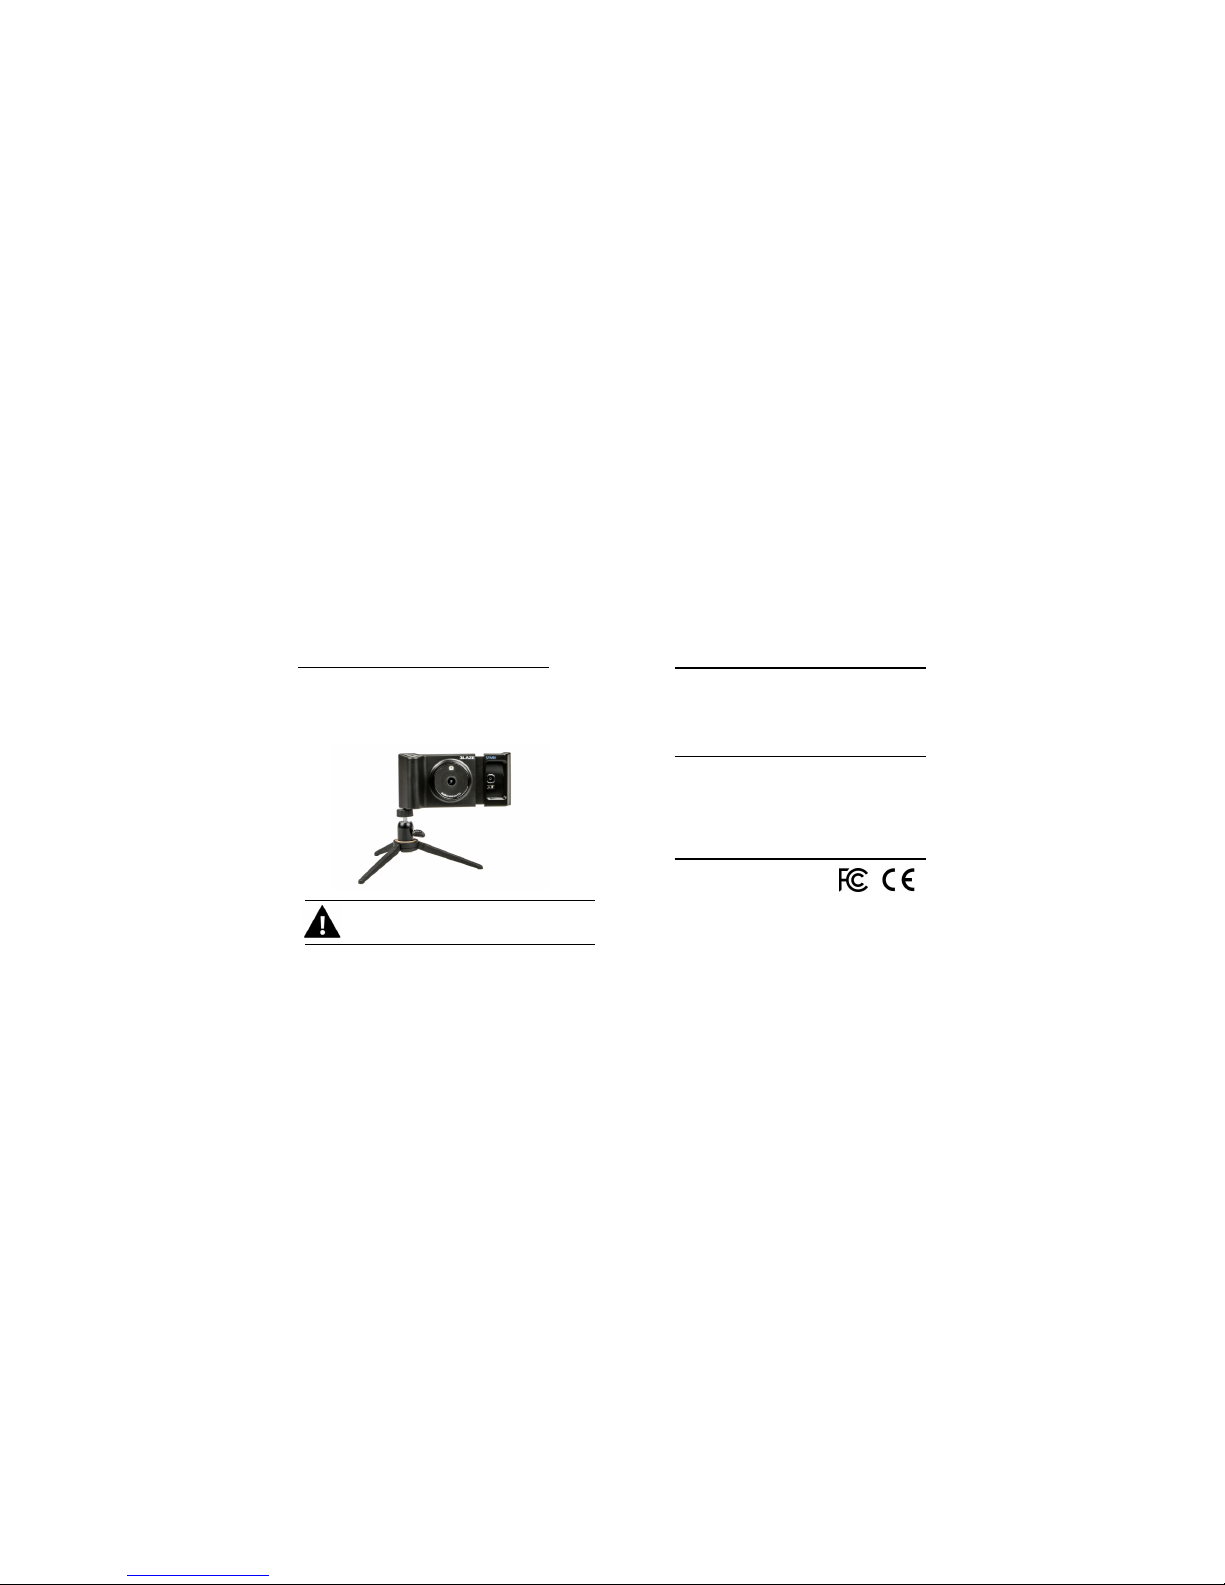
BlazeSpark has a standard 1/4in /20 thread camera
mount which can be used with a variety of aftermarket
mounting accessories.
/ Trademar ks
/ Regulatory In formation
 Loading...