

AudioLink® II
Personal Listening System Model PLS-951C
Thank you for purchasing an AudioLink® system. We are confident you will find this product
greatly enhances your listening pleasure. The IRT-951C is compatible with conventional LCD
and plasma televisions. See our full line at
Your satisfaction is our primary objective. If you have difficulties with the system at any time
please contact us. See the list of customer support centers enclosed.
www.ELTgroup.com.
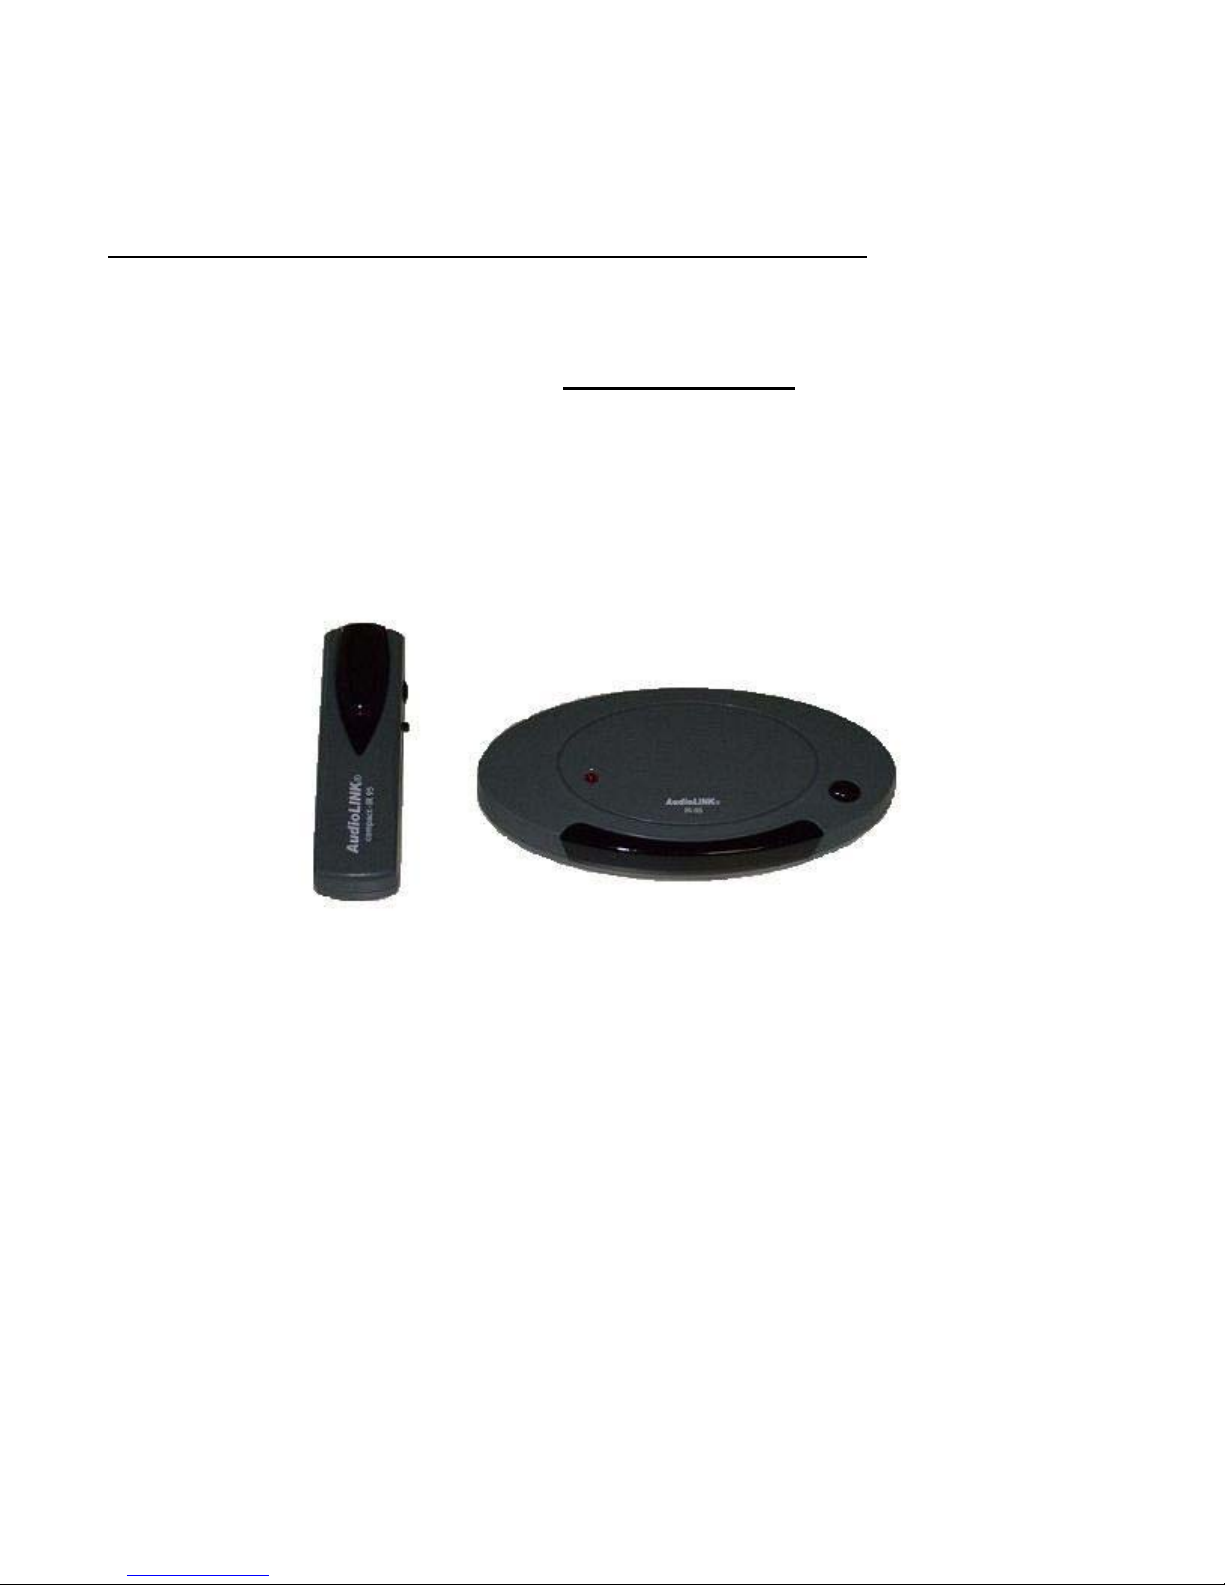
System Components:
IRT-951C Compact transmitter IRT-951C Compact receiver
2m Audio cable with 3.5mm to RCA plugs 2 AAA alkaline batteries
PS-950 Power Supply
Setup: (Fig. 1)
Select the transmitter location.
Place the IRT-951C transmitter on top of the TV or shelf near the television. Do not place
obstructions in front of the transmitter, as this will block the infrared light signal.
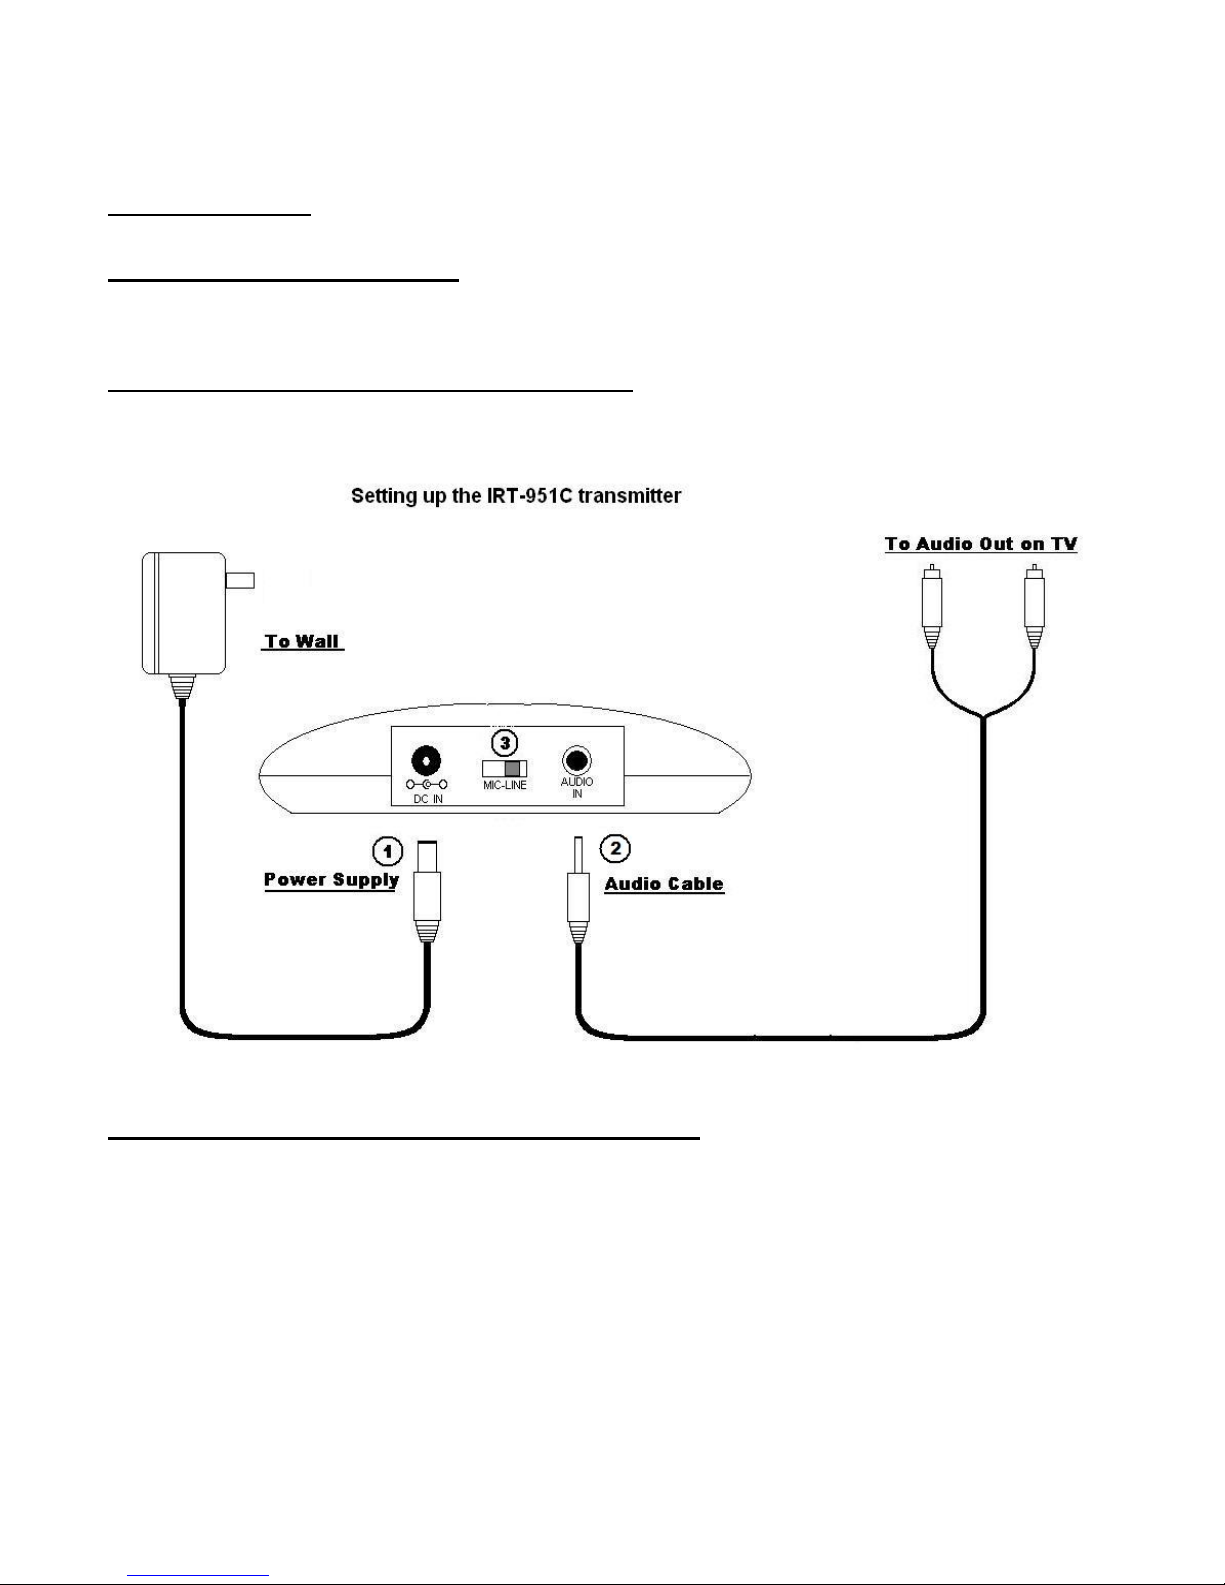
Step 1: Connect the transmitter power supply.
Insert the power supply cord into the 12 VDC jack on located on the back of the transmitter.
Then, plug the power supply into an AC wall outlet.
Fig.1
Step 2: Connect the transmitter to the audio source.
1-Insert the 3.5mm plug into the Audio In port of the transmitter.
2-Locate the two jacks on the television (typically one red and one white) labeled “Audio Out”.
Note: Jacks labeled Input will not work.
3- Connect the provided audio cable to these two jacks and insert the other end into the Audio
In of the transmitter.
4-Adjust the television volume to a level comfortable for other listeners in the room.
Note: Typical “Audio out” jacks are affected by the television volume setting. Muting
the television will also mute the sound to the AudioLink
at too low a setting may result in insufficient signal reaching the AudioLink
® II system. Setting the volume
® II system.
The effect of this low signal may be low volume in the receiver or no volume at all.
Step 3: Mic-Line selector.
The Mic –Line selector switch defines what type of audio source is being used with the
transmitter. When using the provided audio cable select the Line option. If a microphone is
used, select the Mic selection. Note: If the incorrect setting is used, the user may
experience very low volume or no volume at all.
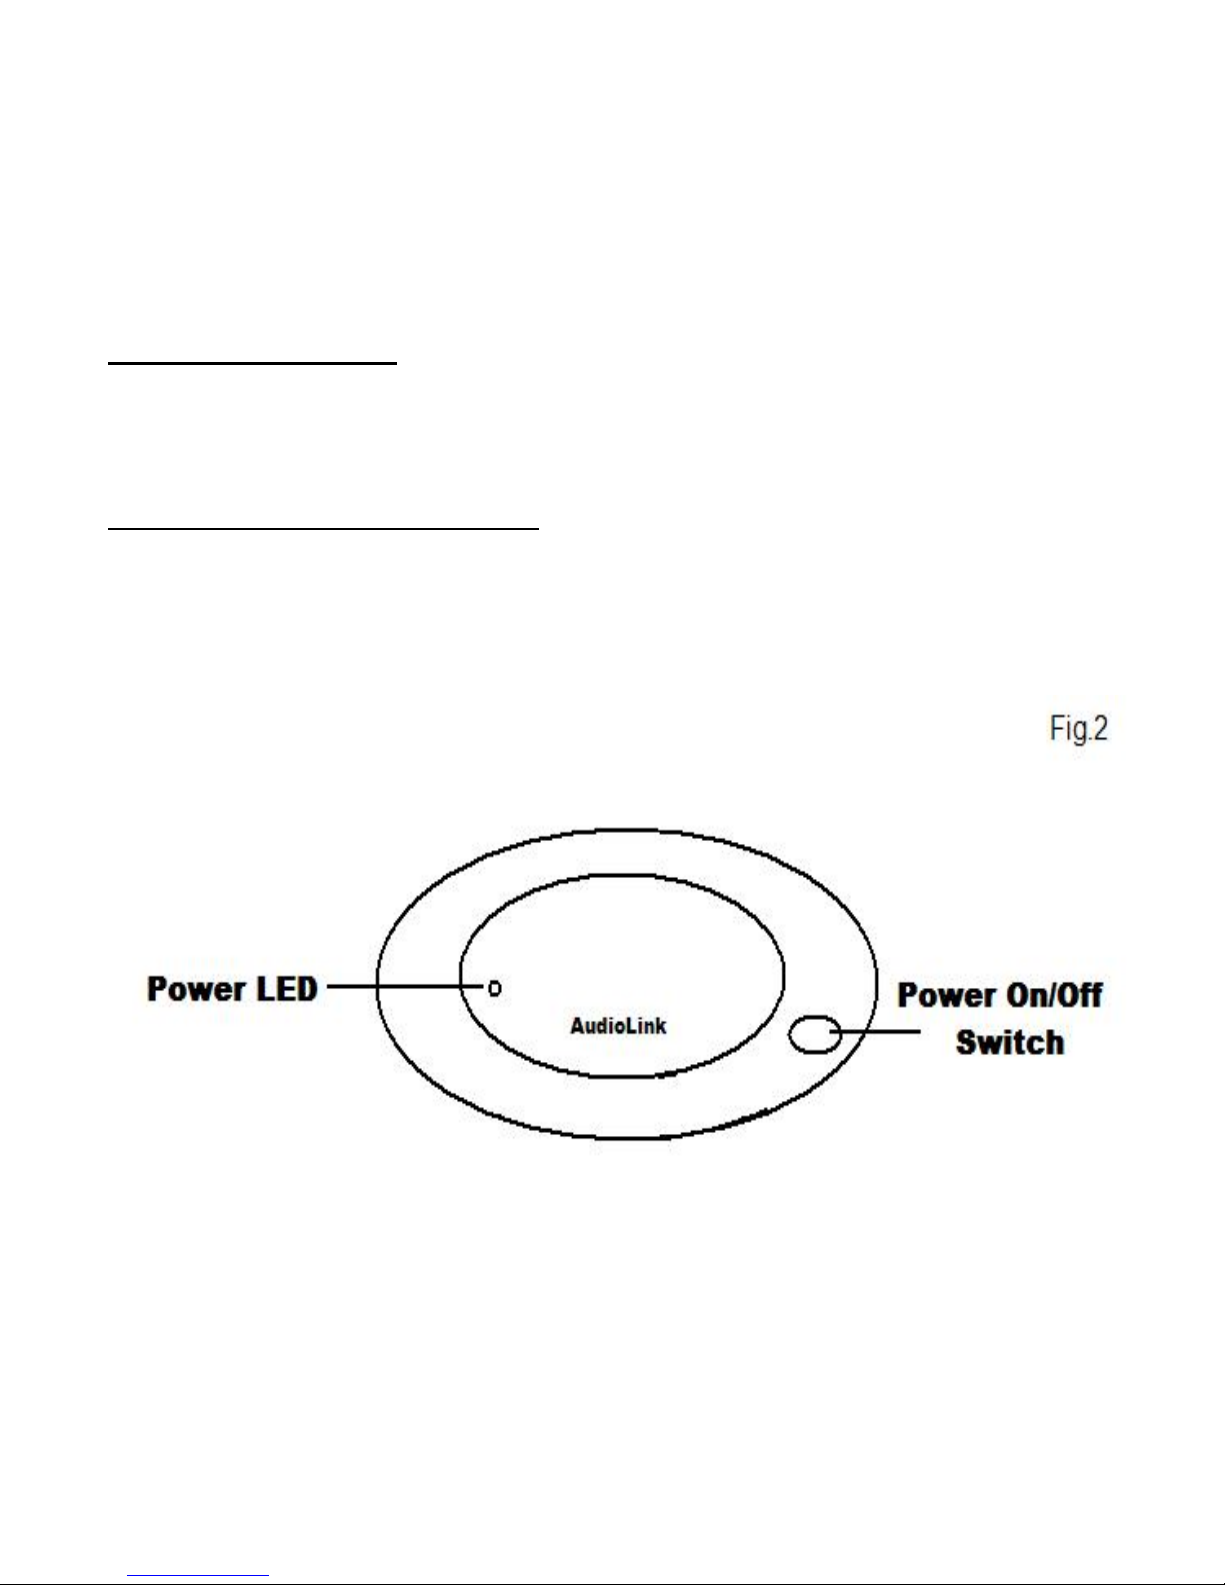
Step 5: Turning the transmitter on/off.
The transmitter has a power on/off switch located on the top right side (See figure 2). Press the
switch once and the transmitter will power on and the red LED will illuminate. Press it again to
turn the transmitter off.

AudioLink® II
Using the IRR-951C Compact Receiver
The AudioLink
and high performance sound. The receiver can be clipped to a piece of clothing
or worn as a pendant.
Installing the Batteries
The compact receiver operates from the power source of two AAA batteries. The
batteries are easily installed and replaced.
1-Remove the battery cover from the rear of the receiver. (See Figure 3)
2- Install batteries as shown on receiver housing.
3- Replace the battery cover.
Fig.3
® II compact receiver was designed to provide you with comfort

Power switching On/Off
The Compact receiver On/Off switch is located on the right side. (See Fig. 4)
When the unit is on, the switch will be in the upward position and the red LED
indicator will be illuminated. Note: When the receiver is not in use, make sure
the switch is in the Off
position. This will keep the batteries from being
drained.
Volume Adjustment
The volume is adjusted by the volume control; located just above the On/Off
switch. (See Fig.4) To increase the volume, roll the volume control upward.
Fig.4

Audio Output Accessories
The AudioLink
® II IRR-951C receiver was designed to work with most any
3.5mm coupling. It is recommended that a good quality is used such as
headphones, ear buds, or neck loops. To connect the 3.5mm plug to the receiver
plug it in securely into the top of the receiver.
Static Noise
If static noise is present, make sure the receiver is facing the transmitter. If the
signal is blocked the receiver will become silent. In the new AudioLink
® II
compact unit static from florescent lighting and high power televisions are filtered
out by the receiver and a much stronger infrared signal is emitted from the
transmitter.
Customer Support
Enhanced Listening Technologies Corporation (ELT) warrants the AudioLink® II
personal listening system against defects in materials and workmanship for a
period of two years from the date of purchase.(There is a 6 month warranty on
cable related failures) The warranty applies to the original user and the term as
established by the original purchase receipt or invoice.
Exclusions:
This warranty does not cover damage to or failure of the unit components due to
heat, moisture, shock, misuse, abuse, poor maintenance, unusual wear and tear
or tampering.
Remedy:
In the event of failure, the AudioLink® II infrared system will be repaired or
replaced at the manufacturer’s discretion.
Warranty procedure:
1) Contact your dealer for assistance. If you need help locating a dealer in
your area, contact ELT customer service at 800/286-3481 for a referral or
assistance.
2) Systems being returned for service should be complete with all
components and accessories unless otherwise instructed by a
representative of ELT.
3) All systems being returned for service or evaluation must be carefully
packed to protect the equipment and have a Return Authorization
Number (RA) clearly marked on the shipping documents or package.
4) Include you name, address, telephone number, a copy of the receipt, and
a brief description of the problem. This will significantly help expedite
proper repair and return of your equipment.
5) Ship by a traceable method to insure arrival and to protect your
investment.

Ship to:
USA:
ELT GROUP/SERVICE
3018 Ambrose Ave. Nashville, TN 37207
800/286-3481 Fax 615/727-0565
CANADA:
ELT-Canada/SERVICE
12342 82A Ave. Unit 10, Surrey, BC V3W0L6
778/578-0177 Fax 778/578-0176
Note: For your protection, keep copies of all documentation such as
shipping receipts and serial numbers.
Specifications:
AudioLink® II IRT-951C Transmitter
Size: 5.25”L x 2.50”W x 1”H
Weight: 2.3oz.
Color: Gray
Power Input. 12VDC (center pin positive)
Operating Frequency: 95kHz
Audio Input Size: 3.5mm
Warranty: 2 Years
Specifications:
AudioLink® II IRR-951C Receiver
Size: 3.75”L x 1” W x .75”H
Weight: 1.8oz. (with batteries)
Color: Gray
Power Input: 3VDC (2 AAA batteries)
Operating Frequency: 95kHz
Warranty: 2 Years
 Loading...