

Page 1
Elpas3 Personal Safety Bracelet
T
T
T
t
T
T
A
5-WTG41100-0, 5-WTG41120-0 (Mother Tag), 5-WTG41102-0 (Security Band)
Introduction
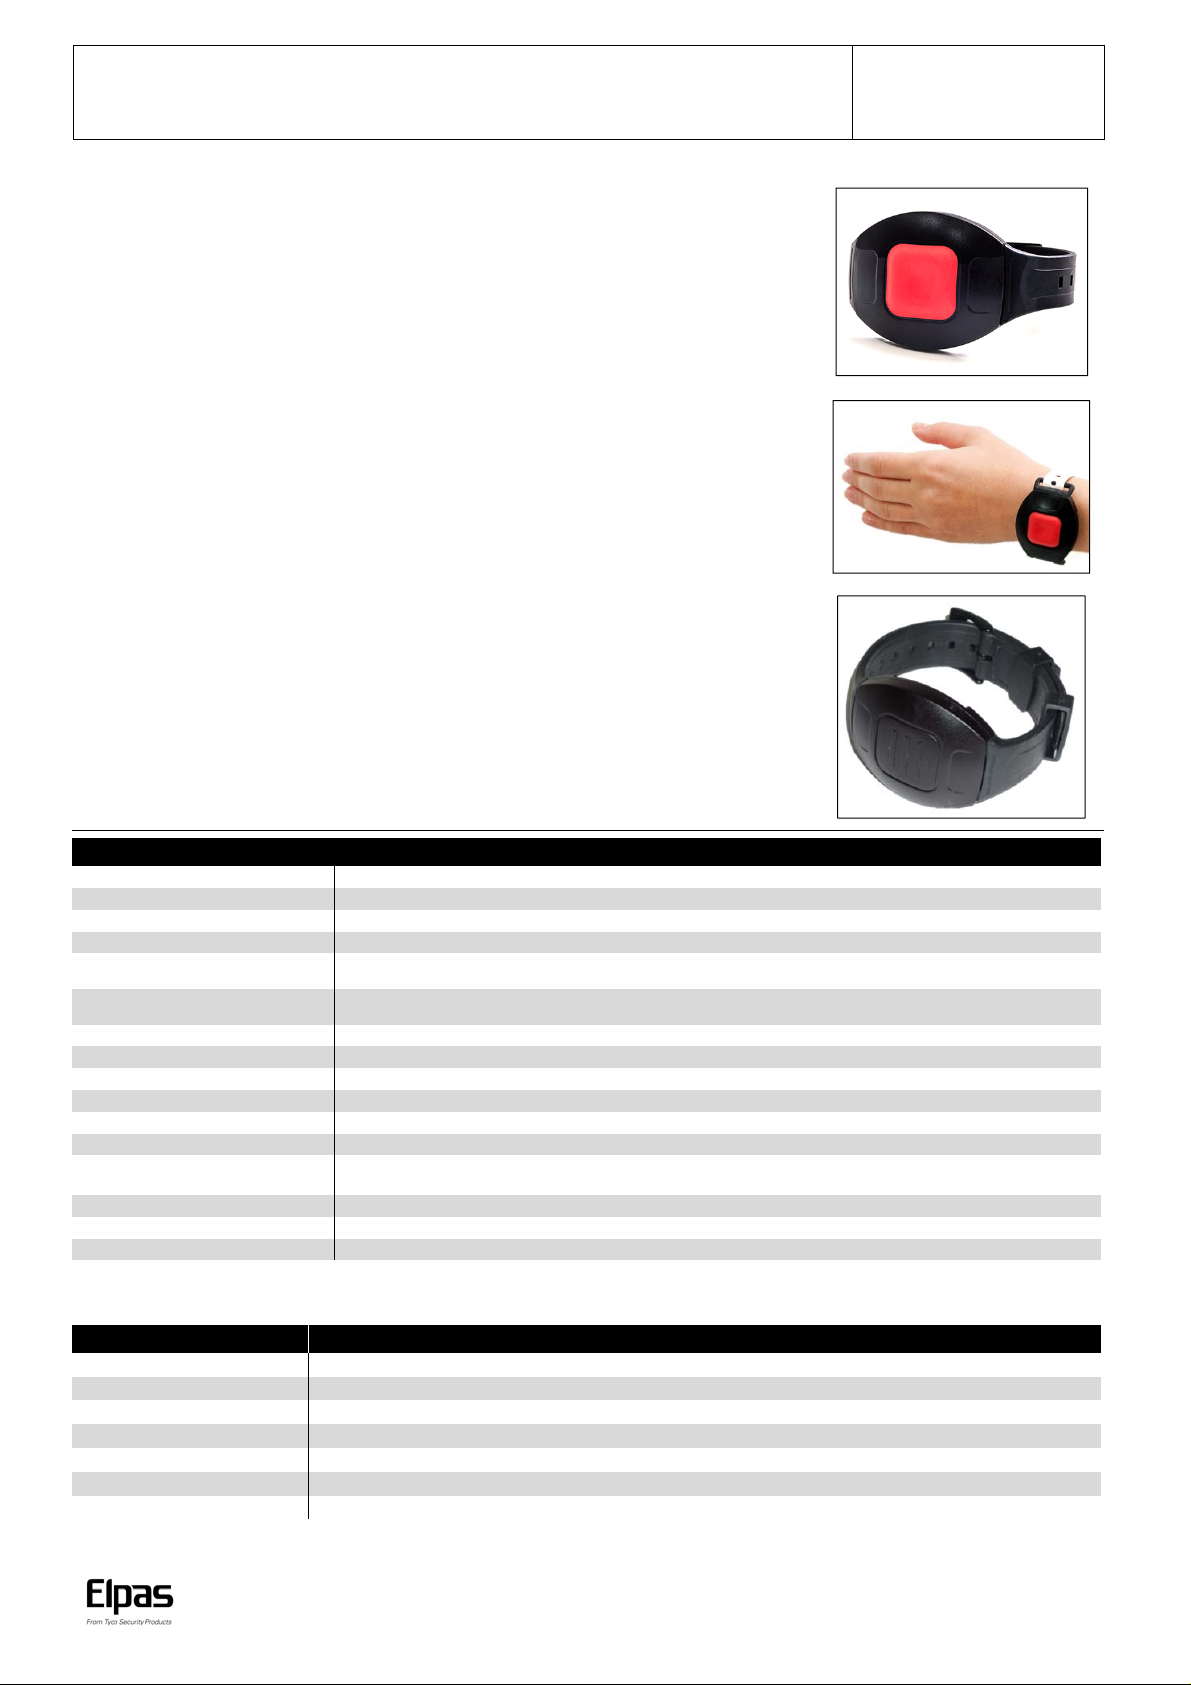
he Elpas3 Personal Safety Bracelet is an attractive bracelet that provides around-the-clock
monitoring of medical patients and assisted living care residents who require added safety.
he bracelet bundles tri-tech (in Mother Bracelet – quad-tech, includes LF transmission) Real-Time
Location System (RTLS) technologies to deliver precise real-time positioning data so that a host RTLS
safety application or an integrated physical security platform can track the whereabouts of the
individual anywhere within the facility.
Note: IR is optional. If irrelevant, users can deactivate IR functionality to conserve battery.
Elpas3 Personal safety Bracelet includes RF reception as well as transmission to allow two-way communication with
Eiris. Eiris can acknowledge when it receives an RF message.
he bracelet features a large duress call button designed especially for senior citizens. Pressing the
button causes the tag to transmit positioning data that identifies the person requiring assistance and
he precise building location of the involving medical or safety incident for speedier and more effective
response efforts.
Note: It is optional to replace the button cover of the tag with a standard plastic cover.
he Mother version also pairs with an Elpas Infant Protection Charm. With the press of the bracelet
button, the infant charm flashes a color, indicating the two are paired. When a user presses the button
again, the bracelet transmits an LF signal that tests if it matches with the Infant Protection Charm.
Once the pairing is made, only the wearer of the Mother Bracelet can exit designated areas with the
baby who wears the Infant Protection Charm with which it is paired.
he bracelet enables immediate near-exit location awareness for administering patient/staff escort
procedures and for preventing unauthorized transfers into or out of protected building areas.
Installation Guide
Product Specifications
RTLS Technologies RF Reception and Transmission (433MHz); IR Reception (125KHz) ; LF Reception (125KHz) ; LF Transmission (in Mother Bracelet)
RF (Motion/Stationary) Supervision messages every 10 seconds / 60 seconds
IR (Motion/Stationary) Supervision messages every 10 seconds / 60 seconds
Supervised Events LF Entry/Exit: Button Press/Release, Motion/Stationary, Low Battery
RF Under LF
Power Source
(recommended)
Battery Life 12-36 months depending upon usage
LED Indicator Low Battery (flashes every ten sec when below 2.6 Volts), Button Press (flashes three times), LF Field (flashes three times)
Tag & LF ID Codes Factory-Programmed
Housing IP65, Nylon Plastic
Weight 41.1 grams (1.45 ounces)
Dimensions (H x W x D) 46.9 x 41.0 x16.8mm (1.84 x 1.61 x 0.65 inches)
Operating Environment
Management Software Eiris
Regulatory CE, FCC, IC compliant and certified
Warranty 1 year limited warranty
Product offerings and specifications are subject to change without notice.
Not all products include all features.
Entry into LF: 3 transmissions (each @ 2ms in duration), 0.5secs apart; every 2 seconds.
After 10 minutes under LF: Returns to 10 seconds while in motion
3.0V/560mAH lithium battery, CR 2450
Temp: -30°C to 70° C (-22°F to 158°F)
Humidity: 100% non-condensing
ccessories
Part Number Description
5-BTE00433-1 Elpas Infant Protection Charm
5-PB063011 Disposable Secure Hospital ID Band (set of 50)
5-WTA90007 Canvas Wristband with Lock Pin (set of 5)
5-500130 Lock Pin Removal Magnet
5-WTD09012 Security Band (set of 5). To insert, remove band adapters
5-WTD09009 Band Lock Key (set of 5)
5-WTD09017 WTD No Button Cover (set of 5 with 20 screws)
www.elpas.com
Page 1 of 4
V4/Jan 2016
Page 2
Elpas Personal Safety Bracelet – User Guide
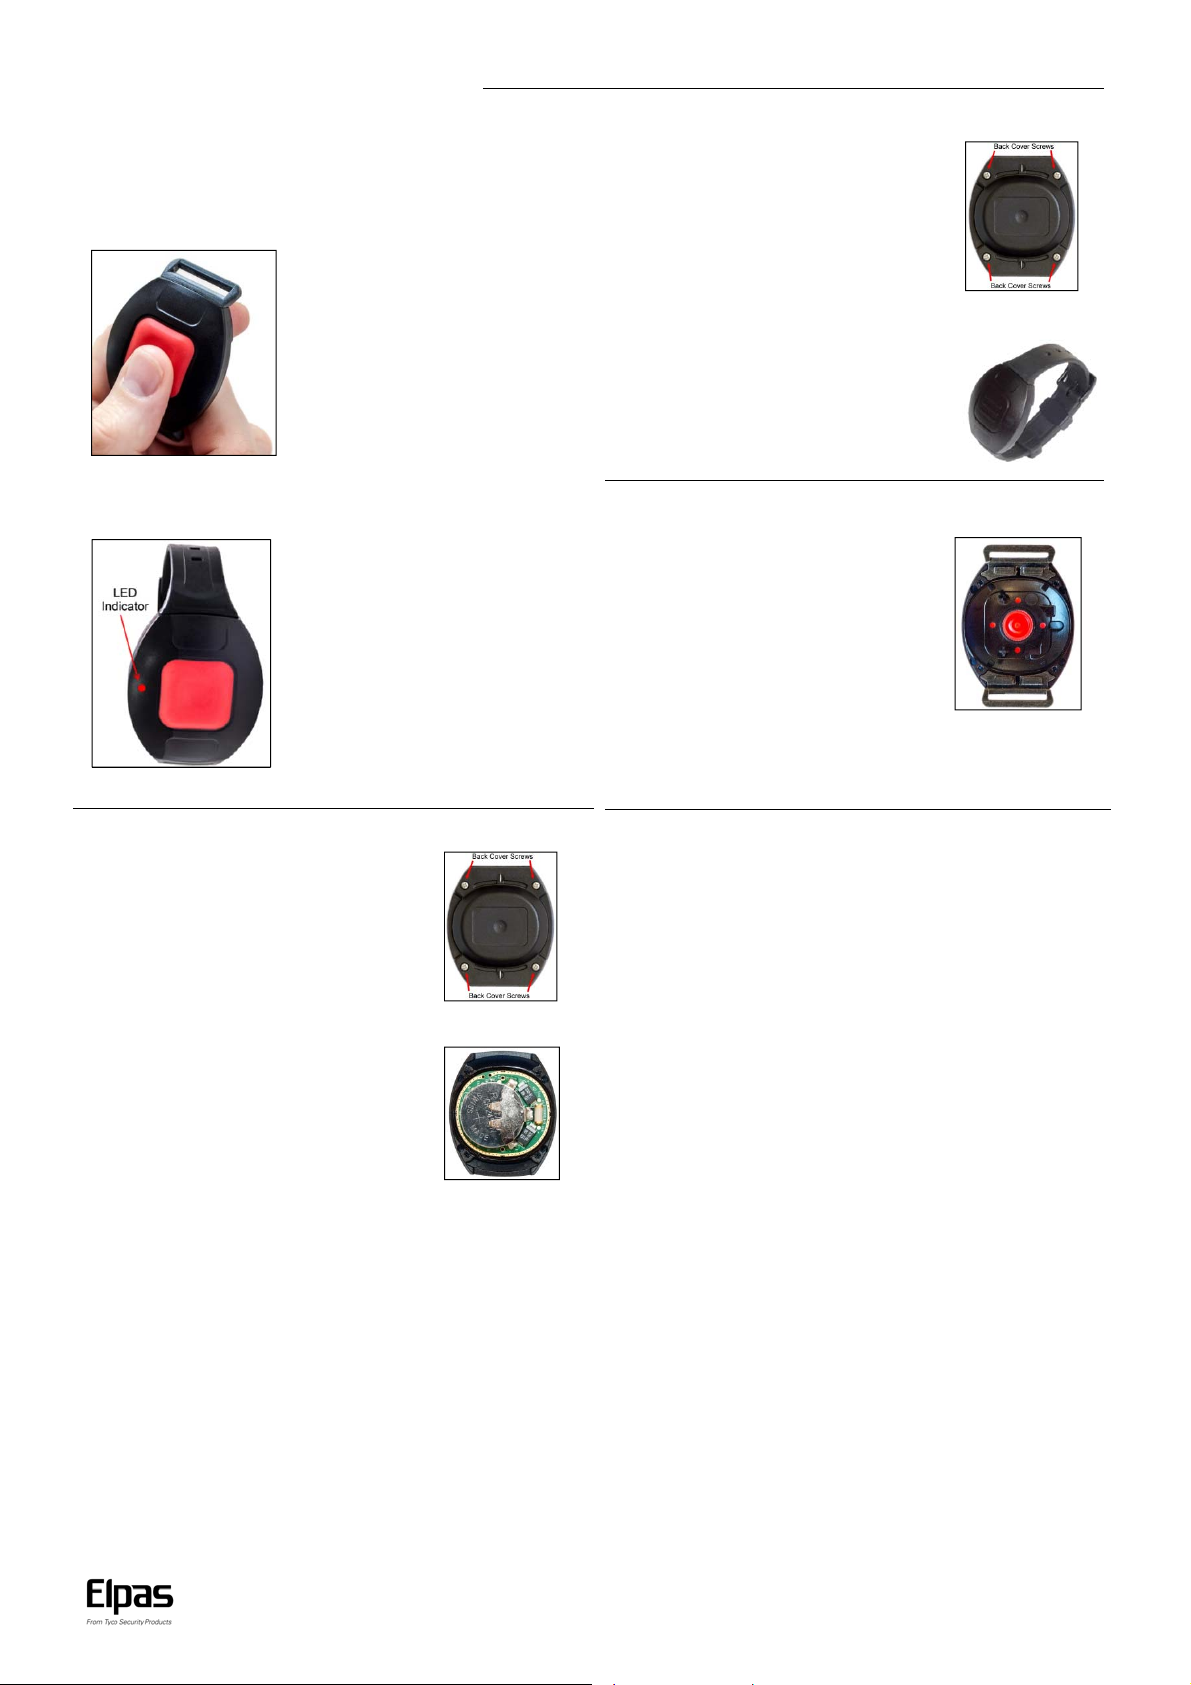
Initial Activation
The bracelet is shipped from the factory in Sleep Mode to
conserve battery power during shipping.
To activate the bracelet from sleep mode:
Button Press
Orient the tag front-cover side up.
Next press & hold down the call
button for at least 5 seconds.
If the wake-up process is successful the LED Indicator on the
front of the bracelet will illuminate for 3 seconds.
Tag Cover Replacement
Place the bracelet back cover side up. Then
Unscrew the 4 screws, flip the badge back
side down, and remove the front cover.
If the PCB is removed from the back cover
in the process, replace it. Make sure both
pins inserted inserted in their respective
hole from the bottom of the PCB.
Close the front cover so that the screw holes
are aligned. Tighten the 4 screws snugly into
place. Do not over-tighten as this may strip
the case threads.
Attaching the Hospital Band Adapters
Place the bracelet back cover side up. Then
Unscrew the 4 screws and remove the back
cover.
Position the bracelet front cover side down.
Next insert the two hospital band adapters
into the grooved slots which are located on
either side of the front cover.
Close the back cover such that the screw
holes are correctly aligned. Tighten the 4 screws snugly into place.
Do not over-tighten as this may strip the case threads
Battery Replacement
Change the bracelet’s status in the host
RTLS application to ‘Inactive’.
Place the bracelet back cover side up.
Then Unscrew the 4 screws and remove the
back cover.
Slide the battery out from under the battery
holder. Dispose of used battery in accordance
with local regulations.
Replace the battery ensuring that the positive
(+) side of the battery faces up.
Close the back cover such that the screw holes are correctly
aligned. Tighten the 4 screws snugly into place. Do not over-tighten
as this may strip the case threads.
Change the bracelet’s status in the host RTLS application back to
‘Active’.
Disabling IR
By default, IR functionality is on.
1. Press button B1 (the large one) for five seconds. The LED
Flashes five times.
A single flash means IR is now on.
A double flash means IR is now off.
2. While the LED flashes, press the button again, three short
presses, to change from the current state. The LED flashes
again, as before, to indicate the new state.
Note: If you do not press three times in five seconds (while the LED flashes),
the tag remains in the original state.
www.elpas.com
Page 2 of 4
V4/Jan 2016
Page 3

Mother-Baby Local Pairing
When bracelets with mother infant pairing capabilities (P/N 5-WTD41120-0) are used, then the pairing with an Elpas Charm (P/N 5BTE00433-1) may be performed as follows:
1. Make sure the Mother Bracelet is within a 15cm Range of the charm.
2. Connect the Charm band.
3. When the Charm red LED flashes, press the button of the Mother Bracelet and hold it until the Charm green LED flashes. The LF
IDs of both charms are paired.
4. For a match test, press the button of the Mother Bracelet and hold it until the Charm green LED flashes.
Note: To pair the The mother Bracelet and Infant Charm through EV2, see Eiris Configuration Guide, section 9.3.2.
Note: In case of a duplicate ID Trouble Alert, submit a support ticket with Elpas at www.elpas.com
Note: To configure an Elpas Badge Alert for the Infant Protection Charm, see Eiris Configuration Guide, section 5.15
False Tamper Alerts
If you use a Security Band and it produces false Tamper alerts, clean the band thoroughly as dirt can act as a buffer between the
contacts. If false Tamper alerts persist, replace the band.
Cleaning & Disinfection Procedures
Use an appropriate antibacterial disinfectant such as Dispatch® Hospital Cleaner Disinfectant with Bleach from Caltech Industries, Inc
(http://www.caltechind.com) to clean the Bracelet.
Since ‘Cleaning Procedures’ may vary according to facility guidelines, thus the procedures given below are for illustrative purposes only:
Option 1 – Using Dispatch Disinfectant Spray
1. Lightly wet a disposable towel with Dispatch spray
2. Do not saturate the towel
3. Wipe the outer surfaces of the bracelet
4. Next wipe the bracelet with a dry disposable towel
5. Allow the bracelet to air dry
6. Return the clean bracelet to inventory or usage
7. Dispose of used towels per facility policies
Option 2 – Using Dispatch Disinfectant Towels
1. Open a new Dispatch pre-moistened towel
2. Wipe the outer surfaces of the bracelet
3. Next wipe the bracelet with a dry disposable towel
4. Allow the bracelet to air dry
5. Return the clean bracelet to inventory or usage
6. Dispose of used towels per facility policies
www.elpas.com
Page 3 of 4
V4/Jan 2016
Page 4

Elpas Personal Safety Bracelet – User Guide
Compliance with Standards
This device (5-WTG41100-0, 5-WTG41120-0 (Mother Tag), 5-WTG41102-0 ( Security
Band)) complies with FCC Rules Part 15 and with Industry Canada l icense exempt
RSS standard(s). Operation is subject to two conditions:
(1) This device may not cause harmful interference
(2) This device must accept any interference that may be received or that may
cause undesired operation.
Le présent appareil est conforme aux CNR d'Industrie Canada applicables aux
appareils radio exempts de licence. L'exploitation est autoris éeaux deux conditions
suivantes :
(1) l'appareil ne doit pas produire de brouillage, et
(2) l'utilisateur de l'appareil doit accepter tout brouillage radioélectrique subi,
même si le brouillage est susceptible d'en compromettre le fonctionnem ent.
NOTE: This equipment has been tested and found to comply with the limits for a
Class B digital device, pursuant to Part 15 of the FCC Rules. These limits are
designed to provide reasonable protection against harmful interference in a
residential installation. This equipment generates, uses and can radiate radio
frequency energy and, if not installed and used in acc ordance with the instructions,
may cause harmful interference to radio communications. However, there is no
guarantee that interference will not occur in a particular installation. If this
equipment does cause harmful interference to radio or tele vision reception, which
can be determined by turning the equipment off and on, the user is encouraged to
try to correct the interference by one or more of the following measures:
Reorient or relocate the receiving antenna.
Increase the separation between the equipment and receiver.
Connect the equipment into an outlet on a circuit different from that to which the receiver is connected.
Consult the dealer or an experienced radio/TV technician for help.
Cet équipement a été testé et jugé conforme aux limites s’appliquant à un appareil
numérique de classe B, conformément à la Partie 15 des réglementations de la
FCC. Ces limites ont été élaborées pour offrir une protection raisonnable contre
les interferences nuisibles dans une installation résidentille.
Cet
équipement génère, utilize et peut ém ettre de l’énergie de fréquence radio et, s’il
n’est pas installé et utilize conformément aux instructions du fabricant, peut
provoquer des interférences dangereuses pour les communications radio. Toutefois,
rien ne garantit l’absence d’interférences dans une installation particuliére. Si cet
équipement provoque des interférences nuisibles au niveau de la réception r adio ou
television, ce qui peut étre determine par la mise hors, puis sous tension de
l’équipment, vous étes invite à essayer de corriger les interfer ences en pregnant les
mesures suivantes:
Réorientez ou déplaces l’antenne réceptrice.
Augmentez la distance qui sépare l’équipement et le récepteur.
Branchez l’équipement à une prise d’un circuit different de celui auquel est
branché le récepteur.
Consultez le revendeur ou un technician radio/television expérimenté pour
obtenir de l’aide.
Warning!
Changes or modifications to this equipment not expressly approved by the party
responsible for compliance (Elpas Solutions Ltd.) could void the user ’s authority to
operate the equipment.
Europe
This equipment complies with the RTTE requirements - Directive 1999/5/EC of the
European Parliament and of the council of 9 March 1999.
EN 300220, EN 301489, EN 50130-4, EN 61000-6-3, EN 60950-1.
Product Warranty
Elpas Solutions, Ltd. (Elpas or the Company), and its affiliates, warrants its products (hereinafter referred to as "the Product”) to be free of defects in m aterials and workmanship
under normal operating conditions and use for a period of one year from the date of shipment by Elpas. The Compan y’s obligations shall be limited within the warranty period, at
its option, to repair or to replace the defective Produc t or any defective component or part thereof. To exercise this warranty, the product m ust be returned to the manufacturer
freight prepaid and insured.
This warranty does not apply to repairs or replacement caused by improper installation, Product m isuse, failure to follow installation or operating instructions, alteration, abuse,
accident, tampering, repair by anyone other than Elpas, external causes, and failure to perform required preventive maintenance. This warranty also does not apply to any
products, accessories, or attachments used in conjunction with the Product, including batteries, which shall be covered solel y by their own warranties, if any. Elpas shall not be
liable for any damage or loss whatsoever, whether directly, indirectly, incidentally, consequentially or otherwise, resulting from a malfunction of the Product due to products,
accessories, or attachments of others, including batteries, used in conj unction with the Product.
ELPAS MAKES NO EXPRESS WARRANTIES EXCEPT THOSE STATED IN THIS STATEMENT. ELPAS DISCLAIMS ALL OTHER W ARRANTIES, EXPRESS OR IMPLIED, INCLUDING
WITHOUT LIMITATION IMPLIED WARRANTIES OF MERCHANTABILITY AND FITNESS FOR A PARTICULAR PURPOSE. ELPAS’S SOLE RESPONSIBILITY FOR WARRANTY
CLAIMS IS LIMITED TO REPAIR OR TO REPLACE AS SET F ORTH IN THIS STATEMENT.
Elpas shall have no liability for any death, personal injur y, property damage, or other loss whether direct, indirect, incidental, consequential, or otherwise, bas ed on a claim that
the Product failed to function. However, if Elpas is he ld liable, whether directly or indirectly, for any loss or damage arising under this limited warranty or otherwise, reg ardless of
cause or origin, the company's maximum liability shall be lim ited to the purchase price of the Product, which shall be fixed as liquidated damages and not as a penalty, and shall
be the complete and exclusive liability of Elpas.
Elpas shall not, under any circumstances whatsoever, be liable for an y inaccuracy, error of judgment, default, or negligence of Elpas, its employees, off icers, agents, or any other
party, or of the purchaser or user, arising from any assistance or communication of any kind regarding the configuration, design, installation, or creation of security system
involving the Product, that being the responsibility of the purc haser or user. If Elpas is unable to make such repair or replacement, the c ompany’s entire liability shall be limited to
the cost of a reasonable substitute product. Elpas shall not be responsible f or any dismantling, installation, reinstallation, purchasing, shippin g, insurance, or any similar charges.
Elpas shall have no liability for any damages, inc luding without limitation, any direct, indirect, incidental, special, or consequential damages, expenses, cos ts, profits, lost savings
or earnings, or other damages arising out of the use of the Pr oduct or the removal, installation, reinstallation, repair or replacement of the Produc t or any related events. In the
event that there is any liability against Elpas, such liabilit y shall be limited to the purchase price of the Product which am ount shall be fixed as liquidated damages.
The purchaser and user understand that this Product m ay be compromised or circumvented by intentional acts; that the Prod uct will not in all cases prevent death, personal inj ury,
property damage, or other loss resulting from burglary, robbery, fire or other causes; and that the Product will not in all cases provide adequate warning or protection. The
purchaser and user also understand that a properly installed and maintained alarm may reduce the risk of events such as burglary, robbery, and fire without warning, but it is not
insurance or a guarantee that such events will not occur or that there will be no death, per sonal injury, property damage, or other loss as a result of such events.
By purchasing the Product, the purchaser and user shall defend, indemnify and hold Elpas, its officers, directors, affiliates, subsidiaries, agents, servants, employees, and
authorized representatives harmless from and against any and all claims, suits, costs, damages, and judgments incurred, c laimed, or sustained whether for death, personal injur y,
property damage, or otherwise, because of or in an y way related to the configuration, design, installation, or creation of a security system involving the Product, and the use,
sale, distribution, and installation of the Product, including paym ent of any and all attorney’s fees, costs, and expenses incurred as a result of an y such events.
The purchaser or user should follow the Product installatio n and operation instructions and test the Product and the entire sys tem at least once each week. For various reasons,
including but not limited to changes in environmental conditions, electric, electronic, or electrom agnetic disruptions, and tampering, the Product may not perform as expected. The
purchaser and user are advised to take all necessary precautions for the protec tion and safety of persons and property.
This statement provides certain legal rights. Other rights may vary by state or country. Under certain circums tances, some states or countries may not allow exclusion or limitation
of incidental or consequential damages or implied warranties, so the abov e exclusions may not apply under those circumstances and in those states or c ountries.
Elpas reserves the right to modify this statement at any time, in its sole discretion without notice to any purchaser or user. However, this statem ent shall not be modified or varied
except by Elpas in writing, and Elpas does not authorize any single individua l to act on its behalf to modify or vary this statement.
Any questions about this statement should be directed to Elpas.
Page 4 of 4
V4/Jan 2016
W.E.E.E. Product Recycling Declaration
For information regarding the recycling of this product you must contact the company from which you orignially purchased it.
If you are discarding this product and not returning it for repair then you must ensure that it is returned as identified by your supplier
This product is not to be thrown away with everyday waste - Directive 2002/96/EC Waste Electrical and Electronic Equipment.
.
 Loading...