

Page 1
Revision A
P/N E656363
www.elotouch.com
© 2018 Elo Touch Solutions, Inc. All rights reserved.
The information in this document is subject to change without notice. Elo Touch Solutions, Inc. and its Affiliates (collectively “Elo”) makes no
representations or warranties with respect to the contents herein, and specifically disclaims any implied warranties of merchantability or fitness
for a particular purpose. Elo reserves the right to revise this publication and to make changes from time to time in the content hereof without
obligation of Elo to notify any person of such revisions or changes.
No part of this publication may be reproduced, transmitted, transcribed, stored in a retrieval system, or translated into any language or
computer language, in any form or by any means, including, but not limited to, electronic, magnetic, optical, chemical, manual, or otherwise
without prior written permission of Elo Touch Solutions, Inc.
Elo (logo) and Elo Touch Solutions are trademarks of Elo and its Affiliates.
North America
800-ELO-TOUCH
Tel +1 408 597 8000
Fax +1 408 597 8050
EloSales.NA@elotouch.com
Europe
Tel +32 (0)16 70 45 00
Fax +32 (0)16 70 45 49
elosales@elotouch.com
Asia-Pacific
Tel +86 (21) 3329 1385
Fax +86 (21) 3329 1400
EloAsia@elotouch.com
Latin America
Tel +52 55 2281-6958
EloSales.LATAM@elotouch.com
Elo Touch Solutions Technical Support
Online self-help:
www.elotouch.com/support
Quick Installation Guide
Status Light Kit
Revision A
P/N E656363
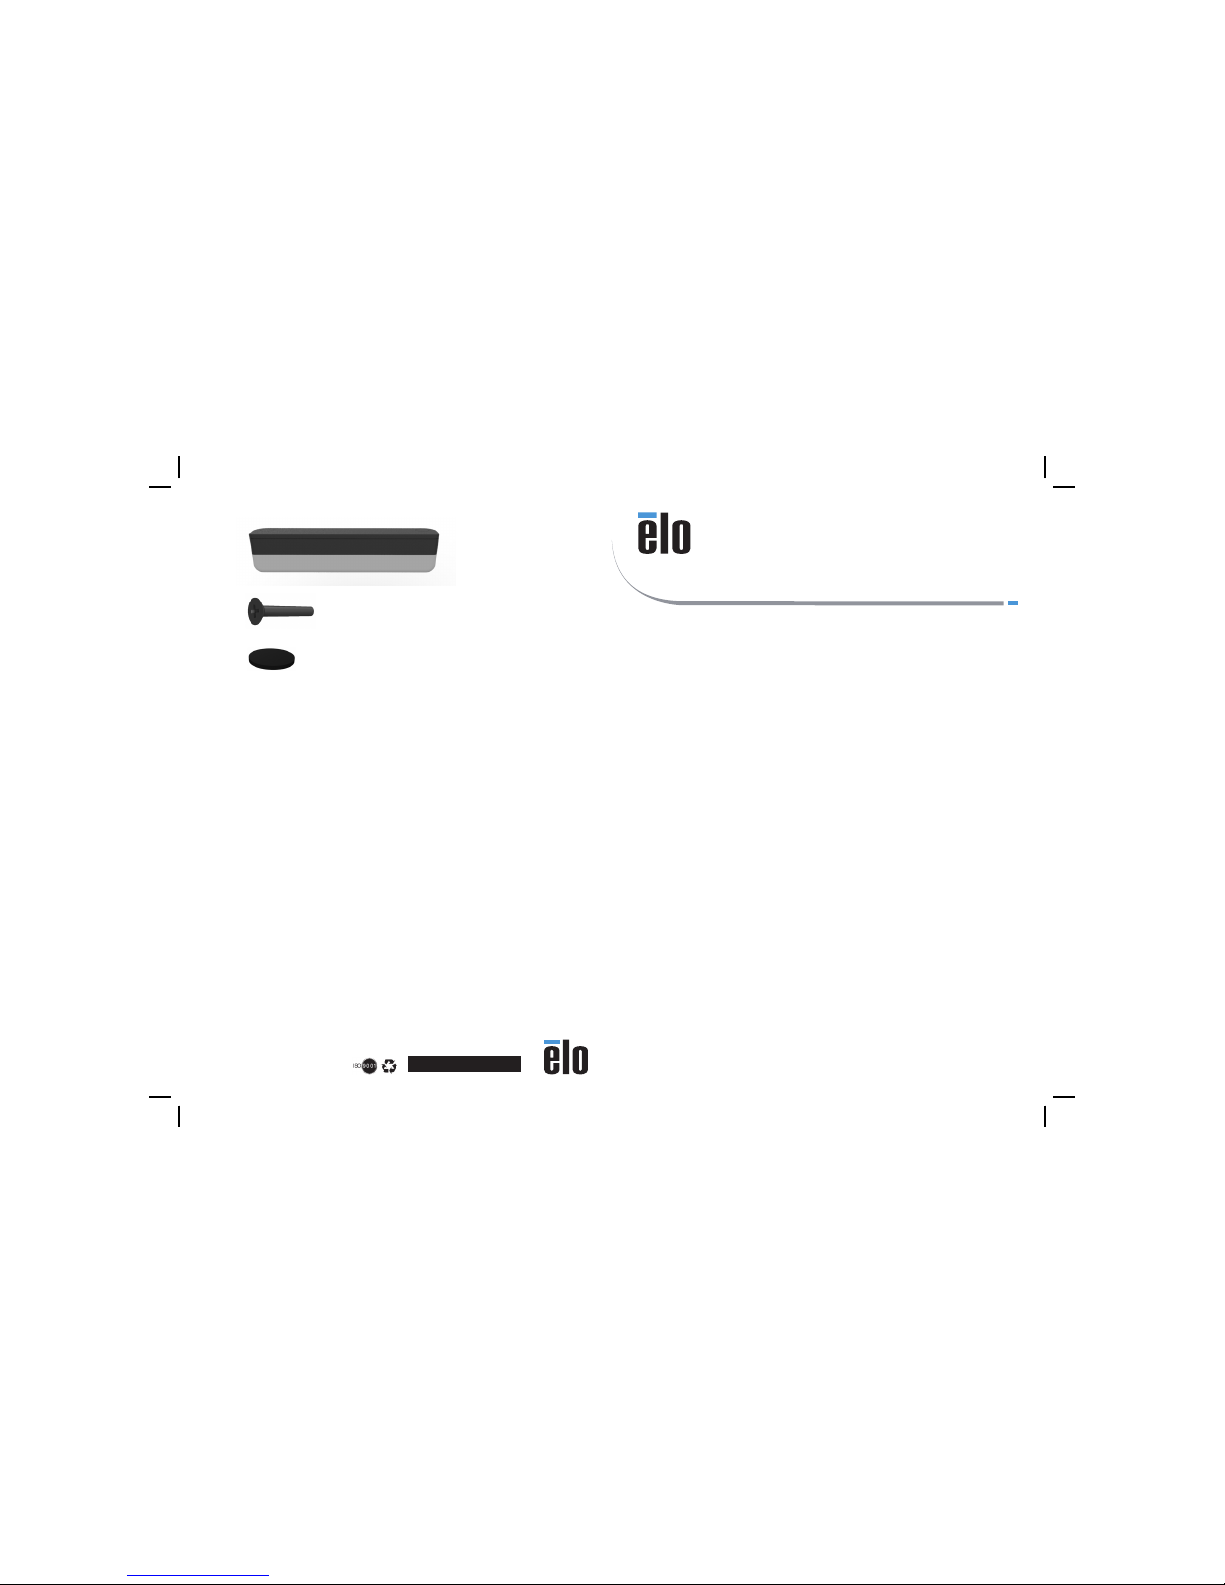
1x
2x
2x
Page 2
Please go to www.elotouch.com/support to verify you have the latest drivers before installing this device.
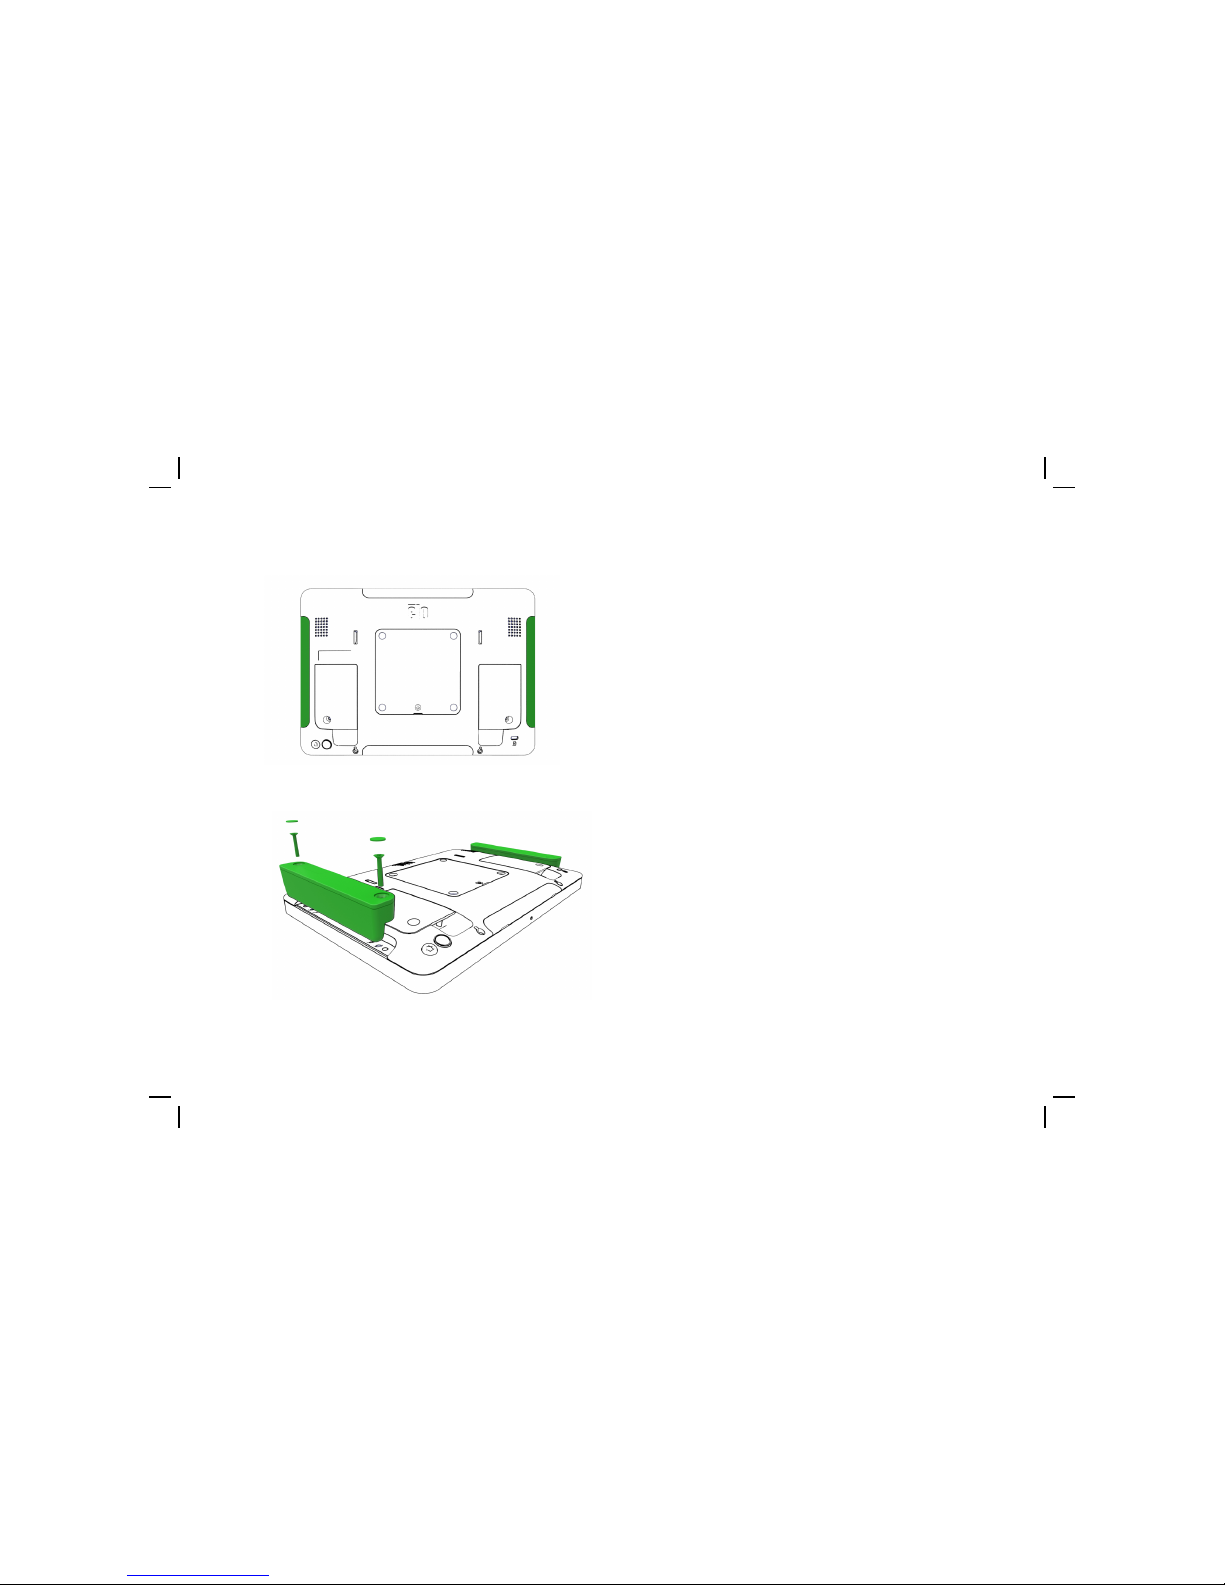
Installation
Remove the Edge Connect peripheral covers to expose the peripheral bay. Up to two status
lights can be installed on a single I-Series display
Gently press the status light into the Edge Connect peripheral bay making sure the connector is
seated. Then install the included screws and screw covers.
Note: This kit is only compatible with I-Series “Standard” version. Status light Kit P/N E51272 is
compatible with I-Series “Value” versions.
1
2
3
Go to elotouch.com/support to download device drivers and software
development kit for this device.
Page 3

Revision A
P/N E656560
www.elotouch.com
© 2018 Elo Touch Solutions, Inc. All rights reserved.
The information in this document is subject to change without notice. Elo Touch Solutions, Inc. and its Affiliates (collectively “Elo”) makes no
representations or warranties with respect to the contents herein, and specifically disclaims any implied warranties of merchantability or fitness
for a particular purpose. Elo reserves the right to revise this publication and to make changes from time to time in the content hereof without
obligation of Elo to notify any person of such revisions or changes.
No part of this publication may be reproduced, transmitted, transcribed, stored in a retrieval system, or translated into any language or
computer language, in any form or by any means, including, but not limited to, electronic, magnetic, optical, chemical, manual, or otherwise
without prior written permission of Elo Touch Solutions, Inc.
Elo (logo) and Elo Touch Solutions are trademarks of Elo and its Affiliates.
North America
800-ELO-TOUCH
Tel +1 408 597 8000
Fax +1 408 597 8050
EloSales.NA@elotouch.com
Europe
Tel +32 (0)16 70 45 00
Fax +32 (0)16 70 45 49
elosales@elotouch.com
Asia-Pacific
Tel +86 (21) 3329 1385
Fax +86 (21) 3329 1400
EloAsia@elotouch.com
Latin America
Tel +52 55 2281-6958
EloSales.LATAM@elotouch.com
Elo Touch Solutions Technical Support
Online self-help:
www.elotouch.com/support
Quick Installation Guide
Status Light Kit
Revision A
P/N E656560
1x
2x Cables (1 long and 1 short)
(Value version only)
2x
2x
Page 4

Please go to www.elotouch.com/support to verify you have the latest drivers before installing this device.
Installation
Remove the Edge Connect peripheral covers to expose the mounting interface. Up to two status
lights can be installed on a single I-Series display
Fasten the status light to the I-Series using the included screws and screw covers.
Remove the connector covers from each status light and connect the GPIO
cables as shown. Use the short cable to connect the nearest light to the I-Series
GPIO connector. Use the long cable to connect a second light to the rst light.
Then reinstall the connector covers making sure the cables route through the
openings in the covers and are not pinched.
Extra cable length can be coiled up and stored in either of the I-Series
connector pockets.
I-Series connector
pockets
Short Cable
Long Cable
1
2
3
4
Go to elotouch.com/support to download device drivers and software
development kit for this device.
 Loading...