

elive EP50W, EP150W, EP100W, EP200W, EP250W Instruction Manual
Precision-Set Premium
Aquarium Heater
InstructIon Manual
Models EP50W, EP100W, EP150W, EP200W, EP250W
Elive Aquarium Heaters are listed by Underwriters Laboratories to
ensure that they meet the stringent U.S. and Canadian safety requirements.
1. A. If the appliance shows any sign of abnormal
water leakage, immediately unplug it from the
power source.
B. Carefully examine the appliance after installation.
It should not be plugged in if there is water on
the parts not intended to be wet.
C. Do not operate any appliance if it has a damaged
cord or plug, if it is malfunctioning or if it is
dropped or damaged in any manner.
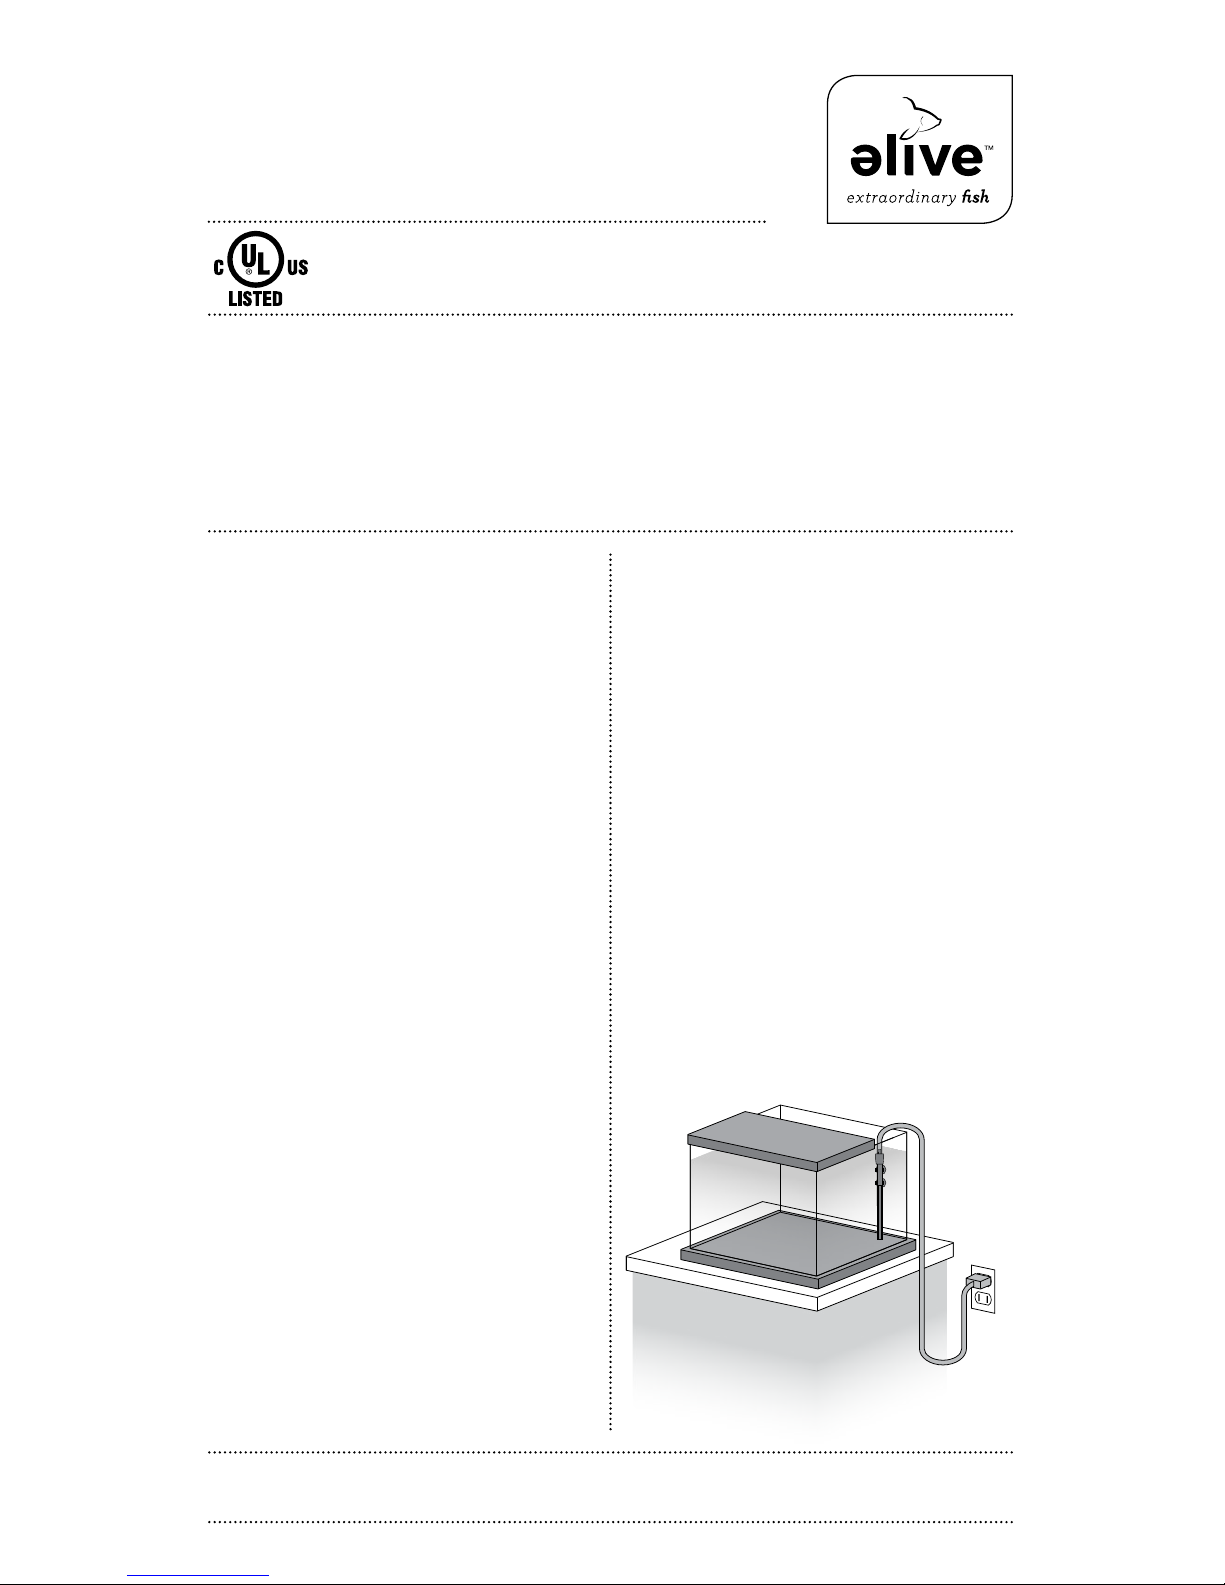
D. To avoid the possibility of the appliance plug or
receptacle getting wet, position aquarium stand and
tank to one side of the wall mounted receptacle
to prevent water from dripping onto the receptacle
or plug. A “drip loop,” shown in the figure below,
should be arranged by the user for each cord
connecting an aquarium appliance to the
receptacle. The “drip loop” is the part of the cord
below the level of the receptacle, or the connector
if an extension cord is used, to prevent water
travel along the cord and coming in contact with
the receptacle. If the plug or the receptacles do
get wet, DO NOT unplug the cord. Disconnect the
fuse to the circuit breaker that supplies power to
the appliance. Then unplug and examine for the
presence of water in the receptacle.
2. Close supervision is necessary when any appliance
is used by or near children.
3. To avoid injury, do not contact moving parts or hot
parts such as heaters, reflectors, lamp bulbs, etc.
4. Always unplug an appliance from the outlet when
not in use, before putting on or taking off parts, and
before cleaning. Never yank the cord to pull plug from
the outlet. Grasp the plug and pull to disconnect.
5. Do not use an appliance for other than intended use.
The use of attachments not recommended or sold
by the appliance manufacturer may cause an
unsafe condition.
6. Do not install or store the appliance where it will
be exposed to the weather or to temperatures
below freezing (32
o
F/0oC).
7. Make sure an appliance mounted on a tank is
securely installed before operating it.
8. Read and observe all the important notices on
the appliance.
9. If an extension cord is necessary, a cord with a
proper rating should be used. A cord rated for less
amperes or watts than the appliance rating may
overheat. Care should be taken to arrange the
cord so that it will not be tripped over or pulled
from outlet.
10. ONLY FOR POLARIZED ATTACHMENT PLUG
APPLIANCES: If this appliance has a polarized plug
(one blade is wider than the other) as a safety feature,
this plug will fit in a polarized outlet only one way.
If the plug does not fit fully in the outlet, reverse the
plug. If it still does not fit, contact a qualified electrician.
Never use with an extension cord unless plug can
be fully inserted. Do not attempt to defeat this
safety feature.
IMPORTANT SAFETY INSTRUCTIONS
WARNING: To guard against injury, basic safety precautions should be observed including the following:
READ AND FOLLOW ALL SAFETY INSTRUCTIONS
DANGER: To avoid possible electric shock, special care should be taken since water is employed in the use of
aquarium equipment. For each of the following situations, do not attempt to repair yourself; return the appliance to
an authorized service facility for service or discard the appliance.
SAVE THESE INSTRUCTIONS
Drip Loop
Submersible
heater
Power
supply
cord
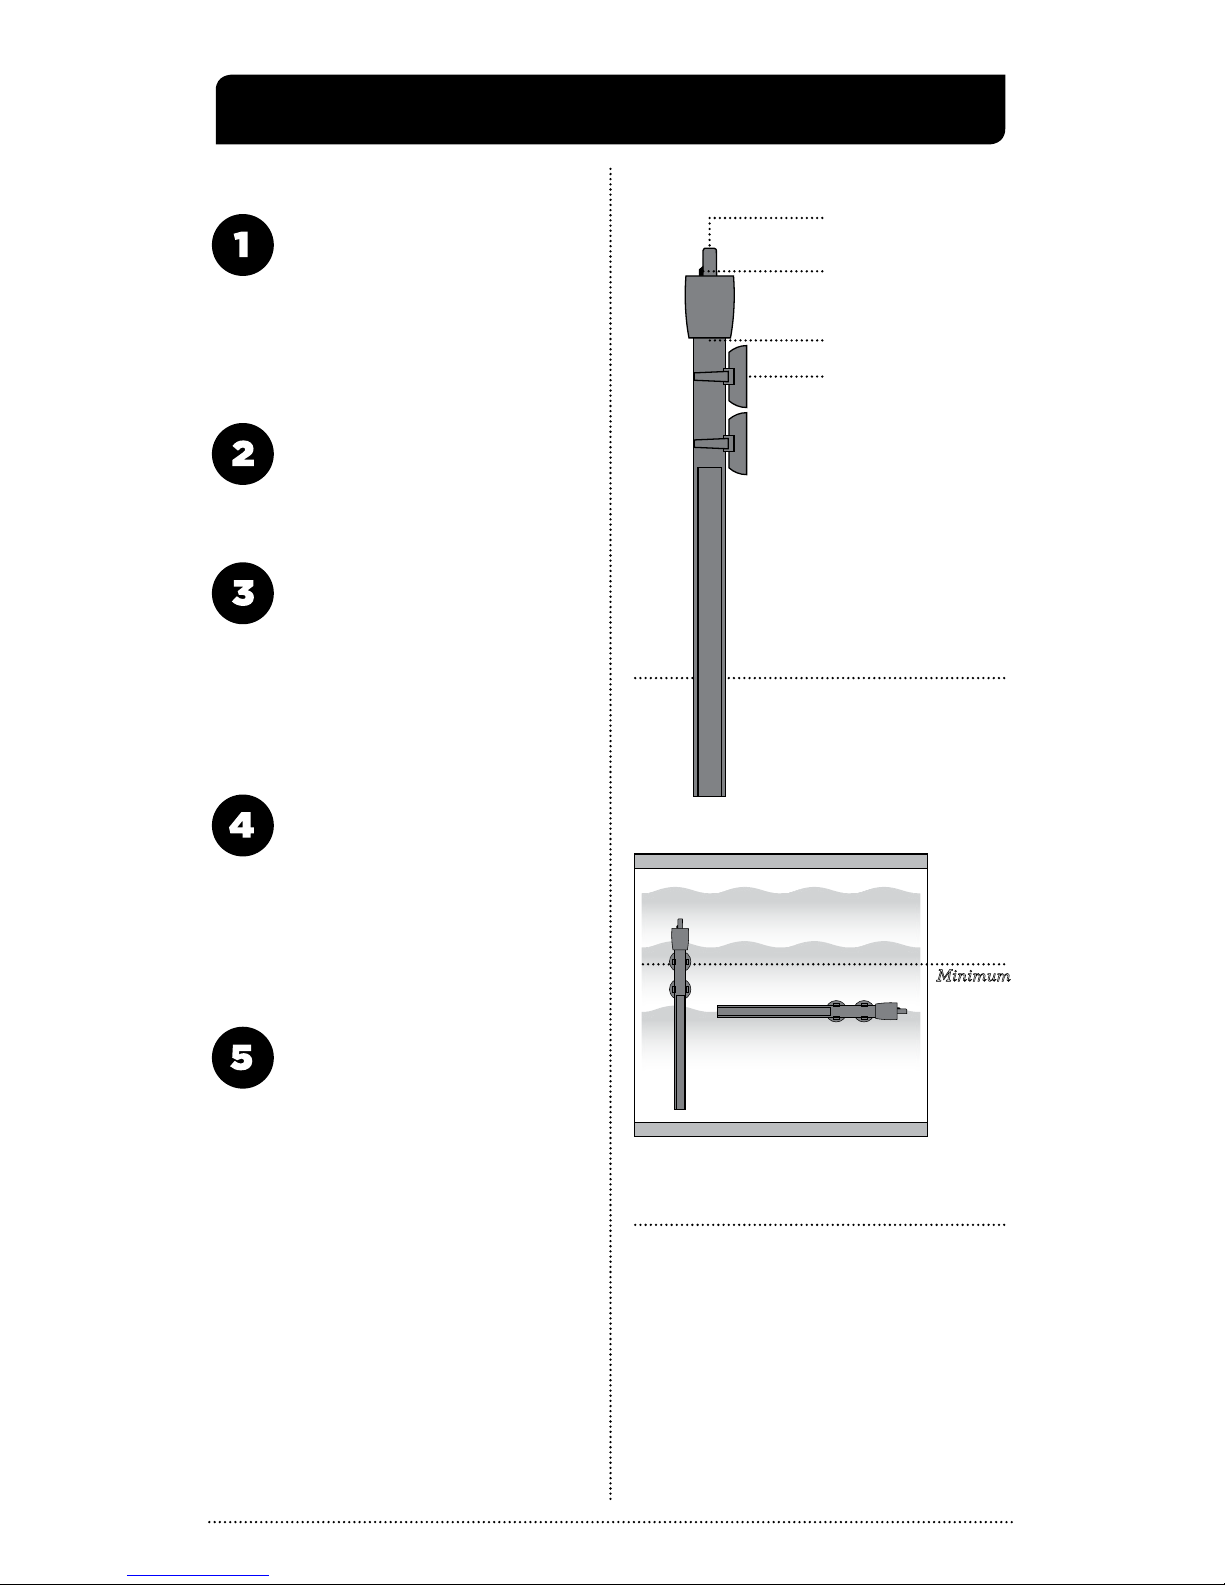
Fig. 2
Vertical
position
Horizontal
position
Water level
OK
OK
Minimum
NO
Fig. 1
Caution: Before installing or operating the heater, read and
understand all safety instructions and warnings.
setup GuIde
Attach the suction cups
to the heater
Unpack the suction cups and install them onto
the provided heater clips, then clip them to the heater.
One suction cup should be placed towards the top of the
heater and another towards the middle. Suction cups
should not be placed over the heating portion of the
heater.
See Figure 1.
Set the heater temperature
Turn the temperature dial at the top of the
heater to line up with the desired aquarium
water temperature. Additional adjustment may be required
after the heater is installed.
See Figure 1.
Place the heater
into the aquarium
Install the heater into the aquarium after it has
been filled with water. The heater is fully submersible
and may be installed either vertically or horizontally.
The heater must be installed so that water in the
aquarium is above the minimum water line marked on
the heater. The water level must be maintained to stay
above this line.
See Figure 2.
Plug the heater into
the electrical outlet
Let the heater sit submerged in the aquarium
for 30 minutes before plugging it in, so that it can adjust
to the water temperature. Plug the heater into the
electrical outlet and it will begin operating. The red LED
operating light will illuminate indicating that the heater
is heating, and will turn green when the water has reached
the set temperature.
Check and adjust the
temperature, if necessary
Always use a reliable aquarium thermometer
in combination with any heater to double check the
water temperature. After the heater has run for 24 hours,
check the water temperature using a thermometer.
Small adjustments can be made to the heater set point to
adjust the water temperature higher or lower if necessary.
Once an adjustment is made, wait 24 hours before
re-checking the water temperature.
Note: Any adjustments to the aquarium water
temperature should be made slowly in small increments
to avoid stressing your aquarium inhabitants.
Research or consult a sales associate for species
specific temperature requirements.
Temperature dial &
LED operating light
Set temperature bar
Minimum water level
Suction cup
 Loading...