

Page 1
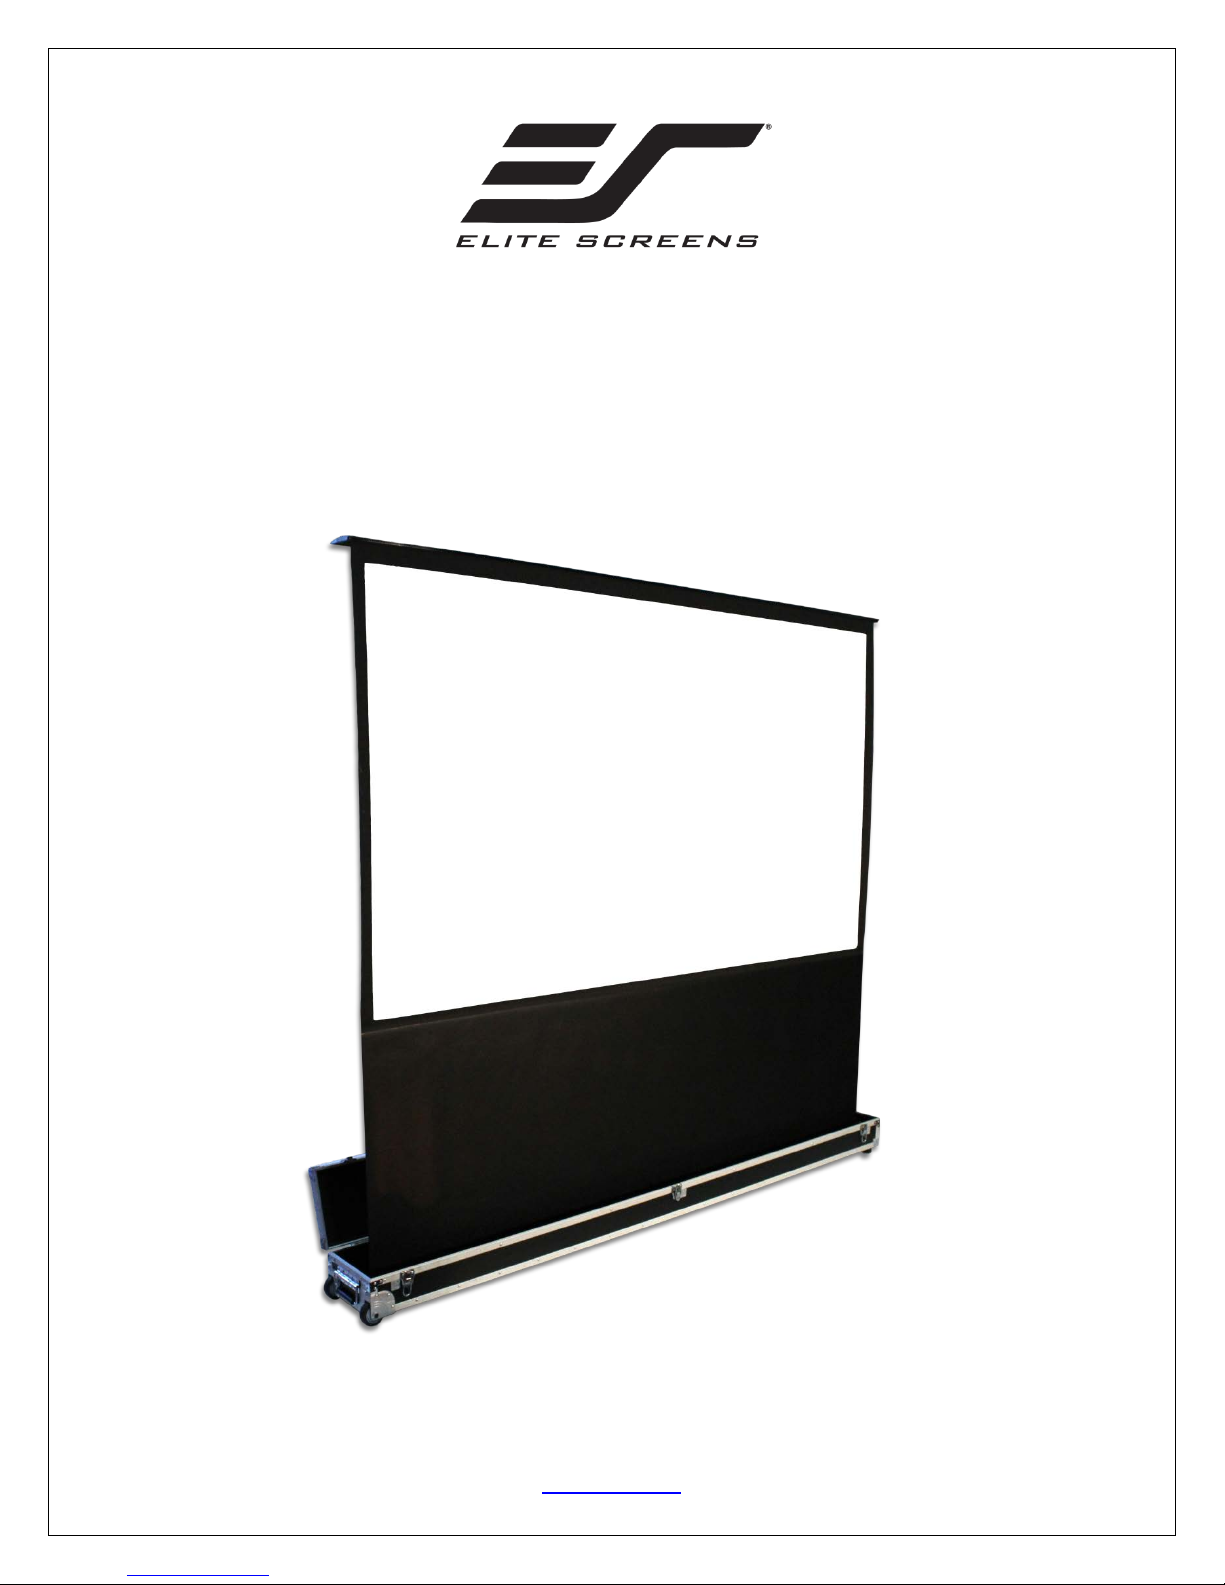
Kestrel Stage B NTC Series
Electric Floor Rising Projection Screen without Travel Case
User’s Guide
Rev090618 ELITESCREENS.com 1
Page 2
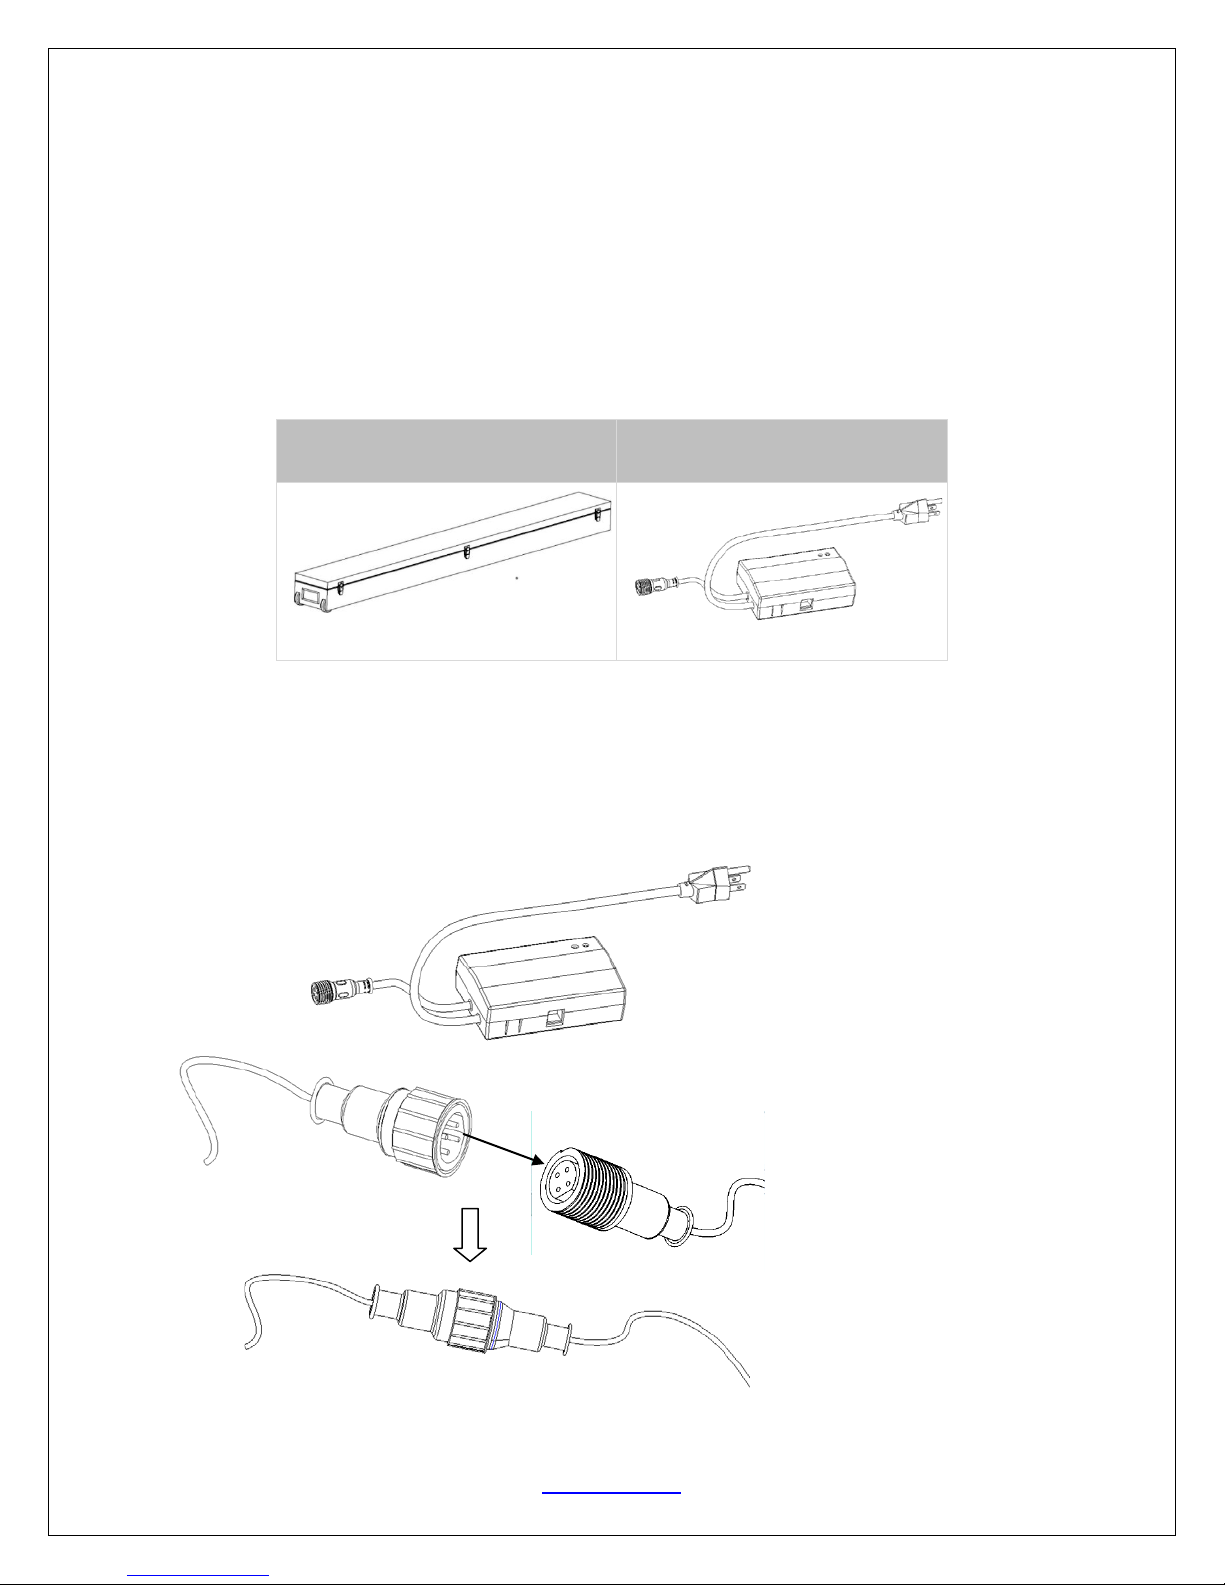
Connect together
Product description
The Kestrel Stage Series is a portable electric floor rising front projection screen that is ideal for event
applications used in Churches, hotels, schools, or other like venues.
Product parts and hardware
Upon receiving your screen, please make sure all parts listed below are included. If anything is missing
from the package, please contact ElitePro AV right away.
1. Kestrel Stage Motorized screen
w/ travel case (main) X 1
2. Remote Control Wall Box X 1
Product Assembly and Operation
1. Connect the power cable and control box (item2)
Rev090618 ELITESCREENS.com 2
Page 3

DOWN
Control box
Controls and Accessories for Kestre l Stage Series
A. IR Remote B. RF Remote C. 3-way Wall Switch
D. 5-12 volt trig ger cable E. IR extended “eye” receiver F. AAA batteries
Screen Control System for Kestrel Stage Series
Electric Current information: Depending upon region, your Elite Screens screen will operate on
110 or220 voltage.
1. Plug the screen’s power cord into a power outlet.
2. Once the screen has power, you’ll be able to control it using any of the 4 methods described
below.
4 Ways to Control your Kestrel Stage Series
1) IR remote control (Item A) and IR “Eye” Receiver (Item E) : The IR remote control (fig.1)
requires line-of-sight to the IR sensor. The IR “eye” receiver must be connected to the Remote
Control Wall box in order for the IR remote control to function. The IR “Eye” Receiver plugs
directly into the screen’s RJ-45 input (fig.2).
UP
STOP
IR/RF remote
Fig.2
Fig.1
Rev090618 ELITESCREENS.com 3
Page 4

(does not have IR sensor)
Fig.3
2) RF Remote Control (Item B): The radio waves eliminate the need for a direct line of sight
with a range of 100 feet.
3) 3-Way Wall Switch (Item C, Fig 3): The 3-way wall switch manually controls the screens
up/stop/down button by connecting directly into the screen’s RJ-45 port.
4) 5-12 volt trigger (Item D, Fig 4): The built-in 5-12V trigger input allows your screen to
synchronize its drop & rise with the projector’s power cycle. The screen deploys when the projector
powers up and will retract when the projector powers down. The 5-12 volt RJ45 cable connects to
your projector’s trigger output via a separate cable that may or may not be provided by the
manufacturer of the projector. The trigger feature will not work without an output cable from the
projector, but it can be tested by connecting the Red (+) and Green (-) cable to a 9-volt battery.
3 Way Wall Switch
For local Elite Screens contact or Technical Support, please visit
Rev090618 ELITESCREENS.com 4
Fig.4
ELITESCREENS.com
 Loading...