

Elite Screens Insta-DEM Series User Manual
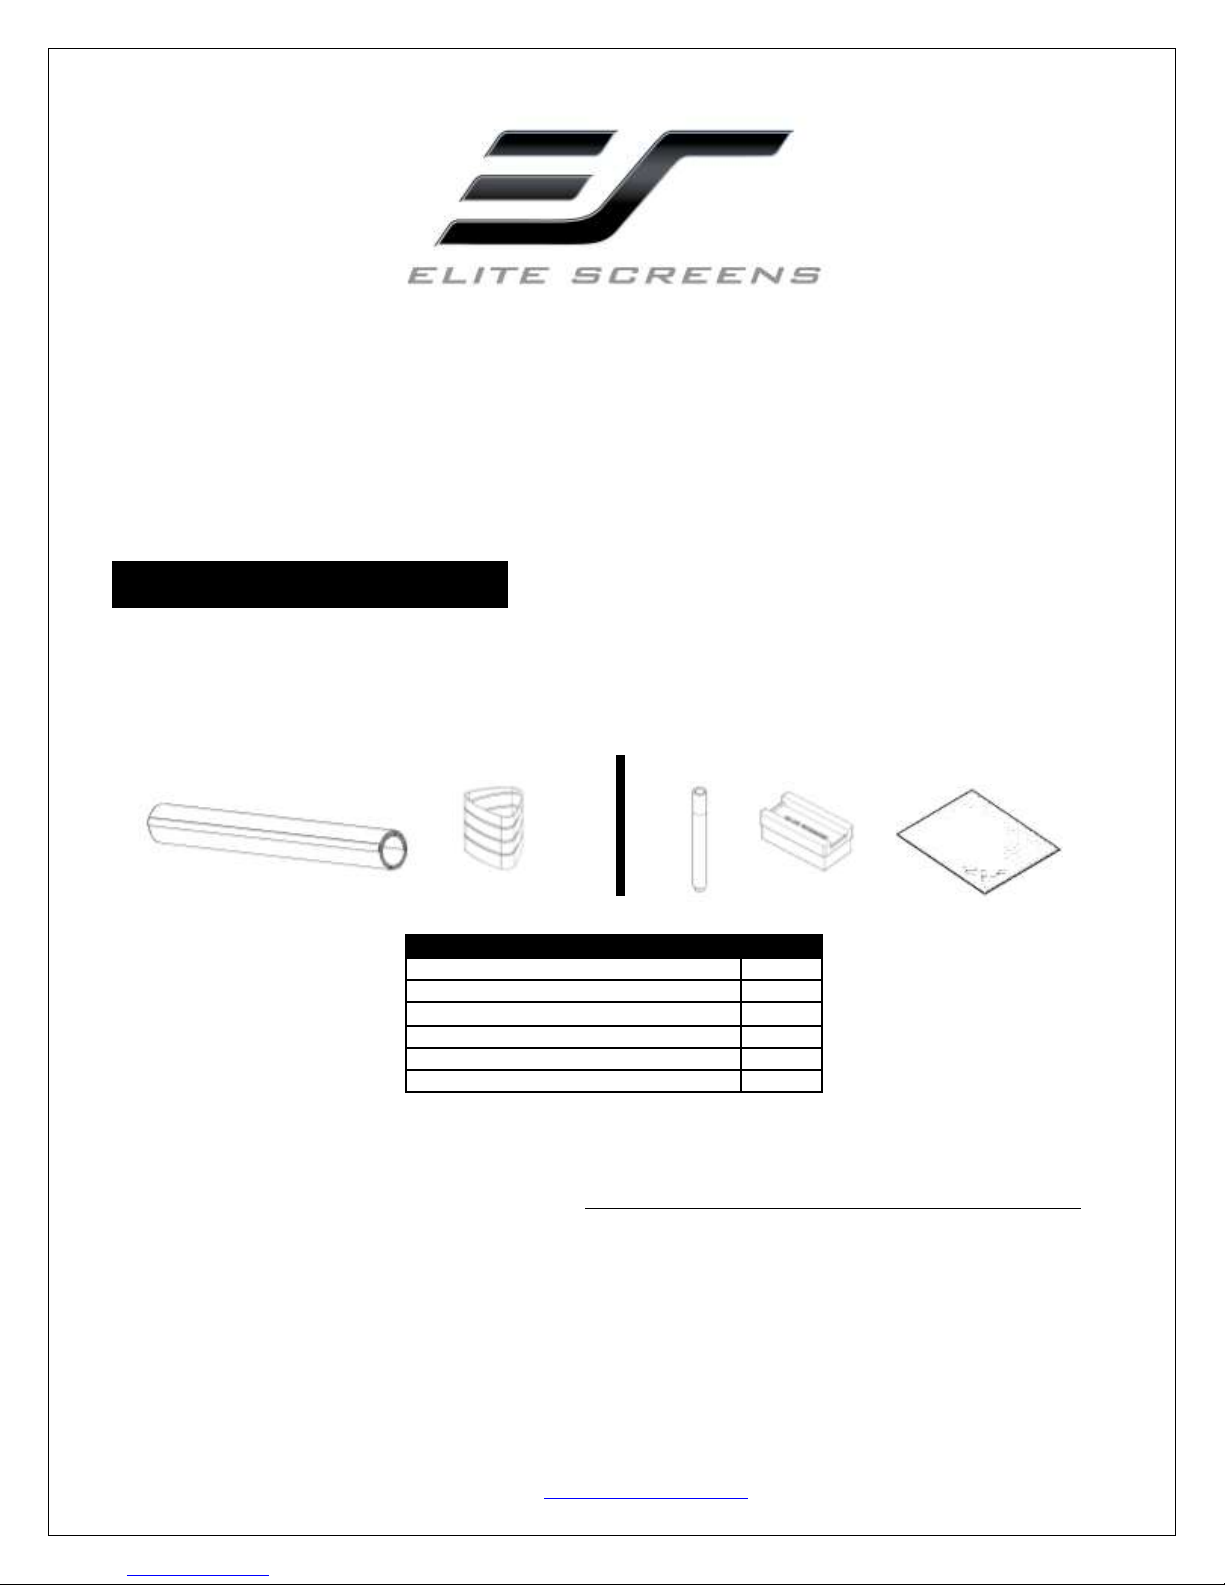
Parts List
QTY
a. Insta-DEM Screen Material
1
b. Pen Holder
1
c. Magnetic bar
2
d. Whiteboard markers
3
e. Elite special high density eraser
2
f. Microfiber cleaning cloth
1
Insta-DEM Series
Magnetic Dry-Erase Front Projection Screen
User’s Guide
What’s in the package
Please make sure all parts listed below are included. I f a ny th in g i s m i s si n g pl ea s e co nt a c t u s
i m m ed ia te l y .
a. b. c. d. e. f.
Notes:
1. For best results and maximum product longevity, ONLY use Elite Screens high density whiteboard Eraser
2. Please use the microfiber cloth and clean water to cleanse the surface every 2-4 weeks to maintain a fresh
and clean projection surface.
071213-JA www.elitescreens.com 1

Magnetic surface
Wall
Magnetic
Surface
Installation
Attention: Prolonged storage of the Insta-DEM in its factory packaging may result in the material not being able
to lie flat once removed from its tube. An easy way to remedy this is to remove the material from the tube and
roll it up in a reverse manner for 5 minutes. This will flatten out the material and make it more pliable to work
with.
1. Cle an the magnetic surface location w h e re the I n sta -DE M Sc r ee n will be installed.
2. Measure and mar k t h e top - righ t an d bot t o m-r i gh t c o rner of t he ins t allat i on lo cat i o n.
3. Attach the Insta-DEM Screen to the top-right and bottom-right corner of the magnetic surface location
as shown below.
4. Carefully unroll the material and firmly attach the top and bottom until the Insta-DEM Screen is
completely attached to the magnetic surface.
071213-JA www.elitescreens.com 2
 Loading...