

Quick Start Guide
Wat ch er
1

INDEX
Aboutourproducts -----------------------------------------3
Compatibility -----------------------------------------------3
Operation --------------------------------------------------3
Charging ---------------------------------------------------4
WatchMenudescription --------------------------------------4
FirmwareUpgrade-------------------------------------------- 7
ImportantProductInformation --------------------------------- -7
2
About our products:
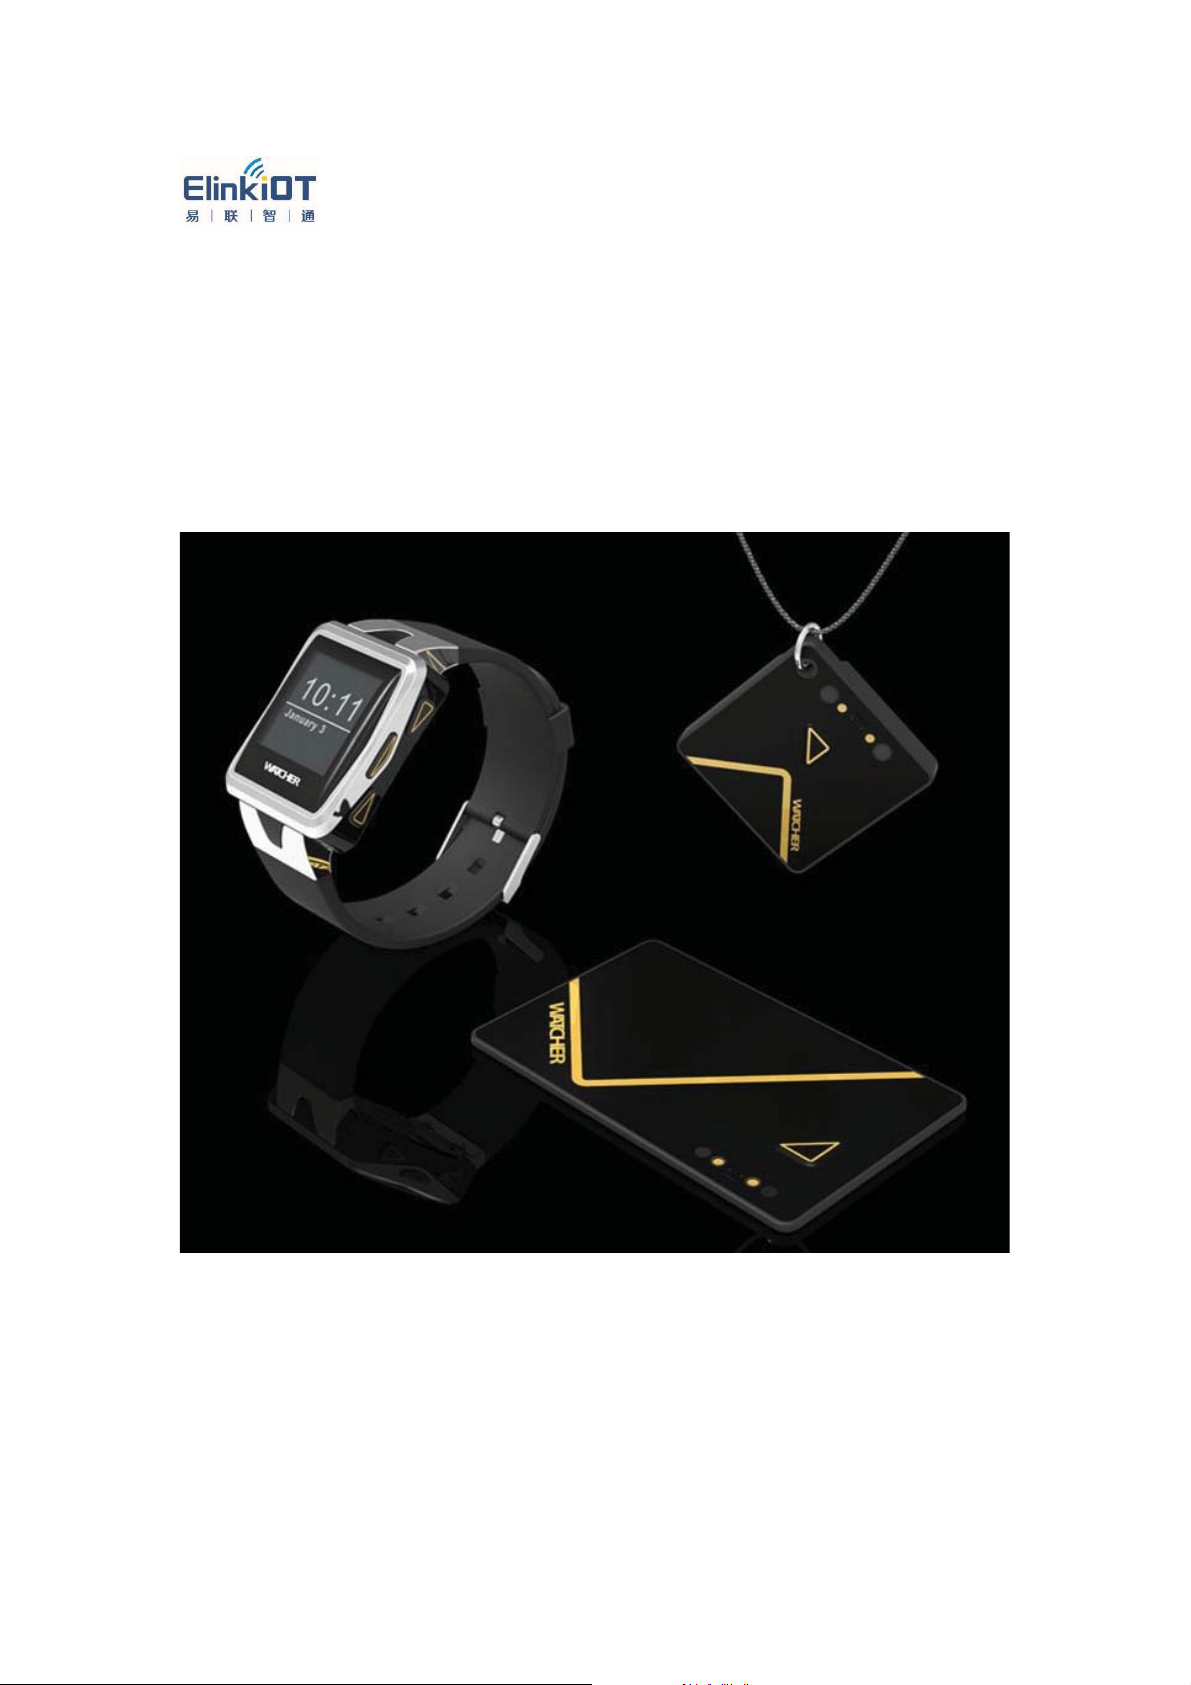
Watcher is an anti-lost smart watch. Just attach the accessory(pendant or card)
to your valuables and pair it with the Watcher,and Watcher will keep track of
them all the time.Your Watcher will be connected to iPhone or Android phone
by Bluetooth,and the GPS location will also be recorded by Watcher app to
help you recover your lost items. Once the accessory is out of communication
range, your Watcher will vibrate to alert you.This will prevent you from losing or
forgetting your phone, wallet, keys,etc.
Compatibility:
Watcher connects to your iPhone 4(and above) with iOS6(and above).Watcher
connects to the Android devices that come with bluetooth4.0 running OS
4.3(and above) .The accessories are connected to your Watcher by RFID
technology that is integrated within all of our products.
Operation:
To connect your Watcher to your smartphone, download and install the mobile
app from www.elink-iot.com .After the mobile app is installed,you will be
prompted to connect the smartphone to your Watcher.The time on Watcher will
be automatically set.Once Watcher connects to your smartphone,Watcher will
vibrate to notify you when you get SMS or a call from someone.
3

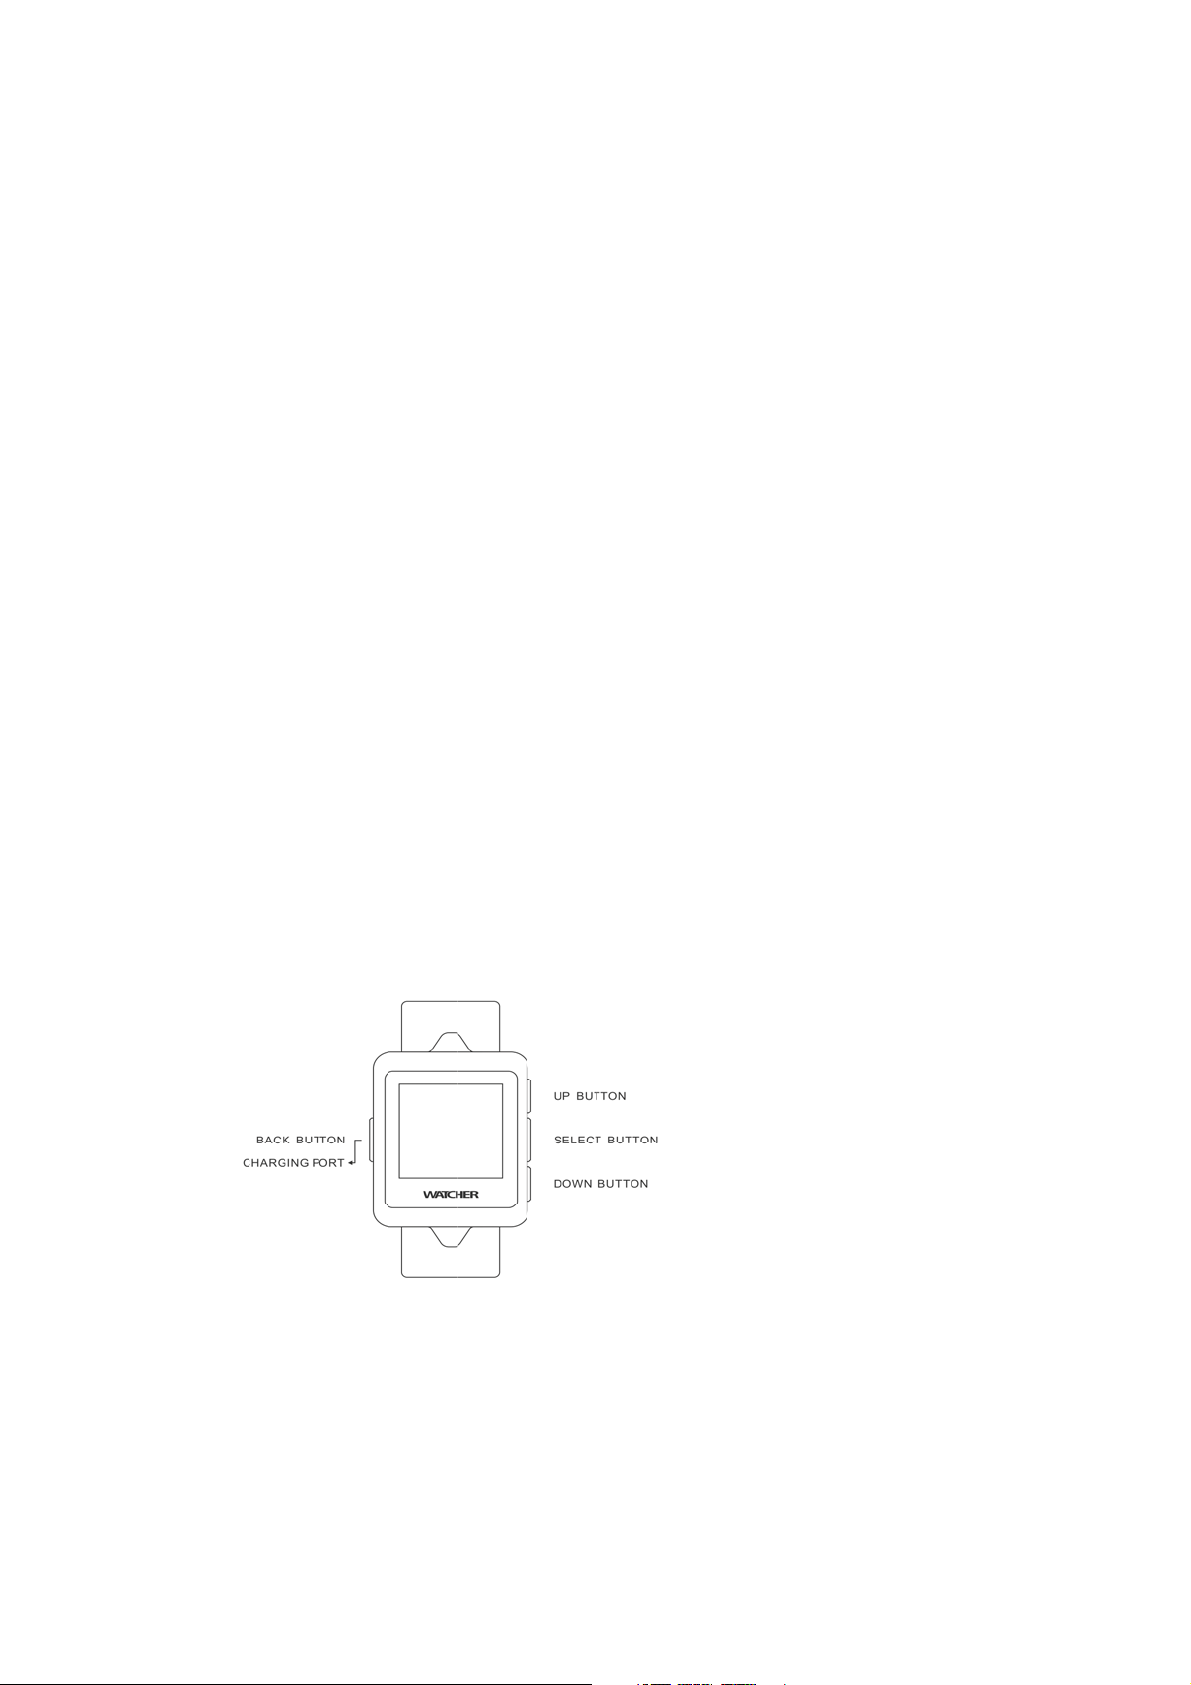
Watcher has four buttons.The left button is called the "back" button,which
could return to the previous screen or enter into your watchface from the main
menu.On the right side,the top and bottom buttons generally are used for
scrolling through lists.The "Center"button is used to select an item in a list.You
can scroll through the right side buttons to select the menu.
The pendant and card each have one button that is used to pair up with
Watcher.Once the RF is enabled on Watcher,scroll down on the menu and
select the pair-up option, and press the select button on the pendant/card to
connect to your Watcher immediately.
Once Watcher connects to your accessories, it will display how much battery is
left for each accessory.If you press the button on the accessories
twice ,Watcher will get disconnected. They will automatically reset in 1 minute.
Charging
The charger connects magnetically to the charging port on the left side of your
Watcher and to two accessories.When your accessory is connected to
Watcher, you can see when the accessory is charging on Belongings list.
Watch Menu description
1.Belonging list
1.1 Belongings list
Displays all the accessories that connected to your Watcher.
1.2 Reminder list
4

Lists all the communication records between your accessories and
Watcher.
1.3 No disturb time
You can set up a period of time when you don't want to get any alert from
your Watcher.
1.4 Pair
Pairs up Watcher with any accessory that is within range.
1.5 Delete
Deletes any accessory connected to Watcher.
1.6 PowerAlert On
Alerts you to the power level of your accessories.
1.7 LockAlert Off
Turns off the vibrate reminder when Watcher connects to your
accessories.
2. Sweet time
When you and your partner both own Watcher and are within
communication range, Watcher will automatically keep track of how much time
is spent together.It also display how much time you’ve spent together in a
daily,weekly or monthly basis.By making it work,one user should click
Broadcast,the other user should click Pair,and they will connect with each
other in couple seconds.
3.Thermometer
Collects data from the thermometer that monitors the temperature of the
baby.
3.1 History Data
Displays the data collected before.
3.2 Fever Alarm
Alert the user if the temperature is up to the fever level.
3.3 Abnormal Alarm
Alert the user if the temperature is abnormal compared to the previous
data.
4.Activity
4.1 History Data
Displays the running data collected before.
4.2 Single test
You can see your data for each test.
4.3 Settings
Customize your own settings.
5.Find Phone
5

This function requires that Bluetooth is activated on Watcher and the
smartphone.
When the smartphone is beyond range ,Watcher will vibrate to alert you.
6.Settings
The settings menu will allow you to customize Watcher's features.To access
each of these settings,press the Select button when the item is highlighted in
the list of settings.
6.1 RF
To pair Watcher with your accessories,the RF must be "on".
6.2 Bluetooth
To pair Watcher to your smartphone,the Bluetooth must be "On" .To
disable Bluetooth,press the Select option when 'Bluetooth on' is highlighted.
6.3 Notifications
You can enable or disable notifications.In sleep mode,you won't get any
notifications.
6.4 Vibration
This option enables you to manually decide how many times Watcher
vibrates under three circumstances:receiving messages,incoming calls, when
the your accessories are out of range.
6.5 Date&Time
You can manually set the date and time on your Watcher.
6.6 Alarms
You can set up to 3 alarms..
6.7 Watchfaces
Selects among different watchefaces .
6.8 Memo dates
Sets alerts for important dates and times
6.9 Languages
You can select the display language of your choice: English o r Mandarin
Chinese
6.10 Factory Reset
Watcher can be restored to the original factory settings. Please note
that this options removes any personalized settings
6.11 Shut Down
Turns off your Watcher. In this mode, Watcher continues to keep time.
To turn your Watcher on, press and hold any button for 3 seconds.
6.12 About
This column contains Watcher hardware and software version
information.
6

Firmware Upgrade:
For m ore information about firmware upgrades, please go to
www.elink-iot.com .
Important Product Information:
Elink-IOT Watcher 1 year limited Warranty
Elink-IOT Technology Co.,Ltd. warrants this Watcher-branded hardware
product against defects in materials and workmanship under normal use for a
period of ONE(1) YEAR from the date of retail purchase by the original
end-user purchaser("Warranty Period").During this warranty period,if a defect
arises,and you follow the instructions for returning the product,we will, at our
option,either(i)repair the product using either new or refurbished
parts,(ii)replace the product with a new or refurbished products, or (iii) refund
the purchase price of the product.Any replacement may be ,at the option of
Elink-IOT,a new or re-manufactured product.
A replacement product assumes the remaining warranty of the original product
or ninety (90) days from the date of replacement or repair,whichever provides
longer coverage for you.
When a product is exchanged, any replacement item becomes your property
and the replaced item becomes Elink-IOT's property.When a refund is given,
the product for which the refund is provided must be returned to Elink-IOT and
becomes Elink-IOT's property.
Exclusions and Limitations
This Limited Warranty applies only to hardware products manufactured by or
for Elink-IOT that can be identified the "Elink-IOT" trade name, or logo affixed
to them.
Obtaining Warranty Service
To obtain warranty service for any Product that is subject to the foregoing
warranty,Consumer must notify Elink-IOT(support@Elink-IOT.com) to obtain a
Return Material Authorization("RMA")and return the defective Product together
with proof of purchase to the address specified by Elink-IOT in connection with
the RMA.Purchaser may be required to deliver the defective product to an
authorized Elink-IOT distributor.
7

FCC Statement
1.This device complies with Part 15 of the FCC rules. Operation is
1. These devices(including watch,pendant and card) comply with Part 15 of the
subject to the following two conditions: 1) this device may not cause
FCC Rules. Operation is subject to the following two conditions:
harmful interference, and 2) this device must accept any interference
(1) These devices may not cause harmful interference.
received, including interference that may cause undesired operation.
(2) These devices must accept any interference received, including
interference that may cause undesired operation.
2. Changes or modifications not expressly approved by the party responsible
for compliance could void the user's authority to operate these devices.
NOTE:
These devices have been tested and found to comply with the limits for a
Class B digital device, pursuant to Part 15 of the FCC Rules. These limits are
designed to provide reasonable protection against harmful interference in a
residential installation.
These devices generate uses and can radiate radio frequency energy and, if
not installed and used in accordance with the instructions, may cause harmful
interference to radio communications. However, there is no guarantee that
interference will not occur in a particular installation. If these devices do cause
harmful interference to radio or television reception, which can be determined
by turning them off and on, the user is encouraged to try to correct the
interference by one or more of the following measures:
Reorient or relocate the receiving antenna.
Increase the separation between the device and receiver.
Connect the device into an outlet on a circuit different from that to which the
receiver is connected.
Consult the dealer or an experienced radio/TV technician for help.
8

Elink-IOT
Simple your life
9
 Loading...