

Page 1
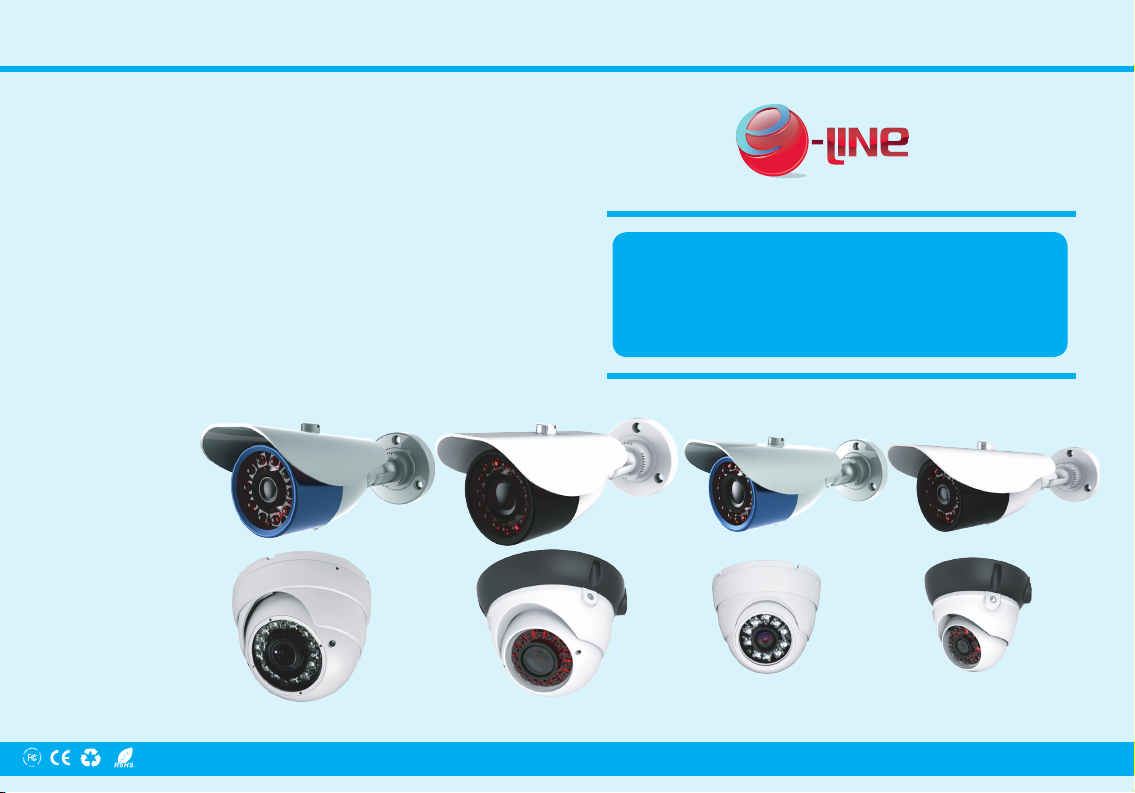
AN1 Series
CMOS Technology High Resolution Sensor
700tvl APS+
P/N 01.BSM.16.2000030 V1.0
Product Made in China under ISO9001 & ISO1400 standards
Manual Printed in China v1.0
eLineTechnology.com
Page 2

CAUTION
RISK OF ELECTRIC SHOCK
DO NOT OPEN
CAUTION:
TO REDUCE THE RISK OF ELECTRIC SHOCK,
DO NOT REMOVE COVER (OR BACK)
NO USER SERVICEABLE PARTS INSIDE.
REFER SERVICING TO QUALIFIED
SERVICE PERSONNEL.
The lightning with an arrowhead symbol, within an equilateral triangle
is intended to alert the users to the presence of uninsulated
“dangerous voltage” within the product’s enclosure that may be
sufcient magnitude to constitute a risk of electric shock to persons.
The exclamation point with an equilateral triangle is intended to alert
the user to the presence of important operating and maintenance
(servicing) instructions in the literature accompanying the appliance.
This equipment has been tested and found to comply with limits for a Class
A digital device, pursuant to part 15 of the FCC Rules. These limits are
designed to provide reasonable protection against harmful interference
when the equipment is operated in a commercial environment. This
equipment generates, uses, and can radiate radio frequency energy, if not
installed and used in accordance with the instruction manual, may cause
harmful interference to radio communications.
Operation of this equipment in a residential area is likely to cause
harmful interference in which case the user will be required to correct the
interference at his own expense.
Changes or modications not expressly approved by the manufacturer
could void the user’s authority to operate the equipment.
To prevent electric shock and risk of re hazards:
• Do NOT use power sources other than that specied.
• Do NOT expose this appliance to rain or moisture.
This installation should be made by a qualied service
person and should conform to all local codes.
Guide
Model Features:
• APS+ Technology
• 700TVL 1/3”
• Ultra Low Power
• No Complex OSD
• BNC Video Output
• Standard 12VDC Operation
• IR LED Models for Day/Night Operation
• True Day/Nigh ICR (ie LED Models)
Solution General Specications
General
Power source Regulated DC 12V
Power consumption 60mA for APS Module / (With IR LED ON 220mA Typical)
IR LED consumption 170mA 10pc Super Flux IR LED
Scanning system 2:1 interlace
Scanning frequency 15.734KHz(H), 59.95Hz(V)
Effective Pixels 756(H) x 504(V)
Resolution 700TVL
E-Shuter PAL: 1/25~15000s ; NTSC: 1/30~15000s
ACG / BLC On
WB AWB
Sync System Internal
Min.illumination 0 Lux IR LED On
Video output 1.0 Vp-p (75 ohm, composite)
S/N Ratio more than 47dB (AGC OFF)
Video output BNC Connector
Lens mount Fixed mount
Lens Varifocal 2.8-12 mm or Fixed Lens models 3.6mm
Operating temperature -10°C ~ +50°C / -40°F ~ 122°F
Operating humidity 0-90% (non-condensing)
*Specicaons subjected to change without prior noce.
1 2
Page 3

Identication
Mechanical Drawing
194 mm
7 5/8 in
Installation
Installation information (General overview)
226 mm
62 mm
2 3/8 in
1
2
Locking Screw
8 7/8 in
43
3 in
77 mm
5 6
Rotation lock
Accessories
1 Remove visor from camera to aid simpler installation. (Optional requirement)
2 Use drill template (D) as to guide to drill and attach camera to surface as required.
Holes on bracket are 120 degree apart, so three holes are required.
3 With camera attached you can now connect power, check device working.
(A) Wall Plugs
S7 x 26mm 3pcs
NOTE: Make sure you don’t have any missing parts before you make the installation.
Incorrect installation could void the warranty if instructions are not followed correctly.
Please call technical for assistance if you are unsure about any procedures.
(B) Fitting Screws
PA4 x 24mm 3pcs
(C) L-Hex tool
54x18mm
(D ) Drill template
3 4
4 Using the (C) L-Hex tool you position left-right up/down and lock into place.
The rear position rotation allows turning of angle turn anti-clockwise to loosen.
5 Adjust zoom & focus using small at blade. (Vari-focal model only)
6 Replace the sun visor if removed from step 1.
Check IR LEDs are working by covering the photocell of camera, the IR LEDs will
give a faint red glow.
(Don’t look at IR LEDs for long periods of time, as you could damage your eyes)
4
Page 4

Identication
Mechanical Drawing
99 mm
3 7/8 in
Installation
Installation information (General overview)
1/2”
1
118 mm
4 5/8 in
2
Vari-Focal Lens Model
43
4 5/8 in
117.5 mm
5 6
152 mm
6 in
1 Use supplied template to drill holes for (A) plugs.
Accessories
(A) Wall Plugs
S7 x 26mm 3pcs
NOTE: Make sure you don’t have any missing parts before you make the installation.
Incorrect installation could void the warranty if instructions are not followed correctly.
Please call technical for assistance if you are unsure about any procedures.
(B) Fitting Screws
PA4 x 24mm 3pcs
5 6
(C) L-Hex tool
58x20mm
(D ) Drill template
2 Remove locking cover using supplied (C) L-key. Optional requirement
3 Attach base part to surface with (B) screws. Use conduit if required.
4 Re-attach Cover and position camera then lock cover screws with L-Key.
5 Adjust the zoom & focus using at blade tool. (Vari-Focal models only)
6 Connect power, feeding through conduit may require this stage to be
completed before adjustment is made. Check IR LEDs are working by
covering the photocell of camera, the IR LEDs will give a faint red glow.
(Don’t look at IR LEDs for long periods of time, as you could damage your eyes)
6
Page 5

Identication
Mechanical Drawing
120 mm
4 1/2"
100 mm
4"
70 mm
3"
70 mm
3"
Installation
Installation information (General overview)
70
48
120
70
48
94
Ceiling
Fixed Lens Model
94
Accessories
80
Ø 120 mm
4 1/2"
49
49
1
CLOSE
VIDEO
Pan 360°
12VDC
Three axis rotate
Adjust wrench
Focus adjustment
Zoom adjustment
5 6
2
OPEN
43
1 Usethebaseasdrilltemplate.(Leftisvari-focalmodelrightxedlensmodel)
2 Oncebaseisrmlydrilledintoplace,re-assembleparts.
3 Attach power and video. Make sure power + and - are correct
(A) Wall Plugs
S8 x 30mm 4pc
(B) Fitting Screws
PA4 x 35mm 4pc
(C) Adjustment Tool
Vari-Focal Model
NOTE: Make sure you don’t have any missing parts before you make the installation.
Incorrect installation could void the warranty if instructions are not followed correctly.
Please call technical for assistance if you are unsure about any procedures.
4 Position camera to suite make tight using the ring
5 Adjust the zoom & focus using the tool provided (Vari-Focal models)
6 Wipe clean the front glass to stop potential IR Led smear at night.
7 Check IR LEDs working by just covering the photocel of camera
with your thumb, the IR LEDs will give a faint red glow.
7 8
Page 6

TROUBLE SHOOTING NOTES
Follow the steps below if you are experiencing trouble with your
camera, before you contact your Technical Support.
• Nothing appears on the screen.
¤ Check that the power cable is connected properly and that the voltage is correct.
¤ Check that you have properly connected VIDEO cable to the camera VIDEO output jack and to the
monitor/DVR.
• The image on the screen is unclear.
¤ Is the lens or dome cover stained with dirt? Clean lens or dome cover with soft, clean cloth.
¤ Re-position the camera if necessary.
¤ Adjust the Zoom and Focus screws as needed.
• The image on the screen is dark.
¤ If you have an intermediate device, set the impedance to 75Ω / Hi-z.
¤ Adjust the monitor contrast & brightness controls.
• Image quality is poor.
¤ Be sure to check cable for and braid which may be touching the common Coaxial core pin.
¤ Verify that the camera is receiving sufcient power.
• There is interference in the image.
¤ The camera or the cables may be close to a source of high voltage, such as a generator. Re-position
the camera if necessary.
When the resistance value of copper wire is at [20˚C(68˚F)]
Copper wire size (AWG) #24(0.22mm) #22(0.33mm) #20(0.52mm) #18(0.83mm)
Resistance (Ω/m) 0.078 0.050 0.030 0.018
Voltage Drop (V/m) 0.028 0.018 0.011 0.006
As shown in the table above, voltage decreases as the wire gets longer. Therefore use of an excessively
long adapter output line for connection to the camera may affect the performance of the camera.
*Standard voltage for camera operation : DC12V ±10% or
*There may be some deviation in voltage drop depending on the type of wire and the manufacturer.
• Be sure to connect power only after all the installation is complete.
• Use the UL listed, CLASS 2 power transformer for 12v DC adapter.
9 10
 Loading...