

Page 1
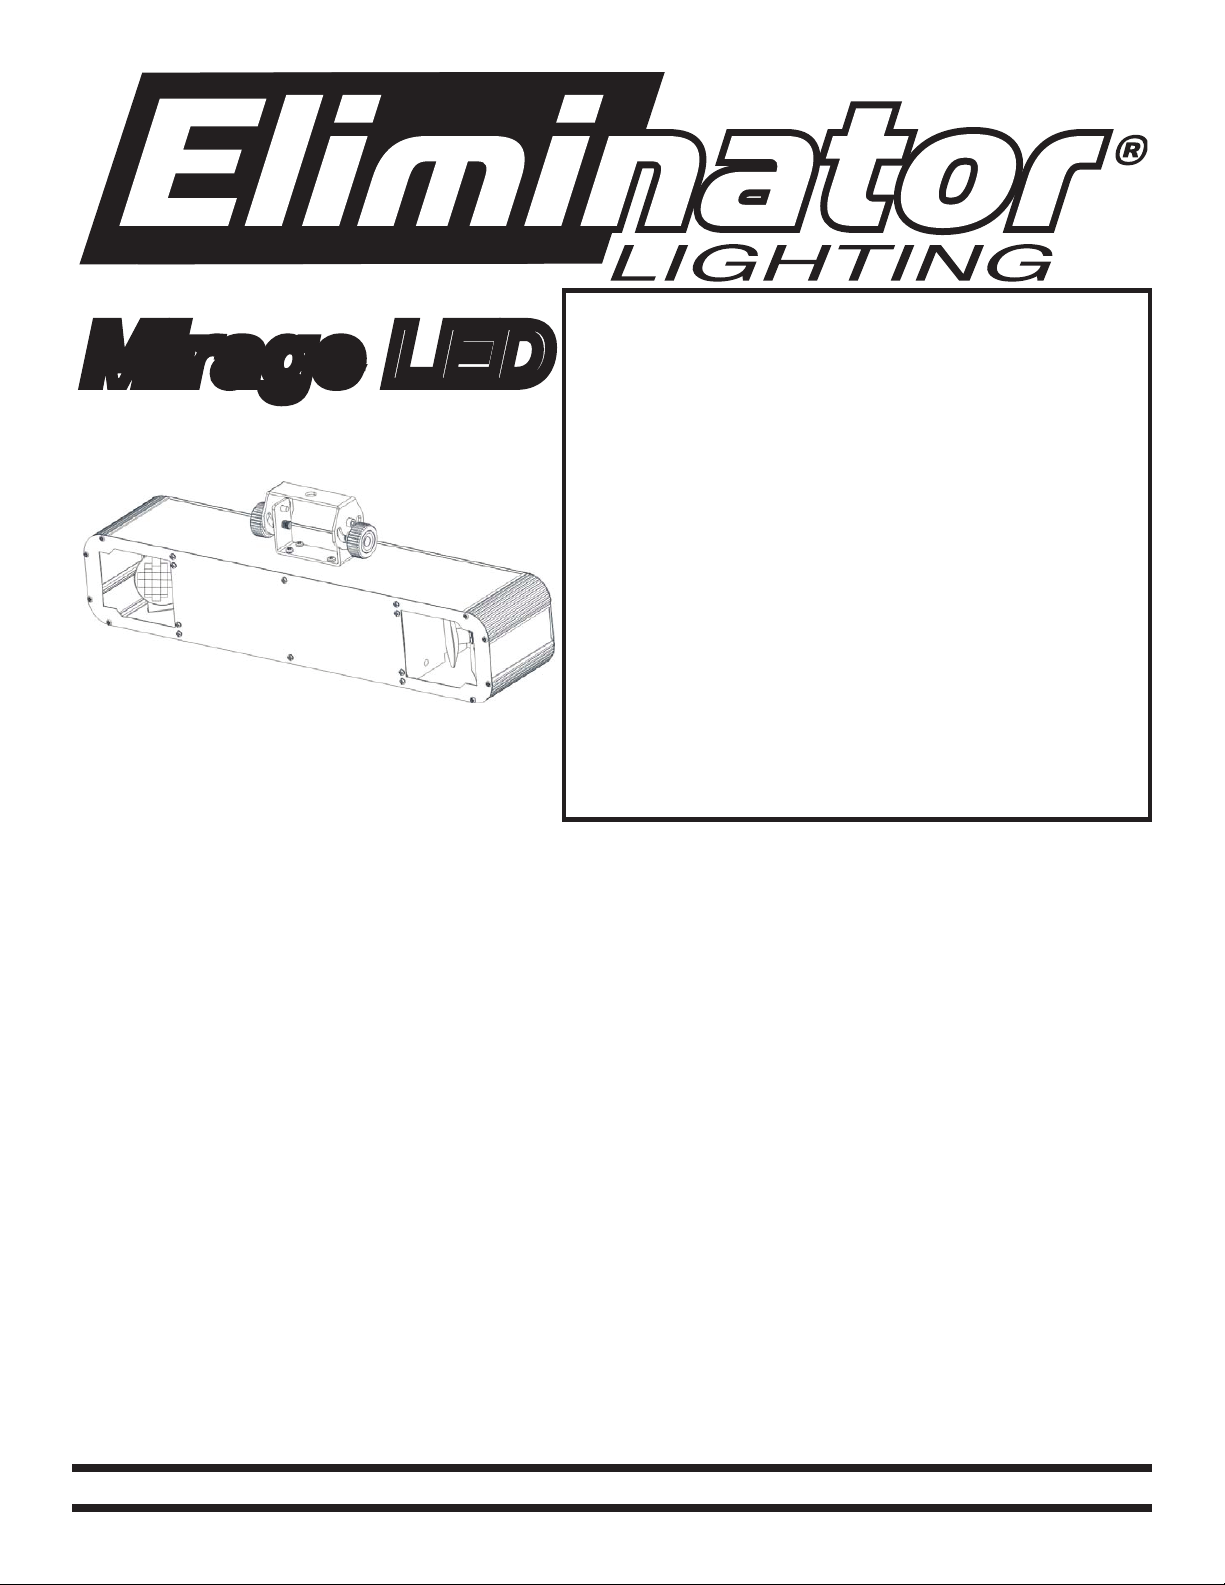
Mirage LED
SPECIFICATIONS:
Model: Mirage LED
Supply Voltage: 100~240V 50/60Hz
LEDs: 8 LEDs - 2 Red, 2 Green,
2 Blue, & 2 White
Weight: 10.5lbs./ 4.8kgs.
Size: 22.8” (L) x 5.8” (W) x
4.5” (H)
Fuse: 6.3 Amp
Power Cord Daisy Chain: 9 Fixtures Max.
Working Position: Any Safe position
Duty Cycle: None
DMX Channels: 6 DMX Channels
Colors: RGBW
Warranty: 1 Year
CAUTION! Please read and
understand these instructions
before installing or operating
this unit.
Operating Instructions:
The Mirage LED has been tested at the factory, there is no assembly required. The unit is ready to
be plugged into a power outlet. This unit is a 6 channel DMX intelligent LED par can. The Mirage
LED has three operating modes; Sound Active mode, Show mode, or as a DMX controlled unit. The
unit can run as a stand alone fixture or in a Master/Slave configuration.
Power Cord Daisy Chaining: With this feature you can connect the xtures to one another using the
IEC input and output sockets. The quantity that can be connected is 9 xtures maximum. After 9 xtures you will need to use a new power outlet. They must be the same xtures. DO NOT mix xtures.
Caution! Never open unit when in use.
Always disconnect main power before
replacing fuse. Remember to always
replace with the exact same type fuse.
©Eliminator® Los Angeles, CA. - www.EliminatorLighting.com
Page 2

ADDR - DMX Address Setting.
1. Tap the either the MENU, UP, or DOWN buttons until “ADDR” is displayed, press ENTER.
2. “1” will now be displayed and ashing. Press the UP or DOWN buttons to nd your desired
address. Press ENTER to set your desired DMX address.
SLND - This will let you set unit as a slave in a master/slave conguration.
1. Tap the either the MENU button until “SLND” is displayed, press ENTER. “SL 1”or “SL 2” will be
displayed.
2. Tap the UP or DOWN buttons until your desired setting is displayed, press ENTER to conm and
exit.
SHND: SH 0 - SH 8 - Show modes 0 - 8 & Manual show. Show mode can run with or
without sound active mode on.
1. Press the MENU button until “SHND” is displayed, press ENTER.
2. “SH X” will now be displayed, “X” representing a number between 0-8 will be displayed. Shows 1-8
are preset shows, while “SH 0” is random show. Press the UP or DOWN buttons to nd your desired
show.
3. Once you have found your desired show press ENTER, and then press and hold the MENU button
for at least 3 seconds to conrm.
SOUN - In this submenu you can activate sound active mode.
1. Press the MENU button until “SOUN” is displayed, press ENTER.
2. Either “ON” or “OFF” will now be displayed. Press the UP or DOWN buttons to select one or the
other.
3. When you have made your selection, press the ENTER, and then press and hold the MENU button
for at least 3 seconds to conrm.
SENS - Sound sensitivity control.
1. Press the MENU button until “SENS” is displayed, press ENTER.
2. The display will show a number between 0-100. Press the UP or DOWN buttons to adjust the
sound sensitivity. 0 being the least sensitive and 100 the most sensitive.
3. Press the ENTER, and then press and hold the MENU button for at least 3 seconds to conrm.
BLND - Blackout or Stand by mode.
1. Tap the either the MENU button until “BLND” is displayed, press ENTER. Either Yes or No will be
displayed.
2. To activate Blackout tap the UP or DOWN buttons until Yes is displayed, press ENTER to conm
and exit. The xture will now be in Blackout mode. To deactivate Blackout mode, select No and
press Enter.
©Eliminator® Los Angeles, CA. - www.EliminatorLighting.com
Page 3

LED - With this function you can have the LED display turn off after 10 seconds.
1. Press the MENU button until “LED” is displayed, press ENTER.
2. The display will show either “ON” or “OFF”. Press the UP or DOWN buttons to select “ON” to
keep the LED display on at all times, or “OFF” to switch to have the LED display switch off after 10
seconds. To make the display reappear, press and hold the MENU button for at least 5 secs.
3. Press ENTER to conrm. To make the display reappear, press and hold the MENU button for at
least 5 secs.
DISP - This will “ip” the LED display
1. Press the MENU button until “DISP” is displayed, press ENTER.
2. When “DISP” is displayed the LED display will remain normal, when “DSIP” is displayed, the LED
display will be “ipped”. Use the ENTER button to nd your desired display set up, then press MENU
to conrm and exit.
TEST - This function will run a self test program.
1. Press the MENU button until “TEST” is displayed, press ENTER.
2. The xture will now run a self test. Press the MENU button to exit.
FHRS - With this function you can display the running time of the unit.
1. Tap the either the MENU button until “FHRS” is displayed, press ENTER.
2. The display shows the running time of the unit. Press MENU to exit.
VER - Use this function to display the Software version of the unit.
1. Tap the either the MENU button until “VER” is displayed, press ENTER.
2. The display will show the software version.
REST - This function will reset the unit to its factory settings.
1. Press the MENU button until “REST” is displayed, press ENTER.
2. The xture will now reset itself. Press the MENU button to exit.
©Eliminator® Los Angeles, CA. - www.EliminatorLighting.com
Page 4

1 Year Limited Warranty: Eliminator Lighting warranty is valid from the date of purchase. Our
1 year limited warranty covers manufacturing defects only. Serial number, place of purchase with
dated valid receipt must be submitted at time of service. Eliminator Lighting warranty does not cover
items or parts prone to wear and tear: lamps, fuses, brushes and belts. Eliminator Lighting warranty
is only valid with-in the United States.
DMX TRAITS: 6 CHANNELS
CHANNEL 1: DIMMER/STROBE
0 - 7 = NO FUNCTION
8 - 199 = DIMMIG 0% - 100%
200 - 247 = STROBING SLOW - FAST
248 - 255 = OPEN
CHANNEL 2: COLOR
0 - 15 = BLACKOUT
16 - 31 = RED
32 - 47 = GREEN
48 - 63 = BLUE
64 - 79 = WHITE
80 - 95 = RED & GREEN
96 - 111 = RED & BLUE
112 - 127 = RED & WHITE
128 - 143 = GREEN & BLUE
144 - 159 = GREEN & WHITE
160 - 175 = WHITE & BLUE
176 - 191 = RED & GREEN & BLUE
192 - 207 = RED & GREEN & WHITE
208 - 223 = RED & BLUE & WHITE
224 - 239 = GREEN & BLUE & WHITE
240 - 255 = RED & GREEN & BLUE & WHITE
DMX TRAITS: 6 CHANNELS
CHANNEL 4: DIMMER/STROBE
0 - 7 = NO FUNCTION
8 - 199 = DIMMIG 0% - 100%
200 - 247 = STROBING SLOW - FAST
248 - 255 = OPEN
CHANNEL 5: COLOR (RIGHT MIRROR)
0 - 15 = BLACKOUT
16 - 31 = RED
32 - 47 = GREEN
48 - 63 = BLUE
64 - 79 = WHITE
80 - 95 = RED & GREEN
96 - 111 = RED & BLUE
112 - 127 = RED & WHITE
128 - 143 = GREEN & BLUE
144 - 159 = GREEN & WHITE
160 - 175 = WHITE & BLUE
176 - 191 = RED & GREEN & BLUE
192 - 207 = RED & GREEN & WHITE
208 - 223 = RED & BLUE & WHITE
224 - 239 = GREEN & BLUE & WHITE
240 - 255 = RED & GREEN & BLUE & WHITE
CHANNEL 3: MIRROR ROTATION
0 - 9 = NO ROTATION
10 - 120 = ROTATION FAST - SLOW
121 - 134 = NO ROTATION
135 - 245 = ROTATION SLOW - FAST
246 - 255 = NO ROTATION
©Eliminator® Los Angeles, CA. - www.EliminatorLighting.com
CHANNEL 6: MIRROR ROTATION
0 - 9 = NO ROTATION
10 - 120 = ROTATION FAST - SLOW
121 - 134 = NO ROTATION
135 - 245 = ROTATION SLOW - FAST
246 - 255 = NO ROTATION
 Loading...