

Page 1
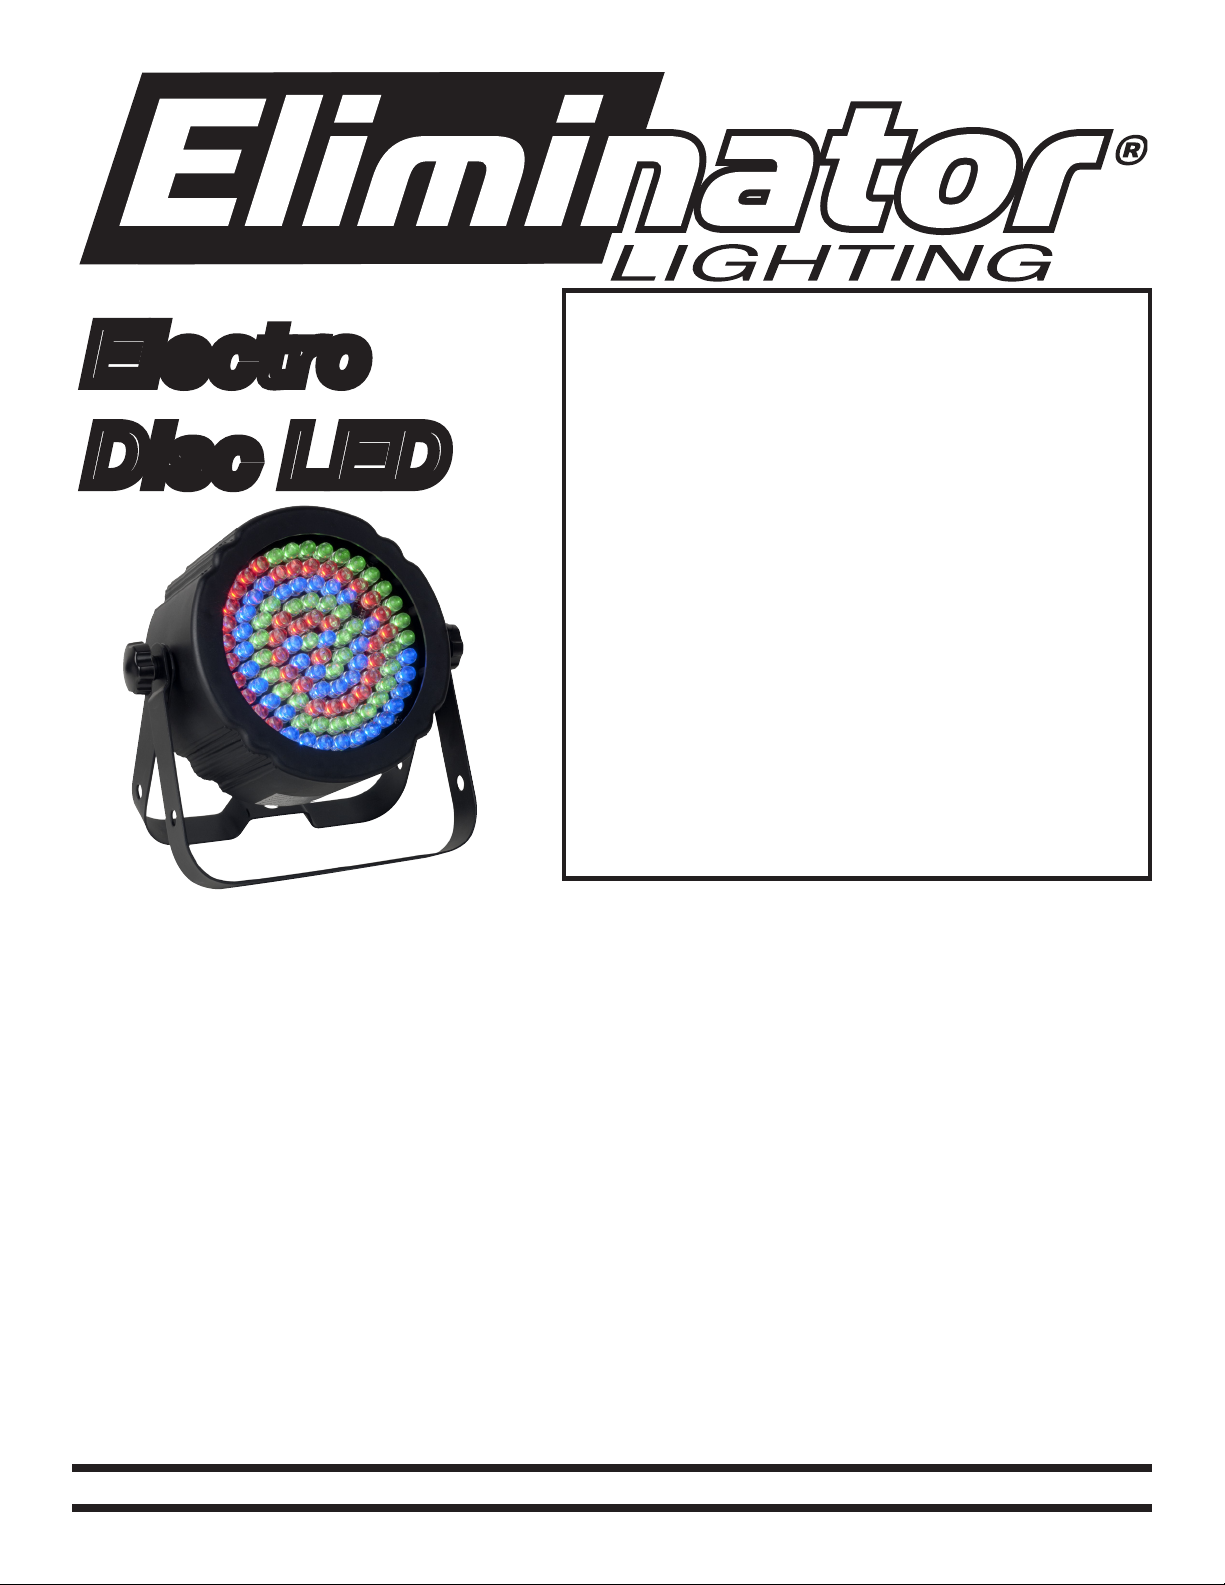
Electro
Disc LED
SPECIFICATIONS:
Model: Electro Disc LED
Voltage: 100V-240V 50/60Hz
LEDs: 107 x 10mm LEDs (36
Red, 36 Green, & 35 Blue)
Beam Angle: 30 Degrees
Power Consumption: 14W
Weight: 3lbs./ 1.2kgs.
Size: 10.25”(L) x 9.5”(W) x 4”(H)
Fuse: 1 Amp
Power Cord Daisy Chain: 40 Fixtures Max.
Working Position: Any Safe position
Duty Cycle: None
DMX Channels: 4 DMX Channels
Colors: Multiple Colors
Warranty: 1 Year
CAUTION! Please read and under-
stand these instructions before
installing or operating this unit.
Operating Instructions:
The Electro Disc LED has been tested at the factory, there is no assembly required. The unit is ready
to be plugged into a power outlet. This unit is a 4 channel DMX intelligent LED wash. It has 6 operating modes; Static Color mode, Color Change mode, Color Fade mode, Auto Run mode, Sound
Active mode, or DMX mode. The Electro Disc LED can be used as a stand alone unit or in a masterslave configuration.
Power Cord Daisy Chaining: With this feature you can connect the xtures to one another using the
IEC input and output sockets. The quantity that can be connected is 40 xtures maximum. After 40
xtures you will need to use a new power outlet. They must be the same xtures. DO NOT mix xtures.
1 Year Limited Warranty: Eliminator Lighting warranty is valid from the date of purchase. Our
1 year limited warranty covers manufacturing defects only. Serial number, place of purchase with
dated valid receipt must be submitted at time of service. Eliminator Lighting warranty does not cover
items or parts prone to wear and tear: lamps, fuses, brushes and belts. Eliminator Lighting warranty
is only valid with-in the United States.
Caution! Never open unit when in use. Always
disconnect main power before replacing fuse.
Remember to always replace with the exact same
type fuse.
©Eliminator® Los Angeles, CA. - www.EliminatorLighting.com
Page 2

Electro IR (Remote Control) On/Off:
This function is used to activate and deactivate the Electro IR (sold separately). When this function is activated you can control the fixture using the Electro IR. Please see the last page for the controls and functions.
1. Plug the fixture in and press the MODE button until “IrXX” is displayed. “XX” represents either “on” or
“oF”.
3. Press the UP or DOWN buttons to either activate the remote function (On) or deactivate it (Off).
Static Color Mode:
1. Plug the fixture in and press the MODE button until “CL.XX” is displayed.
2. There are 7 colors to choose from. Select your desired color by pressing the UP and DOWN but
tons. After you have selected your desired color you can activate strobing by pressing the SET
UP button to enter the Flash (strobe) mode.
3. “FS.XX” will be displayed, this is Flash mode. The Flash can be adjusted between “FS.0F” (flash
off) to “FS.99” (fastest flash).
Color Change Mode:
1. Plug the fixture in and press the MODE button until “JP.XX” is displayed.
2. Use the UP and DOWN buttons to adjust the color change speed the speed can be adjusted
between “JP.01” (slowest) to “JP.99” (fastest).
3. After you have adjusted and selected your desired color change speed you can activate strobing
by pressing the SET UP button to enter the Flash (strobe) mode. “FS.XX” will be displayed, this is
Flash mode. The Flash can be adjusted between “FS.0F” (flash off) to “FS.99” (fastest flash).
Color Fade Mode:
1. Plug the fixture in and press the MODE button until “FD.XX” is displayed.
2. Use the UP and DOWN buttons to adjust the color fade speed the speed can be adjusted
between “FD.01” (slowest) to “FD.99” (fastest).
3. After you have adjusted and selected your desired color fade speed you can activate strobing by
pressing the SET UP button to enter the Flash (strobe) mode. “FS.XX” will be displayed, this is
Flash mode. The Flash can be adjusted between “FS.0F” (flash off) to “FS.99” (fastest flash).
Auto Run Mode:
1. Plug the fixture in and press the MODE button until “AUTO” is displayed. In Auto Run mode the
unit will run the color change mode and color fade mode alternatively. The speed of each mode is
determined by the setting in each of those respective modes.
2. You can activate strobing by pressing the SET UP button to enter the Flash (strobe) mode.
“FS.XX” will be displayed, this is Flash mode. The Flash can be adjusted between “FS.0F” (flash
off) to “FS.99” (fastest flash).
Sound Active Mode:
In this mode the Electro Disc LED will react to sound, and chase through the different colors.
1. Plug the fixture in and press the MODE button until “SU.XX” is displayed. “XX” represents the
sound senstivity level.
2. Use the UP and DOWN buttons to adjust the sound sensitivity, the sensitivity can be adjusted
between “SU.00” (least sensitive) to “SU.31” (most sensitive).
3. After you have adjusted and set your desired sensitivity you can press the SET UP button to
enter the Flash (strobe) mode. “FS.XX will be displayed when you enter Flash mode. You can
use the UP or DOWN buttons to adjust the strobe rate. The Flash can be adjusted between
“FS.OF” (stobe is off) to “FS.99” (fastest flash).
©Eliminator® Los Angeles, CA. - www.EliminatorLighting.com
Page 3

DMX Mode:
Operating through a DMX controller gives the user the freedom to create their own programs tailored
to their own individual needs. The Electro Disc LED has 4 DMX channels. See the chart below for the
DMX traits and values.
1. This function will allow you to control each individual fixture’s traits with a standard DMX 512
controller.
2. To run your fixture in DMX mode press the MODE button until “d.XXX” is displayed. “XXX” repre
sents the current displayed address. Use the UP or DOWN buttons to select your desired DMX
address.
3. After you have chosen your desired DMX address plug in the fixture via the XLR connections to
any standard DMX controller.
Master-Slave Configuration:
1. Daisy chain your units via the XLR connector on the rear of the unit. Use standard XLR data
cables to link your units together. Remember that the Male XLR connector is the input and the
Female XLR connector is the ouput. The first unit in the chain (master) will use the female XLR
connector only. The last unit in the chain will use the male XLR connector only.
2. Connect the rst “Slave” unit to the “Master.”
3. Set the “Master” unit to your desired mode of operation. On the “Slave” unit, press the MODE
button until “Slau” is displayed. The “Slave” unit will now follow the “Master”.
DMX Traits
CHANNEL VALUE FUNCTION
CH1 000-255 Red(dim bright)
CH2 000-255 Green(dim
CH3 000-255 Blue(dim bright)
CH4
Photometric Chart
bright)
000-189 Dimmer(dim
190-250 Flash(slow quick)
251-255 No function
bright)
©Eliminator® Los Angeles, CA. - www.EliminatorLighting.com
Page 4

Controls and Functions:
1. Black Out - This button will black out the unit.
2. Select Prog - This button will allow you to access the
auto run mode and built in programs. Each press of the button will change to the next mode.
3. Flash - This button will activate the strobe function. Use
the “+” & “-” buttons to adjust the strobe speed.
4. SPEED - Press this button to activate and use the “+” &
“-” buttons to adjust the speed of the color fade mode and
color change mode.
5. DMX Mode - Activates DMX Mode.
6. Set Addr - Press this button to set the DMX address.
Press this button first, then press the numbers to set the
address.
Example: Set DMX Address 1 Press “S-0-0-1”
Set DMX Address 245 Press “S-2-4-5”
7. SL/SA (Slave/Sound Active) - This button lets you
switch between Slave mode in a Master-Slave configuration
and Sound Active mode. When the fixture is in Sound Active
mode, use the “+” & “-” buttons to adjust the sound sensitivity.
8. R G B A W - Press either one of these buttons and the
press the “+” or “-” to adjust the brightness. Press the Flash
Button to activate strobing and use the “+” & “-” buttons to
adjust the strobe speed. The “A” & “W” buttons will not work
with this unit.
9. “+” and “-” - Use these buttons to adjust the flash rate
speed, program speed, sound sensitivity, and program selection.
©Eliminator® Los Angeles, CA. - www.EliminatorLighting.com
 Loading...