

Page 1
18-2591
INSTRUCTION MANUAL
Page 2
Page 2
Please read the entire instruction manual before using the product and save it
for future reference.
We reserve the right for any errors in text or images and any necessary
changes made to technical data.
If you have any questions regarding technical problems please contact Customer Services.
SAFETY
• Make sure that the voltage marked on the rating plate corresponds with your mains
supply voltage.
• Do not turn the appliance on until it has been completely assembled/installed.
• The appliance should not be placed directly below a wall socket.
• Keep furniture and other fl ammable objects at least 1 metre away from the appli
ance.
• Do not leave the appliance unattended during use.
• This appliance is only intended for private use and must not be used for industrial
purposes.
• Regularly check that the mains lead is undamaged. Never use the appliance if the
mains lead is damaged.
• Do not use the appliance if it has been dropped on the fl oor or otherwise damaged.
• Repairs should only be carried out by a qualifi ed electrician.
• Do not run the mains lead under carpets or mats.
• Do not lay the mains lead over sharp edges or let it come into contact with hot
surfaces.
• Do not cover the appliance. This might cause it to overheat.
• Do not place any objects close to or on top of the appliance.
• The appliance should not come into contact with water or other liquids.
• Do not use the appliance outdoors.
• Never touch the appliance with wet hands.
• Make sure that the appliance is turned off and unplugged before cleaning it.
• Never use abrasive cleaning agents or solvents to clean the appliance.
• Use only those accessories approved by the supplier or manufacturer.
• Never lift the appliance up by the front/glass.
• This product must not be used by anyone (including children) suffering from physi
cal or mental impairment. This product should not be used by anyone without suffi
cient experience or knowledge if they have not been instructed in its use by some
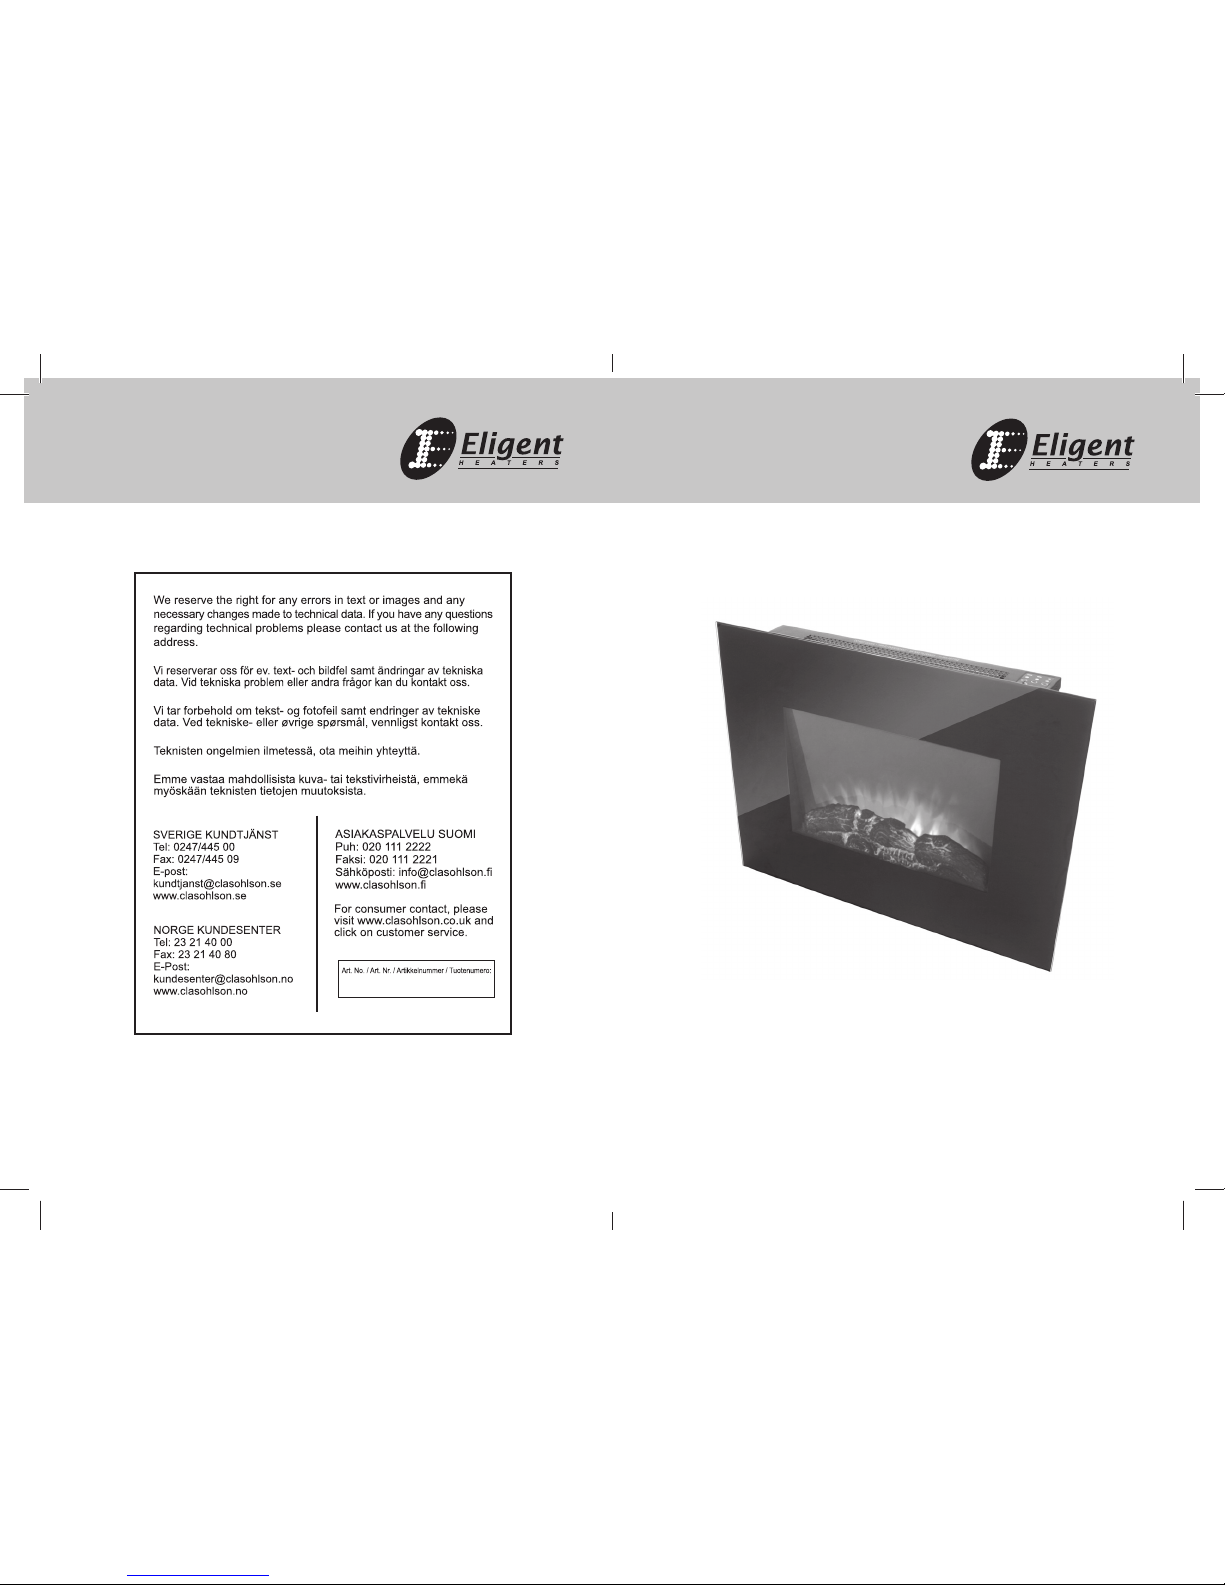
ELECTRIC FIREPLACE WITH REMOTE CONTROL
ART. NO.: 18-2591 MODEL NO.: EF450SL
Page 7
glass viewing screen should be cleaned carefully with a soft cloth. DO NOT use
proprietary glass cleaners
DISPOSAL
Follow local ordinances when disposing of this product. If you are unsure of how to
dispose of this product, please contact your local authority.
TECHNICAL SPECIFICATIONS
Power supply: 220-240V~ 50Hz
Rated Power: 1800 W
Bulb: LED (Irreplaceable)
Page 3

Page 6
• It takes some time for the receiver to respond to the transmitter. Do not PRESS the
buttons more than once within two seconds for correct operation.
• Press once the button ON/OFF on the remote control this turns ON/OFF the appli
ance and fi re effect.
• Press once the 900W button for the low heat settings; press twice to switch off the
heat setting.
• Press once the 1800W button for the high heat settings; press twice to switch off
the heat setting.
• Press the DIMMER button for operate the dimmer mode. 5 levels fl ame brightness
settings.
SAFETY CUT-OFF
• This appliance is fi tted with a safety cut-off which will operate if the fi re overheats
(e.g. Due to blocked air vents). For safety reasons, the fi re will NOT automatically
reset.
• To reset the appliance, disconnect the appliance from the mains supply for at least
15 minutes. Reconnect the supply to the mains and switch on the appliance.
MAINTENANCE
• Warning: Before any maintenance and/or cleaning the exterior of the fi replace,
disconnect the unit form the power supply and leave until cooled off.
• Remote control battery replacement: this remote control uses 2x1.5V AAA battery.
Make sure the batteries are installed correctly in the remote control.
• This product does not use a standard bulb for its fl ame effect. The appliance
uses an electronically controlled LED system to create the fl ame effect there
fore no parts need to be replaced. There are no user-serviceable parts on this
appliance. Under no circumstances should the appliance be serviced by anyone
other than a qualifi ed electrician.
CLEANING
• Warning – Always disconnect from the power supply before cleaning heater
• For general cleaning use a soft clean duster – never use abrasive cleaners. The
Page 3
one who will take responsibility for their safety.
• Never let children play with the product.
• Do not attempt to connect an external automatic on/off device such as Timer, to
the heater.
GETTING STARTED
• Remove the appliance from the box.
• Remove any packaging from the product.
• Place the packaging inside the box and either store or dispose of safely.
CONTENTS OF CARTON
• Heater
• Wall fi xing bracket
• Fixing screws and wall plugs
• Remote control
• 1 Instruction Manual
HELPFUL ADVICE BEFORE FITTING
• Please retain all packaging until you have checked and counted all the parts and
the contents of the fi xing pack against the parts list.
• The fi xing pack contains small items which should be kept away from young chil
dren.
• We suggest that you open the fi xing pack and place all the contents into a con
tainer, therefore reducing the risk of losing any small pieces.
INSTALLATION
• Do not connect the appliance until properly fi xed to the wall and the instructions
have been fully read and understood.
• The minimum distances must be observed.
• For installation of the appliance, care must be taken not to damage concealed
cables.
• Please be careful while drilling the holes.
• This appliance is designed to be permanently fi xed to a wall at a minimum height
of 300mm.The wall bracket must be fi tted horizontally and the cable routed to the
bottom right of the heater.
Page 4
Page 4
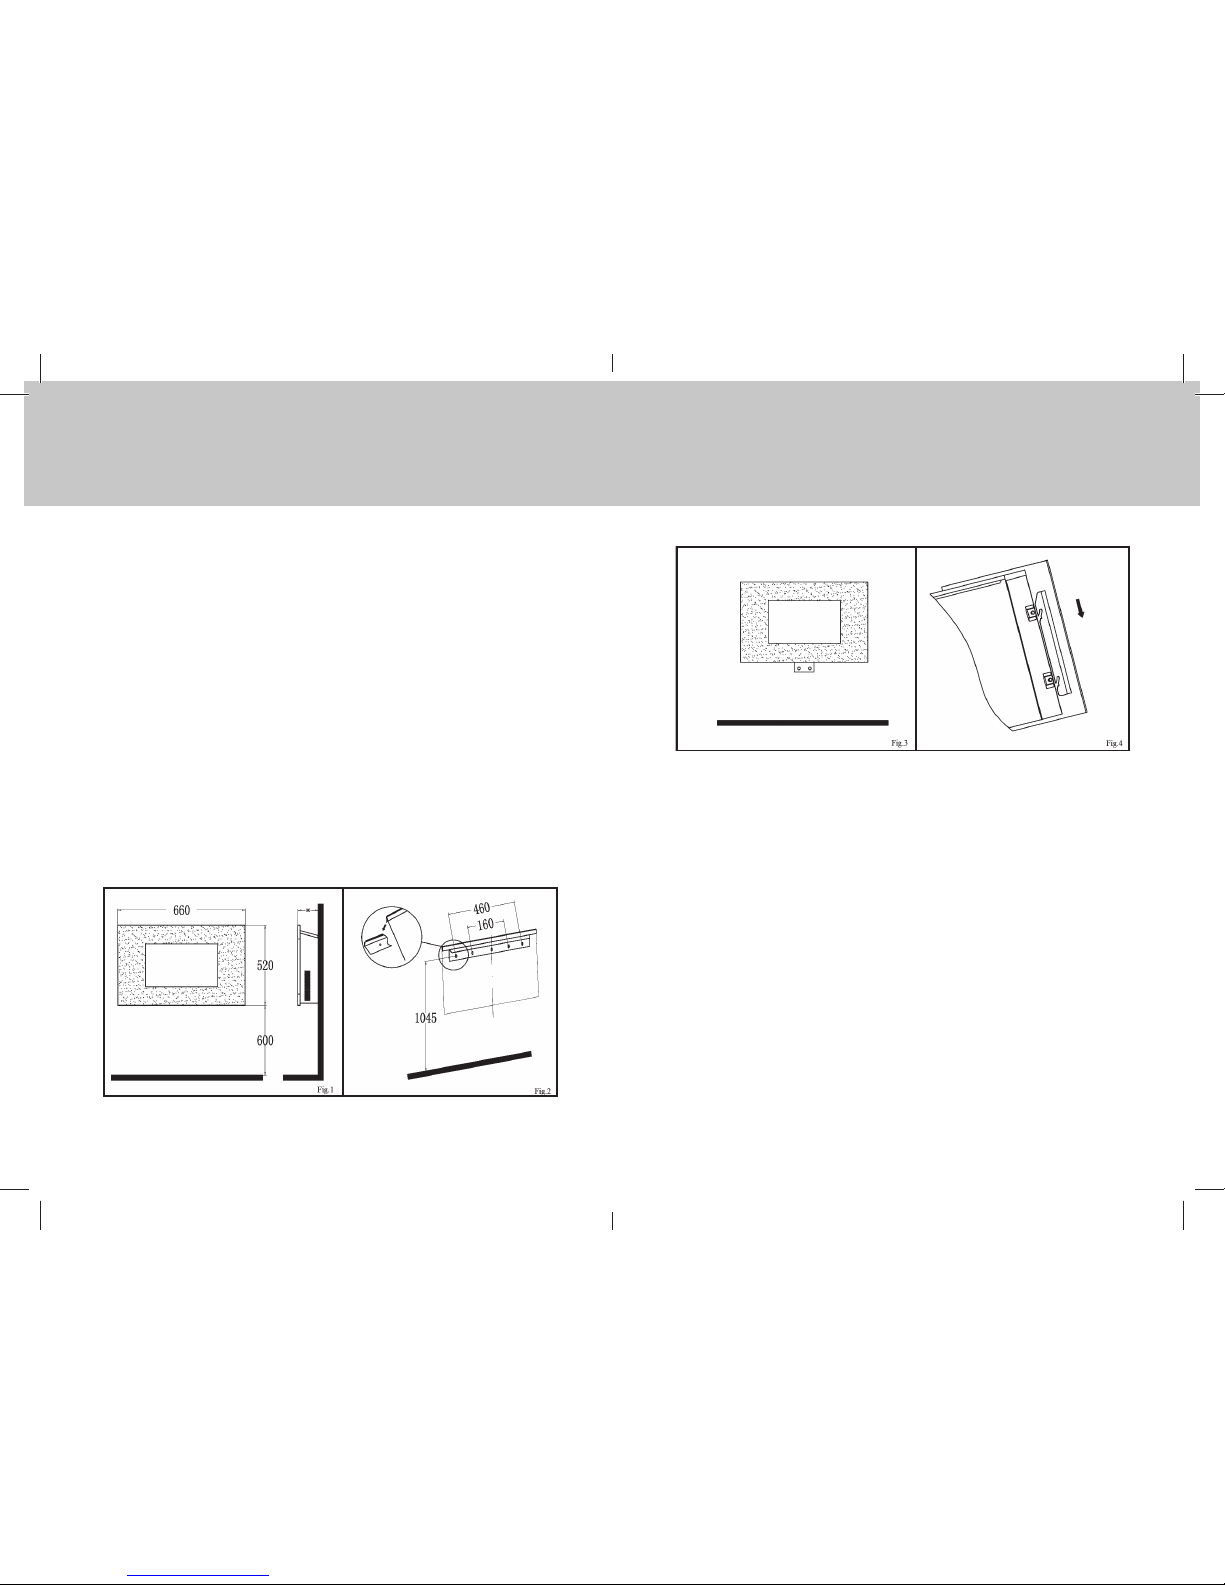
• A height of 600mm from bottom of heater to fl oor is recommended for optimum
viewing of fuel bed (see Fig.2 for recommend fi xing dimensions).
• Keep top of heater at least 1000mm away from ceiling or other objects for optimum
heat ventilation.
• For optimum viewing, mark the top four screws fi xing positions on wall in accor
dance with the recommend fi xing dimensions- see Fig.2.Drill holes with a six drill
bit.
• Fix the wall bracket using that the plug and screws provided.
• Carefully lift the heater up ensuring that the top rear ledge of heater engages the
wall bracket (see Fig.2 in circle) and is sitting centrally.
• Gently bring the heater level with the wall.
• Mark the bottom holes position-see Fig.3, remove the heater ensuring that the bot
tom fi xing bracket is rotated up.
• Drill and fi t wall plug.
• Refi t the heater to the wall fi xing bracket and rotate the bottom fi xing bracket down
again and use the screw provided to permanently fi x the heater in place.
• Unpack the pebbles from the bag and place them along the light unit in the desired
position.
• Place the front glass surround over the front of the fi re aligning the slots in the
brackets at each side of the glass panel with the lugs on the sides of the fi re-see
Fig.4. Again two people will be required for this operation.
Page 5
INSTRUCTIONS FOR USE
• The appliance can be operated either by the switches located on the top right hand
side of the fi re or by supplied remote control.
MANUAL OPERATION
• The switches located at the top right hand side of the fi re .The standby switch must
be fi rst switch on.
• Press once the O/I button to turn on the appliance and fi re effect. A red indicator
light will appear to indicate that the function is ON. Press the O/I button for 3
seconds this will operate the dimmer mode.
• Press once the 900W button for the low heat settings; press twice to switch off the
heat setting.
• Press once the 1800W button for the high heat settings; press twice to switch off
the heat setting.
REMOTE OPERATION
• The standby switch located at the top right hand side of the fi re must be fi rst switch
on.
 Loading...