

Elicom Electronic EVLplus T, EVLplus M User Manual
Elicom Electronic Ltd.
Electronic Scales
E V Lplus
Models T and M
User’s Manual
Table of Contents Page
1. Warranty card .......................... 3
2. Brief description ...................... 5
3. Main functions ......................... 5
4. Technical data.......................... 5
5. Scale Overview ........................ 6
6. Preparing for use..................... 7
7. Installation instructions........... 8
8. Operation modes ..................... 8
8.1. Weighting Mode............... 9
8.2. Counting Mode .............. 19
8.3. Labeling and Pre-labeling
Mode .............................. 20
8.4. Service Mode ................. 22
8.5. Connecting with external
devices........................... 30
8.6. Error Mode..................... 31
9. ЕO Declaration of conformity 32
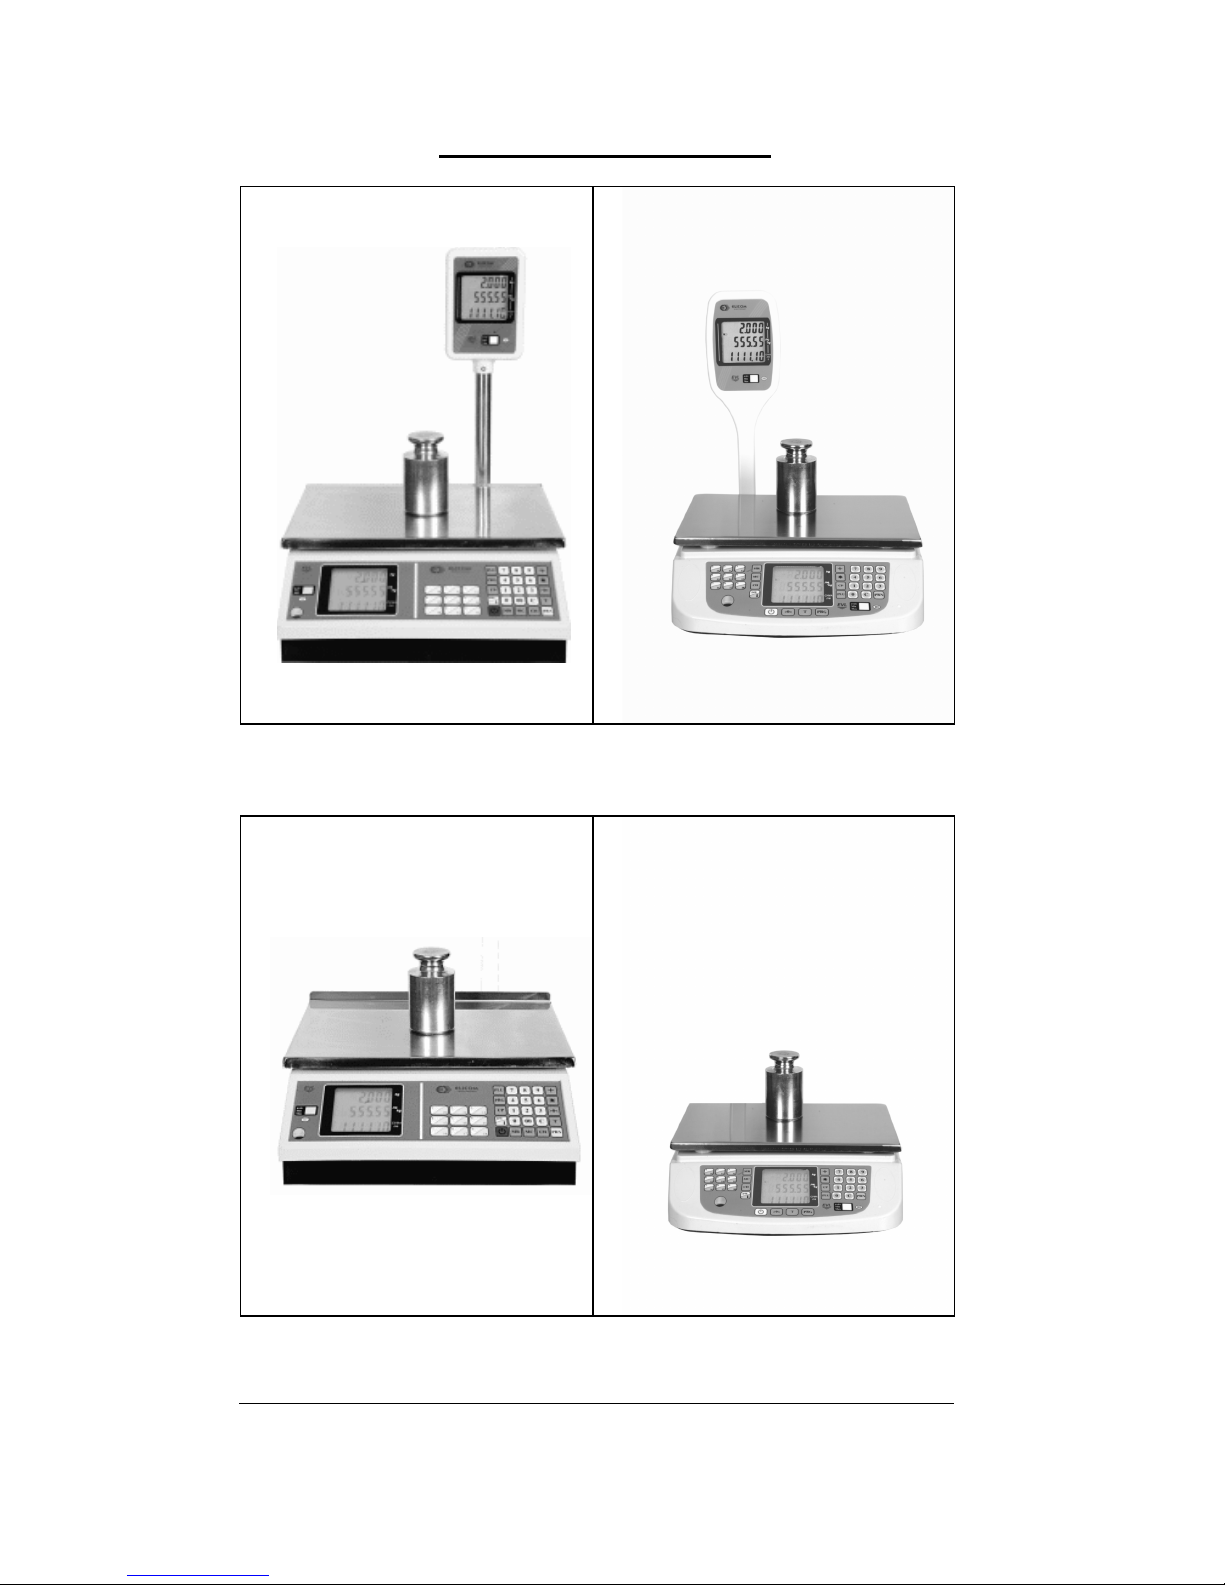
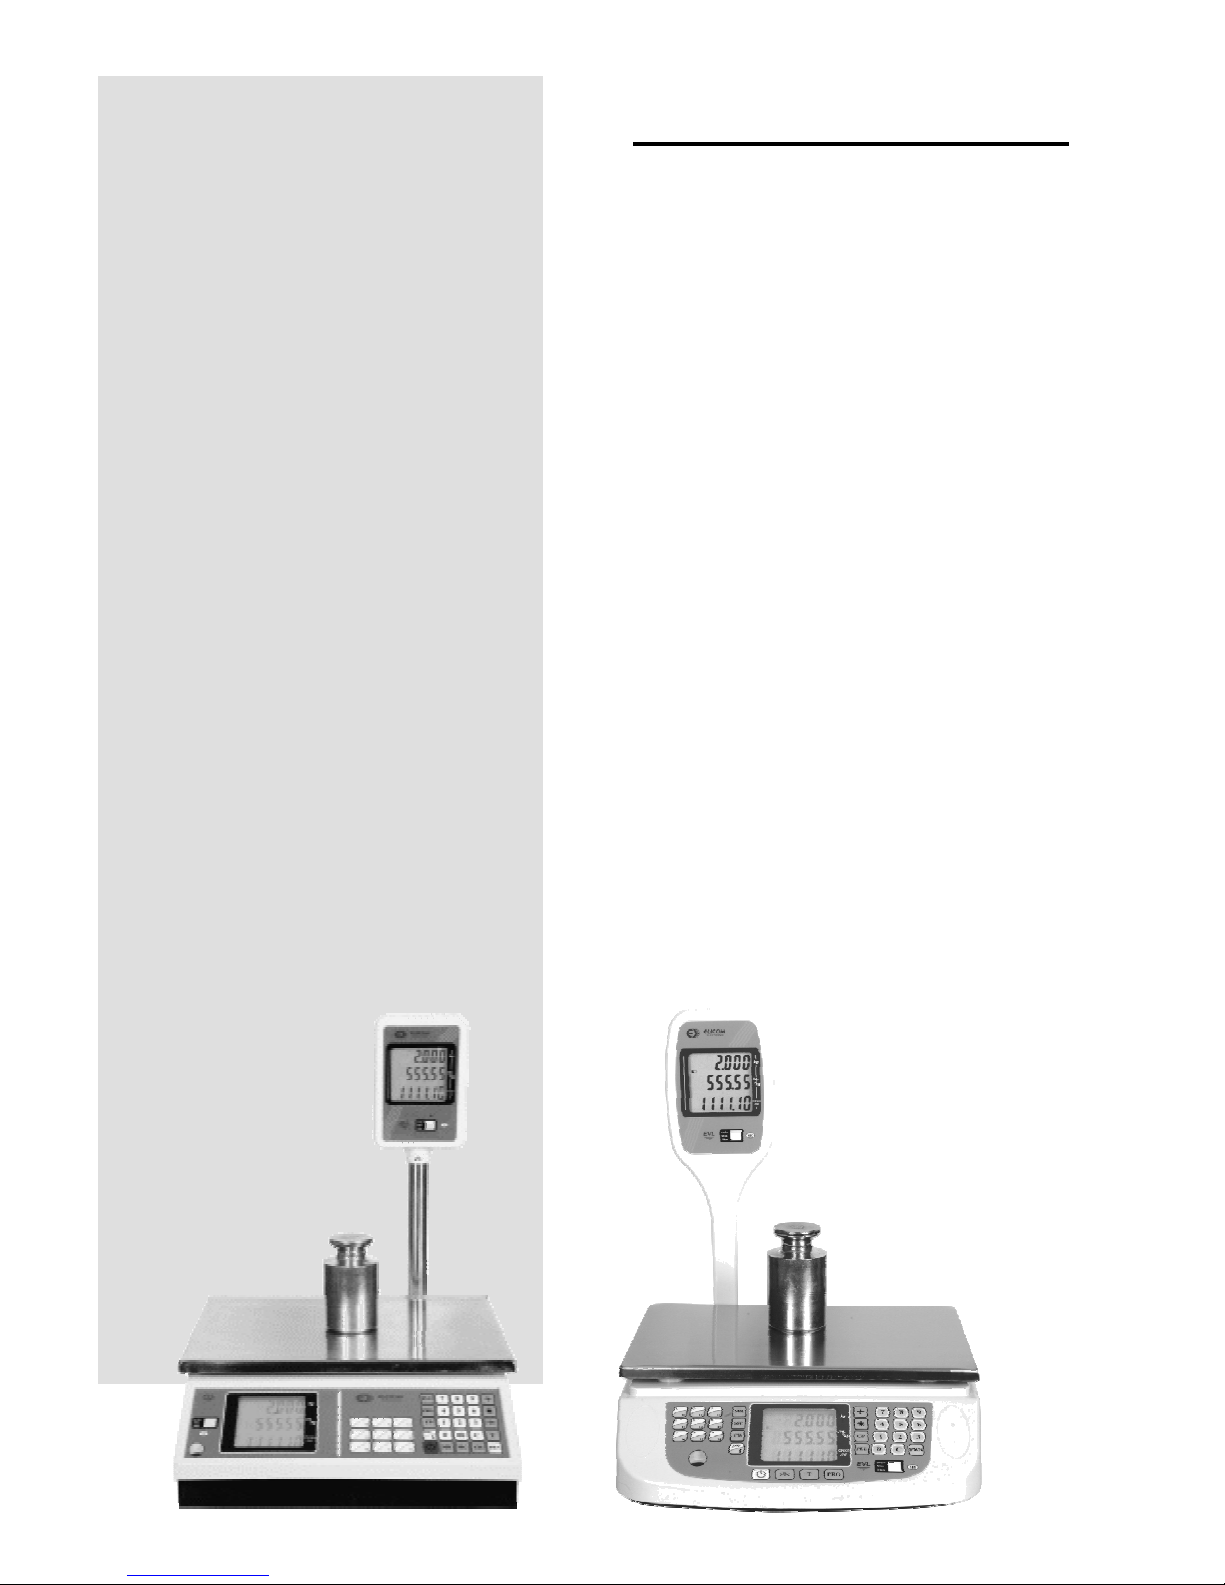
Scale Models Series EVLplus
EVL+ xx LТ3 EVL+ xx LМ6
EVL+ xx BТ3 EVL+ xx BМ6

Elicom Electronic Ltd.
1. Warranty Card
MODEL NAME: Electronic Scale ELVplus
DATE OF PURCHASE…………………………
SERIAL №…………………………………
LIMITED WARRANTY
The warranty period for the Electronic Scale is 12 months from the day of the purchase. To
obtain and receive warranty service, you need to present the original Owner’s Manual along
with Warranty Card in any authorized dealers and services.
In order for the warranty to be valid, the product shouldn’t be opened; all stamps, lead seals
and company logos on the scale should be untouched from any mechanical damages.
Product damages should not be caused by any improper use of the scale.
The warranty does not apply if:
1. The electronic scale has been opened or repaired by unauthorized services by
Elicom Electronic Ltd.
2. The product does not operate correctly because of mechanical damage caused
by improper use: damaged keyboard foil, broken display, mechanical hit or
overload of the weighing platform or the load cell.
...................................
(Date) Dealer: …………..…………….
(Signature)
Customer: ..................................
(Signature)


Electronic Scale – models EVLplus хх LМ1, BM1, LT1, BT1
5
2. Brief Description
The electronic scales from series EVLplus xx LM, LM, LT, BT, are precise measuring
devices for determining the weight of goods in retail stores and warehouses.
All scales from series ELVplus are designed to work in temperature range from -10°C to
+40°C and to work without external power supply for up to 100 hours.
The scales provide accurate measurement, user-friendly reading indicators from a double
sided digital LCD indicator, automatic price calculation, automatic Zero set and Tare functions.
All the scales are equipped with interface RS232 for connection with other external
devices such as PC, cash registers, labeling printers.
3. Main Functions
Weight determination of the weighed products
Input of the price per 1 kg
Storing data for price, Tare, name, expiration date and est. of more than 2,000
articles
Displaying the information for the weight, price per kg and total value of the product
on two widow displays one for the user and one for the customer
Redirecting the information to PC, cash registers, label printers
Sound signals
4. Technical Data
4.1. General data for scales from series EVLplus
1. Dimensions: 380 х 300 х 129 mm
2. Shipping weight: 5 kg
3. Display:
For models LM, LT:
o Operator’s: LCD - 6 positions, 3 lines
o Client’s: LCD - 6 positions, 3 lines
For models BM, BT:
o Operator’s: LCD - 6 positions, 3 lines – 1 peace
o Client’s: LCD - 6 positions, 1 line – 3 peaces
4. Classified Accuracy
According to the Bulgarian State Standard EN
45501:2001
5. Error Limitations according to the Bulgarian State Standard EN 45501:2001
6. Number of check divisions: n = 3,000
7. Working Conditions
- Power Supply: - Built-in battery 6 V / 5 Ah
- AC adapter ~ 220 V / ~ 14 V
- Maximum Power Consumption: < 4 VA
- Operating Temperature: -10°C to +40°C
- Air Humidity: 20 % to 80 %
- Air Pressure: 84 to 107 kPa
- Safety Requirement – according to Bulgarian State Standard 14374-84
III
Owner’s Manual
6
8. Metal platter
- Size 300 х 250 mm
4.2. Technical data for all models
Model Maximal
Load
Minimal
Load
Maximal Tare Value of the real
check division e=d=
EVL+ 3 3 kg 20 g minus 3 kg 1 g
EVL+ 3/6 3/6 kg 20 g minus 6 kg 1/2 g
EVL+ 6 6 kg 40 g minus 6 kg 2 g
EVL+ 6/15 6/15 kg 40 g minus 15 kg 2/ 5 g
EVL+ 15 15 kg 100 g minus 15 kg 5 g
EVL+ 15/30 15/30 kg 100 g minus 30 kg 5/ 10 g
EVL+ 30 30 kg 200 g minus 30 kg 10 g
Model External
display
Total number of keys on
the keyboard
EVL+ xx LT1 Yes 34
EVL+ xx BT1 No 34
EVL+ xx LM6 Yes 33
EVL+ xx BM6 No 33
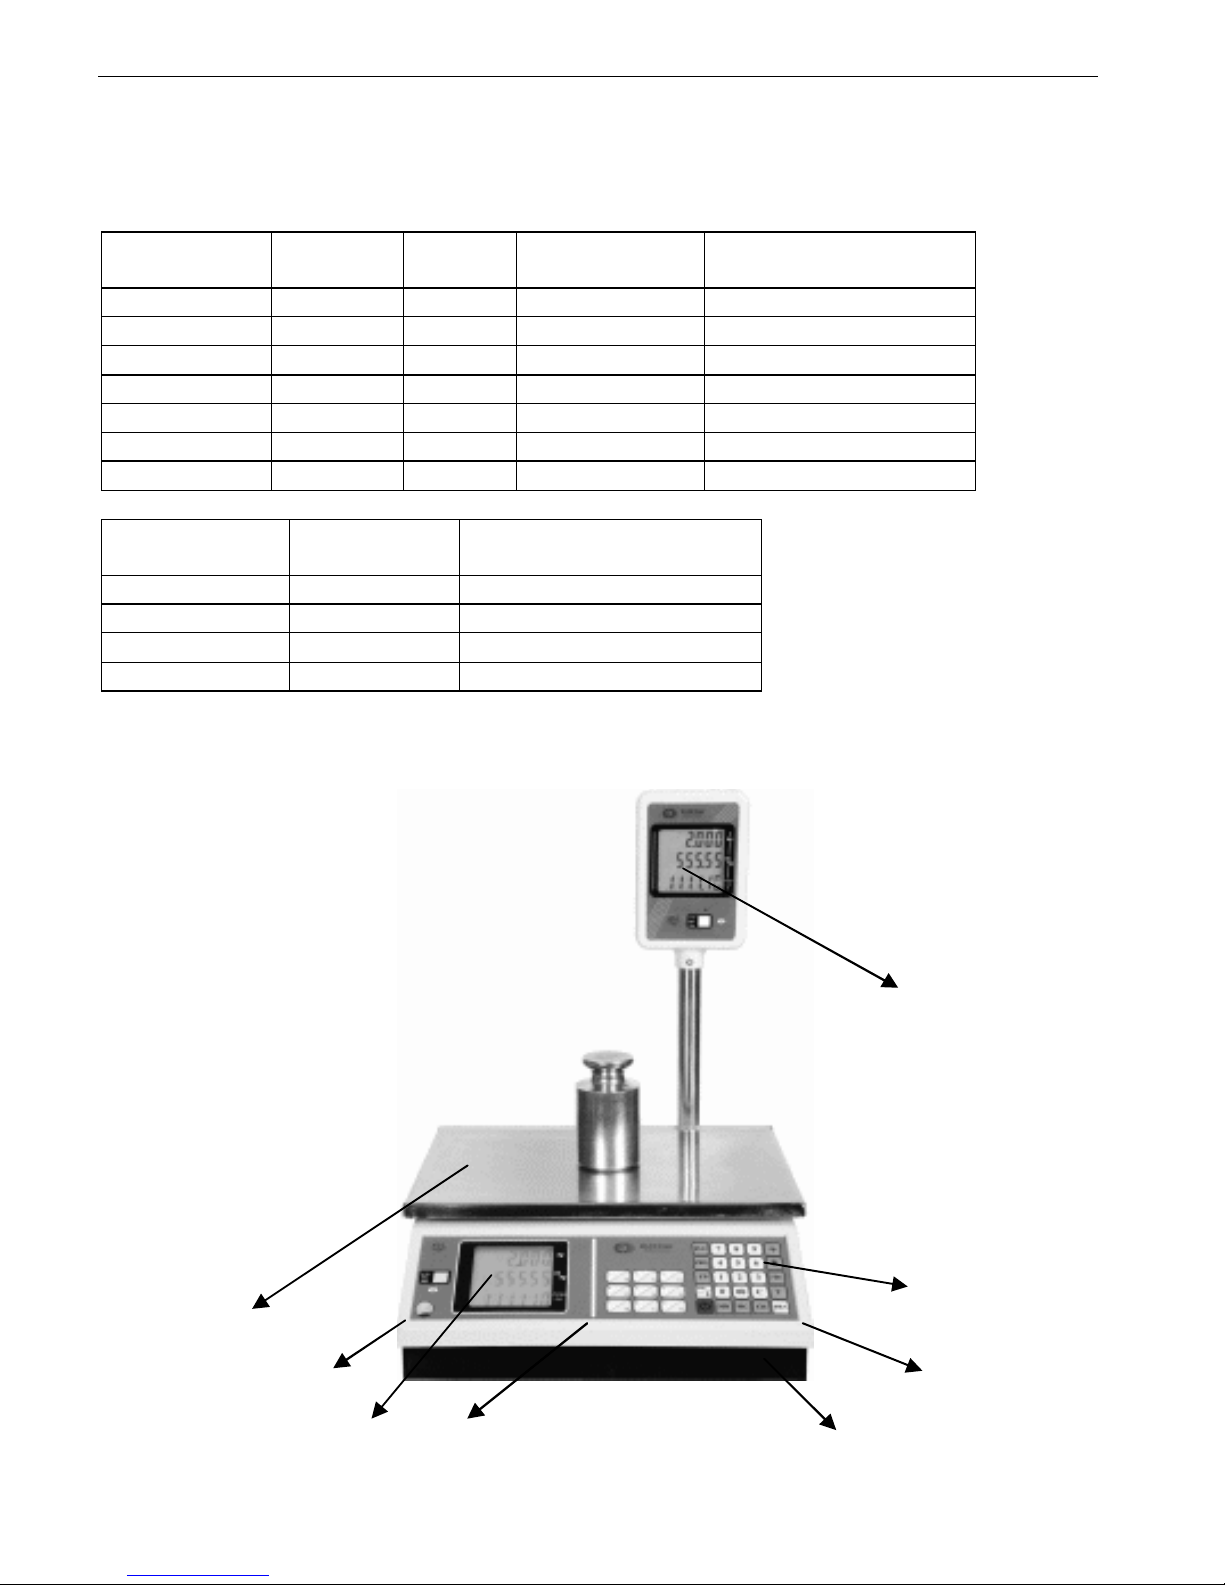
5. Scale Overview
5.1 Overview
Fig.1
5.2. Description
9
8
7
3
6
1
4
2

Electronic Scale – models EVLplus хх LМ1, BM1, LT1, BT1
7
1. Base - plastic base with four adjustable legs
2. Metal Platter - the measured loads are placed on top
3. Plastic lid cover - covers the electronic unit and the load cell unit. It protects the
keyboard, operator’s (8) and customer’s (7) display.
- The following information is also placed on the cover
- License registration
- Indications for state control
4. Leveler - for the scales to be horizontally placed adjust the legs (5) till the bubble in the
leveler indication stabilizes in the middle of the readout.
5. Adjustable legs - to level the scales by screwing them in both directions.
6. Keyboard - to enter price indication and to choose preliminary set prices.
7. Customer indication - to indicate the weight of the goods, price per kg and total price.
8. Operator’s Indication
9. Interface RS232 to connect with cash registers, PC or labeling printers.
5.3. Stamps and Lead Sealing
The scales from series EVLplus –xx LM, LT, LT, and BT have ЕО certificate for approved type
and correspond with the “Regulation for the main requirements and the measure of quality for
scales with non-automatic operation”
According to the requirements in appendix 8 from the Regulation, on the left side of the
scales is placed a label with serial number, meteorological characteristics of the scale, CE
logo for correspondence and the year of which the valuation for correspondence was done.
The scales are also stamped with two lead seals against unauthorized opening and
disassemble.
6. Preparing For Use
Before installing the scale is necessary to inspect the device for any mechanical damages
that may have occurred during the transportation. After the inspection is done the scale is
ready for installation. Place the scale onto horizontal surface. Level the scale by using the 4
adjustable legs at the bottom of the scale. Turn the legs clockwise or counterclockwise so the
bubble of the leveling gauge is inside the indicated circle which is located on the front left part
of the scale.
After the scale is properly placed for work, normal working conditions should be provided:
Operating Temperature -10°C to +40°C
Air Humidity 20% to 80%
Power Source 220V
Power Source Frequency 50 Hz
DO NOT plug the AC adapter in any power source different from the 220V/50Hz!!!
Avoid overload of the scale with weights greater that the specified Maximal Load!

Owner’s Manual
8
7. Installation Instructions
1. Open the box and pull out the contents, including:
- Scale
- Metal platter
- AC adaptor
- Operation Manual
- Passport
- Warranty card
2. Installation of the metal platter – place the tray legs in the corresponding holes on the
upper side of the scale. Sway it gently until it finds a stable position.
3. Place the scale on a flat surface (table). Level the scale by screwing the adjustable legs
and constantly keep an eye on the bubble in the left side indication. Once the bubble is
stabilized in the middle of the black circle, the scale is ready.
4. Plug in the AC adaptor to the main supply. The battery should obligatory be switched
on.
5. Turn On the scale by pressing the ON/OFF button. After this operation an automatic
check is performed on all the indicators by indicating all the figures from 0 to 9.
Wait for 10 minutes before using the scale.
Turn Off the scale by pressing the ON/OFF button and turn off the adaptor.
6. Avoid the following working conditions:
- Rapidly changing temperature
- Direct sunlight
- High percentage of dust and air humidity
- Windy places
- Vibrations
7. Don’t leave the scale loaded for a long time
8. Avoid placing the scales near magnetic fields or near devices generating
electromagnetic fields
9. Avoid penetrating of moisture into the scale units.
10. Avoid hitting the scale
8. Operation Modes
The scale operates in two major modes: “Weighting” and “Service”.
Both modes are managed by the keyboard.
Model: LT, BT
Electronic Scale – models EVLplus хх LМ1, BM1, LT1, BT1
9
Model: LM, BM
8.1. WEIGHING Mode
Place the load and wait till the scale stands still or until the indication for total price or the
load indication blinks repeatedly.
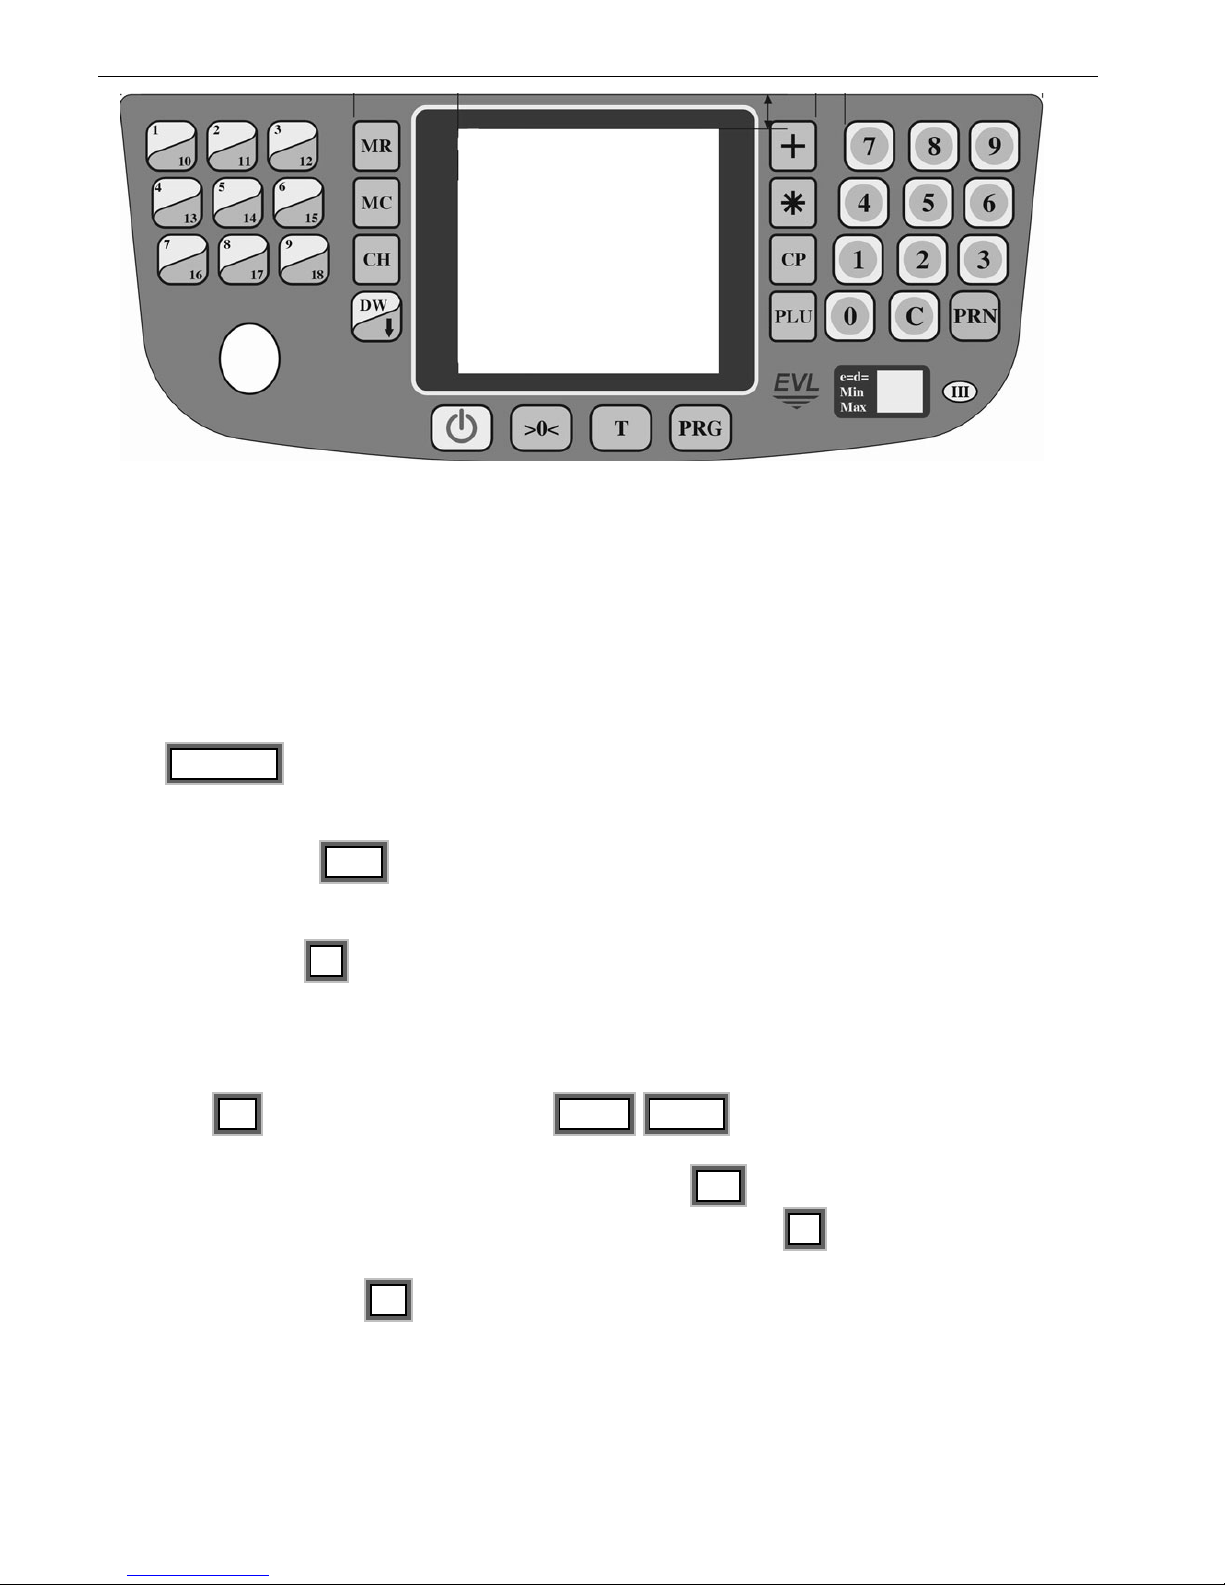
8.1.1 Keyboard keys
1. ON/OFF – Turn on/off the scale. Turn off with this button lessens but doesn’t stop the
energy supply from the adaptor. It’s recommended to unplug the adaptor from the main
supply once the work is done.
2. Zero setting ( >0< )– it is used for setting zero to the load indication if due to external
conditions /temperature change or leveling/ the readout is not zero when no load is
weighted.
3. Button Tare ( T )– it is used for entering tare value. The load, which is currently being
weighted, is considered as tare. The load indication is set to zero and the scale starts
indicating net weight, which is marked by a NET icon. If a load lighter than the Tare is
being weighted, it leads to negative tare value displaying the “Т” sign. The “NET”
pointer goes out. At that moment the preset Tare value can be set to zero by pressing
the T button. When the buttons 1/10 , 2/11 , … are used to call out the preset
article prices, the relevant tare values, set in connection with the prices, will be ignored
if a tare value is preliminary set by pressing the T button.
When a tare load is placed on the scale / and either the T button is pressed or the
tare value is called out by pressing the article buttons/, the readout indicates the Net
weight. If then the T is pressed a five-second indication will show the Tare weight
and will blink out after that.

Owner’s Manual
10
4. Keyboard keys 00 , 0 , 1 , 2 , 3 , 4 , 5 , 6 , 7 , 8 , 9 , C .are
used in the Weighing mode for entering article prices. Wrong figures are deleted by
pressing the C button and the price setting starts from the beginning. These buttons
are also used to call out the previously set article prices. In this case only two figures
are entered after which the PLU button is pressed and the figures are considered
as article numbers: 01, 02...89, 90…..1925
5. Article keys. They are used for calling out previously set article prices and tare weight.
For some scales an additional option is provided which allows for an article price to be
called out. For example pressing the 3/12 button will call out the price for the article
with number 3 . If before that the is pressed then the button 3/12 will call out
the price for the article with number 12.
6. Button PRN - for printing information.
7. Functional buttons.
- PRG - double press switches from Weighing to Service mode
- CP - switches from Service to Weighing mode
8.1.2. Weighing an article and calculating the price using the keyboard
After the scale is switched ON by ON/OFF several automatic checks are performed. After
a zero indication is shown the scale is ready for operation. A pointer points to “>0<” for a tare
value.
A load is placed on the metal platter and the
readout indicates the value of the weight.
No price per kg is entered and the second
indication is still zero.
Enter the price by using the numeric keyboard.
For example: Keys 2 , 8 , 0 .
 Loading...