

Elgento E011 Instruction Manual
INSTRUCTION MANUAL E011
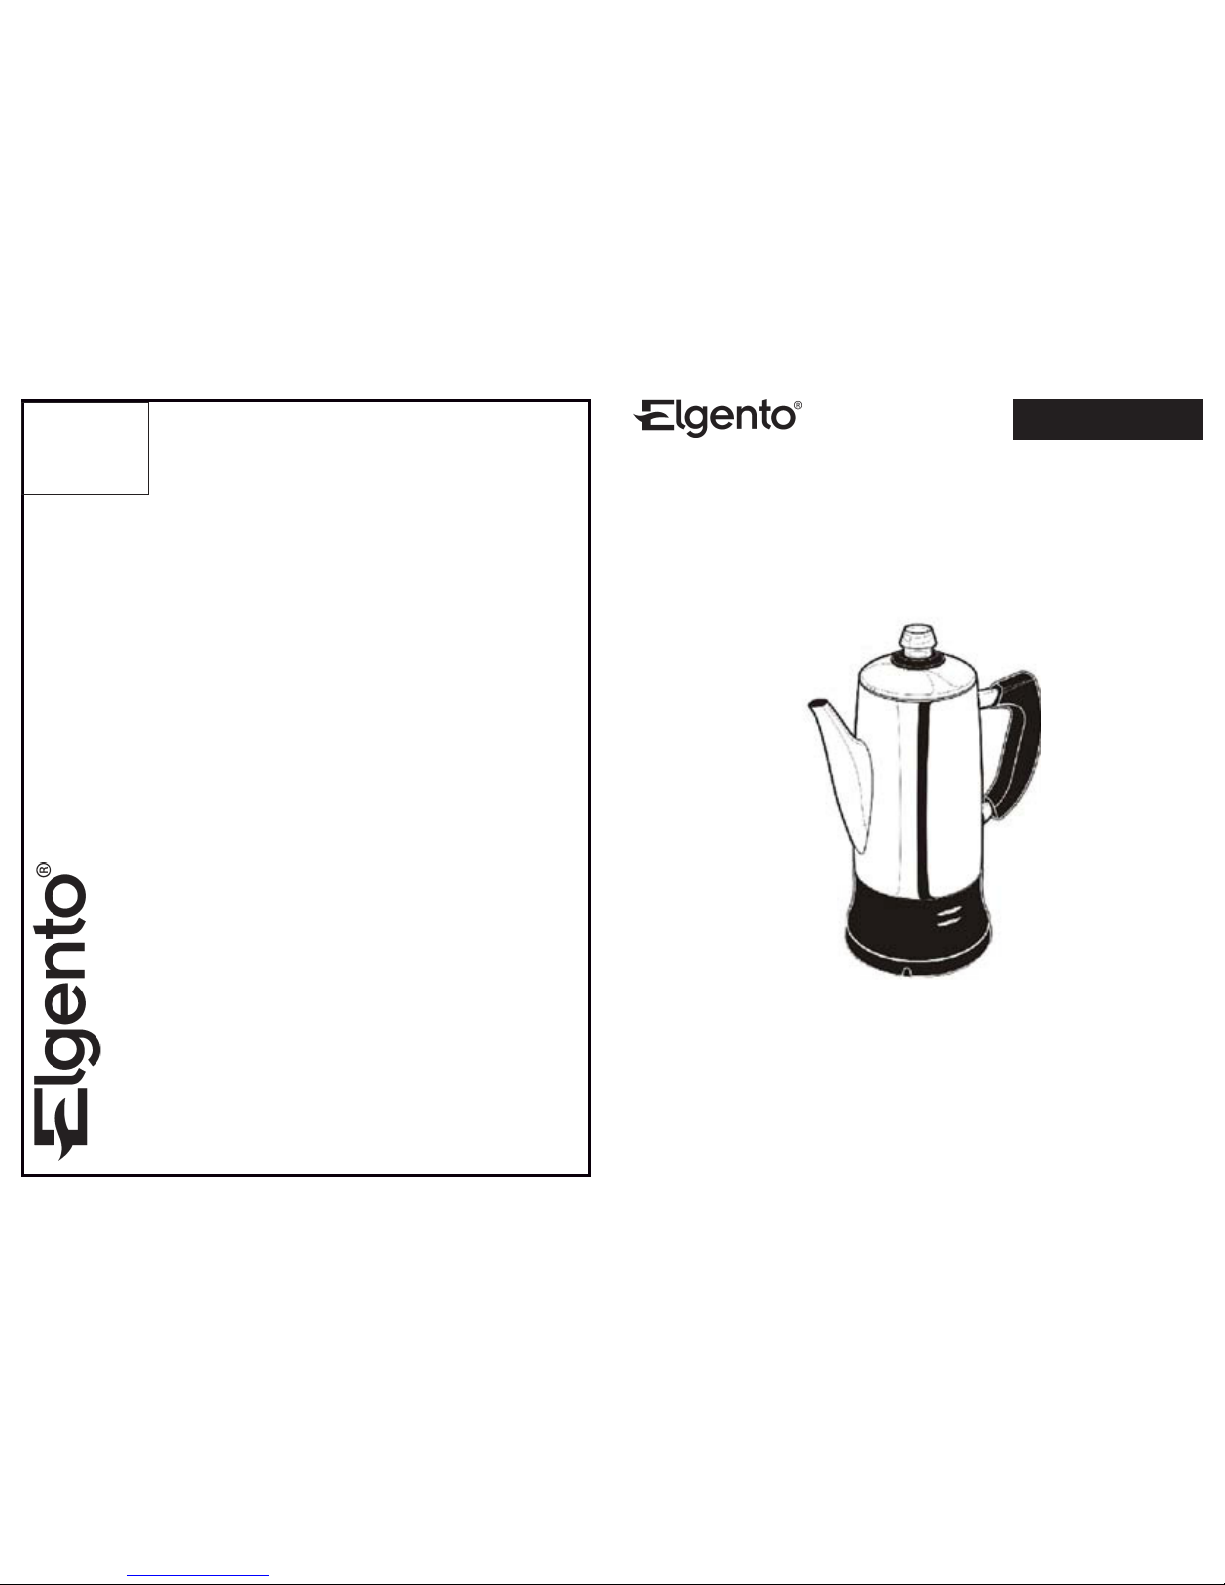
Coffee Percolator
Afx
stamp
Here
TO:
CUSTOMER SERVICES DEPARTMENT.
ELGENTO.
SUTTON HOUSE,
BERRYHILL ROAD,
FENTON,
STOKE ON TRENT,
STAFFORDSHIRE,
ST4 2NL.
Stainless Steel
Technical Support
If you require technical support or in the unlikely event that your purchase is faulty please
telephone our Helpline for immediate assistance.
This product is guaranteed for 12 months from the date of the original purchase.
If any defect arises due to faulty materials or workmanship the faulty products must be returned
to the place of purchase. Refunds or replacement are at the discretion of the Retailer .
The following conditions apply:
The product must be returned to the retailer with the proof of purchase.
The product must be installed and used in accordance with the instructions contained in this
instruction guide.
For domestic purposes. ONLY.
It does not cover wear and tear, damage, misuse or consumable parts.
PFD has limited responsibility for incidental or consequential loss or damage.
Valid in the UK and Eire only.
Technical Specication.
Guarantee.
Product Code E011
AC: 220V-240V 50Hz
Power 750W
12 Cup Capacity
Sutton House,
Berryhill Road,
Fenton
Stoke on Trent
Staffordshire,
ST4 2NL.
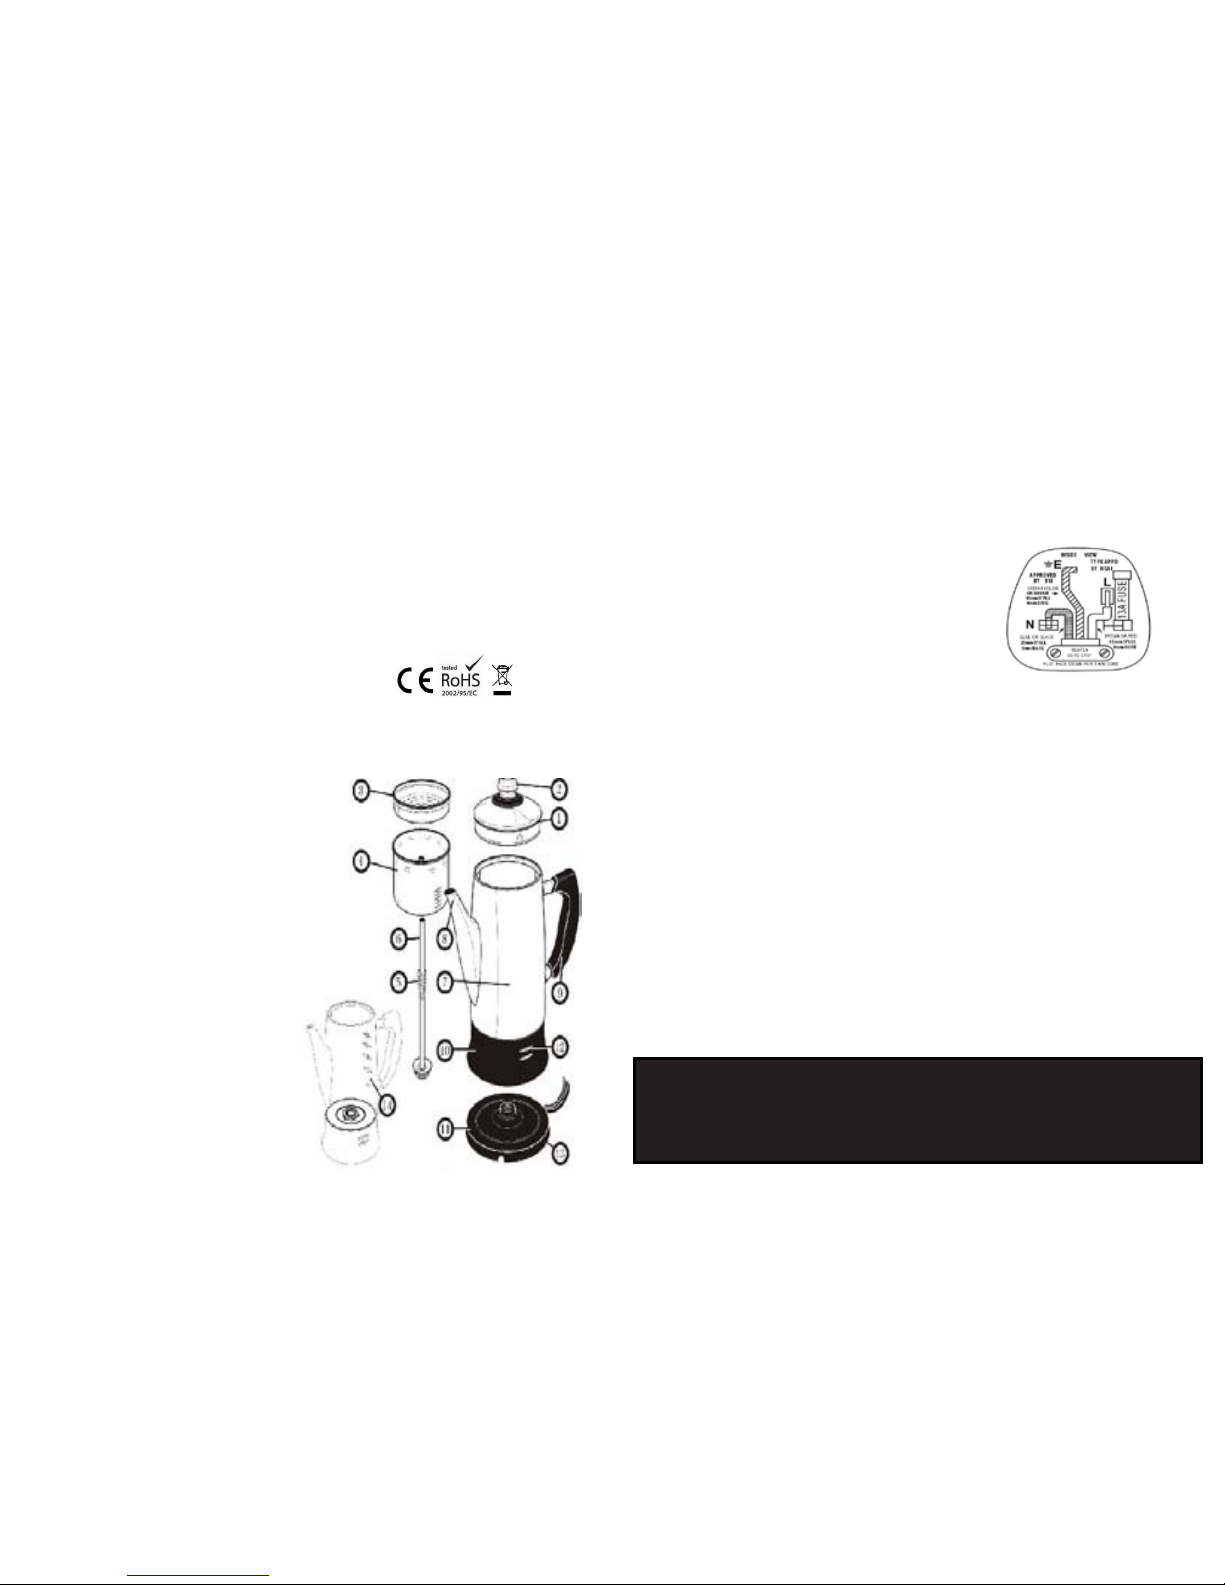
Parts Identication......Continued
1. Stainless steel cover
Lock-down cover to ensure safe pouring.
2. Transparent Percolator Knob
Allows you to see the percolating process.
3. Coffee basket lid
4. Coffee basket
Holds ground coffee to make 4-12 cups
of coffee.
5. Spring
6. Pump Tube – Delivers the water
automatically from the carafe to the basket.
7. Stainless Steel Body
Holds water for 4 to 12 cups coffee.
8. Tapered Spout
For no-mess, drip-less pouring.
9. Comfort Grip Handle
Ergonomically designed for easy poring.
10. Stay-Cool Base
Prevents heat damage to tables
and counters.
11. Power Base.
The percolator removes from the power
base for cordless convenience when serving
Parts Identication
12. Indicator Light s– Green light illuminates to indicate that the brewing cycle has begun.
Then red light illuminates when the warming cycle begins.
13. Cord Wrap – Located under base, keeps counter clutter free and is ideal for storage.
14. Convenient and easy to see measurement marks.
ELECTRICAL SAFETY
Class 1 Conguration
The wires in the mains lead are coloured in accordance with the following code:
GREEN/YELLOW: EARTH (E)
BLUE: NEUTRAL (N)
BROWN: LIVE (L)
Class1Conguration
As the colours of the wires in the mains lead of this appliance may not correspond with
the coloured markings identifying the terminals in your plug, proceed as follows:
The wire which is coloured GREEN & YELLOW (or coloured GREEN) must be connected
to the terminal in the plug which is marked with the letter “E” or by the earth symbol .
The wire which is coloured BLUE (or coloured BLACK) must be connected to the NEUTRAL
terminal which is marked with the letter “N”.
The wire which is coloured BROWN (or coloured RED) must be connected to the LIVE
terminal which is marked with the letter “L”.
Always ensure that the Mains Cord is xed into the plug through the Cord Guard or Cable
Clamp, (plug wiring diagram above), and that the Cord Guard screws are tightened to clamp
the cord (outer sheath and inner coloured wires) into position in the plug. Make sure that
the plug top is also tted securely.
This appliance must be protected by a 13 Amp fuse in a 13 Amp type (BS1363) plug. Should
you need to replace the fuse, use only a 13Amp ASTA approved BS1362 fuse (13A).
OPERATIONAL GUIDELINES
It is important to ensure the correct Plug Adaptor is used when operating in a country not
usingthe UK 13 Amp socket system. If in doubt, consult a qualied electrician.
0871 221 3619
 Loading...